

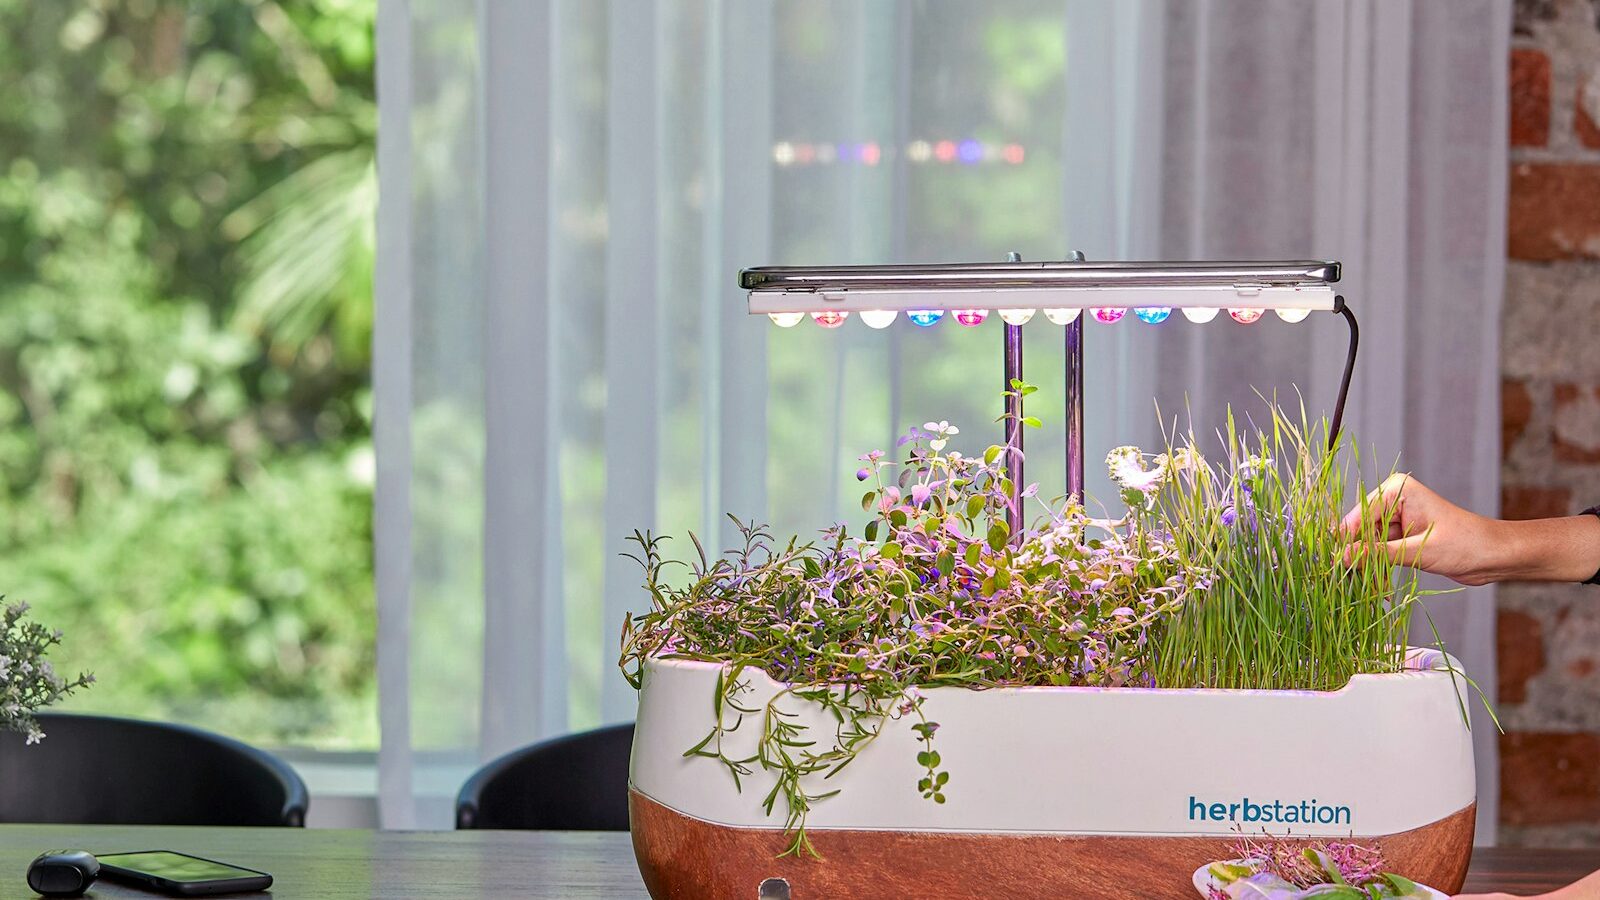
Microgreens are the fastest, most forgiving crop you can grow indoors, often ready to harvest in just one to three weeks from a sunny windowsill. These tiny, nutrient-dense seedlings deliver intense flavor and color with almost no space, no garden, and no special skills required. This guide walks you through the simple setup, the easiest varieties, and every step from sowing to scissors.
Key takeaways
- Ready to harvest in just 1-3 weeks
- Sow densely on a thin layer of soil or a mat
- Blackout phase, then bright light
- Bottom-water to prevent mold
- Radish, pea & sunflower are easiest
As an Amazon Associate we earn from qualifying purchases.
Microgreens vs. sprouts: what’s the difference?
People often confuse microgreens and sprouts, but they are grown very differently, and the distinction matters for both safety and flavor. Sprouts are germinated seeds eaten whole, root and all, grown in a moist jar without soil or light over just a few days. Because they sit in warm, humid conditions with no airflow, sprouts carry a higher risk of bacterial contamination.
Microgreens, by contrast, are grown in a thin layer of soil or on a growing mat, exposed to light, and harvested above the soil line with scissors once they develop their first true leaves. You eat only the stem and leaves, not the seed or root. This makes them safer, more flavorful, and far more visually appealing. If you’re new to indoor edibles, microgreens are a perfect companion to how to grow herbs indoors and a gentle introduction to seed starting indoors.
The simple setup: tray, soil, seeds
The beauty of microgreens is how little gear you need. A shallow tray, a thin growing medium, and a packet of seeds will get you a full harvest. Here’s the basic kit.
What you’ll need
- A shallow tray: Look for 1020 trays (roughly 10 by 20 inches) or repurpose any clean food container 1-2 inches deep. You’ll want two trays per crop, one with drainage holes nested inside one without, so you can bottom-water. Browse seedling trays for inexpensive options.
- A growing medium: A thin layer (about an inch) of moist seed-starting mix, or a reusable hemp or coconut-fiber growing mat for soil-free harvests.
- Seeds: Use seeds sold specifically for microgreens, which are untreated and meant for dense sowing. Try a starter pack of microgreen seeds.
- A spray bottle for gentle top-watering during germination.
- A second tray or lid to create the blackout phase (more on that below).
If you’d rather get everything in one box, an all-in-one microgreens growing kit bundles trays, medium, and seeds together, which is a tidy way to start.
Best easy varieties for beginners
Some microgreens germinate fast and grow forgivingly, making them ideal for your first few trays. Start with these crowd-pleasers before branching out.
- Radish: The easiest of all. Germinates in 2-3 days, grows quickly, and adds a peppery kick. Nearly impossible to fail.
- Pea shoots: Sweet, crunchy, and tendril-topped. Soak the larger seeds 8-12 hours before sowing for even germination.
- Sunflower: Nutty and substantial, a satisfying “salad green” microgreen. Soak overnight and expect to remove the lingering seed hulls.
- Broccoli: Mild, tender, and famously nutrient-dense. Tiny seeds that need careful, even watering.
- Mustard: A bold, wasabi-like heat that grows fast and looks beautiful.
Radish, pea, and sunflower are the most reliable starting trio. Save the smaller-seeded varieties like broccoli and mustard for once you’ve nailed your watering rhythm.
Step-by-step: sowing your first tray
Follow these steps
- Pre-soak (if needed): Larger seeds like pea and sunflower germinate best after an 8-12 hour soak in water. Small seeds like radish and broccoli can be sown dry.
- Fill the tray: Add about an inch of pre-moistened seed-starting mix to your draining tray and level it gently with your hand. Don’t compress it hard. If using a mat, lay it in and saturate it.
- Sow densely: Scatter seeds evenly across the surface so they nearly touch but don’t pile up. Microgreens are sown far thicker than normal seedlings, a single, even layer is the goal.
- Press and mist: Lightly press the seeds into contact with the medium and mist the surface with a spray bottle until evenly moist.
- Don’t bury them: Most microgreen seeds need no soil covering, just good contact. The blackout cover does the work of darkness for you.
The blackout phase, then light
This two-stage trick is what gives you tall, tender stems and a strong, uniform harvest. It mimics how seeds naturally germinate underground before reaching for the sun.
How to do it
- Cover for darkness: Place an inverted tray or lid over your seeds right after sowing to block all light. This is the blackout phase.
- Add light weight (optional): For larger seeds like sunflower and pea, a small weight (a second tray with a book on top) encourages strong, even rooting and pushes shoots to grow uniformly.
- Wait 2-4 days: Keep the cover on until shoots are about an inch tall and start lifting the lid on their own. Mist once daily if the surface looks dry.
- Uncover and brighten: Move the tray to a bright south-facing windowsill or under a grow light. The pale shoots will green up within hours to a day.
- Give 12-16 hours of light daily: A sunny window works for most varieties; a simple LED grow light guarantees stocky, even growth if your light is weak.
If you want to take this hands-off approach even further, soil-free systems are a natural next step, see hydroponics for beginners.
Watering: bottom-water to prevent mold
Watering is where most beginners go wrong. Microgreens are sown so densely that wet leaves and trapped moisture invite mold and damping-off. The fix is simple: water from below.
The bottom-watering method
- During germination: Mist the surface lightly once a day to keep seeds moist while the cover is on.
- After uncovering: Stop misting. Instead, pour about a quarter inch of water into the solid bottom tray and set the draining tray inside it.
- Let it wick up: The medium absorbs water from below through the drainage holes, keeping roots hydrated while leaves stay dry.
- Drain the excess: After 10-20 minutes, pour off any water that hasn’t been absorbed. Never let trays sit in standing water.
- Water once a day: Check daily, the medium should stay moist but never soggy.
Harvesting with scissors in 1-3 weeks
Most microgreens are ready when they’ve grown their first set of true leaves, usually 1-3 weeks after sowing depending on the variety. Radish and pea can be done in 7-10 days; sunflower and broccoli often take a bit longer.
How to harvest
- Wait for true leaves: Harvest once the seedlings show their first true leaves above the seed leaves (cotyledons), or simply when they look full and 1-3 inches tall.
- Cut high and clean: Use clean, sharp scissors to snip the stems just above the soil line. Grab a small handful and cut, leaving the roots behind.
- Skip washing if you can: Dry microgreens last longer. If you must rinse, dry them gently and thoroughly before storing.
- Eat fresh or store: Use immediately for best flavor, or store in a breathable container in the fridge for up to a week.
Most microgreens are a one-and-done crop, they won’t regrow after cutting (pea shoots are a partial exception). Compost the spent medium and roots, then start a fresh tray.
Succession sowing & avoiding mold
To keep a steady supply on your windowsill, sow a new tray every 5-7 days. This “succession sowing” means as one tray is harvested, the next is already growing, so you never run out.
Keeping mold and damping-off away
- Don’t oversow: Too many seeds piled together trap moisture and rot. Aim for a single dense layer, not a heap.
- Bottom-water only after uncovering, and never let trays sit in standing water.
- Give airflow: Good air circulation (a small fan helps) keeps the surface from staying damp. Avoid cramped, humid corners.
- Know mold vs. roots: Fuzzy white root hairs near the stem base are normal and disappear when misted. True mold is webby, spreads across the soil, and often smells musty.
- Start clean: Wash trays between crops and use fresh medium each time to avoid carrying over pathogens.
Microgreens are one of the simplest ways to grow your own food indoors year-round, and they pair beautifully with the rest of your indoor garden. For the bigger picture on growing food in small spaces, explore our complete urban gardening guide.
Frequently asked questions
How long do microgreens take to grow?
Most are ready to harvest in 1-3 weeks. Fast varieties like radish and pea can be done in 7-10 days, while sunflower and broccoli may take up to two or three weeks.
Do microgreens regrow after cutting?
Most do not, they’re a single harvest crop. Pea shoots can sometimes produce a smaller second cut, but for the rest it’s most reliable to compost the tray and sow fresh.
Why is my microgreen tray getting moldy?
Usually from oversowing, overwatering, or poor airflow. Sow a single dense layer instead of a pile, switch to bottom-watering after uncovering, add a small fan for circulation, and don’t confuse the normal fuzzy white root hairs with true webby mold.
Do I need a grow light or is a windowsill enough?
A bright south-facing windowsill works well for most varieties. A simple LED grow light helps if your light is weak or in winter, producing stockier, more even growth, but it isn’t required.
Are microgreens safer than sprouts?
Generally yes. Microgreens are grown in light with airflow and harvested above the soil, so they carry less bacterial risk than sprouts, which germinate whole in warm, humid jars without light.