

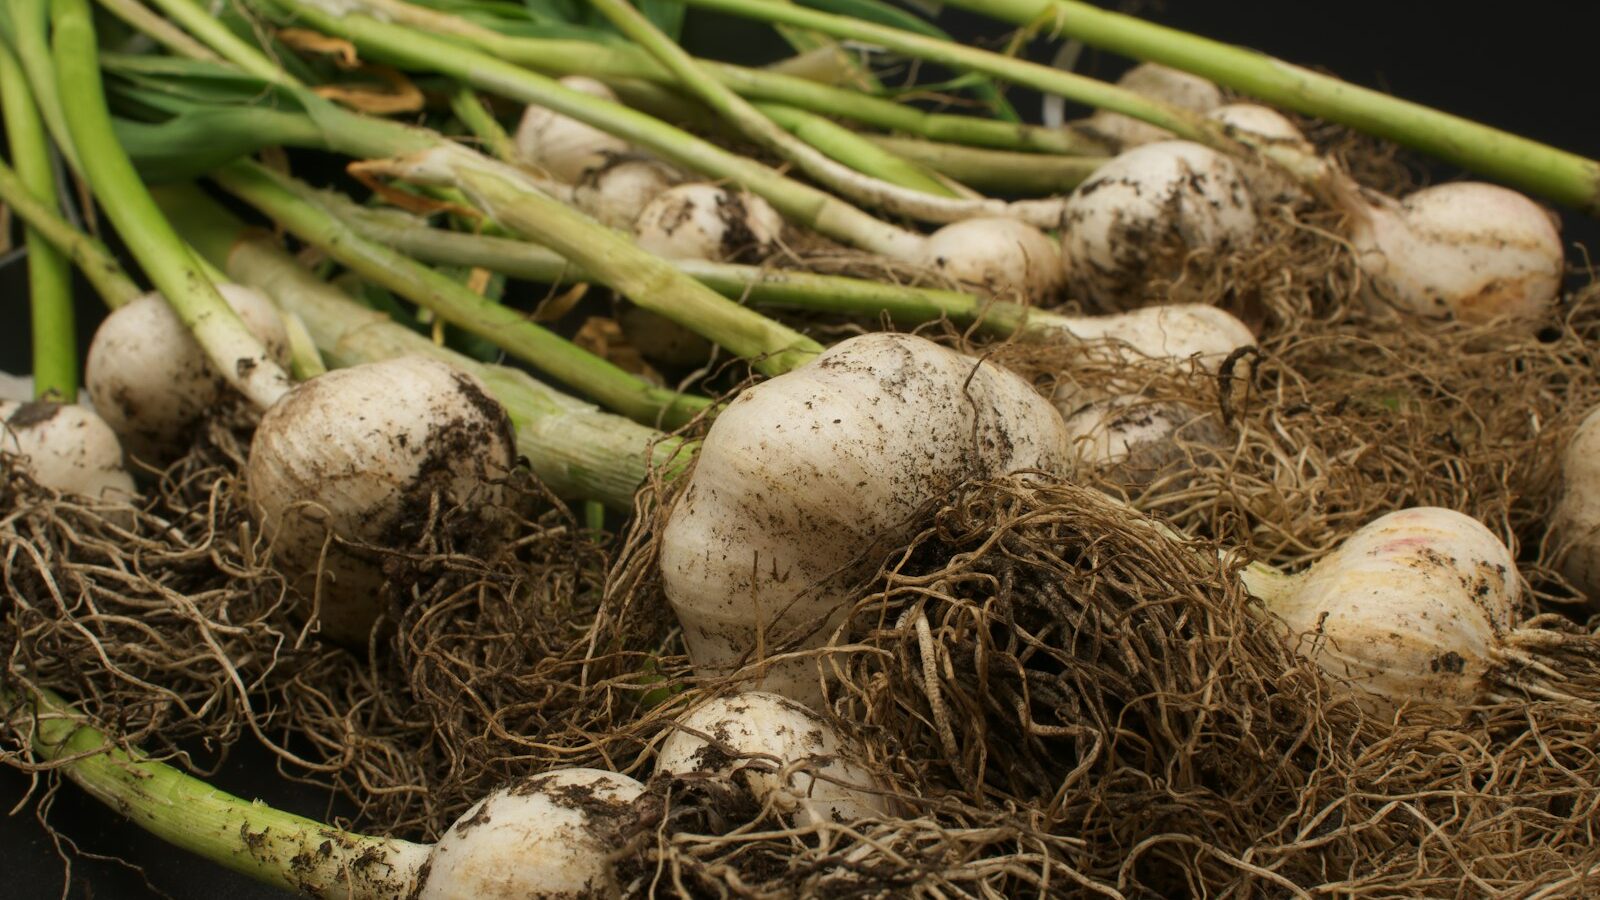
Garlic is one of the most rewarding crops for home gardeners: you plant it in fall, let it sleep through winter, and dig up fat, fragrant bulbs the following summer. It asks for very little attention, takes up almost no space, and the flavor of home-grown garlic blows away anything from the grocery store. This guide walks you through everything from choosing seed garlic to curing and storing your harvest.
Part of our Vegetable Gardening & Raised Beds guide →
In this guide
- Hardneck vs. softneck: which garlic should you grow?
- Why you plant garlic in fall
- Choosing and prepping your seed garlic
- How to plant: depth, spacing, and orientation
- Mulching and spring care
- Scapes: snap them off on hardneck garlic
- When and how to harvest, cure, and store
- Growing garlic in mild and warm climates
- Frequently asked questions
Garlic quick facts
- Plant cloves in fall, harvest mid-summer
- Hardneck for cold climates; softneck for mild
- Use seed garlic, not grocery-store
- Plant pointy end up, 2 in deep, mulch well
- Snap hardneck scapes for bigger bulbs
As an Amazon Associate we earn from qualifying purchases.
Hardneck vs. softneck: which garlic should you grow?
Before you buy a single clove, you need to decide between the two main types of garlic. The right choice depends almost entirely on your climate, and getting it right is the difference between a great harvest and a disappointing one.
Hardneck garlic
Hardneck varieties (such as Rocambole, Porcelain, and Purple Stripe) send up a stiff central stalk called a scape. They thrive in cold-winter regions because they genuinely need a long, cold dormancy to form proper bulbs. Hardnecks are prized for their complex, robust flavor and produce fewer but larger cloves that are easy to peel. Their one drawback: they don’t store as long as softneck types, usually keeping four to six months.
Softneck garlic
Softneck varieties (such as Silverskin and Artichoke types) are what you typically find braided at markets. They tolerate mild winters far better, store for eight to twelve months, and produce more cloves per bulb. If you live in a warm or coastal climate, softneck is usually your best bet. The trade-off is a slightly milder flavor and smaller, more tightly packed cloves.
- Cold climates (USDA zones 3-6): choose hardneck for reliable bulbing and bold flavor.
- Mild/warm climates (zones 7-10): choose softneck, or pre-chill hardneck cloves (more on that below).
- Not sure? Plant a few of each the first year and see what performs best in your soil.
Why you plant garlic in fall
Garlic is unusual among vegetables because it’s planted in autumn, not spring. The reason is a process called vernalization: garlic needs a sustained cold period (roughly 6 to 8 weeks below 40°F / 4°C) to trigger the clove to split and form a full bulb. Skip the cold, and you’ll often get a single undivided “round” instead of a segmented head.
Plant about 3 to 6 weeks before your ground freezes, typically September through November in most of the US. This gives the cloves time to grow roots before winter without pushing too much top growth. The plants go dormant over winter, then surge back to life in early spring with a head start that spring-planted garlic can never match. Fall is prime planting season for several crops, so check our guide on what to plant in fall to make the most of the season.
Choosing and prepping your seed garlic
The single most important rule: plant seed garlic, not grocery-store garlic. Supermarket bulbs are often treated with sprout inhibitors, may carry disease, and are usually varieties bred for shipping rather than your local climate. Seed garlic is grown specifically for planting, certified disease-free, and sold by variety so you know exactly what you’re getting.
How to pick and prepare cloves
- Buy from a reputable source: look for certified seed garlic in your variety of choice. You can browse options for seed garlic for planting online or buy from a local grower.
- Separate cloves at planting time: break the bulb into individual cloves just before planting, leaving the papery skin on. Don’t crack them open early or they’ll dry out.
- Plant the biggest cloves: bigger cloves produce bigger bulbs. Save the small inner cloves for the kitchen.
- Discard damaged cloves: skip any that are soft, moldy, or bruised.
One bulb typically yields 4 to 10 plantable cloves, and each clove grows into a full bulb. So a single pound of seed garlic can plant a surprisingly large patch.
How to plant: depth, spacing, and orientation
Garlic wants loose, well-draining soil rich in organic matter and a sunny spot with at least 6 hours of direct light. Work in plenty of compost before planting, and avoid soggy spots where bulbs can rot. If you’re new to edible beds, our how to start a vegetable garden guide covers soil prep from scratch.
Planting steps
- Orientation matters: plant each clove pointy end up, flat (root) end down. Planting upside down produces twisted, misshapen bulbs.
- Depth: set cloves about 2 inches deep (deeper, around 3-4 inches, in very cold zones for extra winter protection).
- Spacing: space cloves 4 to 6 inches apart, with rows about 8 to 12 inches apart. Crowding leads to smaller bulbs.
- Cover and water: backfill with soil, firm gently, and water in well to settle the soil around the cloves.
Garlic also makes an excellent companion plant, helping deter aphids and other pests from nearby crops. See our companion planting guide for good neighbors and combinations to avoid.
Mulching and spring care
After planting, mulch is your garlic’s best friend. A 3 to 4 inch layer of straw, shredded leaves, or other loose organic mulch insulates the soil, prevents frost heaving (which can push cloves out of the ground), suppresses weeds, and conserves moisture. Straw is the classic choice; a bale of straw mulch for garden beds covers a generous patch.
What to do in spring
- Pull back mulch if needed: as green shoots emerge, loosen heavy mulch so sprouts can push through, but leave a layer for weed control.
- Feed early: garlic is a hungry crop. Apply a nitrogen-rich or balanced organic bulb fertilizer in early spring as growth resumes, and again a few weeks later.
- Water consistently: keep soil evenly moist through spring, about 1 inch of water per week, but stop watering 2 to 3 weeks before harvest so bulbs can firm up.
- Weed diligently: garlic competes poorly with weeds, so keep the bed clean.
Scapes: snap them off on hardneck garlic
In late spring or early summer, hardneck garlic sends up a curling flower stalk called a scape. Left alone, the plant pours energy into producing seed at the top instead of growing the bulb below. Snap or cut the scapes off once they form a curl (but before they straighten), and your plant will redirect that energy into a noticeably bigger bulb.
The bonus: garlic scapes are delicious. They have a mild, fresh garlic flavor and are wonderful sauteed, grilled, or blended into pesto. Softneck garlic generally doesn’t produce scapes, so this step only applies to hardneck varieties.
When and how to harvest, cure, and store
Most garlic is ready to harvest in mid-summer, roughly June to August depending on your region and planting date. Timing the harvest right is crucial: pull too early and bulbs are undersized; too late and the wrappers split, shortening storage life.
Knowing when to harvest
- Watch the leaves: harvest when the lower 3 to 5 leaves have turned brown but 5 or 6 upper leaves are still green. Each green leaf corresponds to a protective wrapper layer on the bulb.
- Test-dig one bulb: gently dig up a single plant to check that the cloves are plump and well-formed before harvesting the whole bed.
- Loosen, don’t yank: use a fork to loosen the soil and lift bulbs out by hand. Pulling on the stem can tear the plant.
Curing and storing
- Brush off soil gently; don’t wash the bulbs or get them wet.
- Cure for 2 to 4 weeks in a warm, dry, shaded spot with good air circulation. Hang in bundles or lay on a screen. The skins should turn papery and the necks fully dry.
- Trim once cured: cut roots short and trim stems to about an inch (or leave softneck stems long for braiding).
- Store cool and dry: keep cured garlic at 55 to 65°F in a dark, ventilated spot. Avoid the refrigerator, which can trigger sprouting. Softneck keeps up to a year; hardneck four to six months.
Set aside your largest, healthiest bulbs to replant next fall, and you’ll never need to buy seed garlic again.
Growing garlic in mild and warm climates
If you garden in a warm region (zones 8-10) where winters never get truly cold, garlic is still very doable, you just need a few adjustments. The key challenge is providing the cold period that hardneck garlic requires.
- Favor softneck varieties, which need far less cold and tolerate heat better. Creole and Turban types are also well suited to warm climates.
- Pre-chill (vernalize) cloves if you want to grow hardneck: refrigerate the unbroken bulbs for 6 to 8 weeks before planting to simulate winter.
- Plant later, often November or December, so growth aligns with cooler weather.
- Mulch to keep roots cool and watch for earlier harvests, sometimes as soon as late spring.
Garlic is a perfect crop for small-space and container growing too. For more on making the most of a compact plot, balcony, or raised bed, explore our complete urban gardening guide.
Frequently asked questions
Can I plant garlic from the grocery store?
It’s not recommended. Grocery-store garlic is often treated with sprout inhibitors, may carry disease, and is usually a variety not suited to your climate. Certified seed garlic gives far more reliable results.
How long does garlic take to grow?
Garlic is a long-season crop. Planted in fall, it takes roughly 8 to 9 months to mature, with harvest typically in mid-summer the following year.
Do I need to remove the scapes?
On hardneck garlic, yes, snapping off scapes redirects energy into a bigger bulb, and the scapes are edible. Softneck garlic usually doesn’t form scapes, so there’s nothing to remove.
Why did my garlic form one round instead of a bulb?
This usually means the cloves didn’t get enough cold (vernalization) or were planted too late in spring. Plant in fall, or pre-chill cloves in warm climates, to ensure proper bulb formation.
How do I store garlic so it lasts?
Cure it for 2 to 4 weeks in a warm, dry, airy spot, then store at 55 to 65°F in a dark, ventilated location. Don’t refrigerate, as cold temperatures can trigger sprouting.