

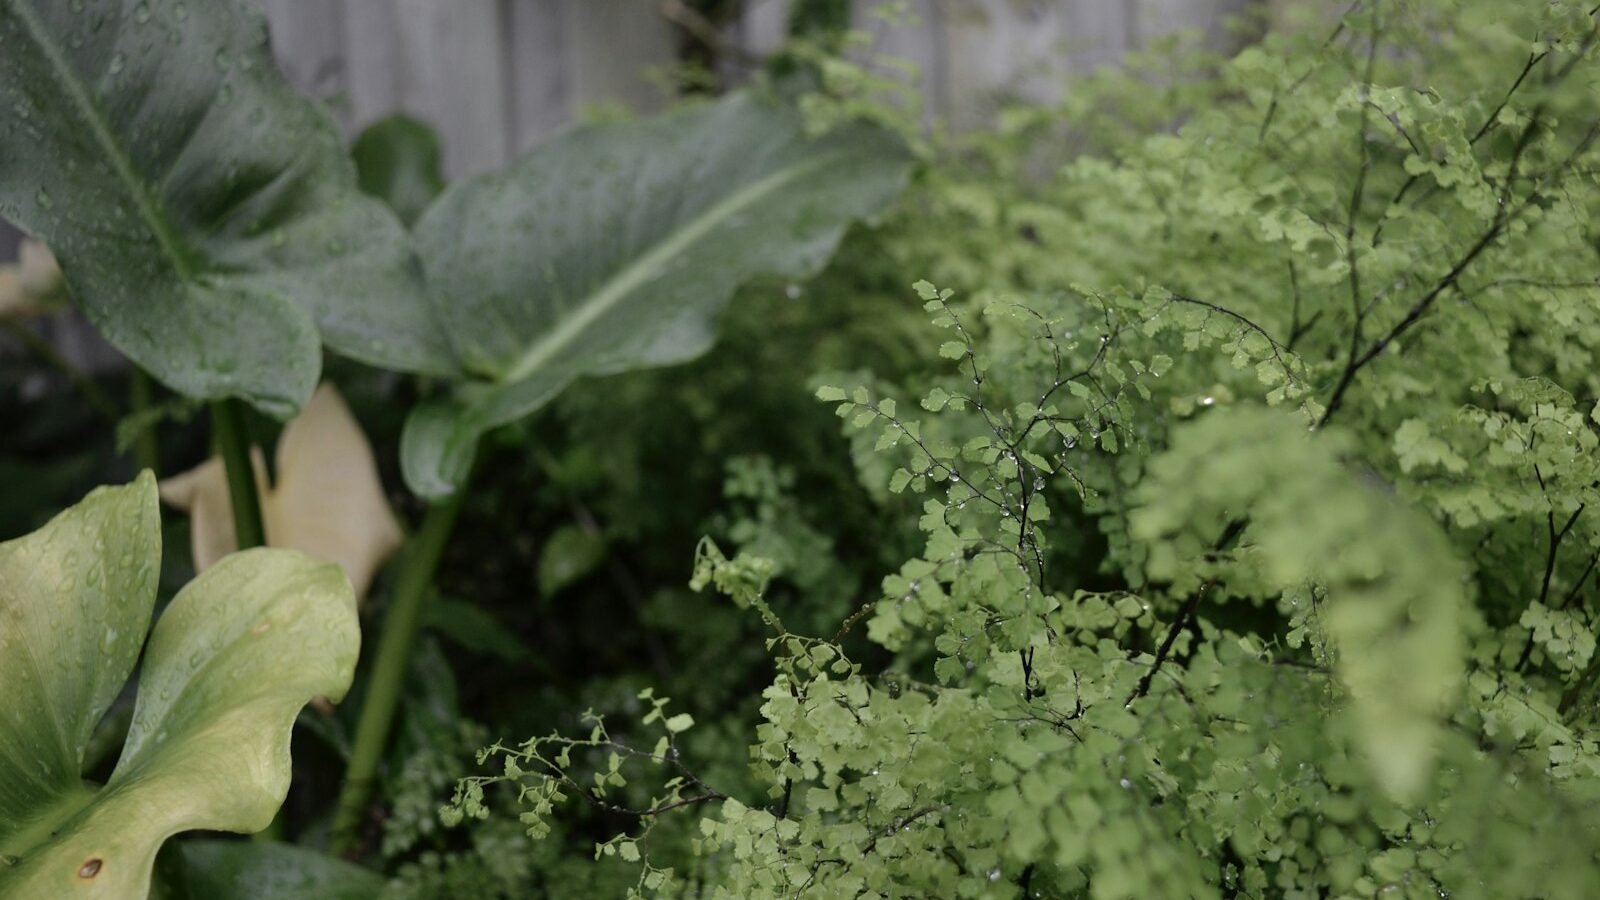
A rain garden is one of the most rewarding projects you can add to a yard: a shallow, planted basin that catches the runoff pouring off your roof and driveway, holds it for a day or two, and lets it soak slowly into the ground instead of rushing toward the storm drain. Done right, it eases flooding, filters pollutants, recharges groundwater, and bursts with native flowers and pollinators. This step-by-step guide walks you through siting, sizing, testing, digging, and planting a rain garden that drains within 24 to 48 hours.
Key takeaways
- Captures runoff & drains within 24-48 hrs (not a pond)
- Site 10+ ft from foundations, in the flow path
- Plant wet-tolerant species in the center, drier at edges
- Use native plants for low maintenance & wildlife
- Helps flooding, pollution & groundwater
As an Amazon Associate we earn from qualifying purchases.
What a rain garden is (and why you want one)
A rain garden is a shallow, bowl-shaped depression planted with deep-rooted, water-tolerant plants and positioned to intercept stormwater runoff. When rain falls on hard surfaces like your roof, driveway, patio, or compacted lawn, it can’t soak in. Instead it sheets off, picking up oil, fertilizer, pet waste, and sediment, then funnels into storm drains that dump straight into local creeks and rivers. A rain garden gives that water somewhere to pause.
The single most important thing to understand: a rain garden is not a pond. It is dry most of the time. Water collects during and just after a storm, then drains away within 24 to 48 hours, which is short enough to keep mosquitoes from breeding and long enough to let the soil and plant roots filter and absorb the flow. If you want standing water year-round and fish, you want a how to build a backyard pond project or a how to make a wildlife pond instead.
Why build one
- Reduces flooding: Captures the first flush of runoff so it never reaches the storm drain or your neighbor’s yard.
- Cuts pollution: Plants and soil microbes break down or trap lawn chemicals, oils, and sediment before they reach waterways.
- Recharges groundwater: Infiltrated water replenishes the aquifer instead of being lost to a storm sewer.
- Supports wildlife: Native plantings feed bees, butterflies, and birds.
- Low maintenance: Once established, deep-rooted natives need little water, fertilizer, or mowing.
Step 1: Choose the right spot
Siting is where most rain gardens succeed or fail. You want a low spot that water naturally flows toward or can be directed to, while keeping it safely away from structures.
Siting rules
- Keep it 10+ feet from foundations. You never want infiltrated water seeping toward your basement or crawlspace. Ten feet is the minimum; more is better on clay soils.
- Put it in the flow path. Watch your yard during the next rain and note where water sheets across the lawn or where a downspout dumps. Place the garden downhill of that source so gravity does the work.
- Avoid utilities and septic. Call 811 before you dig to mark gas, water, and electric lines. Stay clear of septic drain fields and well heads.
- Stay off the wettest spots. A rain garden needs to drain. If an area stays soggy for days on its own, the water table is too high and the garden won’t infiltrate. Pick a spot that’s dry between storms.
- Pick sun if you can. Most native rain garden plants prefer full to partial sun. A spot with at least 4 to 6 hours of sun gives you the widest plant palette.
If your real problem is chronic soggy lawn or water pooling against the house, a rain garden may be only part of the fix. See how to fix yard drainage for regrading, French drains, and downspout extensions that pair well with a rain garden.
Step 2: Do a percolation test
Before you commit, confirm your soil actually drains. The percolation (or “perc”) test tells you how fast water infiltrates, which determines whether a basic rain garden will work or whether you need to amend the soil heavily.
How to run the test
- Dig a test hole about 12 inches deep and 6 to 12 inches wide in your chosen spot.
- Fill it with water and let it drain completely once to pre-saturate the soil.
- Refill the hole with water and measure the depth.
- Wait one hour, then measure how much the water level dropped.
Reading your result: A drop of 1 inch or more per hour is great, ideal sandy or loamy soil. Half an inch to 1 inch per hour is workable. If it drains less than a quarter inch per hour, you have heavy clay and should either pick another spot, amend the soil deeply with compost and sand, or accept a shallower, wider garden. If it drains so fast the hole empties almost immediately, the water may pass through too quickly to be filtered, but that rarely stops a rain garden from working.
Free, no-obligation quote · Connect with a local pro
Step 3: Size the garden
A rain garden doesn’t need to capture every drop from a hurricane, just the typical storms. A good rule of thumb is to make the garden roughly 20 to 30 percent of the size of the impervious area draining into it.
A simple sizing method
- Measure the drainage area. For a roof, measure the footprint section that drains to the relevant downspout (length x width). For a driveway, measure its square footage.
- Apply the percentage. Multiply that area by about 0.2 for sandy soil, 0.3 for loam, or up to 0.4 for clay (clay needs more surface because it drains slowly).
- Keep it shallow. Plan a basin 4 to 8 inches deep. Shallow and wide drains better and looks more natural than deep and narrow.
- Shape it long, not round. Orient the garden so its long edge faces the incoming flow, like a crescent or kidney bean. This spreads water out instead of letting it carve a channel.
For most suburban yards, a rain garden of 100 to 300 square feet handles a single downspout or a driveway beautifully. Don’t overthink it; even an undersized rain garden captures meaningful runoff.
Step 4: Dig the basin and build the berm
This is the labor-intensive part, but a weekend with a shovel (or a rented sod cutter) gets it done. The goal is a flat-bottomed, shallow basin with a low berm on the downhill side to hold water in.
Digging steps
- Outline the shape with a rope, garden hose, or marking paint. Step back and adjust until you like the curve.
- Remove the sod and topsoil within the outline. Set good topsoil aside to reuse.
- Dig down 4 to 8 inches, creating a level basin floor. On a slope, dig deeper into the uphill side and use the excavated soil to build up the downhill side.
- Build the berm on the downhill edge using the soil you removed. This low ridge, 4 to 6 inches high, dams the water so it ponds and infiltrates instead of running out. Tamp it firm.
- Add an overflow. Create a slightly lower notch or spillway at one point in the berm, lined with river rock, so that in a huge storm excess water leaves safely instead of overtopping and eroding the berm.
- Check it’s level with a board and a carpenter’s level laid across the basin. A level floor ponds evenly; a tilted one drains to one side.
Where the runoff first enters the garden, lay down a small apron of river rock or cobble to dissipate the energy of the incoming water and prevent it from gouging a trench.
Step 5: Amend the soil
Good infiltration depends on loose, organic-rich soil. Even if your perc test was decent, working in amendments improves drainage and gives plants a strong start.
The ideal mix
- Loosen the basin floor with a digging fork to break up compaction, going down another 6 to 12 inches.
- For clay soils, blend in 2 to 4 inches of compost plus coarse sand to open up the structure. A common target is roughly 50 to 60 percent sand, 20 to 30 percent topsoil, and 20 to 30 percent compost.
- For sandy soils, mostly add compost to improve water and nutrient holding so plants establish.
- Rake smooth and let the bed settle, ideally after a rain, before planting.
Step 6: Choose zones and native plants
A rain garden has distinct moisture zones, and matching plants to each zone is the secret to a garden that thrives with no fuss. Think of three rings.
The three zones
- Center (wettest): The deepest part holds water longest. Use the most water-tolerant species, plants that shrug off both flooding and brief dry spells.
- Slopes (middle): Moist but well drained. Most rain garden flowers are happy here.
- Edges (driest): The upper rim rarely floods. Use plants that prefer normal garden moisture.
Native plant suggestions
- Center (wet-tolerant): Sedges (Carex species), soft rush (Juncus effusus), blue flag iris, cardinal flower, and swamp milkweed all handle wet feet and look stunning.
- Middle slopes: Joe-pye weed, swamp milkweed (also fine here), blue flag iris, New England aster, and switchgrass.
- Drier edges: Black-eyed Susan, little bluestem, butterfly weed, coneflower, and bee balm.
Native plants are the right choice because their deep roots punch channels into the soil to boost infiltration, they tolerate local rainfall swings, and they feed native pollinators. Browse native rain garden plants to get started, and for even more nectar-rich picks see best plants for pollinators. Set plants in clusters of 3 to 5 of the same species for visual impact, spacing them so they’ll knit together as they mature.
Free, no-obligation quote · Connect with a local pro
Step 7: Mulch, water in, and maintain
The final steps lock in your investment and carry the garden through its establishment year.
Finishing steps
- Mulch 2 to 3 inches deep with shredded hardwood. It suppresses weeds, holds moisture, and protects soil. Use heavier shredded mulch rather than loose bark nuggets or wood chips, which float and wash away in a storm. Stock up on mulch and keep it pulled back slightly from plant stems.
- Water thoroughly right after planting, then keep the garden watered through its first growing season while roots establish. After year one, natives largely fend for themselves.
- Weed regularly the first year before desirable plants fill in.
- Refresh mulch annually and remove any debris that collects at the inflow.
- Cut back perennials in late winter, leaving stems standing over winter for pollinators and birds.
Within a season or two, your rain garden will look like an intentional, lush flower bed, while quietly doing the serious work of managing stormwater every time it rains.
Frequently asked questions
Will a rain garden breed mosquitoes?
No, as long as it’s built correctly. A properly sized rain garden drains within 24 to 48 hours, far faster than the 7 to 10 days mosquitoes need to complete their life cycle. If your garden holds water longer than two days, the soil isn’t infiltrating well and needs amending or a different site.
How far from my house should a rain garden be?
At least 10 feet from any foundation, and farther on slow-draining clay soils. This keeps infiltrated water from migrating toward your basement or crawlspace. Also keep it away from septic drain fields and well heads, and call 811 to mark utilities before digging.
How big does my rain garden need to be?
A good starting point is 20 to 30 percent of the impervious area draining into it, with clay soils needing the larger end. For a typical home, 100 to 300 square feet handles one downspout or a driveway. Even a smaller garden captures meaningful runoff, so don’t let sizing stop you.
What if my soil is heavy clay?
Clay drains slowly, so do a percolation test first. If it drains under a quarter inch per hour, amend the basin deeply with compost and coarse sand, make the garden wider and shallower, and choose the most water-tolerant native plants. If it barely drains at all, consider a different, higher spot.
What’s the difference between a rain garden and a pond?
A rain garden is dry most of the time and only holds water briefly after rain, draining within a day or two. A pond holds standing water year-round and supports fish and aquatic life. If you want permanent water, build a backyard pond or wildlife pond instead.
Featured project by Gensou Aquascaping
Want a pro to fix drainage or build a rain garden?
Compare free, no-obligation quotes from vetted local drainage & landscaping pros near you.