

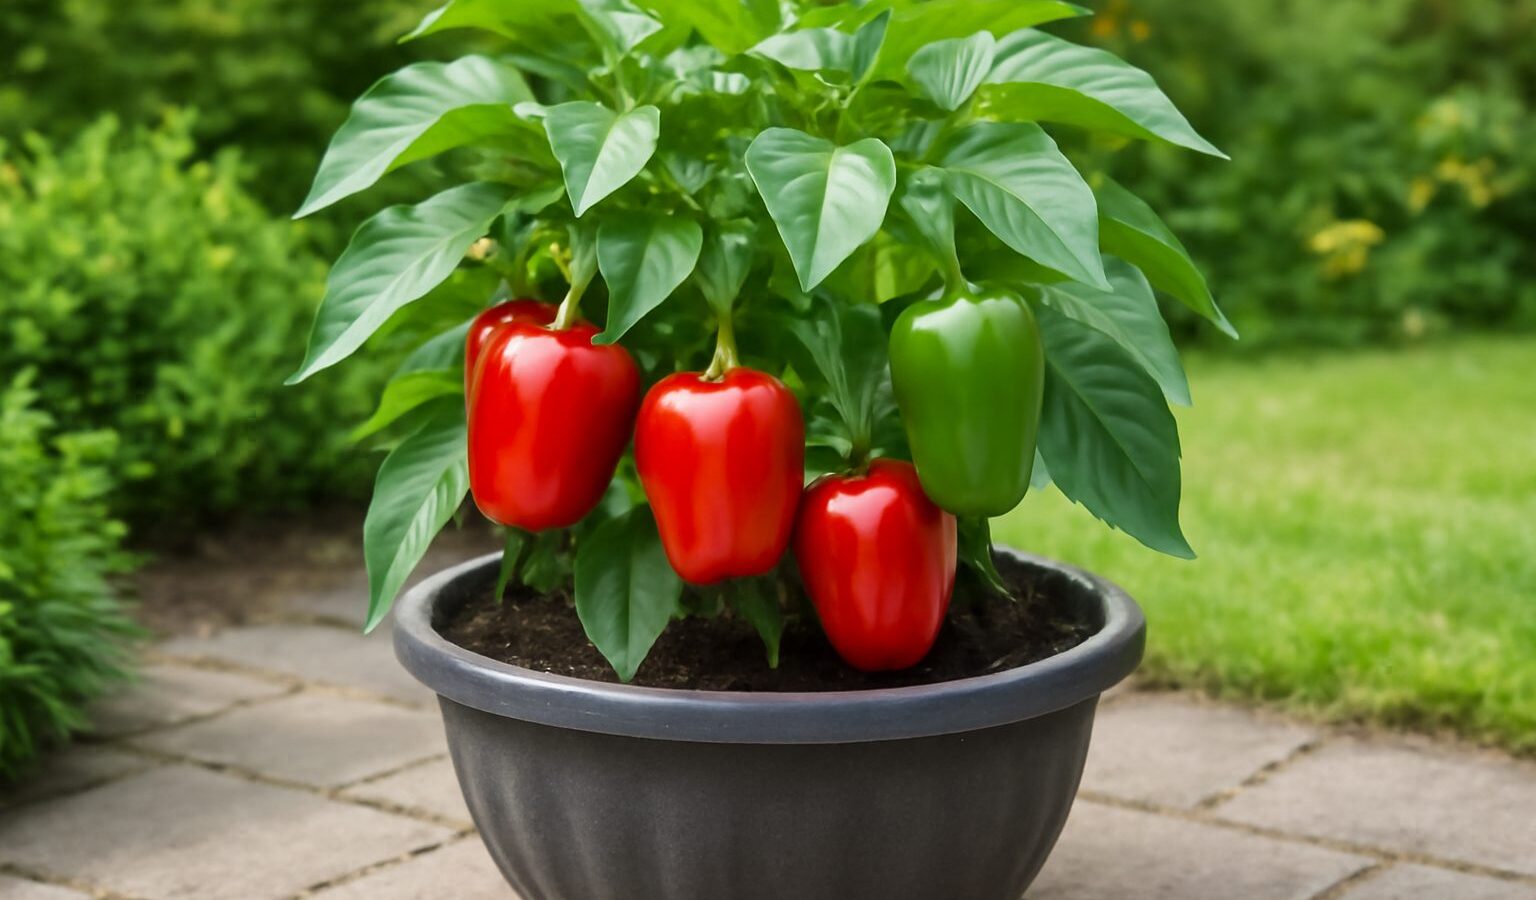
Peppers are one of the best vegetables for containers because they have a compact root system, love the extra heat a pot collects, and crop heavily in a small footprint. Give one plant a 5-gallon pot, a fast-draining soil mix, full sun, and steady water, and a single bell or chili plant will hand you 20 to 40 fruits over a season. Here is the exact setup and care routine that produces well-filled pots instead of leggy, fruitless plants.
Key Takeaways
- One pepper plant per 5-gallon (12-inch) pot; large bells prefer 7 gallons.
- Use a peat- or coir-based potting mix cut with compost and perlite, never garden soil.
- Peppers need 6–8 hours of direct sun and soil that stays consistently 65–85°F.
- Water when the top inch is dry, usually daily in midsummer heat.
- Feed every 10–14 days with a balanced or slightly low-nitrogen fertilizer once flowers appear.
- Transplant only after nights stay above 55°F; cold soil stalls peppers for weeks.
Choosing the Right Container
Pot size drives yield more than almost anything else. Compact and ornamental hot peppers (jalapeño, Thai, habanero, cayenne) thrive in a 3- to 5-gallon pot roughly 10–12 inches across and deep. Full-size sweet bells and large chilis like poblano want 7 gallons, around 14 inches across, so the roots never dry out mid-afternoon. Going smaller than 3 gallons means daily wilting and stunted fruit. As a rule of thumb, every gallon of soil buffers the plant against about half a day of summer heat, so the larger the pot, the more forgiving it is of a missed watering.
Material matters in the heat. Fabric grow bags and unglazed terracotta breathe and keep roots cooler but dry out fastest. Glazed ceramic and plastic hold moisture longer, a real advantage on a hot south-facing balcony. Dark plastic, however, can overheat roots in intense sun; if that is your only option, slip the dark pot inside a lighter outer cachepot or wrap it loosely to shade the sidewalls. Whatever you choose, it must have drainage holes; standing water rots pepper roots within days. Skip the gravel “drainage layer” myth and instead set pots on feet or a couple of bricks so water escapes freely.
Depth matters as much as width. Pepper roots run 10–12 inches down in good conditions, so a pot that is shallow and wide will limit a large plant even if the volume looks generous. If you are growing several plants, give each its own container rather than crowding two into one large pot; peppers compete hard for water and nutrients, and a shared pot almost always yields less than two separate ones. Group the individual pots together instead, which shades the soil and slows evaporation while keeping each root system independent.
The Right Soil Mix
Never use native garden soil in pots; it compacts, drains poorly, and brings in disease. Build a light, water-retentive mix instead. A reliable recipe is roughly 60% quality potting mix (peat or coconut coir based), 20% finished compost or worm castings for slow-release nutrition, and 20% perlite or coarse pumice for drainage and air. The compost gives peppers a gentle nutrient base; the perlite keeps the mix from going soggy after a heavy watering.
Peppers like slightly acidic to neutral soil, pH 6.0–6.8. Most bagged mixes land in that range already. Mix in a handful of slow-release granular fertilizer or a tablespoon of bone meal per pot at planting to support early root and flower development. Learn more in our guide to growing vegetables in containers, which covers mix ratios in detail.
Reuse old potting mix only if you refresh it. Last year’s spent mix is compacted, low on nutrients, and may harbor disease, so revive it by sieving out old roots, blending in a third of fresh compost, and stirring in a fresh dose of slow-release fertilizer. If a previous plant in that mix suffered from a fungal problem, discard it entirely rather than risk carrying the pathogen into a new crop. A light, living mix at the start of the season pays off all summer, because peppers in containers cannot send roots out to find what they lack the way a garden plant can.
Planting and Timing
Peppers are slow from seed, so start indoors 8–10 weeks before your last frost, or buy transplants. The single biggest container mistake is planting out too early. Peppers sulk and drop flowers in cold soil; wait until nighttime temperatures hold above 55°F (ideally daytime 70–85°F). In most of the US that means late May to mid-June.
How to transplant
Fill the pot to within 2 inches of the rim. Unlike tomatoes, peppers should be planted at the same depth they grew in their nursery cell; burying the stem does not help them and can invite rot. Firm the mix gently, water in well, and place the pot in its sunniest spot. Harden off indoor-grown plants over 7–10 days before they live outside full time, increasing sun exposure gradually to prevent leaf scorch.
If a late cold snap threatens after planting, do not gamble with it. Move the pot against a sun-warmed wall, cover it overnight with a cloth or cardboard box, or carry it indoors until the danger passes. A single chilly night below 50°F can set a pepper back two to three weeks, undoing all the head start you gained from early sowing. Containers make this protection easy, which is one of their genuine advantages over in-ground beds. To warm the root zone faster in spring, wrap the lower half of the pot in dark fabric for the first couple of weeks, then remove it once steady heat arrives.
Choosing varieties for pots
Some peppers are bred for small spaces and reward container growers with early, heavy crops. For sweet peppers, look for compact bells such as ‘Mohawk’, ‘Redskin’, and ‘Snackbite’, or productive non-bell types like ‘Carmen’ and ‘Lipstick’ that ripen reliably in a short season. Among hot peppers, jalapeño, serrano, cayenne, and Thai are naturally bushy and pot-friendly, while ornamental chilis like ‘NuMex Twilight’ double as patio decoration. Avoid the largest sprawling varieties unless you can provide a 10-gallon pot and a long, hot summer. Quick-maturing varieties (60–70 days) are the safest bet in cooler or short-season climates where a 90-day pepper may never fully ripen.
Sun, Water and Temperature
Give peppers 6–8 hours of direct sun. On a balcony, that usually means a south or west exposure. More sun equals more flowers and sweeter, thicker-walled fruit. In regions where afternoon temperatures push past 95°F, light afternoon shade actually helps; extreme heat causes blossom drop just as cold does.
Container peppers dry out fast. Check daily by pushing a finger an inch into the mix; water thoroughly when that top inch is dry, until water runs from the drainage holes. In peak summer a 5-gallon pot in full sun may need watering every single day, sometimes twice. Inconsistent watering is the top cause of blossom-end rot (sunken brown patches on the fruit bottom) and bitter, thin-walled peppers. A 2-inch mulch of straw or bark on the soil surface buffers moisture swings dramatically.
Feeding for Heavy Yields
Frequent watering flushes nutrients out of pots, so container peppers need regular feeding that ground plants do not. For the first few weeks after transplanting, a balanced feed (such as 10-10-10) supports leafy growth. Once the first flowers open, switch to a fertilizer lower in nitrogen and higher in phosphorus and potassium, like a 5-10-10 or a tomato-and-vegetable formula. Too much nitrogen gives you a lush green bush with few peppers.
Feed with a diluted liquid fertilizer every 10–14 days, or top-dress with a slow-release granular monthly. Adding a calcium source such as crushed eggshell or a calcium-magnesium supplement helps prevent blossom-end rot, especially in fast-draining bags.
Support, Pruning and Pollination
Bell peppers and tall chili plants get top-heavy with fruit and snap in wind, so push a 2- to 3-foot bamboo stake or small tomato cage into the pot at planting time. Some growers pinch off the very first flower bud (the “king flower”) to push energy into a stronger plant and a bigger overall harvest, though this is optional.
Peppers are self-pollinating, but on a still balcony pollination can lag. Give plants a gentle daily shake or tap the stems when flowers are open to release pollen, or run a small fan nearby. This single habit noticeably increases fruit set on enclosed patios. If you garden where bees are scarce, you can also dab the inside of each open flower with a small soft brush every morning, transferring pollen the way an insect would.
Light pruning helps in long, warm seasons. Once a plant is established and a foot tall, pinching the growing tips encourages it to branch into a bushier, more productive shape. Remove any leaves and small branches in the lowest few inches to improve airflow around the base and reduce the chance of soil-splash disease. In short-season climates, do the opposite late in summer: pinch off new flowers about six weeks before your first expected frost, so the plant pours its remaining energy into ripening the fruit already set rather than starting new pods that will never finish.
Common Problems
Aphids cluster on new growth and the undersides of leaves; blast them off with water or spray insecticidal soap every few days. Watch for spider mites in hot, dry conditions (fine webbing and stippled leaves) and raise humidity by misting. Flower drop almost always traces back to temperature extremes or erratic watering rather than disease, so correct those first. If leaves yellow from the bottom up, the plant is likely hungry and due for a feed. For more small-space troubleshooting, see our roundup of the best vegetables for container gardening and the Urban Gardening hub.
Harvesting
You can pick peppers at any color. Green bells are simply immature; left another two to three weeks they ripen to red, yellow, or orange, gaining sweetness and vitamin C. Hot peppers grow hotter as they fully color. Cut fruit with scissors or pruners rather than pulling, which can snap brittle branches. Frequent picking signals the plant to keep producing, so harvest regularly through late summer and into fall until the first frost ends the season.
Overwintering Container Peppers
One underrated advantage of growing peppers in pots is that the plants are perennials in the wild and can be kept alive over winter for a head start the following year. As nights drop toward 50°F in autumn, harvest the last fruit, prune the plant back to a few main branches about 6–10 inches tall, check carefully for aphids, and bring the pot indoors to a bright, cool spot (around 55–65°F). Water only sparingly through winter, just enough to keep the soil from going bone dry, and do not feed. The plant will look bare and dormant, which is normal. When days lengthen in late winter, new shoots emerge; resume light feeding and watering, harden the plant off again in spring, and you will have a mature, fast-fruiting pepper weeks ahead of any seedling. Hot peppers overwinter especially reliably this way.
Frequently Asked Questions
What size pot do peppers need?
One plant per 5-gallon (about 12-inch) pot is the standard; compact hot peppers manage in 3 gallons, while large bells do best in 7 gallons so the roots stay evenly moist.
How often should I water container peppers?
Water whenever the top inch of mix is dry. In midsummer that is often daily, occasionally twice a day for small pots in full sun. Consistent moisture prevents blossom-end rot.
Why are my pepper flowers falling off?
Blossom drop is almost always caused by temperature extremes (nights below 55°F or days above 95°F) or uneven watering, not disease. Stabilize conditions and fruit set resumes.
Can peppers grow on a shady balcony?
They need 6–8 hours of direct sun to fruit well. With only 4–5 hours you will get a leafy plant and few peppers, so pick the brightest south- or west-facing spot you have.
How long until container peppers are ready?
Most peppers take 60–90 days from transplant to first green harvest, plus another 2–3 weeks if you want them fully ripened to red, yellow, or orange.
Can I grow more than one pepper plant in a pot?
It is better not to. Peppers compete strongly for water and nutrients, so two plants sharing one pot usually yield less than two grown separately. Give each plant its own 5-gallon container and group the pots together for shade instead.
Why do my peppers have sunken brown spots on the bottom?
That is blossom-end rot, caused by calcium not reaching the fruit, almost always because of uneven watering rather than a true calcium shortage. Water consistently, mulch the surface, and the next round of fruit should come in clean.