

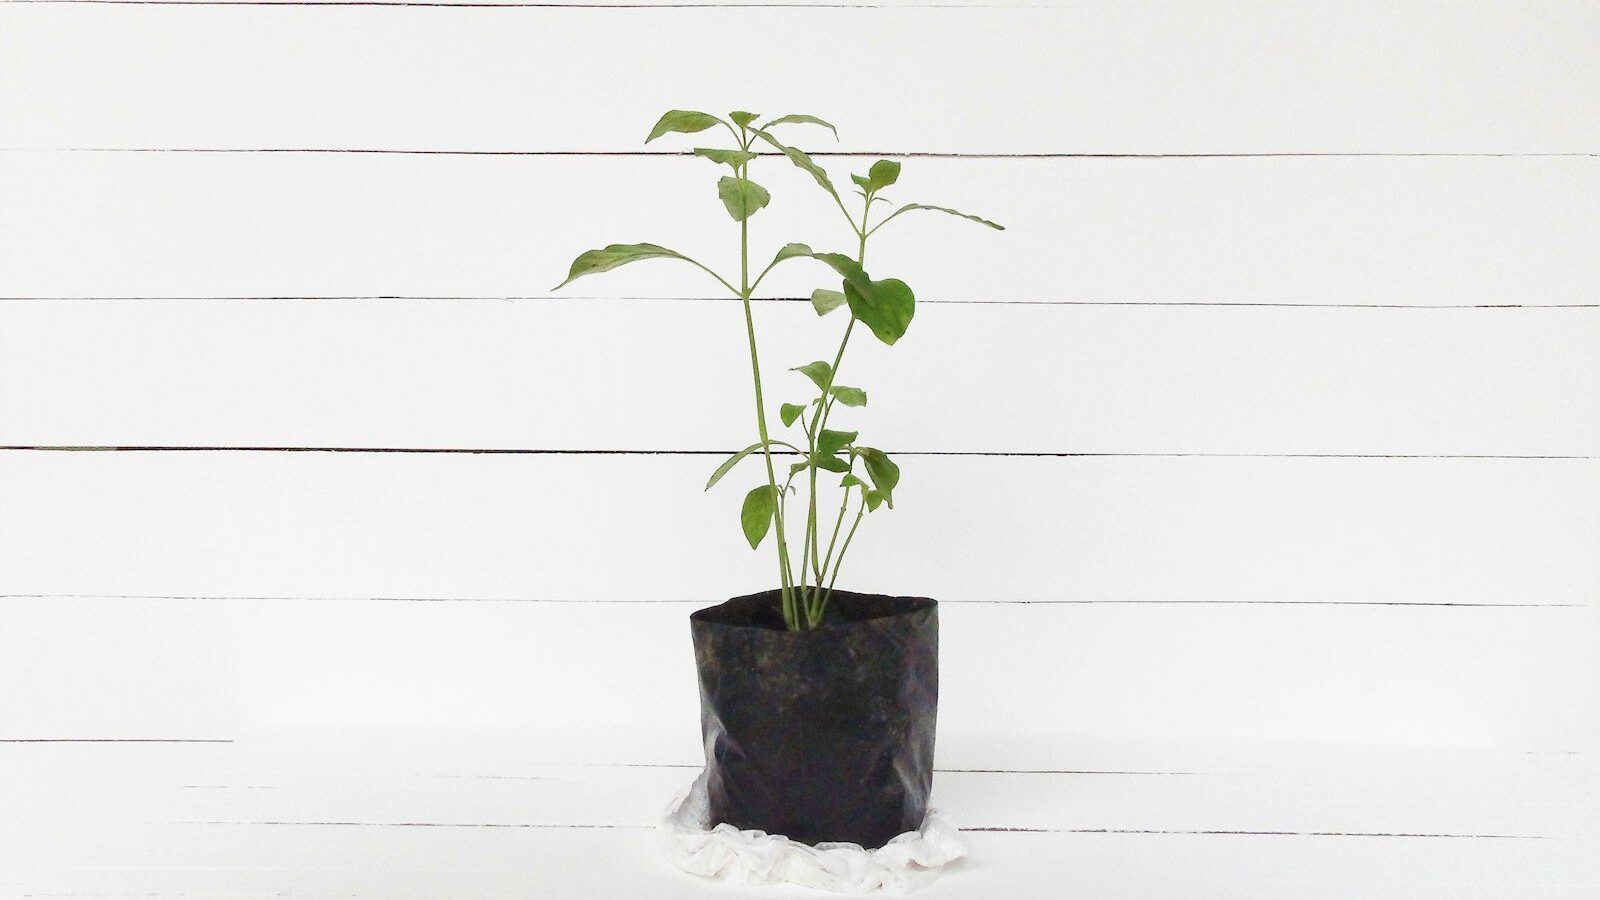
Potatoes are one of the most satisfying crops to grow in containers — a single 10-gallon grow bag or bin can yield several pounds of clean, easy-to-harvest tubers on a patio, balcony, or driveway, with no digging and far fewer pests than in-ground planting. The keys are a deep enough container, a light free-draining mix, the right seed potatoes, and “hilling” — burying the stems progressively as the plant grows so it sets more tubers along the buried stem. Done right, you plant in spring and tip the whole container out onto a tarp at harvest to find a hidden crop. This guide walks through container choice, soil, chitting, planting depth, hilling, watering, feeding, and exactly when and how to harvest.
Key Takeaways
- Use a container at least 10–15 gallons (about 14–16 inches deep) with excellent drainage; grow bags are ideal.
- Plant certified seed potatoes, not grocery-store potatoes, which are often sprout-inhibited and may carry disease.
- “Chit” (pre-sprout) seed potatoes for 2–4 weeks before planting for a faster, stronger start.
- Hill (add soil over the stems) as the plant grows to encourage more tubers along the buried stem.
- Keep the soil consistently moist but never waterlogged, and feed with a higher-potassium fertilizer once plants are established.
Choosing a Container
Potatoes need depth for the tubers to develop and room to be hilled. A container of 10–15 gallons — roughly 14–16 inches deep and the same across — is the sweet spot for two to three seed potatoes. Anything smaller crowds the crop and dries out too fast; larger bins of 20 gallons or more can hold four or five seed potatoes. Drainage is critical because potatoes rot in waterlogged soil, so whatever you use must drain freely.
- Fabric grow bags: The best all-round choice. They drain and air-prune roots, are cheap and foldable, and many have a roll-down flap so you can reach in and harvest “new” potatoes without disturbing the plant.
- Plastic bins or buckets: Work well if you drill plenty of ½-inch drainage holes in the bottom and lower sides.
- Purpose-built potato planters and barrels: Convenient but no better than a good grow bag.
- Trash cans, laundry baskets: Fine as long as they’re food-safe-ish and well-drained; baskets lined with landscape fabric also work.
Soil Mix
Potatoes want a light, fluffy, free-draining mix rich in organic matter — heavy garden soil compacts and produces small, misshapen tubers. A good blend is roughly equal parts quality potting mix and compost, with a couple of handfuls of perlite added if it feels dense. Aim for a slightly acidic pH of about 5.0–6.5; this range also suppresses scab, the cosmetic skin disease potatoes are prone to. Avoid adding lime, which raises pH and worsens scab. Mix in a balanced granular fertilizer at planting; potatoes are hungry feeders.
Seed Potatoes and Chitting
Start with certified disease-free seed potatoes from a garden center or seed supplier, not potatoes from the grocery store, which are frequently treated with sprout inhibitors and can introduce disease. Choose a variety to suit your goal: early or “first early” types (such as Yukon Gold, Red Norland, or ‘Charlotte’) mature in 70–90 days and are perfect for containers; maincrop types take longer but store better. Compact-habit varieties suit smaller containers best.
Chitting means pre-sprouting the seed potatoes before planting. Two to four weeks before your planting date, set the seed potatoes in an egg carton or tray, eyes facing up, in a cool (50°F), bright spot out of direct sun. Short, stubby green sprouts will form, giving the plants a head start. On planting day, cut larger seed potatoes (bigger than an egg) into pieces, each with at least two eyes, and let the cut faces dry and callus for a day or two to prevent rot. Small seed potatoes can be planted whole.
Planting and Hilling
Timing: plant outdoors two to four weeks before your last expected frost, once the soil has warmed to about 45–50°F. Potato foliage is frost-tender, so be ready to cover it or pull the bag under shelter if a late frost threatens.
- Add a starting layer. Put 4–6 inches of moist soil mix in the bottom of the container. With a grow bag, roll the sides down to this level so the seedlings get maximum light early on.
- Place the seed potatoes. Set two or three chitted pieces on the soil, sprouts pointing up, evenly spaced. Cover with 3–4 inches of mix and water lightly.
- Wait for shoots. Green shoots emerge in two to three weeks.
- Hill the first time. When the shoots are about 6–8 inches tall, add soil or compost around them, burying the lower half of the stems and leaving the top few inches of leaves exposed. Unroll the grow bag sides as you go.
- Keep hilling. Repeat every couple of weeks as the plant grows, until the container is filled to within an inch or two of the top. Each buried section of stem can set new tubers, which is how you multiply the yield.
Hilling does double duty: it boosts tuber production and it keeps developing tubers covered. Tubers exposed to light turn green and produce solanine, which is mildly toxic and bitter — so never let them poke above the soil.
Watering and Feeding
Consistent moisture is the biggest factor in container potato yield. The mix should stay evenly moist like a wrung-out sponge — never bone-dry and never waterlogged. Containers in full sun may need watering daily in summer; check by pushing a finger 2 inches into the soil. Erratic watering, with dry spells followed by heavy soaking, causes hollow centers, cracking, and “knobbly” misshapen tubers. Water becomes especially critical once the plants flower, which signals tubers are bulking up underground.
Feed every two to three weeks once the plants are established with a fertilizer higher in potassium and phosphorus than nitrogen — too much nitrogen drives leafy top growth at the expense of tubers. A tomato or “potato” fertilizer (lower first number, higher last two) works well, or a balanced organic feed plus extra potassium from kelp meal. Stop feeding once the foliage begins to yellow naturally near harvest. For more container-crop techniques, see our companion guide on growing tomatoes in pots and the wider urban gardening hub.
Common Problems
- Green tubers: Caused by light exposure; hill more and keep all tubers covered. Cut away and discard green portions before eating.
- Scab (rough, corky skin patches): Cosmetic, made worse by high pH; keep the mix slightly acidic and don’t add lime or fresh manure.
- Yellowing, wilting, or rot: Usually overwatering or poor drainage — ensure ample drainage holes and let the surface dry slightly between waterings.
- Colorado potato beetle and aphids: Less common in containers than in-ground; hand-pick beetles and their orange egg clusters, and rinse aphids off with water or treat with insecticidal soap.
- Leggy, pale plants: Not enough sun — potatoes need at least six hours of direct light for a good crop.
Harvesting and Storing
For tender “new” potatoes, you can begin harvesting a few small tubers about two to three weeks after the plants flower — reach in through a grow bag’s harvest flap or gently feel around the top of the soil. For full-size storage potatoes, wait until the foliage yellows, flops over, and dies back, then stop watering and leave the tubers in the dry container for 10–14 days so the skins toughen (“cure”) for storage. The simplest harvest is the most satisfying: tip the whole container out onto a tarp and sift the potatoes from the soil by hand.
Brush off soil but don’t wash potatoes you plan to store, since moisture promotes rot — wash only at cooking time. Cure freshly dug potatoes in a dark, airy spot at 45–60°F for a week or two, then store them somewhere cool (40–50°F), dark, and humid, such as a basement or root cellar. Properly cured maincrop potatoes keep for months; new potatoes are best eaten within a week or two. The spent soil can be refreshed with compost and reused for a non-related crop, but don’t replant potatoes in the same mix to avoid disease buildup. If you’re putting the patio garden to bed for winter, our overwintering guide covers protecting containers and stored crops.
Frequently Asked Questions
What size container do I need to grow potatoes?
At least 10–15 gallons, roughly 14–16 inches deep, for two or three seed potatoes. Fabric grow bags are ideal because they drain well, air-prune the roots, and often have a flap for harvesting. Whatever you use must have excellent drainage, since potatoes rot in waterlogged soil.
Can I grow potatoes from store-bought ones?
It’s not recommended. Grocery-store potatoes are often treated with sprout inhibitors and can carry disease. Use certified disease-free seed potatoes from a garden center or seed supplier for reliable sprouting and a healthy crop.
What does “hilling” potatoes mean and why do it?
Hilling is adding soil around the stems as the plant grows, burying the lower portion and leaving the top leaves exposed. Each buried section of stem can set new tubers, so hilling increases the yield. It also keeps developing tubers covered so they don’t turn green and toxic from light exposure.
How often should I water container potatoes?
Keep the soil evenly moist like a wrung-out sponge — in full summer sun that can mean watering daily. Consistent moisture is critical; erratic watering causes hollow, cracked, or knobbly tubers. Water becomes especially important once the plants flower and tubers begin bulking up.
When are container potatoes ready to harvest?
For small “new” potatoes, harvest a few about two to three weeks after the plants flower. For full-size storage potatoes, wait until the foliage yellows and dies back, stop watering, and leave the tubers in the dry container 10–14 days to toughen the skins. Then tip the container out and collect the crop.