

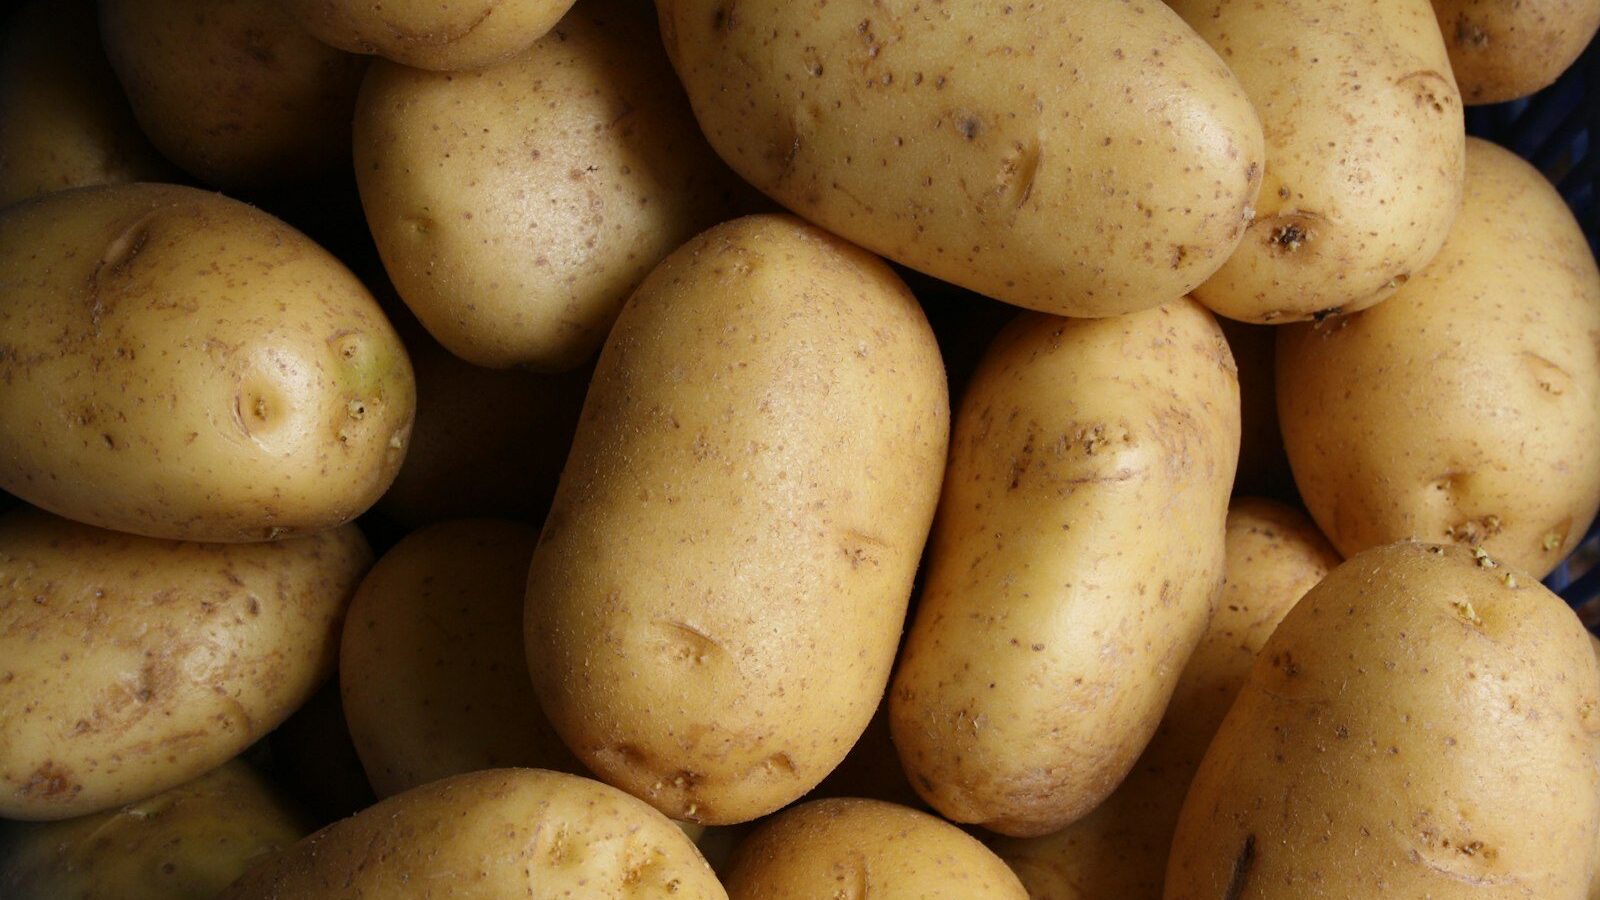
Chitting means setting seed potatoes in a cool, bright spot for four to six weeks before planting so they grow short, sturdy green sprouts. Those sprouts give the plant a head start: chitted potatoes emerge faster, form tubers sooner and can be harvested one to three weeks earlier than unsprouted seed, which matters most for early varieties and for gardeners with short seasons or late blight pressure. It costs nothing but an egg carton and a windowsill. The key is light. Potatoes sprouted in a dark cupboard grow long, pale, brittle shoots that snap off at planting; potatoes chitted in light grow stubby, dark green or purple sprouts about half an inch to an inch long that survive handling. Here is how to time it, set it up, decide how many sprouts to keep and plant chitted seed potatoes without damaging them.
Part of our Vegetable Gardening & Raised Beds guide →
In this guide
Key Takeaways
- Start chitting four to six weeks before your planting date, which is usually two to four weeks before the last spring frost.
- Keep seed potatoes at about 50 to 60°F in bright, indirect light, rose end up, in egg cartons or shallow trays.
- Aim for sprouts about 1/2 to 1 inch long, sturdy and green or purple. Long white shoots mean too dark or too warm.
- Leave three to four sprouts on early varieties for bigger tubers; leave more on maincrop types for more, smaller tubers.
- Plant carefully, sprouts up, 4 inches deep in soil that has reached at least 45°F.
Why Chit Potatoes?
A dormant seed potato planted in cold spring soil can sit for three or four weeks before it sprouts and pushes leaves above ground. During that time it is vulnerable to rot, especially in wet clay. A chitted potato has already broken dormancy and starts growing as soon as it is planted. Expect emergence in one to two weeks instead of three to four.
That head start translates into earlier harvests of new potatoes from first early varieties, a longer bulking period before summer heat or blight arrives, and in some trials a modestly higher yield, especially for early types harvested young. For maincrop varieties that grow all season, the yield gain is smaller, but chitting still helps in short-season northern gardens where every week counts. If you are not sure which group your variety belongs to, our explainer on first early vs maincrop potatoes lays out the categories and days to maturity.
Chitting is optional. Potatoes grow perfectly well without it, and many commercial farms skip it. But for home gardeners it is an easy, low-risk way to gain a few weeks.
When to Start Chitting
Work backward from your planting date. Potatoes go in when the soil is workable and about 45°F at 4 inches deep, typically two to four weeks before the last frost. Count back four to six weeks from that date to start chitting.
| USDA zone (approx.) | Typical planting window | Start chitting |
|---|---|---|
| Zones 3 to 4 | Early to mid May | Late March to early April |
| Zone 5 | Mid to late April | Early to mid March |
| Zone 6 | Early to mid April | Late February to early March |
| Zone 7 | Mid to late March | Early to mid February |
| Zone 8 | February to early March | January |
| Zones 9 to 10 | January to February, or fall crop | December, or August for fall |
These dates shift with local conditions, so check your average last frost date and watch the soil. Order seed potatoes early; most suppliers ship in late winter to arrive in time for chitting.
Choosing Seed Potatoes
Use certified seed potatoes from a garden center or seed company. They are inspected for viruses and diseases and have not been treated with sprout inhibitors, which grocery-store potatoes often are. Supermarket potatoes may sprout eventually, but they can carry disease into your soil and produce poorly.
The ideal seed potato is about the size of a hen’s egg, 1.5 to 2.5 ounces. These can be planted whole. Larger tubers can be cut into pieces later, each with at least two eyes. Look for firm tubers without soft spots, green patches or shriveling.
Step-by-Step: How to Chit Potatoes
1. Find the rose end
Every potato has two ends. The rose end has the most eyes clustered together; the opposite end has a small scar where it was attached to the parent plant, called the stolon or heel end. Sprouts from the rose end are strongest, so that end should face up.
2. Set them upright in a tray
Stand each potato rose end up in an egg carton, a seed tray or a shallow box so it does not roll. Cardboard egg cartons are the classic choice and hold standard-size seed potatoes perfectly. Label each tray with the variety, because chitted potatoes all look alike.
3. Choose a cool, bright spot
The ideal environment is about 50 to 60°F with bright, indirect light: an unheated spare room, a cool windowsill, an enclosed porch, a garage with a window, or a greenhouse that stays above freezing. Avoid direct hot sun through glass, which can scorch and dry tubers, and avoid warm rooms above 70°F, which push fast, weak growth. Never let them freeze.
4. Wait and watch
Small bumps appear within one to two weeks, and sturdy sprouts develop over four to six weeks. The target is stubby sprouts 1/2 to 1 inch long, colored green, purple or pink depending on variety. Turn trays every few days if light comes from one side. Check for soft or rotting tubers and remove them.
5. Rub off extra sprouts (optional)
The number of sprouts you leave affects tuber size. Each sprout becomes a stem, and more stems produce more but smaller potatoes. For early varieties grown for big new potatoes, rub off all but the three or four strongest sprouts at the rose end. For maincrop varieties, where you want a larger total harvest of medium tubers, leave them all or remove only the weak ones. For salad and fingerling types, leaving extra sprouts gives more uniform small tubers.
Troubleshooting Sprouts
- Long, white, spindly sprouts: too dark or too warm. Move to brighter, cooler conditions. Long sprouts can be gently snapped off and the potato re-chitted, though this delays things a little.
- No sprouts after two to three weeks: too cold or the tubers are still dormant. Move them somewhere a few degrees warmer.
- Shriveled tubers: too dry or too warm. Some wrinkling is normal by planting time, but heavy shriveling means move them somewhere cooler and slightly more humid.
- Green skin: harmless on seed potatoes. Greening from light exposure actually helps deter rodents and is not a concern since you will not eat these tubers.
- Mold or rot: discard affected tubers and improve airflow. Do not stack potatoes on top of each other.
Should You Cut Seed Potatoes?
Egg-sized seed potatoes go in whole. Larger tubers can be cut to stretch your supply, each piece about the size of an egg with at least two good sprouts or eyes. Cut a few days before planting and let the cut surfaces dry and callus for two to three days in a cool, airy place. This reduces rot in cool, damp soil. In very wet or cold soils, whole seed is safer.
How to Plant Chitted Seed Potatoes
Handle chitted potatoes gently. Sprouts snap easily, and every broken sprout is a lost stem. Carry them to the garden in the egg cartons or trays you chitted them in.
- Prepare the bed with loose, well-drained soil and a few inches of compost. Potatoes prefer slightly acidic soil, around pH 5.5 to 6.5, which also reduces scab.
- Dig trenches 6 to 8 inches deep, or individual holes, spacing rows 30 to 36 inches apart.
- Set seed potatoes sprouts up, 12 inches apart for maincrop and 10 to 12 inches for earlies.
- Cover with 3 to 4 inches of soil, being careful not to knock off sprouts.
- As shoots grow to 6 to 8 inches, hill soil around stems, leaving the top few inches of leaves exposed. Repeat two or three times to keep developing tubers covered and prevent greening.
- If frost threatens after shoots emerge, cover them with soil, straw or frost cloth.
Water consistently once plants are up, about 1 to 2 inches per week, especially when flowering starts and tubers bulk. Irregular watering causes knobby, cracked or hollow tubers. Our full guide on how to grow potatoes covers hilling, feeding and pest control through to harvest, and the vegetable gardening hub has crop rotation and bed planning.
Chitting for Containers and Grow Bags
Chitting is especially useful for potatoes in containers, where you are usually growing fast early varieties on a patio or balcony. Plant three to four chitted seed potatoes in a 15-gallon grow bag on 4 inches of mix, cover with 4 inches more, and top up with mix as stems grow until the bag is nearly full. Containers warm faster than the ground, so you can often plant chitted seed a week or two earlier than in-ground beds. See our guide to growing potatoes in containers for mix and watering details.
When to Expect a Harvest
First early varieties like ‘Irish Cobbler’, ‘Yukon Gold’ (early to mid), ‘Red Norland’ and ‘Caribe’ are ready for new potatoes about 60 to 80 days after planting, often when flowers open. Chitted earlies commonly reach that stage a week or two ahead of unchitted ones. Maincrop varieties like ‘Kennebec’, ‘Russet Burbank’ and ‘Katahdin’ need 90 to 120 days. For storage, wait until foliage dies back, then leave tubers in the ground another two weeks to toughen skins before digging.
Frequently Asked Questions
Do I have to chit potatoes?
No. Unchitted seed potatoes grow fine; they just emerge later. Chitting is most useful for early varieties, short-season climates and gardens with late blight pressure.
How long should potato sprouts be before planting?
About 1/2 to 1 inch long, sturdy and colored. Longer sprouts break easily during planting.
Can I chit potatoes in the dark?
Potatoes will sprout in the dark, but the shoots will be long, pale and weak. Light is what keeps sprouts short and strong, so use a bright spot out of direct hot sun.
Can I chit grocery-store potatoes?
Some will sprout, but many are treated with sprout inhibitors and they are not certified disease-free. Certified seed potatoes give better, safer results.
What if my potatoes are sprouted but it is too cold to plant?
Move them somewhere cooler, around 45 to 50°F, with good light to slow growth. They can hold for a couple of extra weeks without harm.