

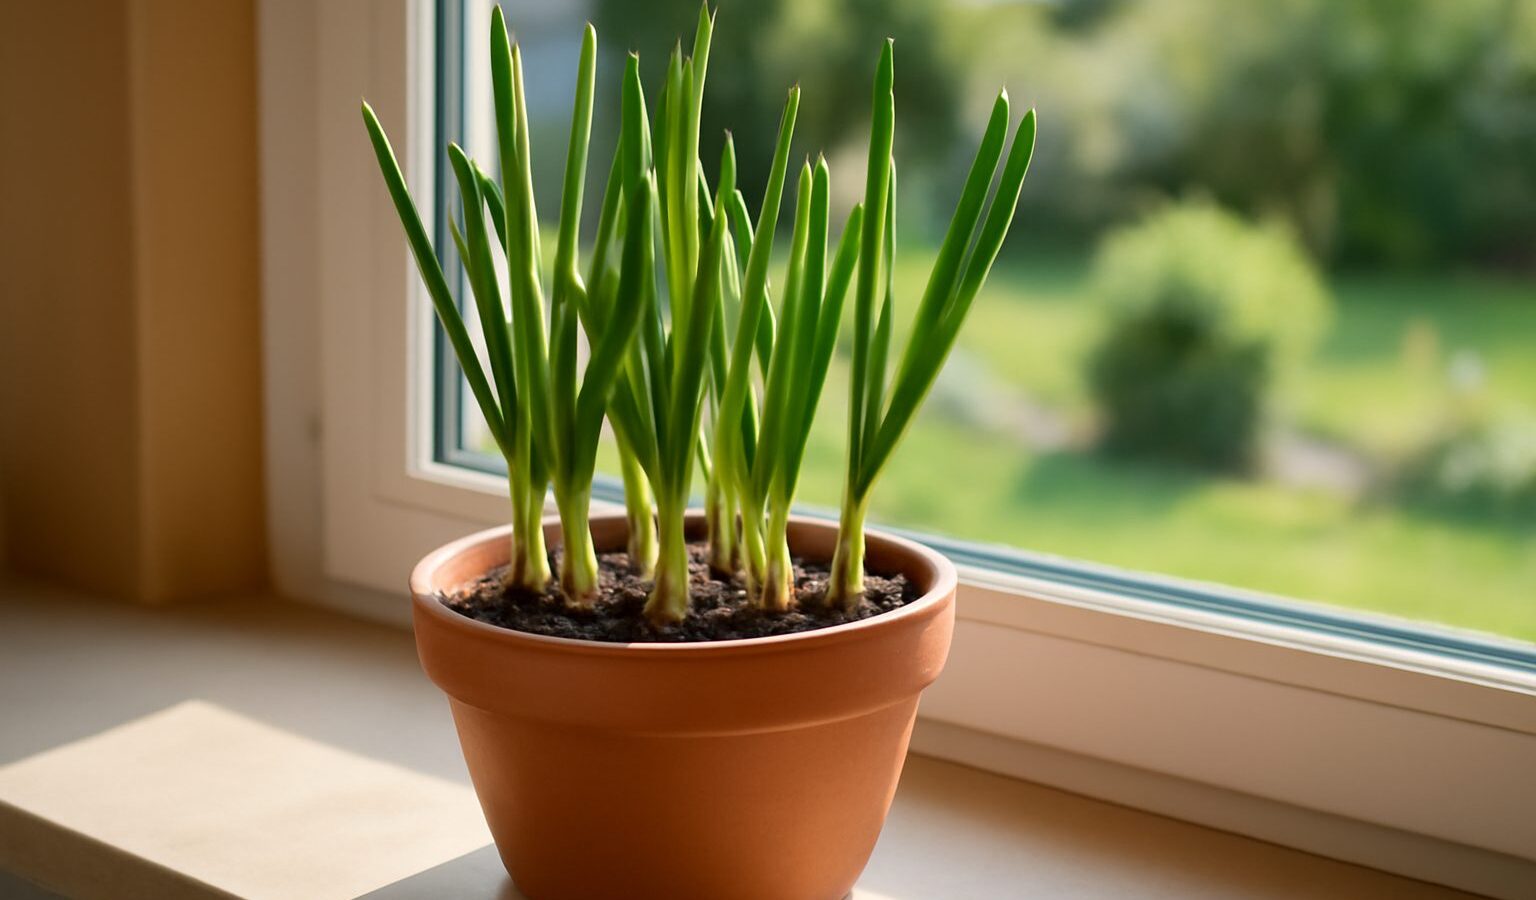
Growing garlic indoors is one of those small kitchen-garden wins that pays off almost immediately. You won’t necessarily harvest fat grocery-store bulbs from a windowsill pot — that takes a long cold season most homes can’t provide — but you will get an endless supply of garlic greens, those tender, mild, scallion-like shoots that are wonderful snipped over eggs, soups, and stir-fries. And with a little patience and the right conditions, you can coax small bulbs too. The whole project starts with cloves you might already have in the kitchen, costs almost nothing, and works year-round on a sunny sill or under a grow light. This guide covers choosing the right cloves, the container and soil, exactly how to plant, the light and water a garlic pot wants, how and when to snip the greens, and the realistic story on getting actual bulbs indoors.
Key Takeaways
- Easiest goal: Garlic greens — tender shoots ready to snip in 1–2 weeks, regrowing several times.
- Cloves: Plant the largest, firmest cloves, pointed end up, from organic or seed garlic.
- Container: Any pot 6+ inches deep with drainage holes; space cloves about 3–4 inches apart for bulbs, tighter for greens.
- Light: 6+ hours of direct sun or 12–14 hours under a grow light keeps shoots upright and green.
- Water: Keep soil lightly moist but never soggy — garlic rots in waterlogged pots.
- Bulbs indoors: Possible but slow and small; without a cold period, expect modest bulbs over several months.
Greens or bulbs? Set your expectations first
Before you plant, decide what you’re after, because the two goals are quite different. Garlic greens — sometimes called garlic shoots or indoor garlic scallions — are the easy, fast, reliable indoor crop. You plant cloves close together, let the green shoots grow several inches, and snip them like chives. They have a gentle garlic flavor, regrow after cutting, and you can harvest within a week or two. This is the project that works on any windowsill, in any season, with almost no fuss.
Growing full bulbs indoors is the harder ambition. Outdoors, garlic forms bulbs after going through a stretch of cold (a process called vernalization) and a long growing season of four to eight months. Indoors, without that reliable cold period and with limited light, bulbing is slow and the bulbs end up small. It’s doable as a fun experiment, especially with softneck varieties that are less cold-dependent, but don’t expect supermarket-sized heads. For most indoor growers, greens are the satisfying everyday harvest and bulbs are a bonus. This guide gets you growing greens reliably and gives bulbs an honest shot.
Choosing your cloves
Start with a healthy bulb and break it into individual cloves, keeping the papery skin on each one. Pick the largest, fattest, firmest cloves — clove size directly drives how vigorous the shoot or bulb will be, so set aside the small inner cloves for cooking and plant the big outer ones. Avoid anything soft, shriveled, moldy, or already heavily sprouted unless you’re only after greens, in which case a sprouting clove is fine and gives you a head start.
Where you source the cloves matters a little. Much supermarket garlic is treated with a sprout inhibitor to extend shelf life, which can slow it down. Organic garlic is usually untreated and sprouts more willingly, and dedicated seed garlic from a garden supplier gives you named varieties and the best vigor. For greens, honestly, any clove that will sprout works, including ones already pushing a green tip in your kitchen drawer. For bulbs, choose a softneck variety if you can, as softnecks handle warmer conditions and store better.
Container and soil
Garlic isn’t picky about its pot, but two things matter: depth and drainage. Use a container at least 6 inches deep so roots have room — 8 inches or more is better if you’re aiming for bulbs. It must have drainage holes, because the one sure way to fail with indoor garlic is waterlogged soil that rots the cloves. A wide, shallow planter works well for a dense crop of greens; a deeper pot suits bulb attempts.
Fill it with a quality, well-draining potting mix. Garlic likes loose, fertile, slightly fluffy soil that holds some moisture but drains freely — a standard potting mix lightened with a little perlite is ideal. Avoid dense garden soil, which compacts and stays soggy in a container. Mixing in a bit of compost gives the gentle fertility garlic enjoys over its long growing period. If you’re going for bulbs, the richer and deeper the mix, the better your odds.
How to plant garlic indoors, step by step
- Fill the pot. Add moistened potting mix to within an inch of the rim and level it gently.
- Separate the cloves. Break the bulb apart into individual cloves, leaving the skins on, and pick the biggest ones.
- Plant pointed end up. This is critical — the pointed tip is where the shoot emerges and the flat basal end is where roots form. Push each clove in so the tip points skyward.
- Set the depth. Plant cloves about 1–2 inches deep, with the tip just below the surface for greens or a bit deeper for bulbs.
- Space them. For greens, crowd them about an inch apart for a dense harvest. For bulbs, give each clove 3–4 inches so a head has room to form.
- Cover and water. Cover with soil, firm gently, and water lightly to settle the mix.
- Place in light. Set the pot in your sunniest window or under a grow light and keep the soil lightly moist.
Planting pointed-end-up is the detail beginners most often get wrong, and an upside-down clove either fails or wastes energy correcting itself. Green shoots typically emerge within a week or two. For more clever small-space growing projects to pair with your garlic pot, browse our urban gardening hub.
Light, water, and care
Light is what separates lush, upright green shoots from pale, floppy ones. Garlic wants as much light as you can give it — a minimum of six hours of direct sun on a south- or west-facing sill, and more is better. If your windows are dim or it’s the dark half of the year, a basic LED grow light run 12 to 14 hours a day produces sturdy, deep-green growth. Insufficient light is the most common reason indoor garlic looks weak and leggy, so when in doubt, add more light.
Watering is a balance. Keep the soil lightly and consistently moist, but never let it stay soggy — garlic cloves and developing bulbs rot quickly in waterlogged soil. Water when the top half-inch feels dry, then let any excess drain fully and empty the saucer. Garlic appreciates cooler conditions than most houseplants; ordinary room temperatures are fine for greens, while bulb formation prefers things on the cooler side. If you’re growing for bulbs over the long haul, feed every few weeks with a diluted balanced fertilizer to fuel the months-long process, and stop feeding once bulbs are sizing up.
Harvesting garlic greens
This is the rewarding part, and it comes fast. Once the green shoots are 4 to 6 inches tall — usually within one to two weeks of planting for sprouted cloves — you can begin harvesting. Snip the greens with scissors, leaving about an inch of growth so the clove can push new shoots. Treat them like chives or scallions: use the tender tops fresh, snipped over almost any savory dish, where they add a mild, sweet garlic note without the punch of a raw clove.
The cloves will regrow after cutting, often giving you two or three rounds of greens before the clove exhausts its stored energy and the shoots thin out. When a clove stops producing vigorous greens, pull it and plant a fresh one. By staggering plantings — adding a few new cloves every couple of weeks — you can keep a continuous indoor supply going all year. It’s one of the lowest-effort fresh harvests you can grow indoors, and it pairs nicely with other windowsill edibles like the leafy crops in our NFT hydroponics guide.
Can you really get bulbs indoors?
Short answer: yes, but manage your expectations. Garlic forms bulbs best after a cold period and a long season with abundant light, conditions a typical heated home doesn’t provide. Indoors, you can still get small bulbs over four to eight months if you give cloves space (3–4 inches apart), the deepest, richest pot you can manage, the most light possible, and a cool spot. Softneck varieties are your best bet because they’re less dependent on cold than hardnecks.
You’ll know bulbs are maturing when the lower leaves begin to yellow and dry — that’s the signal to ease off watering and let the bulbs cure. Harvest by gently lifting the whole plant. The bulbs will likely be smaller than store-bought, but they’re real garlic you grew on a windowsill. If you want full-size heads reliably, the honest answer is that an outdoor fall planting beats indoor growing every time. Indoors, lean into greens as the main event and treat any bulbs as a happy experiment.
Frequently Asked Questions
Which way up do I plant a garlic clove?
Pointed end up, flat (basal) end down. The shoot grows from the tip and roots form at the flat base. Planting a clove upside down wastes energy or causes it to fail, so always orient the point toward the surface.
How long until I can harvest garlic greens?
Shoots usually emerge within 1–2 weeks, and once they reach 4–6 inches tall you can start snipping. Leave about an inch behind and the clove will regrow two or three more rounds before it’s spent.
Can I use grocery-store garlic?
Yes, especially for greens. Some supermarket garlic is treated with a sprout inhibitor and may be slow, so organic or dedicated seed garlic sprouts more reliably. Any clove already showing a green tip will grow greens readily.
Will I get full-size bulbs indoors?
Usually not. Garlic bulbs best after a cold period and a long, bright season that homes rarely provide, so indoor bulbs tend to be small and take four to eight months. Softneck varieties do best; for full heads, plant outdoors in fall.
How much light does indoor garlic need?
At least six hours of direct sun daily, or 12–14 hours under a grow light. Too little light produces pale, floppy, leggy shoots, so a bright south or west window — or supplemental lighting in winter — is essential for sturdy growth.
Indoor garlic is a forgiving, frugal little crop: a handful of fat cloves, a deep pot with drainage, plenty of light, and careful watering give you fresh greens within a couple of weeks and keep them coming if you stagger your plantings. Chase bulbs if you’re curious, but let the steady supply of tender shoots be the real reward. It’s about the simplest edible you can keep going on a windowsill year-round.