

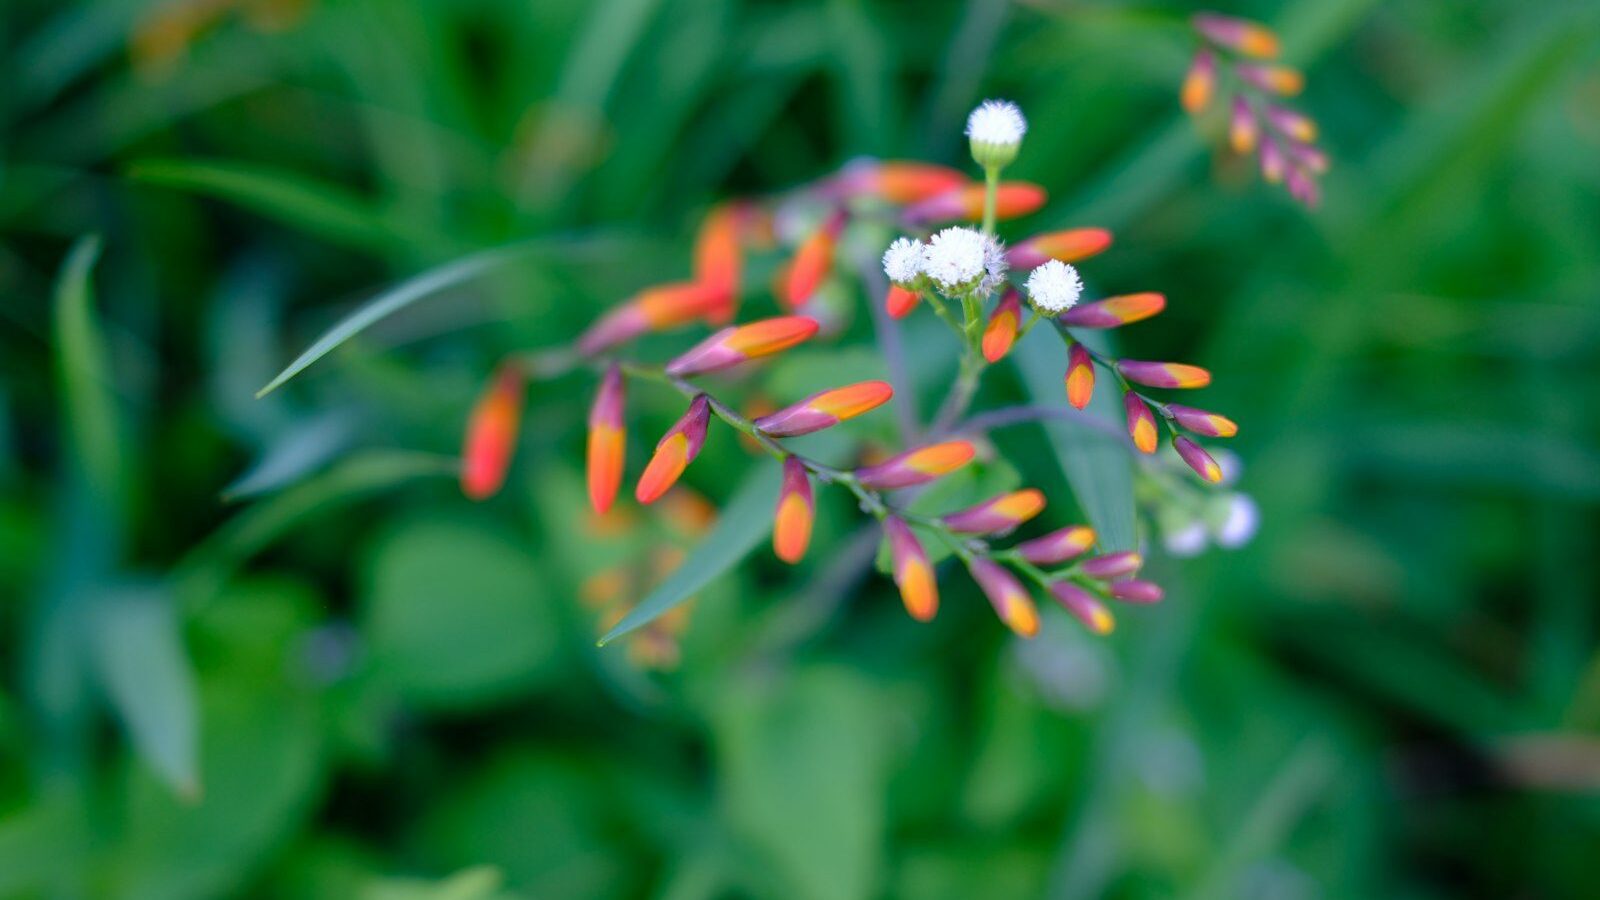
To grow crocosmia, plant the corms in spring after your last frost, 3 to 5 inches deep and 6 to 8 inches apart, in full sun and well-drained soil, then water through the first season while they establish. Once settled, these iris-family perennials are nearly maintenance-free and reward you with arching sprays of fiery red, orange, and yellow tubular flowers from July into September. Crocosmia (still widely sold under its old name montbretia) throws sword-shaped foliage 2 to 4 feet tall and acts as a magnet for hummingbirds and pollinators. The classic ‘Lucifer’ is the hardiest and most dramatic, but there is a whole spectrum of cultivars worth knowing. This guide walks through zones, siting, planting, feeding, bloom care, division, overwintering, and the pests and problems you are most likely to meet.
Key Takeaways
- Plant corms in spring, 3 to 5 inches deep, 6 to 8 inches apart, pointed end up, in full sun.
- Crocosmia is hardy roughly in USDA zones 5 or 6 through 9 depending on cultivar; mulch in cold zones and lift corms in zone 5 and below.
- Expect blooms July through September on plants 2 to 4 feet tall; deadhead spent stems and stake the tallest types if needed.
- Divide congested clumps every 3 to 4 years in spring to keep flowering strong.
- ‘Lucifer’ is the toughest red; some species can naturalize aggressively, so site them where spread is welcome.
USDA Hardiness Zones for Crocosmia
Crocosmia is generally hardy in USDA zones 5 or 6 through 9, but the exact range depends heavily on the cultivar. The tough hybrid ‘Lucifer’ reliably overwinters in the ground down to zone 5 with protection, while many of the showier named selections such as ‘Emily McKenzie’ and ‘Solfatare’ are happier from zone 6 or 7 upward. If you garden in zone 5 or colder, treat the corms much like you would dahlias: either grow them as a lifted, stored crop or commit to heavy winter protection.
In zones 6 through 9, crocosmia is essentially a plant-and-forget perennial. A 3 to 4 inch layer of mulch applied after the ground starts to cool in late fall buffers the corms against hard freezes and frost heave. In zone 5 and below, the safest approach is to lift the corms after the first frost blackens the foliage, dry them off, and store them somewhere cool and frost-free until spring. Marginal-zone gardeners often hedge their bets by leaving some clumps in the ground under deep mulch and lifting a backup stash, then comparing survival the following season. Cold-hardiness also improves once a clump is well established and the corms have multiplied into a dense, self-insulating mass.
Where to Plant Crocosmia
Give crocosmia full sun, which means at least 6 hours of direct light per day and ideally more. Plants grown in shade stretch, flop, and flower poorly or not at all, so resist the temptation to tuck them into a dim corner. In the hottest parts of zone 8 and 9, a little light afternoon shade is tolerated and can keep the flower color from bleaching, but morning sun and bright exposure are non-negotiable for good bloom.
Soil drainage matters more than soil richness. Crocosmia corms rot in cold, waterlogged ground, so avoid low spots where winter water collects. Aim for moist but free-draining soil with plenty of organic matter; if your beds are heavy clay, work in compost and coarse grit before planting, or build a raised bed. A neutral to slightly acidic pH suits them fine. Because the foliage is upright and fan-like, crocosmia reads beautifully in the middle of a border, threaded among ornamental grasses, late perennials, and other sun-lovers. They make superb companions for red hot poker (Kniphofia) and daylilies, all of which share the same love of sun and good drainage and bloom in overlapping warm tones.
How to Plant Crocosmia Corms
Plant crocosmia corms in spring, once the soil has warmed and the danger of hard frost has passed. The corms are small, flattened, and have a pointed growing tip on top and a flatter, sometimes fibrous base. Getting the orientation and depth right at planting saves you a season of weak growth.
- Loosen the planting area to a depth of about 8 to 10 inches and work in a couple of inches of compost, breaking up any compaction so water drains freely.
- Dig holes or a trench 3 to 5 inches deep. Use the shallower end of that range in heavy soil and the deeper end in light, sandy soil.
- Set each corm with the pointed end facing up and the flatter, rooty base down. If you genuinely cannot tell which way is up, plant the corm on its side and it will sort itself out.
- Space corms 6 to 8 inches apart. Planting in clusters or drifts of 10 or more gives a far better display than dotting them singly through a bed.
- Backfill, firm the soil gently, and water in well to settle the corms and remove air pockets.
- Mark the spot. Crocosmia is slow to emerge in spring, and it is easy to dig into a dormant clump or assume it failed when it is simply taking its time.
Expect foliage to push up within a few weeks of warm weather. First-year clumps often produce leaves and only a few flower spikes; the show ramps up dramatically in the second and third years as the corms multiply.
Watering and Feeding
During the first growing season, keep newly planted crocosmia consistently moist while the roots establish, watering deeply about once a week in the absence of rain. After establishment, crocosmia is moderately drought-tolerant but performs best with regular moisture through the active growing and flowering period; a clump that dries out badly in midsummer will cut its bloom short and may go dormant early. Mulch helps conserve soil moisture and keeps roots cool.
Crocosmia is not a heavy feeder. A single application of balanced granular fertilizer in early spring as growth resumes is usually all it needs, optionally followed by a light feed as flower buds form. Avoid high-nitrogen feeds, which push lush leaf growth at the expense of flowers and can leave stems floppy. If your soil is reasonably fertile and you topdress with compost each spring, you may not need to fertilize at all. Overfeeding is a more common cause of poor flowering than underfeeding.
Bloom Time, Deadheading, and Staking
Crocosmia blooms from July through September, with peak display in mid to late summer. The flowers open in sequence along wiry, arching stems, each spray carrying a procession of tubular blooms that pop open from the base toward the tip over a couple of weeks. The nectar-rich tubular shape is exactly what hummingbirds are built for, so a stand of crocosmia in bloom is one of the most reliable hummingbird attractions you can plant.
Deadheading spent flower stems keeps the planting tidy and prevents the more vigorous species from setting and scattering seed. Snip the whole stem back to the base of the foliage once its flowers have finished. The seed pods that follow are not unattractive, so some gardeners leave a few for winter interest and to feed birds, but if you are worried about aggressive spread, remove them. Most crocosmia stand up on their own, but the tallest ‘Lucifer’ stems, which can reach 3 to 4 feet, occasionally need a discreet stake or the support of neighboring plants in windy or rich sites. Leave the foliage in place after flowering; the leaves continue to feed the corms for next year, and you can cut the spent leaves back in late fall or early spring.
Dividing Crocosmia
Crocosmia corms multiply quickly, stacking up in chains as new corms form on top of old ones. Over a few years the clump becomes congested, and flowering thins out as the corms compete. Dividing every 3 to 4 years in spring rejuvenates the planting and gives you free plants to spread around or share.
- In early spring, just as new growth begins to show, lift the whole clump with a garden fork, digging wide to avoid slicing through the corms.
- Shake or wash off the soil so you can see the structure. You will find vertical chains of corms with the newest, plumpest ones near the top.
- Tease the chains apart by hand into smaller sections, each with several healthy corms. Discard any soft, shriveled, or diseased corms.
- Replant the divisions immediately at the same 3 to 5 inch depth and 6 to 8 inch spacing in refreshed, compost-enriched soil.
- Water the replanted divisions in well and keep them moist as they re-establish through spring.
If a clump is flowering poorly and feels rock-hard when you try to dig it, congestion is almost always the cause, and division is the cure. For more on dividing summer perennials and other sun-loving bloomers, browse our plants & flowers guides.
Overwintering Crocosmia
In zones 6 through 9, crocosmia overwinters in the ground with little fuss. After the first hard frost browns the foliage, cut the leaves back and apply a thick 3 to 4 inch mulch of straw, shredded leaves, or bark over the crowns to insulate the corms and prevent frost heave. Pull the mulch back in spring as new shoots appear.
In zone 5 and colder, lift and store the corms. Dig the clumps after the foliage dies back in fall, shake off loose soil, and cut the stems to an inch or two. Let the corms dry, or cure, for a week or two in a frost-free, airy spot, then pack them in dry peat, vermiculite, or sawdust in a paper bag or box. Store somewhere cool, dark, and frost-free, around 40 to 50 degrees Fahrenheit, and check periodically through winter, discarding any that turn mushy. Replant in spring after the last frost, following the same planting steps as for fresh corms. Container-grown crocosmia in cold regions can simply be moved, pot and all, into an unheated garage or shed for winter, kept barely moist.
Crocosmia Cultivars to Try
There is far more to crocosmia than generic orange montbretia. A few standout cultivars deserve a place in any sunny border:
- ‘Lucifer’ — the benchmark cultivar: intense scarlet-red flowers on 3 to 4 foot stems, the hardiest of the group (to zone 5 with protection), and the most vigorous. If you grow only one crocosmia, grow this.
- ‘Emily McKenzie’ — large, outward-facing burnt-orange flowers with a deep mahogany throat, on shorter 2 to 2.5 foot plants. A later bloomer that extends the season; happiest from about zone 6.
- ‘George Davison’ — clear golden-yellow flowers on compact 2 to 3 foot stems, an early and free-flowering choice that brightens the warm-toned crowd.
- ‘Solfatare’ (also sold as ‘Solfaterre’) — soft apricot-yellow blooms set against unusual bronze-tinted foliage, a refined, slightly tender selection best from zone 6 or 7 upward and worth a sheltered spot.
Mixing an early type like ‘George Davison’ with a midseason powerhouse like ‘Lucifer’ and a late ‘Emily McKenzie’ stretches the crocosmia display across most of the summer.
Pests, Diseases, and Problems
Crocosmia is largely trouble-free, but a handful of issues come up often enough to plan for. The most common is non-flowering. If a healthy-looking clump produces masses of foliage and few or no blooms, suspect too much shade, an overcrowded clump that needs dividing, excess nitrogen, or corms planted too shallow. Move plants into full sun, divide congested clumps, ease off the nitrogen, and you will usually restore flowering within a season.
In hot, dry conditions, spider mites can stipple and bronze the foliage; a strong jet of water to knock them off and improved airflow usually keeps them in check. Gladiolus thrips are the other notable pest, rasping the leaves and distorting flowers, more troublesome in warm seasons and on stored corms. Inspect lifted corms before storing and discard any that look damaged. Good drainage prevents the corm and basal rots that follow from waterlogged soil; if corms turn soft and mushy, drainage is almost always to blame.
Finally, be aware that some crocosmia, particularly the older species montbretia, naturalize aggressively, spreading by self-sown seed and creeping corm chains into a dense colony that is hard to eradicate. In mild climates this can become a genuine nuisance. Choose well-behaved named hybrids, deadhead to stop seeding, and site vigorous types only where you actively want them to fill in. Grown in a confined bed or contained in a buried pot, even the enthusiastic spreaders stay manageable.
Frequently Asked Questions
How deep do you plant crocosmia corms?
Plant crocosmia corms 3 to 5 inches deep, using the shallower depth in heavy soil and the deeper end in light, sandy soil. Set them pointed end up and space them 6 to 8 inches apart in spring after the last frost.
Will crocosmia come back every year?
Yes. Crocosmia is a hardy perennial in roughly USDA zones 6 through 9 and returns reliably each year, multiplying into larger clumps. In zone 5 and colder, mulch heavily or lift and store the corms over winter and replant in spring.
Why is my crocosmia not flowering?
The usual culprits are too much shade, an overcrowded clump that needs dividing, too much nitrogen fertilizer, or corms planted too shallow. Give plants 6 or more hours of full sun, divide congested clumps every 3 to 4 years, and ease off high-nitrogen feeds.
When should I divide crocosmia?
Divide crocosmia in early spring as new growth begins, every 3 to 4 years or whenever flowering thins out from congestion. Lift the clump, tease the corm chains apart, discard any soft corms, and replant the healthy divisions at the original depth and spacing.
Is crocosmia invasive?
Some types can be. Older species montbretia naturalizes aggressively in mild climates, spreading by seed and creeping corms. Choose well-behaved named hybrids like ‘Lucifer’, deadhead spent stems to prevent seeding, and plant vigorous types only where you want them to spread.
Crocosmia is one of those rare perennials that delivers a genuine showpiece for almost no effort once it is established. Plant the corms right, give them sun and free-draining soil, divide them every few years, and they will light up the back half of summer with fiery color and a steady parade of hummingbirds for decades. Start with a generous drift of ‘Lucifer’ and you will be hooked.