

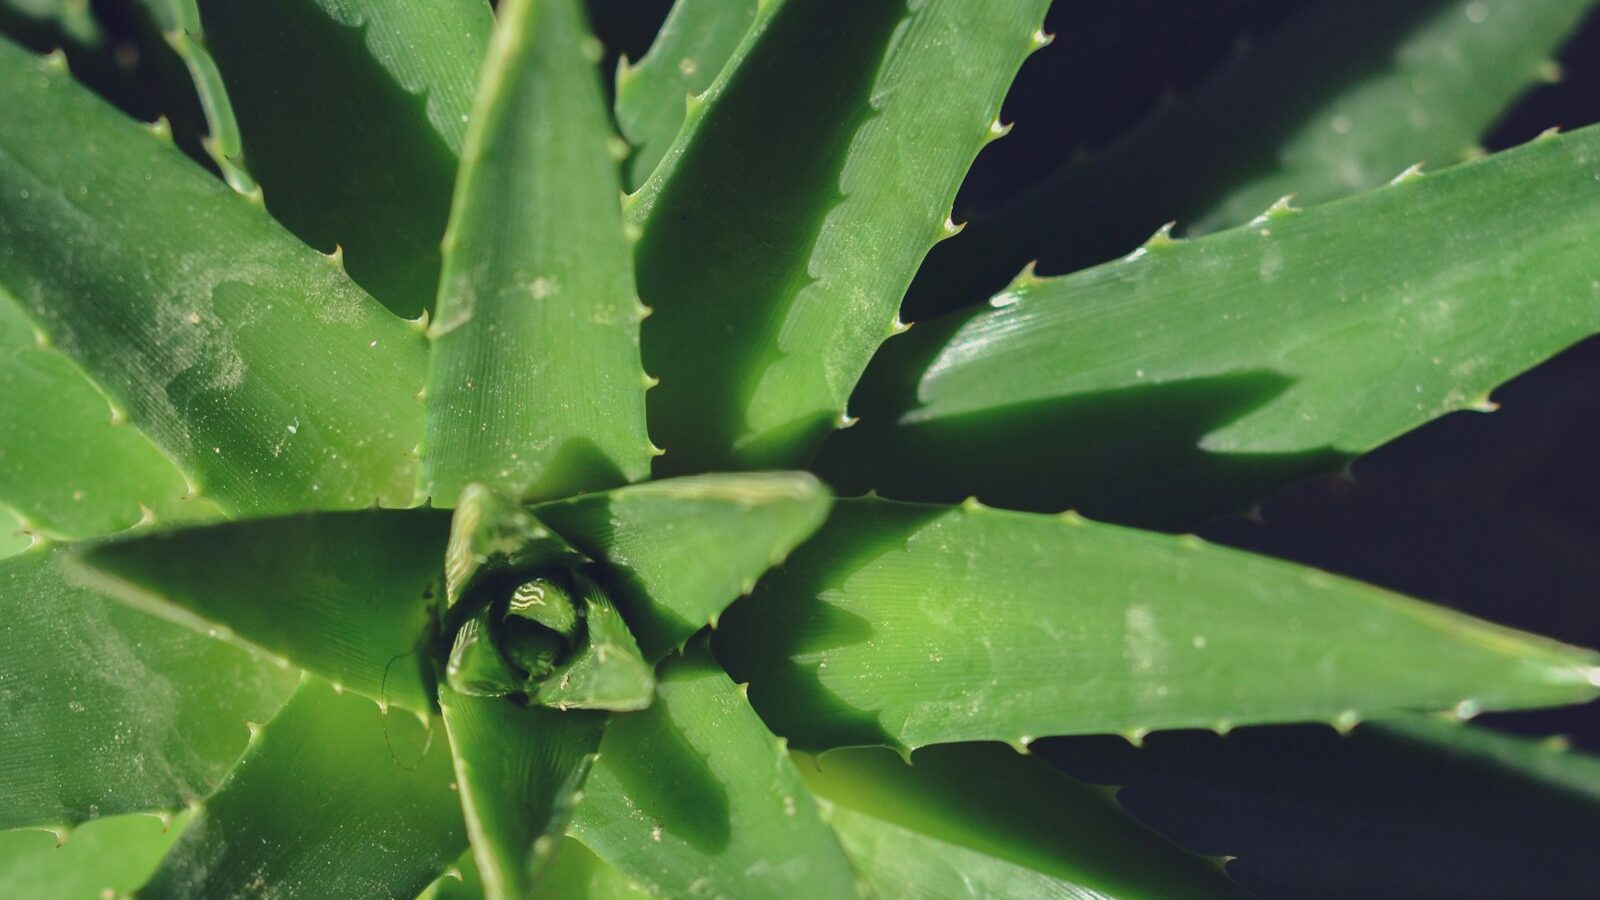
Aloe vera is one of the most forgiving, useful houseplants you can grow, valued for its plump leaves filled with soothing gel. As a succulent, it thrives on neglect far better than on fussing, which makes overwatering the single biggest threat to its survival. This guide covers exactly how to grow aloe vera indoors or out, water it correctly, repot it, propagate the pups, and harvest the gel safely.
Aloe vera quick care
- Light: bright, some direct sun
- Water: soak-and-dry, sparingly
- Soil: gritty, fast-draining
- USDA zones: 9-11 (pot indoors elsewhere)
- Pot with drainage holes
As an Amazon Associate we earn from qualifying purchases.
Aloe vera (Aloe barbadensis miller) is a clumping succulent from arid regions, so almost everything about its care comes back to one idea: mimic the desert. Bright light, sharp drainage, and long dry spells between waterings keep it firm, green, and steadily producing new offsets. For a wider look at low-maintenance houseplants, see our full plant & flower care guide.
Light: bright with some direct sun
Aloe vera wants the brightest spot you can give it. Indoors, that means a south- or west-facing window where it gets several hours of direct sun each day. With too little light, the leaves grow flat, thin, and floppy, and the plant stretches or leans toward the window (a habit called etiolation). Plenty of light keeps growth compact and upright.
Reading the leaf color
- Healthy: firm, plump, grey-green leaves standing upright.
- Too little light: dark green, flat, stretched leaves that flop sideways.
- Sun-stressed (acceptable): a reddish or bronze tint, common with intense direct sun. It is harmless, but pull back slightly if leaves look scorched.
- Sunburn: brown, dry, papery patches. Move a plant gradually into stronger light to avoid this, especially after winter or after buying one grown in low light.
If you don’t have a bright window, a basic LED grow light for 12 to 14 hours a day will keep aloe happy. Rotate the pot a quarter-turn each week so it grows evenly rather than leaning.
Watering: soak-and-dry is everything
Watering correctly is the difference between an aloe that thrives for years and one that turns to mush in a month. Aloe stores water in its leaves, so it expects to dry out completely between drinks. The method is simple: water thoroughly, then wait until the soil is bone dry before watering again. This is called the soak-and-dry approach.
How to do soak-and-dry
- Water deeply until it runs out the drainage holes, wetting the entire root ball.
- Empty the saucer so the pot never sits in standing water.
- Wait until the soil is fully dry, then wait a few more days.
- Test by pushing a finger 2 inches down, or simply lift the pot. A bone-dry pot feels surprisingly light.
In practice that means watering roughly every 2 to 3 weeks in spring and summer, and as little as once a month (or less) in winter when growth slows. When in doubt, wait. Aloe handles drought far better than excess water.
Signs of over- and underwatering
- Overwatered: leaves turn soft, mushy, yellow, or translucent and may collapse at the base. The stem can rot and smell. This is the most common way aloe dies, and it is often fatal once root rot sets in.
- Underwatered: leaves curl inward, thin out, wrinkle, or develop dry brown tips. This is easily fixed, give the plant a good soak and it usually plumps back up within days.
If you catch overwatering early, stop watering and let the soil dry fully. If the base is already soft and rotting, unpot the plant, cut away any mushy roots and stem, let the cut callus over for a few days, and repot the healthy top into dry, gritty soil.
Soil and pots: drainage above all
Aloe needs a gritty, fast-draining mix so water flows through quickly and roots get air. Regular potting soil holds far too much moisture and will rot the roots. Use a dedicated cactus and succulent soil, or improve standard potting mix by cutting it roughly half-and-half with perlite, pumice, or coarse sand.
Choosing the right pot
- Drainage holes are non-negotiable. Never plant aloe in a pot without them.
- Terracotta is ideal. Unglazed terracotta pots breathe and wick moisture away, helping the soil dry faster, exactly what aloe wants.
- Size it snugly. Pick a pot only slightly larger than the root ball. An oversized pot holds excess wet soil around the roots and slows drying.
If you only have a decorative pot without holes, use it as a cover pot and keep the aloe in a plastic nursery pot with drainage inside it.
Repotting aloe vera
Aloe is slow-growing and actually likes being a little snug, so you only need to repot every 2 to 3 years, or when roots fill the pot, the plant becomes top-heavy, or pups crowd the surface. Spring is the best time, when the plant is actively growing.
Step by step
- Let the soil dry first so the root ball slides out cleanly.
- Gently remove the plant and brush off old soil from the roots.
- Inspect the roots and trim away any that are brown, soft, or rotten.
- Set the plant in fresh gritty mix at the same depth it sat before, never bury the leaves.
- Wait about a week before watering. This lets any disturbed roots heal and prevents rot.
Removing and potting pups (offsets)
A healthy aloe produces “pups,” small offshoots that sprout around the base of the parent. Removing and potting them is the easiest way to propagate aloe and keeps the main plant from getting overcrowded. Wait until pups are a few inches tall with their own roots before separating them.
How to separate pups
- Unpot the parent plant so you can see where each pup connects.
- Find the spot where the pup joins the parent, and separate it by hand or with a clean, sharp knife, keeping as many of the pup’s own roots as possible.
- Let the pup’s cut end dry and callus for 1 to 2 days. This step is key to preventing rot.
- Pot each pup in its own small container of dry cactus mix.
- Wait about a week, then begin watering lightly with the soak-and-dry method.
Pups make great free gifts and easy starts for windowsills. If you enjoy propagating, you’ll find the same offset method works on many other plants, browse our roundup of the types of succulents worth growing.
Harvesting aloe gel safely
The clear gel inside aloe leaves is the reward for good care. Only harvest from mature plants with thick, full leaves, and take outer leaves from the base first, since those are oldest. Never strip more than a third of the plant at once so it can keep photosynthesizing and recover.
Steps to harvest gel
- Cut a thick outer leaf close to the base with a clean knife.
- Stand the cut leaf upright in a cup for about 10 minutes to drain the yellow sap (aloin) that seeps from the cut. Aloin is a natural laxative and skin irritant, so drain it off.
- Lay the leaf flat, trim the spiny edges, and slice off the top skin.
- Scoop out the clear gel with a spoon and use it fresh, or store it in the fridge for up to a week.
The fresh gel is popular for soothing minor sunburn and dry skin. Note that this is the topical gel only, the yellow aloin sap should not be eaten, and pure aloe latex is not something to consume casually. When in doubt, stick to external use.
Growing indoors vs outdoors by zone
Aloe vera is hardy outdoors year-round only in USDA zones 9 to 11, where it shrugs off mild winters and can grow into a large clump. In those warm regions you can plant it in the ground in a sunny, well-drained spot, or leave potted plants outside all year.
Cooler zones (8 and below)
- Grow aloe in a pot so you can move it.
- Keep it outdoors in full sun through the warm months.
- Bring it inside before the first frost, aloe is not frost-hardy and freezing temperatures will turn the leaves to mush.
- Overwinter it in a bright window and water sparingly until spring.
If you want a near-indestructible companion plant with the same desert-style care, the snake plant is a great match, see our snake plant care guide.
Common problems and fixes
- Mushy, yellow, collapsing leaves: overwatering or root rot. Dry out fully; cut away rot and repot if severe.
- Thin, curling, wrinkled leaves: underwatering. Give a deep soak.
- Brown, crispy leaf tips: usually underwatering, very dry air, or fertilizer buildup.
- Flat, stretched, leaning growth: not enough light. Move to a brighter spot.
- Brown papery patches: sunburn from too much sudden direct sun.
- White cottony spots: mealybugs. Wipe leaves with a cotton swab dipped in rubbing alcohol.
- Drooping outer leaves: often normal aging or, if widespread, a watering issue.
Aloe rarely needs feeding. A diluted succulent fertilizer once or twice in spring and summer is plenty, none in winter. If you’d like a healthy plant to start with, a young aloe vera plant establishes quickly with the care above.
Frequently asked questions
How often should I water aloe vera?
Use soak-and-dry: water deeply, then wait until the soil is completely dry before watering again, roughly every 2 to 3 weeks in spring and summer and about once a month in winter. When unsure, wait. Aloe handles drought far better than overwatering.
Why are my aloe leaves turning mushy and yellow?
That is the classic sign of overwatering and root rot. Stop watering and let the soil dry fully. If the base is soft, unpot the plant, cut away rotted roots and stem, let it callus, and repot in dry, gritty cactus mix.
How do I get aloe to make more pups?
A healthy, mature plant in bright light produces pups naturally. Give it plenty of sun, the soak-and-dry routine, and a snug pot. Once pups are a few inches tall with roots, separate them, let them callus, and pot them up individually.
Can I keep aloe vera outside year-round?
Only in USDA zones 9 to 11, where winters stay mild. Aloe is not frost-hardy, so in colder zones grow it in a pot, keep it outside in summer, and bring it indoors before the first frost.
Is fresh aloe gel safe to use?
The clear inner gel is popular for soothing minor skin irritation and sunburn. Always drain off the yellow aloin sap first, as it is a skin irritant and laxative. Use the gel topically and avoid eating the latex sap.