

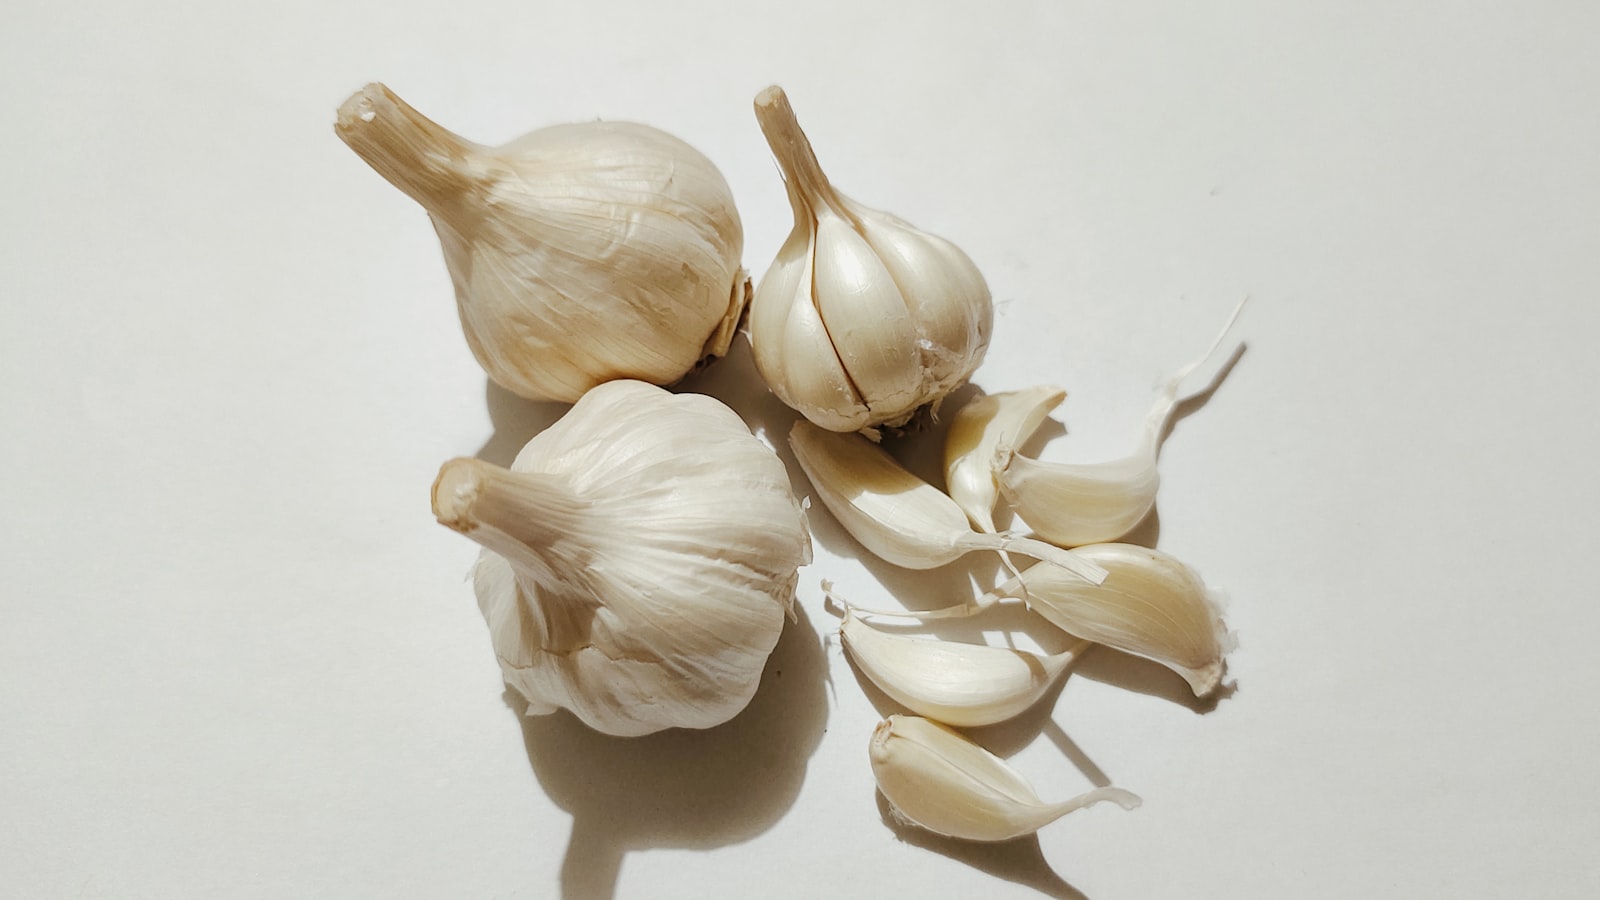
Curing garlic is the simple, unglamorous step that decides whether your harvest lasts three weeks or ten months. Pull a bulb from the ground and it is alive, wet, and full of moisture in the wrapper layers, the neck, and the cloves. Eat it now and it is fine. Try to store it now and it sweats, molds, and rots from the neck down within a couple of weeks. Curing is just controlled drying: you give the bulbs two to four weeks of warm air, steady airflow, and shade so the outer skins tighten into paper, the neck seals, and the whole bulb goes dormant. Done right, hardneck garlic keeps four to six months and softneck garlic can push past nine.
The good news is that curing asks for almost nothing from you. There is no equipment, no chemicals, and no daily fuss. The only real skills are knowing when to harvest, giving the bulbs the right drying conditions, and resisting the urge to wash, trim, or stack them before they are dry. Get those three things right and a single bed of garlic will season your kitchen until next summer’s crop comes in.
Key Takeaways
- Harvest when the lower third to half of the leaves have browned but several green leaves remain; each green leaf is one protective wrapper around the bulb.
- Cure for 2-4 weeks in a warm, shaded, well-ventilated spot with strong airflow, out of direct sun and rain.
- Do not wash the bulbs. Brush off loose soil only; water reintroduces the moisture you are trying to drive out.
- Garlic is cured when the neck is dry and tight, the outer wrappers are papery, and the roots are stiff and brittle.
- After curing, trim roots and stems, then store at 55-65°F in low humidity. Never store garlic in the fridge, which triggers sprouting.
When to Harvest Garlic for Curing
Timing the harvest is the part most growers get wrong, and it matters because the leaves you see above ground are connected directly to the wrapper layers protecting the bulb. Each green leaf equals one intact paper wrapper. Wait too long and the lower leaves die back, those wrappers rot away in the soil, and the cloves split apart with no protection, which guarantees a short storage life no matter how well you cure.
The reliable signal is leaf browning. When the bottom third to half of the leaves have turned brown and dried, but the top four or five leaves are still green, the bulb is sized up and ready. For most US gardeners that lands in mid-June through July, depending on your zone and when you planted in fall. Do not wait for every leaf to brown; by then you have lost too many wrappers.
Lift, do not pull. Loosen the soil a few inches away from the bulb with a fork or trowel, then ease the whole plant out by hand. Yanking on the stem tears the neck, and a torn neck is an open wound that invites rot during curing. Pick a dry day if you can, and ideally stop watering the bed a week or so before harvest so the bulbs and surrounding soil are not saturated when you dig.
Do not wash the bulbs
It is tempting to hose the dirt off a freshly dug bulb, but washing is the single most common curing mistake. The entire point of curing is to remove water, so adding water resets the clock and traps moisture under the wrappers where mold thrives. Instead, let the bulbs dry for a day, then gently brush or rub off the loose, crumbly soil with your fingers or a soft brush. The outer wrapper may look dingy; that is fine, you will peel that layer off later and reveal a clean white bulb underneath.
How to Cure Garlic Step by Step
Curing is about three conditions working together: warmth to drive evaporation, airflow to carry the moisture away, and shade to keep the sun from scorching the bulbs and degrading flavor. Hit all three and the bulbs dry evenly over two to four weeks. The exact time depends on your humidity; in a dry climate two weeks may do it, while in a humid summer you may need the full month.
- Keep the tops and roots on. Leave the whole plant intact for curing. The energy and moisture in the leaves continue to migrate down into the bulb as it dries, plumping the cloves. Trim later, once everything is dry.
- Choose a shaded, airy location. A covered porch, an open garage or shed, a barn, or a spare room with a fan all work. You need protection from rain and direct sun, plus moving air. Avoid a sealed, humid space with no ventilation.
- Maximize airflow around every bulb. The classic method is to bundle 6-10 plants by the stems with twine and hang them from rafters or a clothesline. Alternatively, lay the plants in a single layer on a raised screen, slatted rack, or wire shelf so air circulates underneath. Do not pile them in a bin or stack them.
- Run a fan in still or humid air. If your space lacks a breeze, set up a box fan on low to keep air moving. This dramatically speeds drying and prevents the stagnant, damp pockets where mold starts.
- Wait two to four weeks and check the necks. Resist trimming early. The bulbs are not done until the neck has dried all the way through.
Temperature and humidity targets
Aim for a curing temperature in the range of about 70-90°F with moderate to low humidity. Warmth speeds the process, but avoid direct sun and avoid anything above roughly 95°F, which can cook the bulbs and ruin texture. In a humid region, prioritize airflow over warmth; a fan in a 75°F garage beats a still, muggy 85°F. The bulbs are forgiving as long as they are dry, shaded, and moving air.
How to Tell Garlic Is Fully Cured
Do not rely on the calendar alone; check the bulbs themselves. Garlic is cured when you can confirm all of these signs together:
- The neck is dry and tight. Pinch the stem just above the bulb. It should feel dry, firm, and constricted, not soft, green, or moist. The neck is the last part to dry, so if it is dry, the bulb is dry.
- The outer wrappers are papery. The skins should crackle and feel like dry paper, not leathery or damp.
- The roots are stiff and brittle. Cured roots feel like dried wire and snap easily rather than bending.
- The bulb feels firm and solid. Give it a gentle squeeze; cloves should be tight, with no soft or hollow spots.
If the neck still feels supple or the wrappers bend without crackling, give it another several days and recheck. Storing garlic that is not fully cured is the fastest way to lose the whole batch to neck rot.
Trimming and Storing Cured Garlic
Once the bulbs pass the cured test, set aside your largest, healthiest bulbs as next fall’s seed stock, then process the rest for the kitchen. Peel off just the dirtiest outermost wrapper to reveal a clean bulb, but stop there. Leave the remaining wrappers intact, because every layer you keep is one more barrier against drying out and sprouting in storage.
For loose storage, trim the roots flush to the base and cut the stem to about half an inch to an inch above the bulb. If you grew softneck garlic and want braids, leave the stems long and supple and braid while the necks still have a little flex. Hardneck garlic has a rigid central stalk and cannot be braided, so trim it and store the bulbs loose.
Store cured garlic somewhere cool, dark, dry, and ventilated, ideally around 55-65°F with low humidity. A mesh bag, an open basket, a paper bag with the top folded, or a slotted ceramic garlic keeper all allow the airflow garlic needs. The two storage spots to avoid are the refrigerator, where temperatures around 40°F break dormancy and trigger sprouting, and any sealed plastic container or damp cellar corner, where trapped moisture causes mold. The principles are nearly identical to keeping other alliums fresh; our guides to storing garlic so it lasts and curing onions for storage walk through the same cool, dry, airy logic.
Check your stored bulbs every few weeks. Pull out and use first any that start to soften, sprout, or show mold, since a single bad bulb can spread spores to its neighbors. With proper curing and storage, hardneck varieties hold their quality for four to six months and softnecks often last eight to ten, carrying you comfortably from one harvest to the next. For more seasonal harvest-handling guides, browse our outdoor living hub.
Frequently Asked Questions
How long does it take to cure garlic?
Plan on two to four weeks. In a dry climate with good airflow, bulbs may be cured in about two weeks; in humid summer conditions it can take the full month. Do not go by the calendar alone. Check that the neck is dry and tight, the wrappers are papery, and the roots are brittle before you trim and store.
Can I cure garlic in the sun?
No. Cure in shade. Direct sun can scorch the bulbs, degrade flavor, and overheat the cloves on a hot day. You want warmth and airflow without sunlight, so a shaded porch, garage, shed, or airy room is ideal. The sun does more harm than good once the bulbs are out of the ground.
Should I wash garlic before curing?
Never wash it. Curing removes moisture, and washing adds it right back where you do not want it, under the wrappers, where mold and rot start. Let the bulbs dry, then brush or rub off loose soil with your fingers or a soft brush. You can peel away the dirtiest outer wrapper after curing to reveal a clean bulb.
Why is the neck of my garlic still soft after two weeks?
Soft necks mean the bulb is not finished curing, usually because of high humidity, poor airflow, or cool temperatures. Add a fan, improve ventilation, and give it more time. Storing garlic with a soft, moist neck leads to neck rot that can ruin the bulb and spread to others in the batch.
Can I eat garlic before it is cured?
Yes. Freshly dug, uncured garlic is perfectly edible and many cooks enjoy its mild, juicy flavor. The catch is that uncured garlic will not store; it must be used within a couple of weeks. Cure the bulbs you intend to keep for months and enjoy a few fresh right away.