

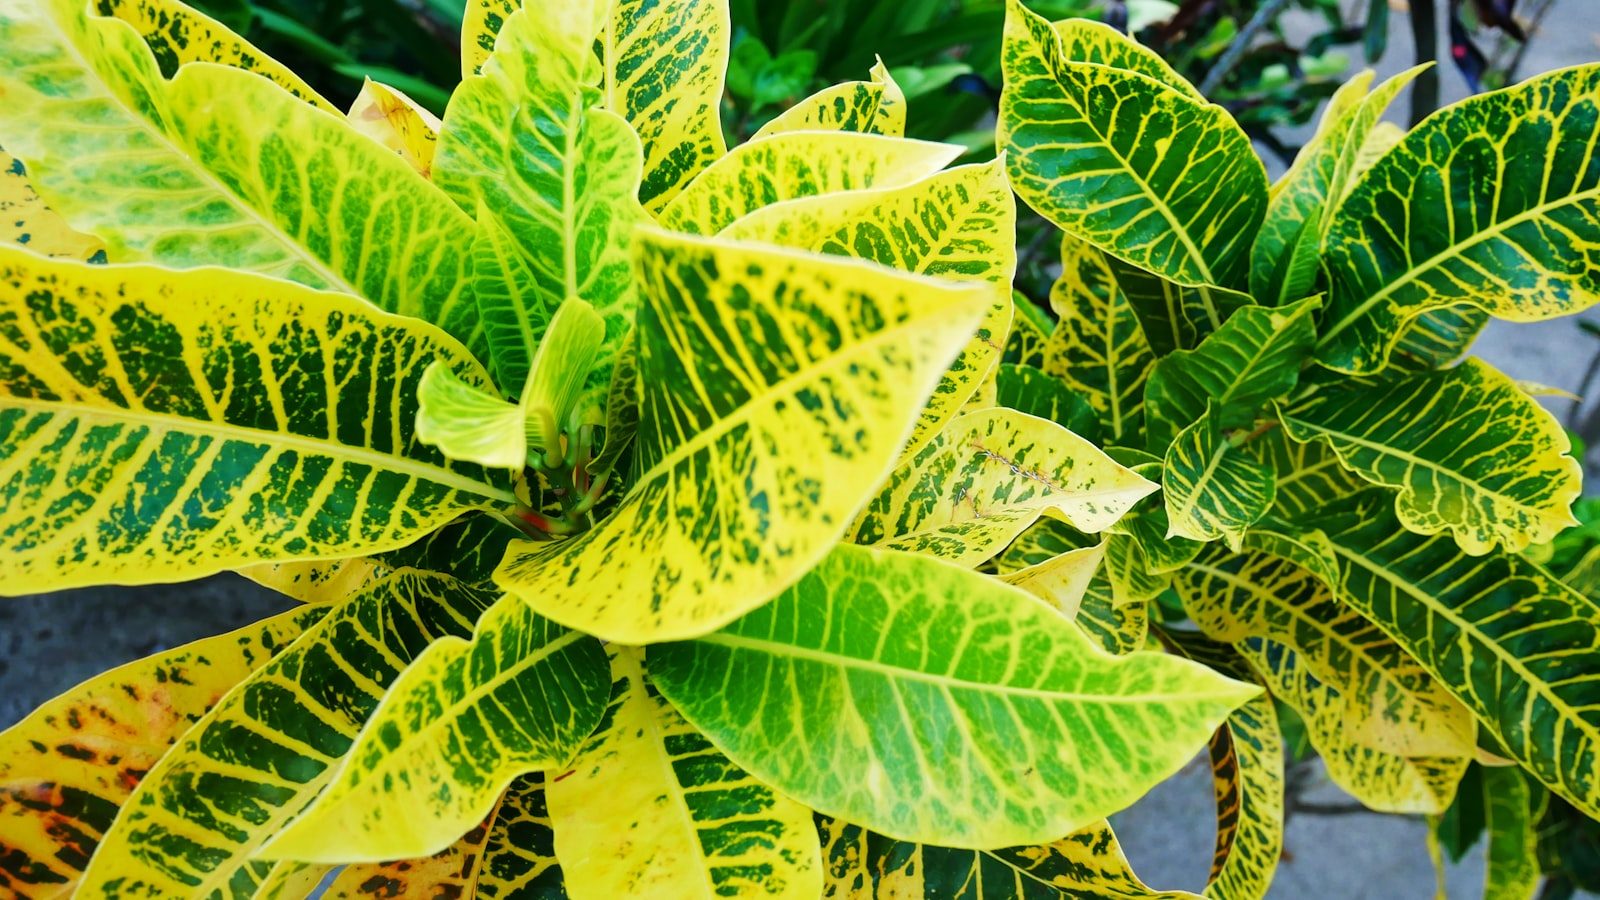
Croton (Codiaeum variegatum) earns its keep with leaves splashed in red, orange, yellow, and green that look almost painted. The trade-off is that it is fussier than most houseplants: it wants bright light, steady warmth, and consistent moisture, and it will tell you the moment you get those wrong by dropping leaves. The good news is that crotons are not actually delicate once their conditions are dialed in. Give a croton a bright window, water it before the surface dries out hard, and keep it away from cold drafts, and it will hold its color for years. This guide covers exactly how much light it needs to stay vivid, how to water without rotting the roots, how to handle the dramatic leaf drop that scares new owners, and how to propagate and prune for a fuller plant.
Key Takeaways
- Light drives color. Bright, direct-ish light (an east or south window) keeps the reds and yellows vivid; low light reverts new growth to plain green.
- Water when the top inch is just dry. Crotons want evenly moist soil, not soggy and not bone-dry — both extremes cause leaf drop.
- Warmth and humidity matter. Keep it above 60°F, away from drafts and heat vents, at 40–60% humidity or higher.
- Leaf drop is usually shock, from moving the plant, a temperature swing, or letting it dry out — not a death sentence.
- Wipe leaves and watch for mites. Spider mites love the dry air around crotons; regular inspection prevents an infestation.
Light: the single biggest factor
If you remember one thing about crotons, make it this: light controls color. The vivid pigments — the carotenoids and anthocyanins responsible for the orange, red, and yellow — only develop fully in strong light. In dim conditions the plant produces chlorophyll-heavy green leaves to capture what little light it can, so a croton starved of light slowly turns into a green, leggy shadow of the plant you bought. Place it within a few feet of an east-facing window where it gets several hours of gentle morning sun, or in a south or west window with a sheer curtain to soften the harshest midday rays. A few hours of direct sun is welcome; crotons tolerate more direct light than most houseplants.
That said, a plant grown in low light cannot be moved straight into blazing sun. Acclimate it over a week or two, increasing exposure gradually, or the leaves can scorch — you will see bleached, papery patches where the tissue burned. New leaves emerging in good light will show the best color; older leaves keep whatever color they developed when they formed, so do not expect a faded leaf to suddenly brighten. Rotate the pot a quarter turn every week or two so the whole plant grows evenly toward the light rather than leaning.
Watering without rot or stress
Crotons want evenly moist soil through the growing season — moist, not wet. The reliable method is to water thoroughly when the top inch of soil feels barely dry to the touch, letting water run out the drainage holes, then emptying the saucer so the roots never sit in standing water. In a bright spot during spring and summer that often means watering once or twice a week; in winter, when growth slows and light drops, the plant uses far less, so let it dry slightly more between waterings and check by finger rather than by calendar.
Both extremes cause the same alarming symptom — leaf drop — which is why diagnosing it matters. Underwatering shows as wilting, crisping leaf edges, and lower leaves falling after the soil has gone hard and dry. Overwatering shows as yellowing, soft or mushy stems, and a sour smell from the soil, and it can progress to root rot. Use a pot with drainage holes and a well-draining but moisture-retentive mix: a standard peat- or coir-based potting soil with a couple of handfuls of perlite works well. Tap water that sits overnight is fine; if your leaf tips brown consistently, your water may be heavily chlorinated or the air too dry.
Temperature, humidity, and placement
Crotons are tropical and crave warmth. Keep them in the 65–85°F range and never let them sit below about 55–60°F. Sudden cold is their nemesis: a draft from an opening door in winter, a spot against a cold windowpane, or the blast from an air-conditioning vent can trigger massive leaf drop within days. Equally damaging is the hot, dry air directly above a heating register. Choose a stable spot away from both, and your plant will reward you with steadiness.
Humidity is the other tropical requirement. Crotons are happiest at 40–60% relative humidity or higher; the bone-dry air of a heated winter home is what invites spider mites and crisps the leaf margins. Group plants together to create a humid microclimate, set the pot on a tray of pebbles topped with water (the pot resting on the pebbles, not in the water), or run a small humidifier nearby. Misting helps marginally but is not a substitute for ambient humidity.
Feeding and potting
Feed during the active growing season, spring through early fall, with a balanced liquid houseplant fertilizer (something like a 20-20-20 or a 10-10-10) diluted to half strength, applied roughly every two to four weeks. Always water before feeding so fertilizer never hits dry roots, which can burn them. Stop or sharply reduce feeding in late fall and winter when the plant is barely growing — fertilizing a dormant plant just builds up salts in the soil that scorch the roots and brown the leaf tips. If you see a white crust on the soil surface or pot rim, flush the soil with plenty of plain water to leach out accumulated salts.
Repot every one to two years, or when roots circle the bottom and the plant dries out unusually fast. Move up just one pot size — about an inch or two wider in diameter — because an oversized pot holds too much wet soil around the roots. Spring is the ideal time. Be gentle: crotons resent root disturbance and often sulk and drop a few leaves after repotting, which is normal. Wear gloves, because the milky sap is irritating to skin and the whole plant is toxic to people and pets if ingested.
Pruning and propagation
Prune in spring to control height and encourage a bushier shape. Crotons can get leggy, with bare lower stems and a tuft of leaves up top; cutting back the tallest stems just above a node forces the plant to branch and fill out. Never remove more than about a third of the plant at once, and use clean, sharp pruners. The cut stems are your propagation material.
Propagating from stem cuttings
Take a tip cutting about 4–6 inches long with three to five leaves. Remove the lowest leaves, dip the cut end in rooting hormone if you have it, and let the milky sap dry for a few minutes. Plant the cutting in moist potting mix or place it in water, then keep it warm (around 70–80°F) and humid — a clear plastic bag or dome over the pot maintains the humidity it needs to root without wilting. Bright, indirect light and patience do the rest; roots typically form in about four to six weeks. Once new growth appears, pot it up and treat it as a mature plant.
Common problems and pests
Leaf drop
This is the complaint that drives croton owners to despair, and it is almost always stress, not disease. The usual triggers are a recent move (including the trip home from the store), a cold draft, letting the soil dry out completely, or overwatering. Identify and fix the cause, keep conditions stable, and the plant will push out new leaves. Do not relocate a stressed croton repeatedly chasing a fix — pick the brightest, most stable spot and leave it there.
Spider mites and other pests
Spider mites are the top pest, thriving in dry air. Look for fine webbing in the leaf joints, stippled or speckled leaves, and a dusty appearance on the undersides. At the first sign, rinse the plant in the shower, raise the humidity, and treat with insecticidal soap or neem oil, repeating weekly until they are gone. Mealybugs (white cottony clusters) and scale (small brown bumps) also appear occasionally; dab them with a cotton swab dipped in rubbing alcohol and follow with insecticidal soap. Wiping the leaves regularly with a damp cloth both keeps them glossy and lets you catch pests early.
Crotons make rewarding companions for other bright-light foliage plants. If you are building a collection, see our guides on caring for a hoya and caring for a pilea, and browse more in the Plants & Flowers section for ideas that pair well with a croton’s vivid foliage.
Frequently Asked Questions
Why is my croton dropping leaves?
Leaf drop is almost always stress from a sudden change: moving the plant, a cold draft, an air-conditioning or heat vent blowing on it, or the soil drying out completely. Find and fix the trigger, keep the plant warm and evenly moist in a stable bright spot, and it will regrow leaves. Avoid relocating it repeatedly.
Why is my croton losing its color and turning green?
Not enough light. The bright pigments only develop in strong light, so a croton in a dim spot grows greener leaves. Move it to an east or curtained south window where it gets several hours of bright light. New leaves will show better color; older faded leaves won’t re-color.
How often should I water a croton?
Water when the top inch of soil is just barely dry — often once or twice a week in spring and summer, less in winter. Keep the soil evenly moist but never soggy, and always empty the saucer. Both overwatering and underwatering cause leaf drop, so check by finger rather than on a fixed schedule.
Are crotons toxic to pets and people?
Yes. All parts are toxic if ingested and the milky sap irritates skin, so keep crotons away from pets and small children and wear gloves when pruning or repotting. Ingestion can cause mouth irritation, vomiting, and stomach upset.
Can I grow a croton outdoors?
Yes, in warm climates (roughly USDA zones 9b–11) crotons make striking landscape shrubs in bright spots. Elsewhere, grow them in containers and bring them indoors before temperatures drop below about 55–60°F, since they have no cold tolerance.