

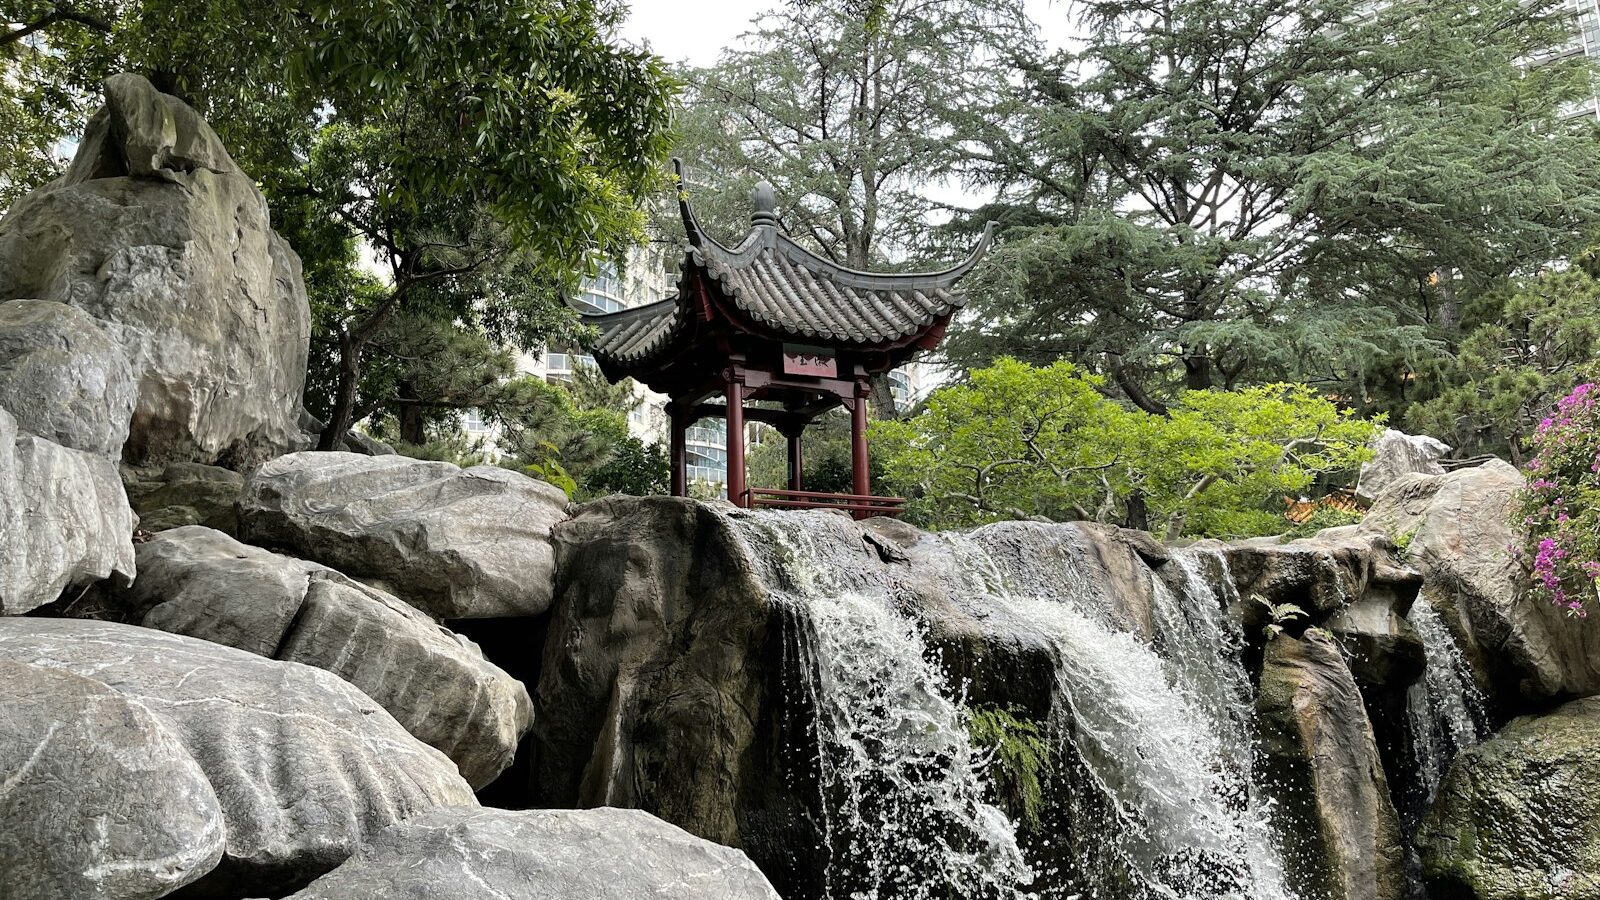
A pondless waterfall gives you the sight and sound of moving water without an open pool to manage. The water tumbles down a stream and rock face, then vanishes into a hidden, gravel-filled basin where a submerged pump quietly recirculates it back to the top. It is one of the most popular DIY water features in the United States because it is safe around kids and pets, low maintenance, and free of the fish, algae, and water-quality headaches of a traditional pond.
Key takeaways
- Water disappears into a gravel-filled basin (no open pond)
- Safer & lower-maintenance than a pond
- Size the pump to the waterfall width & height
- Build on a liner with a basin/reservoir
- Top up for evaporation; rinse the pump occasionally
As an Amazon Associate we earn from qualifying purchases.
What a pondless waterfall is and why it’s so popular
A pondless waterfall, sometimes called a disappearing waterfall or vanishing stream, is a recirculating water feature with no visible standing water. Instead of collecting in an open pond, the water flows down a stream bed and waterfall, then drops into an underground reservoir filled with gravel and hidden support structures. A pump sitting at the bottom of that reservoir pushes the water back up to the top, and the cycle repeats. From above, all you see is rock, water, and gravel—the entire mechanism is buried.
Why homeowners choose pondless over a full pond
- Safety: With no open water deeper than the gravel surface, there is virtually no drowning risk for young children or pets.
- Low maintenance: No fish to feed, no plants to overwinter, and far less algae since the water isn’t sitting in sunlight.
- Lower running cost: Smaller water volume means less evaporation to replace and a smaller pump to run.
- Flexible placement: It can go on a slope, beside a patio, or near an entry where a pond would be impractical.
- Year-round use: In cold climates you can run it through winter for ice formations or simply shut it down and drain the pump.
If you later decide you want fish and aquatic plants too, the same techniques scale up. See our pillar guide on how to build a backyard pond for the full water-garden version.
How a pondless waterfall works
Understanding the four core parts makes the build far easier to plan.
- The reservoir (basin): A lined pit at the bottom of the run that holds the water supply. It’s filled with rigid plastic matrix blocks (AquaBlox or similar) or stacked milk-crate-style modules so it can store water while still supporting gravel and rock on top.
- The pump: A submersible pump sitting in a vault inside the reservoir. It draws water from the basin and pushes it up a flexible hose to the top of the falls.
- The waterfall spillway: A weir or spillway box at the top where the hose connects, releasing a smooth sheet of water onto the first rock.
- The stream and falls: The lined channel of rock and gravel the water travels down before disappearing back into the basin.
Because the loop is closed, you only ever add water to replace what evaporates. The gravel in the basin also acts as a simple biological filter, helping keep the water clear.
Planning the run, the drop, and the budget
Plan your layout
- Pick a spot you’ll see and hear from a patio, deck, or window. A gentle natural slope is ideal, but you can build the drop with excavated soil on flat ground.
- Lay a garden hose or rope on the ground to mock up the stream’s path and curves. Most home runs are 6 to 16 feet long.
- Decide your total drop (vertical height from the top spillway to the basin). A 1- to 3-foot drop suits most yards and keeps pump and splash requirements modest.
- Mark the basin at the bottom—it should be wider and longer than the visible waterfall so all the water has somewhere to land.
- Call 811 (or your local utility locator) before digging to mark buried gas, water, and electric lines. This is free and required in most US states.
Rough cost
- Small DIY (4–8 ft run): roughly $600–$1,200 for a kit, liner, rock, and gravel.
- Mid-size DIY (10–16 ft run): roughly $1,200–$3,000 depending on rock cost and pump size.
- Professionally installed: commonly $4,000–$10,000+, mostly labor and heavy boulder placement.
Rock is usually the biggest single expense and the heaviest item to move, so price local stone yards before you commit to a design.
Free, no-obligation quote · Connect with a local pro
The dig, the liner, and the basin
Excavate and set the basin
- Dig the reservoir pit at the bottom of the run. Size it to hold your AquaBlox or matrix blocks plus 6–12 inches of surrounding gravel. A typical small basin is about 3 x 4 feet and 16–24 inches deep.
- Dig the stream channel up the slope, shaping shallow steps where you want each waterfall drop. Keep the channel sides slightly raised so water can’t escape sideways.
- Remove sharp rocks and roots, then line the entire excavation with protective underlayment (old carpet or geotextile fabric) so nothing punctures the liner.
- Drape a single piece of flexible EPDM pond liner over the whole basin and stream as one continuous sheet, smoothing it into the contours. Leave plenty of overlap at the edges.
- Place the AquaBlox/matrix blocks in the basin and set the pump vault among them so you can lift the pump out later for cleaning.
An all-in-one pondless waterfall kit bundles the liner, basin blocks, spillway, pump, and hose sized to work together, which removes most of the guesswork for first-time builders.
Sizing and installing the pump
Pump choice drives how your falls look. Too small and the water trickles; too large and it gushes and splashes out of the channel. Two numbers matter: flow rate (gallons per hour, GPH) and head height (how high it must lift the water).
Match flow to waterfall width
- A common rule is 100–150 GPH per inch of spillway width for a moderate flow, or up to 200 GPH per inch for a strong sheet of water.
- Example: a 12-inch-wide spillway at 150 GPH/inch needs about 1,800 GPH at your actual head height.
- Head height = vertical lift (your total drop) plus friction from hose length—add roughly 1 foot of head per 10 feet of hose. Read the pump’s flow curve at that combined head, not its headline GPH.
- Set the submersible pump in its vault at the lowest point of the basin.
- Connect flexible hose from the pump up to the spillway box at the top of the falls, burying or hiding the hose alongside the channel.
- Use a check valve only if recommended for your setup; many pondless systems run fine without one.
- Wire the pump to a nearby GFCI-protected outdoor outlet. If you don’t already have weatherproof power within reach, hire a licensed electrician—do not run extension cords permanently.
Comparing models? Our roundup of the best pond pumps breaks down reliable submersible options by GPH and energy use.
Building the stream and waterfall with rock
- Connect the spillway box to the hose at the top and bed it firmly so water exits as a clean sheet, not a leak behind the rock.
- Set your largest, flattest stones first to form each waterfall lip. The front edge of each lip should slightly overhang so water falls clear instead of clinging back into the rock.
- Tuck smaller stones and gravel around the big rocks to hide the liner edges and create natural-looking pools between drops.
- Use black expanding waterfall foam under and behind key rocks to channel water over the lips instead of disappearing through the gravel too early.
- Fold and trim excess liner at the edges, hiding the cut line under rock and soil so no black liner shows above the waterline.
- Spread river gravel over the basin blocks so the top of the reservoir looks like a dry stream bed where the water vanishes.
Hiding the plumbing
- Bury the supply hose under soil or gravel alongside the stream; never leave it visible.
- Conceal the spillway box with overhanging flat stones and a few trailing plants.
- Disguise the GFCI outlet behind a shrub or in a low landscape post, keeping the cord run short and tidy.
Want a smaller project first? Try one of these DIY water fountain ideas to practice rock placement and pump basics before committing to a full waterfall.
Free, no-obligation quote · Connect with a local pro
Filling, testing, and maintenance
First fill and adjustment
- Fill the basin through the gravel until the pump is fully submerged, then switch it on.
- Watch the water path. Add or shift rocks to fix any spots where water runs sideways or splashes out of the channel.
- Top up as the system finds its level—newly wetted gravel and rock absorb some water.
- Run it for a day and re-check edges for hidden leaks where liner sits too low.
Ongoing maintenance
- Top up for evaporation: Check weekly in hot weather and add water before the pump runs dry; a low basin can burn out a pump.
- Rinse the pump: Lift it from the vault every few weeks to a couple of months and rinse the intake screen of debris.
- Skim debris: Net out fallen leaves; consider a net over the feature in autumn.
- Control algae: Use water-feature-safe treatments if needed, and keep the feature partly shaded.
- Winterize: In freezing climates, either run continuously or shut down, remove the pump, and store it submerged in a bucket of water indoors so the seals don’t dry out.
Placement isn’t only practical—many owners position the flowing water toward the home for good energy. Read more on water features & feng shui if that interests you.
Frequently asked questions
How much does it cost to build a pondless waterfall?
A small DIY build runs roughly $600–$1,200, a mid-size build $1,200–$3,000, and professional installation commonly $4,000–$10,000 or more. Rock and pump size are the biggest cost drivers.
What size pump do I need?
Size it to your spillway width—about 100–150 GPH per inch of width for a moderate flow—then confirm the pump still delivers that flow at your total head height (drop plus about 1 foot per 10 feet of hose).
Is a pondless waterfall safe for kids and pets?
Yes. There’s no open standing water—the water disappears into a gravel-filled basin, so there’s essentially no drowning depth at the surface, making it much safer than an open pond.
How much maintenance does it really need?
Very little. Top up the water for evaporation, rinse the pump intake every few weeks to a couple of months, skim leaves, and winterize the pump in freezing climates. There are no fish to feed or plants to overwinter.
Can I run it in winter?
In mild climates, yes, continuously. In hard-freeze regions you can run it for ice sculptures or shut it down, pull the pump, and store it submerged in water indoors to protect the seals.
Featured project by Gensou Aquascaping
Want a pro to build your water feature?
Compare free, no-obligation quotes from vetted local pond & water feature pros near you.