

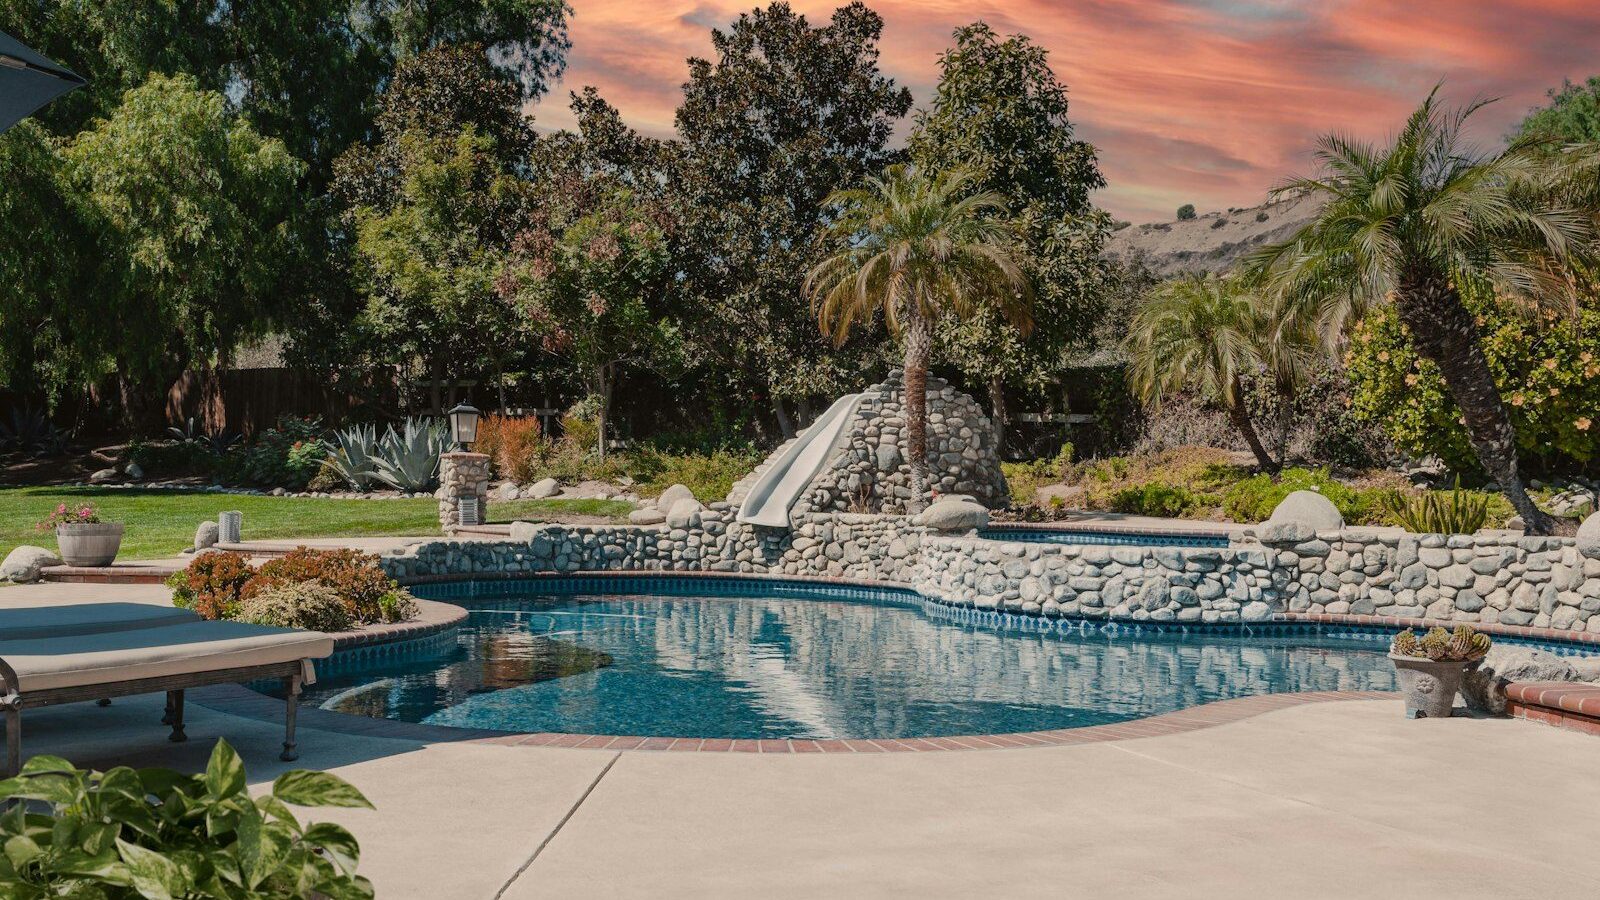
Building a backyard waterfall comes down to four things done in order: dig and stack the cascade, lay underlayment and liner, install a correctly sized pump and hose, and set the spillway rocks so water sheets evenly instead of trickling. The math that makes or breaks the result is pump sizing — you want roughly 1,500 gallons per hour (GPH) for every 1 inch of spillway width, measured at the actual height the pump has to lift the water. Get that ratio right and you get a full, sheeting fall; get it wrong and you get a sad dribble or a torrent that splashes out of the channel. This guide covers a weekend-scale build, both pond-fed and pondless, with the numbers and the rock-setting tricks that separate a convincing waterfall from a pile of wet rocks.
Key Takeaways
- Size the pump by spillway width: ~1,500 GPH per inch of width for a full sheet; ~1,000 GPH per inch for a gentle flow.
- Read pump GPH at the total head height (lift + friction loss), not the headline max — flow drops sharply with height.
- Use a flat spillway stone with a slight forward tilt and a liner lip folded over the edge so water clears the rock and doesn’t run back underneath.
- A pondless waterfall hides all the water in a gravel-filled basin — safest around kids, lowest maintenance, no fish.
- Always lay protective underlayment under the liner, oversize the liner generously, and disguise edges with rock and gravel so no black liner shows.
Choose Your Waterfall Style First
Before you dig, decide which of two builds you’re doing, because they share technique but differ at the base.
A pond-fed waterfall cascades into an open pond. The pump sits in the pond (or a skimmer), pushes water up to a header/filter box at the top, and gravity carries it back down. This is the classic look and lets you keep fish and aquatic plants.
A pondless waterfall has no open pool. Water cascades down and disappears into a basin filled with gravel or a hollow reservoir matrix, where the pump recirculates it back up. There’s no standing water at the surface, which makes it the safest choice for households with small children and the lowest-maintenance option overall — no fish, no algae blooms, minimal cleaning. The trade-off is no fish and a slightly higher build cost for the basin. If you want a fish pond at the base, see how deep to make it in our pond depth guide.
Size the Pump (the Math That Matters)
This is the step most DIYers get wrong, so do it before you buy anything. Two numbers drive pump selection: spillway width and total head height.
Spillway width is how wide the water flows over the top lip. The rule of thumb: for a robust sheeting fall, supply about 1,500 GPH per inch of spillway width. For a gentler stream, around 1,000 GPH per inch. So a 6-inch-wide spillway wants roughly 6,000–9,000 GPH for a full sheet, or about 6,000 for a softer look.
Total head height is the catch. A pump rated “5,000 GPH” hits that number at zero lift. Push water up 4 feet of waterfall through 15 feet of hose and real output might be only 3,000–3,500 GPH. You must read the pump’s flow curve (or pump chart) at your actual head. Calculate head as the vertical lift from pump to the top of the falls, plus friction loss in the plumbing — a common estimate is 1 foot of head for every 10 feet of hose run, plus a foot or two for each elbow and the filter. Then pick a pump whose flow curve still delivers your target GPH at that total head.
Two more sizing tips: use the largest hose diameter the pump and fittings allow (a 2-inch hose has far less friction loss than a 1-inch one at the same flow), and keep the run short and gently curved. Undersized hose can quietly cost you a third of your flow.
Materials Checklist
- EPDM rubber pond liner (45 mil) — size = longest dimension + twice the depth + 2 ft overlap, same for width
- Geotextile underlayment (protects the liner from punctures)
- Submersible waterfall pump sized as above
- Flexible PVC or kink-free hose + hose clamps
- Waterfall/header box or spillway weir (optional but makes a clean sheet)
- Rocks: large flat spillway stones, medium stacking stones, gravel/pebbles for disguise
- Skimmer or pump pre-filter; check-valve if pump sits below water line
- For pondless: a basin (gravel pit or hollow reservoir matrix) sized to ~2× the volume of water on the falls
Step-by-Step Build
- Lay out and excavate. Mark the stream course and the basin or pond with a hose or spray paint. Dig the basin first, then carve the waterfall as a series of stepped pools and short drops climbing the slope. Each pool acts as a still spot that smooths flow before the next drop. Save your dug soil to build up the berm behind the falls — a backyard waterfall usually needs a raised mound; you rarely have a natural hill.
- Firm and shape the steps. Compact the soil on each step so it won’t settle and tilt your stones later. Give each spillway step a very slight forward pitch so water moves toward the edge, and a slight back-and-side cupping so it doesn’t spill off the sides.
- Lay underlayment, then liner. Drape geotextile over the whole excavation and stream, then the EPDM liner on top. Work from the basin up. Leave generous excess everywhere — you’ll trim later. Press the liner into every contour; avoid stretching it taut over edges.
- Set the waterfall box or top weir. At the top, seat the header/filter box (if using) on firm, level ground and fold the pond liner up into its front lip so discharged water lands on liner, then on the spillway stone — never on bare soil.
- Run the plumbing. Connect the pump to the hose and route the hose up the side of the cascade (bury or hide it under rock). Attach to the waterfall box inlet. If the pump sits below the basin water line, add a check valve so the stream doesn’t drain back when it shuts off.
- Set the spillway stone. This is the make-or-break step. Choose a flat stone for the lip, tilt it a hair forward so water clears the front edge cleanly, and fold the liner over the back and under the stone so water can’t sneak behind it and erode the berm. Set side “wing” stones to channel water and prevent side-spill.
- Build the cascade with rock and gravel. Stack medium stones along the channel and pack gravel into gaps to hide the liner and create a natural look. Mortar or use waterfall foam (black expanding foam) behind and between key stones to lock them and force water over the rocks instead of disappearing between them.
- Fill, test, and tune. Fill the basin/pond, prime and start the pump, and watch. Adjust stones until the sheet is even and the sound is what you want. Tilt the spillway, add foam, or nudge wing stones as needed.
- Trim and disguise edges. Once flow is dialed in, trim excess liner, then hide every cut edge under stone, gravel, and edge plants. No black liner should be visible anywhere.
Dialing In the Look and Sound
The flat “sheet” look comes from a smooth, level spillway lip and enough flow to cover its full width. If the sheet breaks into fingers, your flow is too low for the spillway width, or the lip isn’t level — narrow the spillway or boost flow. For more sound, increase the drop height of individual steps and let water fall onto a hard stone or into a small pool; for a quieter babble, use lower drops and more gravel to break the flow. A valve on the pump output lets you fine-tune flow without swapping pumps.
Troubleshooting
- Weak trickle instead of a sheet: pump is undersized for the head height, hose is too narrow, or the pre-filter is clogged. Check real GPH at your head and clean the intake.
- Water disappears between rocks: gaps in the cascade are letting water run under the rocks. Use black waterfall foam behind and between stones to force water over them.
- Water runs behind the spillway and erodes the berm: the liner wasn’t folded over the spillway lip. Reset the stone and tuck the liner over the front edge.
- Basin level keeps dropping: normal evaporation accounts for some, but check for splash-out (water leaving the channel) and for liner edges that have sagged below water level, wicking water out. Raise low edges and reduce side-spill.
- Stream drains back when pump shuts off: add a check valve, or accept it as normal for gravity systems with water stored up top.
A waterfall is also your pond’s best aerator — the tumbling water drives oxygen in, which helps fish and beneficial bacteria. To keep that water clear, pair the falls with proper filtration; see our breakdown of mechanical vs biological pond filtration, and browse more projects in the Water Gardens & Ponds hub.
Frequently Asked Questions
What size pump do I need for a backyard waterfall?
Size by spillway width: about 1,500 GPH per inch of width for a full sheet, or 1,000 GPH per inch for a gentle flow. Then read the pump’s flow curve at your total head height (vertical lift plus friction loss in the hose), since real output drops well below the headline GPH as height increases.
What’s the difference between a pondless and a pond-fed waterfall?
A pond-fed waterfall cascades into an open pond that can hold fish and plants. A pondless waterfall hides all the water in a gravel-filled basin or reservoir, so there’s no standing pool — making it the safest option around children and the lowest-maintenance choice, though it can’t house fish.
How do I stop water from running behind my waterfall rocks?
Fold the pond liner up and over the spillway lip so discharged water always lands on liner, then add black waterfall foam behind and between stones to force water over the rocks rather than letting it sneak underneath and erode the berm. Reset any spillway stone that wasn’t tucked over the liner edge.
How much liner do I need for a waterfall and basin?
Measure the longest length and add twice the maximum depth plus about 2 feet of overlap; do the same for width. Always lay geotextile underlayment beneath the liner to prevent punctures, and buy extra rather than running short — trimming excess is easy, splicing is not.
Can a waterfall keep a pond’s water clear?
It helps significantly. Tumbling water drives oxygen into the pond, which supports fish and the beneficial bacteria that break down waste, and surface movement discourages some algae. But a waterfall isn’t a substitute for filtration — pair it with a properly sized mechanical and biological filter for genuinely clear water.