

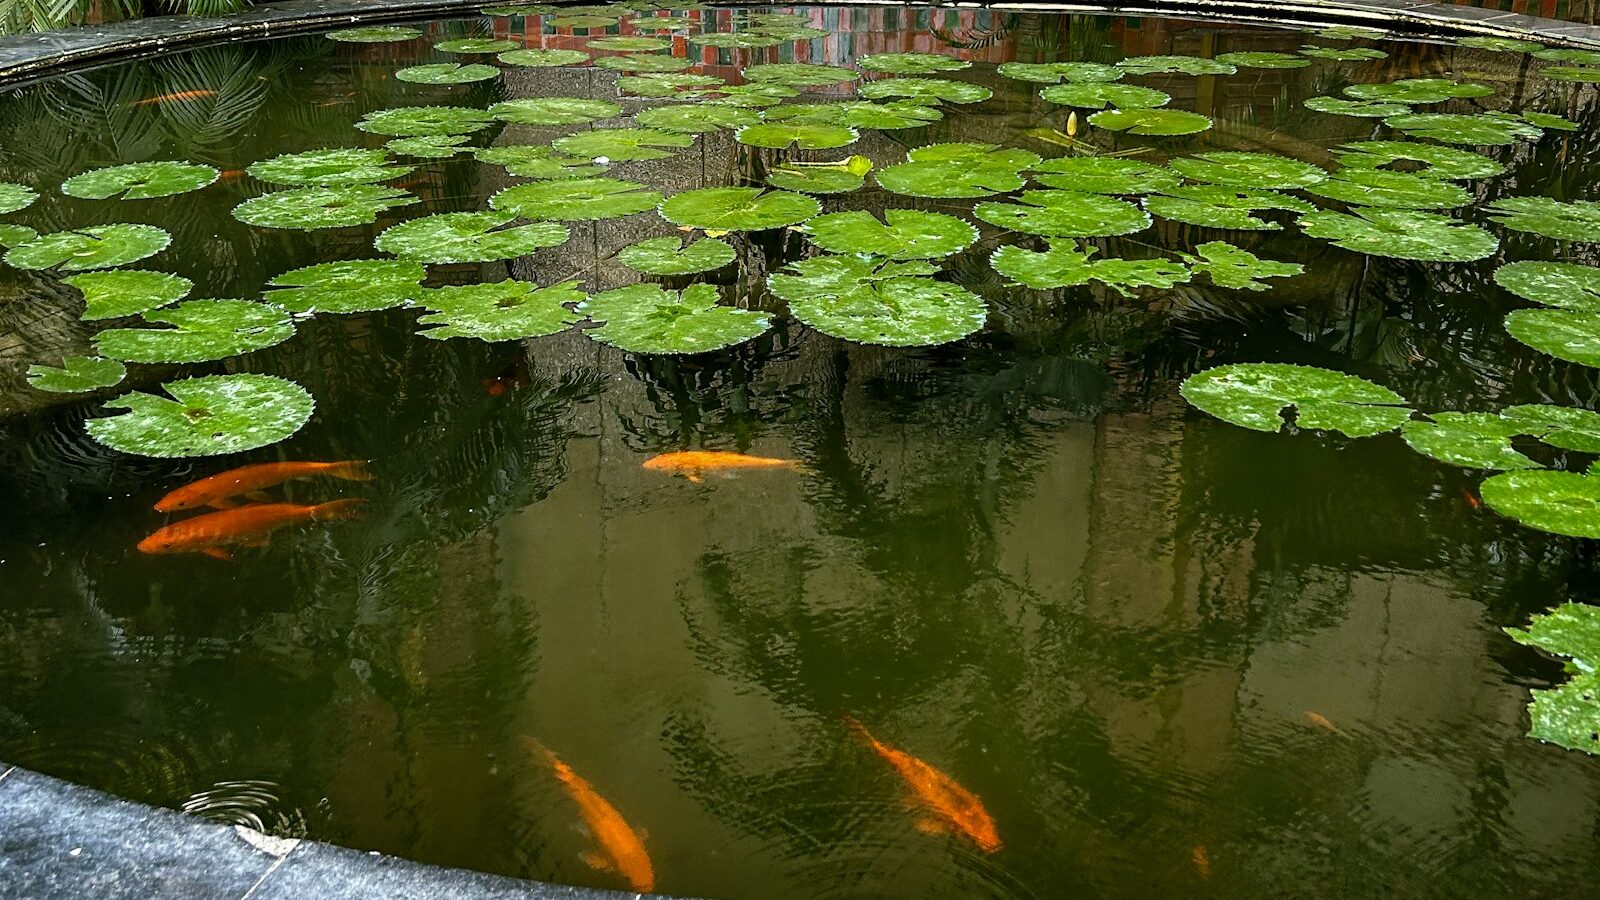
Building a koi pond is one of the most rewarding water-feature projects you can take on, but koi are not goldfish. These large, long-lived fish need real depth, a serious volume of water, and powerful filtration to stay healthy. This step-by-step guide walks you through planning, digging, lining, plumbing, and cycling a proper koi pond so your fish thrive for decades.
Key takeaways
- Koi need depth: aim for 1,000+ gal, 3-4 ft
- Strong mechanical + biological filtration is essential
- Aerate well; koi are heavy waste producers
- Cycle the pond before adding fish
- Stock slowly to let the filter mature
As an Amazon Associate we earn from qualifying purchases.
Step 1: Plan the size, depth, and location
Koi can grow 24 to 36 inches long and produce a large amount of waste, so the single most common beginner mistake is building too small. As a rule, plan for a minimum of 1,000 gallons, and ideally 1,500 to 3,000+ gallons if you intend to keep more than a handful of fish. A bigger volume is more forgiving: water temperature and chemistry stay stable, and the system handles waste spikes far better than a small pond.
Depth matters just as much as surface area. Koi need at least 3 feet, and 4 feet or more is better. Depth protects fish from predators like herons and raccoons, prevents the pond from freezing solid in cold climates, keeps water cool in summer, and gives koi room to swim vertically.
Planning steps
- Decide how many koi you want, then size up. A good guideline is roughly 250 gallons per adult koi.
- Mark a footprint of at least 8 x 11 feet at 3-4 ft deep to comfortably clear 1,000 gallons.
- Pick a location with partial shade to limit algae and protect fish from heat, but avoid sitting directly under messy trees that drop leaves and debris.
- Choose level ground away from low spots where stormwater and lawn runoff (fertilizers, pesticides) could drain into the pond.
- Confirm proximity to a GFCI-protected electrical outlet and a water source for filling and top-offs.
- Call 811 (or your local utility locate service) before digging to mark buried lines.
If you want a broader overview of pond styles and basics before committing to koi, start with our pillar guide on how to build a backyard pond.
Step 2: Choose your pond shell — liner, preformed, or concrete
The shell is the waterproof structure that holds your pond. There are three main options, and for koi the choice usually comes down to flexible liner versus concrete.
Your options
- Flexible liner (EPDM/rubber): The most popular choice for custom koi ponds. A 45-mil fish-safe EPDM liner conforms to any shape and depth, is repairable, and lasts 20+ years when protected by underlayment. This is the best balance of cost and flexibility for most builders.
- Preformed shell: A rigid plastic tub. Fast to install but almost always too small and too shallow for koi. Skip these for a true koi pond.
- Concrete (gunite/block): The premium, permanent option. Durable and great for vertical walls and built-in bottom drains, but expensive, labor-intensive, and prone to cracking if not engineered and sealed correctly. Usually a job for a pro.
For a DIY build, a quality EPDM liner with protective underlayment is the go-to. Browse fish-safe options like this EPDM pond liner and always pair it with an underlayment layer to guard against punctures from roots and rocks.
Step 3: Do the dig and shape the pond
This is the hardest physical part of the build. For anything over a few hundred gallons, renting a mini-excavator will save your back and a weekend of work.
Digging steps
- Outline your shape with a rope or spray paint, then excavate the perimeter first.
- Dig in tiers: a shallow planting shelf around the edge if you want plants, then drop down to the deep zone at 3-4+ feet.
- Slope the bottom slightly toward the lowest point where a bottom drain or pump will sit, so debris collects there.
- Keep walls steep (near vertical) to maximize volume and discourage predators from wading in.
- Remove every sharp rock and root from the hole, then tamp the soil smooth.
- Trench a route from the deep end to where your filter and pump will sit, and run plumbing/electrical conduit before lining.
Once the hole is shaped, lay a layer of underlayment (or even old carpet/sand) across the whole surface, then drape your liner in, leaving plenty of overlap at the top. Smooth out major folds and slowly add a few inches of water to settle the liner before trimming.
Free, no-obligation quote · Connect with a local pro
Step 4: Install bottom drains and skimmers
Koi ponds live or die by water circulation. A skimmer pulls floating debris (leaves, pollen, oils) off the surface, while a bottom drain removes the heavy waste and sludge that settle at the deepest point. Together they keep the water clear and feed solids to your filter instead of letting them rot on the pond floor.
- Bottom drain: Best installed during the dig, plumbed through the liner at the lowest point and gravity-fed to the filter. This is the gold standard for koi but adds plumbing complexity.
- Skimmer: Set at the surface on the side the wind blows toward, so debris is pushed into it.
- Budget alternative: If you skip a bottom drain, place a submersible pump in the deep zone and net the surface regularly. It works, but requires more manual maintenance.
Step 5: Build the critical filtration and aeration
This is where koi ponds differ most from a simple garden pond. Koi are heavy waste producers, so filtration is non-negotiable and must do two jobs at once.
The two stages of filtration
- Mechanical filtration: Physically traps solid waste, leaves, and sludge using pads, brushes, or sieves. This stage must be cleaned regularly or it clogs.
- Biological filtration: The heart of the system. Beneficial bacteria living on bio-media (foam, ceramic rings, bio-balls) convert toxic ammonia from fish waste into nitrite, then into far less harmful nitrate. Without a mature bio-filter, ammonia will poison your fish.
Buy a filter rated for at least double your pond’s gallons; under-filtering is the top cause of cloudy, unhealthy koi water. Look at all-in-one pressurized units or gravity-fed multi-chamber systems and choose a pond filter system sized generously. Many koi keepers add a UV clarifier inline to control green-water algae. For deeper comparisons, see our roundup of the best pond filters.
Aeration
Koi consume a lot of oxygen, and warm summer water holds less of it. A dedicated air pump feeding an air stone or diffuser at the bottom keeps dissolved oxygen high, supports your beneficial bacteria, and prevents dangerous oxygen crashes on hot nights. Run aeration 24/7. In freezing climates it also helps keep a hole open in winter ice for gas exchange.
Step 6: Size the pump and plumb the system
The pump is the engine that moves water through your filter and back to the pond. The general rule for koi is to circulate the entire pond volume at least once per hour. For a 1,500-gallon pond, that means a pump rated for roughly 1,500+ gallons per hour (GPH) at your actual head height.
Pump and plumbing steps
- Calculate “head height” — the vertical lift plus friction from pipe length and fittings. A pump’s GPH drops as head rises, so size up to keep full turnover.
- Choose an energy-efficient external or submersible pump rated for continuous duty; it will run around the clock.
- Use wide-diameter, rigid PVC or flexible pond pipe to minimize flow loss; avoid long runs of thin tubing.
- Plumb from the bottom drain/skimmer to the filter, then return clean water through a waterfall or spillway, which also adds surface agitation and oxygen.
- Put the pump and any heater on a dedicated GFCI circuit and keep cords protected.
Match the pump to your filter’s flow rating and you are set. Shop continuous-duty options like this pond pump, and compare picks in our guide to the best pond pumps.
Step 7: Edge the pond, then dechlorinate, cycle, and stock
With the mechanics done, finish the look and prepare the water for fish. Edging hides the liner and locks everything in place: fold the excess liner up behind a ring of rocks, flagstone, or coping stones around the rim. Use larger boulders to anchor and create a natural transition, but keep heavy rock off the steep walls where it could puncture the liner.
Final water steps before fish
- Fill and dechlorinate: Tap water contains chlorine and chloramine that are lethal to fish and to your bio-filter bacteria. Add a quality dechlorinator/water conditioner as you fill.
- Cycle the pond: Run the pump, filter, and aeration for 4-6 weeks before adding fish so beneficial bacteria can establish. Add a bottled bacteria starter and a small ammonia source to “fishless cycle” the system.
- Test the water: Use a test kit to track ammonia and nitrite. The pond is cycled when both read zero and you see nitrate forming.
- Stock slowly: Add just 1-2 small koi at a time, waiting a couple of weeks between additions so the bio-filter can scale up to the new waste load. Overstocking too fast crashes the system.
- Acclimate fish: Float the bag, then mix pond water in gradually before releasing, to match temperature and chemistry.
Once fish are in, ongoing maintenance and feeding matter just as much as the build. See our full guide to koi fish care for feeding, seasonal care, and disease prevention.
Free, no-obligation quote · Connect with a local pro
Rough cost to build a koi pond
Costs vary widely by size, materials, and whether you DIY. As a rough planning guide for a 1,500-gallon DIY build:
- EPDM liner + underlayment: $300-$700
- Filter system + UV clarifier: $300-$900
- Pump + plumbing: $200-$600
- Air pump + aeration kit: $50-$200
- Skimmer / bottom drain: $100-$500
- Rocks, edging, dechlorinator, test kit: $200-$600
- Excavator rental (optional): $200-$400
A solid DIY koi pond typically lands around $1,500-$4,000 in materials. A professionally built concrete koi pond with bottom drains and premium filtration can run $10,000-$50,000+ depending on size and features.
Frequently asked questions
How deep should a koi pond be?
At least 3 feet, with 4 feet or more strongly recommended. Depth keeps water temperature stable, protects koi from predators like herons and raccoons, and prevents the pond from freezing solid in cold climates.
How many koi can I keep?
Plan for roughly 250 gallons per adult koi. A 1,000-gallon pond comfortably supports a small group, but resist overstocking — too many fish overwhelm even a strong filter and lead to poor water quality.
Why do I need to cycle the pond before adding fish?
Cycling builds up the beneficial bacteria that convert toxic ammonia from fish waste into safer compounds. Without a mature bio-filter, ammonia spikes quickly and can kill your koi. Cycle for 4-6 weeks and confirm ammonia and nitrite read zero before stocking.
Can I use a preformed pond for koi?
Generally no. Preformed shells are almost always too small and too shallow for koi, which need 1,000+ gallons and 3-4+ feet of depth. A flexible EPDM liner or concrete shell is the right choice for a true koi pond.
How big should my filter and pump be?
Buy a filter rated for at least double your pond’s volume, and a pump that circulates the entire pond at least once per hour at your actual head height. Generous sizing is the easiest way to keep koi water clean and clear.
Featured project by Gensou Aquascaping
Prefer a pro to build your koi pond?
Compare free, no-obligation quotes from vetted local pond specialists near you.