

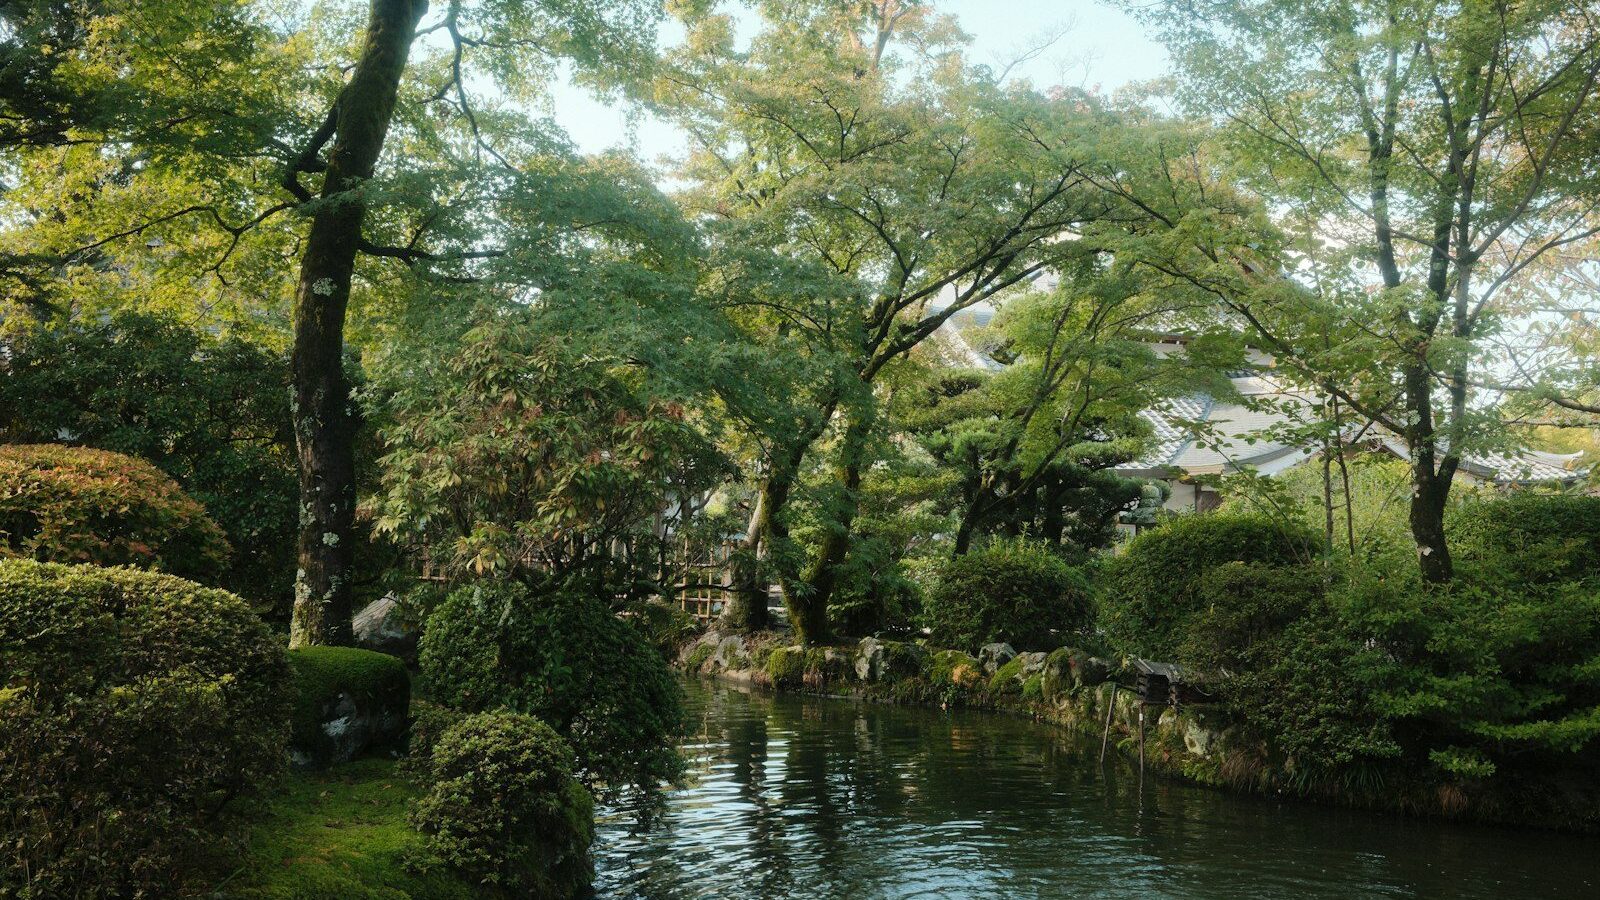
A stream feeding into a pond is the feature that turns a static pool into a living water garden. Done well, a recirculating creek adds the sound of moving water, oxygenates and circulates the pond, and gives you a planting bed for marginals along the banks. The good news is that a pond stream is mostly earthmoving and rock-placement, not specialized plumbing: a pump at the pond pushes water up to a header at the top, and gravity carries it back down a lined channel over rocks. This guide walks through the whole build—planning the grade and head height, sizing the pump and liner, excavating and lining the channel, setting rocks so the water actually sounds like a creek, and keeping the whole thing watertight and low-maintenance.
Key Takeaways
- A pond stream is a recirculating loop: a pump lifts water to a header at the top, and gravity returns it down a lined channel into the pond.
- Aim for a gentle drop of about 1–2 inches per 10 feet of run for a calm creek, with steeper steps and small waterfalls where you want more sound.
- Size the pump to your head height plus run length and width—plan on roughly 1,500–3,000 GPH for a typical 10–20 ft stream a foot or two wide.
- Use a continuous 45-mil EPDM liner for the channel where possible, lapped over the pond liner so water can never run behind it.
- Set rocks to create narrow pinch points and small spill lips—that’s what makes a stream gurgle instead of running silently.
How a Recirculating Pond Stream Works
Every backyard stream is a closed loop, so you never need a water source feeding it. A submersible or external pump sits in the pond (or in a skimmer or pump vault beside it), and a buried delivery pipe carries water uphill to the highest point of the stream. There the water enters a header—either a small biofalls filter box or a simple spillway pool of rock—and from that point on, gravity does all the work. Water sheets down the channel, runs over and between rocks, and empties back into the pond, where the pump picks it up and sends it around again.
Because it’s recirculating, the only water you add is to replace evaporation and the small amount that splashes out. The same circulation that creates the sound and movement also benefits the pond itself: a stream aerates the water, helps keep the surface from stagnating, and—if you run the inflow through a biofalls box packed with filter media—doubles as biological filtration. That’s why many pond builders add a stream specifically to improve water quality, not just for looks.
Planning the Route, Grade, and Head Height
Start by walking the site and choosing a route that uses any natural slope you have. A stream wants to fall, so the ideal spot is ground that already drops gently toward the pond. If your yard is dead flat, you’ll create the drop yourself by mounding excavated soil to raise the header end—just compact it well so it can’t slump and crack the liner later.
For grade, a calm, meandering creek wants a fall of roughly 1 to 2 inches per 10 feet of horizontal run. That gentle pitch keeps water in the channel and audible without it racing through. Where you want more sound and visual drama, build the drop in discrete steps—short flat pools separated by small spill lips of 4 to 12 inches—rather than one continuous steep slide. Stepped pools also hold water when the pump is off, which looks far better than a dry trough.
Head height is the total vertical lift from the pond surface to the top of the stream, and it’s the single most important number for pump selection. Measure it honestly with a line level or laser. A 1.5- to 2-foot lift over a 15-foot stream is typical for a residential feature; the higher the header sits above the pond, the more powerful a pump you need to keep good flow at the top.
Sizing the Pump and Pipe
Two variables drive flow: how much water you want spilling over the stream (its width and the look you’re after) and how hard the pump has to work to get it up there (head height plus pipe friction). A common rule of thumb is roughly 1,000 to 1,500 GPH per foot of stream or spillway width for a healthy sheet of water. A creek that’s about a foot wide with a modest 18-inch falls is well served by a pump in the 1,500 to 3,000 GPH range, measured at your actual head height—not the pump’s headline maximum.
Always read the pump’s flow curve and pick the GPH listed at your head, plus a margin for friction loss in the delivery pipe. Friction is real: long runs and undersized pipe rob flow. Use generously sized flexible PVC—commonly 1.5 to 2 inches for these flow rates—and minimize sharp 90-degree fittings, favoring sweeping bends. Bury the delivery line alongside the stream, out of sight, running from the pump up to the header box.
If you’re building filtration into the loop, a biofalls (waterfall filter box) at the header is the standard approach—water enters the box, passes up through filter mats and bio-media, and overflows into the stream. Match the biofalls’ rated flow to your pump. For a deeper look at moving-water gear and pump selection, browse the Water Gardens & Ponds hub.
Excavating and Lining the Channel
Lay out the stream’s path with a hose or marking paint, giving it gentle curves rather than a straight ditch—natural creeks wander. Dig the channel with shallow side berms a few inches higher than the planned water level on both banks; those raised edges are what keep water in the channel instead of seeping out the sides. Excavate the stepped pools deeper than the spill lips between them so each pool holds a little standing water.
Remove sharp stones and roots from the bed, then lay down a layer of underlayment (geotextile fabric or even old carpet) to protect the liner from punctures. Over that, install 45-mil EPDM rubber liner—it’s flexible, fish-safe, and durable for decades. Wherever possible use one continuous piece for the channel; if you must seam, use proper EPDM seam tape. The critical detail at the bottom: lap the stream liner over the top of the pond’s liner so every drop of water is carried into the pond and none can run behind and undermine the bank. Run the liner well up both berms so the water can’t escape over the edges.
Setting Rocks for Sound and a Natural Look
This is where a stream is made or ruined. Once the liner is in, place rocks from the bottom up. Set larger boulders along the edges to define the banks and hide the liner, then build the spill lips at each step using a flat-topped rock or two with a slight low point in the center to concentrate the flow. A stream runs silently if the water spreads thin and even; it gurgles when you force it through narrow pinch points and over small drops. Create those deliberately—snug a couple of stones close together to neck the channel, and set a spill rock with a gentle lip so water free-falls a half-inch into the pool below.
Bed the rocks in well so they sit naturally and don’t shift, and use a fish-safe expanding foam or smaller stones to seal gaps under and behind the spill rocks—otherwise water sneaks underneath and the falls goes quiet. Add a layer of rounded gravel and river stone across the bed to hide the liner completely and mimic a real creek bottom. Once it’s running, you’ll fine-tune endlessly: nudging a stone an inch changes the whole sound, so test with the pump on and adjust until it sings.
Planting, Startup, and Maintenance
The stream banks and shallow pools are prime territory for marginal plants, which soften the rockwork and pull nutrients from the water to starve algae. Tuck pots of marsh marigold, dwarf rushes, water forget-me-not, or pickerel weed into the slow pools and along the edges. A planted stream looks established within a single season. For aquatic planting ideas that pair well with moving water, see our guide to growing water iris in a pond.
To start the system, fill the pond, prime the pump, and run it—then top up as the stream and pools fill, and watch the banks for any spot where water creeps over a berm or runs behind a spill rock. Fix leaks immediately by raising the liner or re-bedding rocks; a slow bank leak can drain a pond surprisingly fast. For maintenance, keep the pump intake and skimmer clear of leaves, rinse the biofalls media occasionally (in pond water, never tap water, to protect the bacteria), and net out debris that collects in the pools. In cold climates, either run the stream through winter to keep it ice-free or shut down, pull the pump, and store it before a hard freeze. A well-built stream needs little more than that to run for years.
Frequently Asked Questions
What size pump do I need for a pond stream?
Plan on roughly 1,000–1,500 GPH per foot of stream or spillway width for a good sheet of water, measured at your actual head height. A typical foot-wide creek with an 18-inch falls is well served by a 1,500–3,000 GPH pump. Always use the flow listed at your head on the pump’s curve, not the maximum rating, and add margin for pipe friction.
How much slope should a garden stream have?
For a calm, natural-looking creek, aim for about 1 to 2 inches of fall per 10 feet of horizontal run. Where you want more sound and movement, build the drop as a series of small stepped pools with spill lips of 4 to 12 inches rather than one continuous steep slide—stepped pools also hold water when the pump is off.
Why does my stream run silently?
Water that spreads thin and even across a wide, gentle bed makes almost no sound. To get a gurgle, force the flow through narrow pinch points between rocks and over small spill lips that let water free-fall a half-inch into the pool below. Seal under and behind spill rocks with fish-safe foam so water can’t sneak underneath and quiet the falls.
What liner should I use for a pond stream?
Use 45-mil EPDM rubber liner over a protective underlayment of geotextile fabric or old carpet—it’s flexible, fish-safe, and lasts for decades. Use one continuous piece for the channel if you can, and critically, lap the stream liner over the top of the pond’s liner at the bottom so all the water drains into the pond and none can run behind the bank.
Can a stream help filter my pond?
Yes. Running the stream’s inflow through a biofalls (waterfall filter box) at the header turns the feature into biological filtration—water passes up through filter mats and bio-media before spilling into the stream. The constant circulation also aerates the pond and keeps the surface from stagnating, which is why many builders add a stream specifically to improve water quality.