

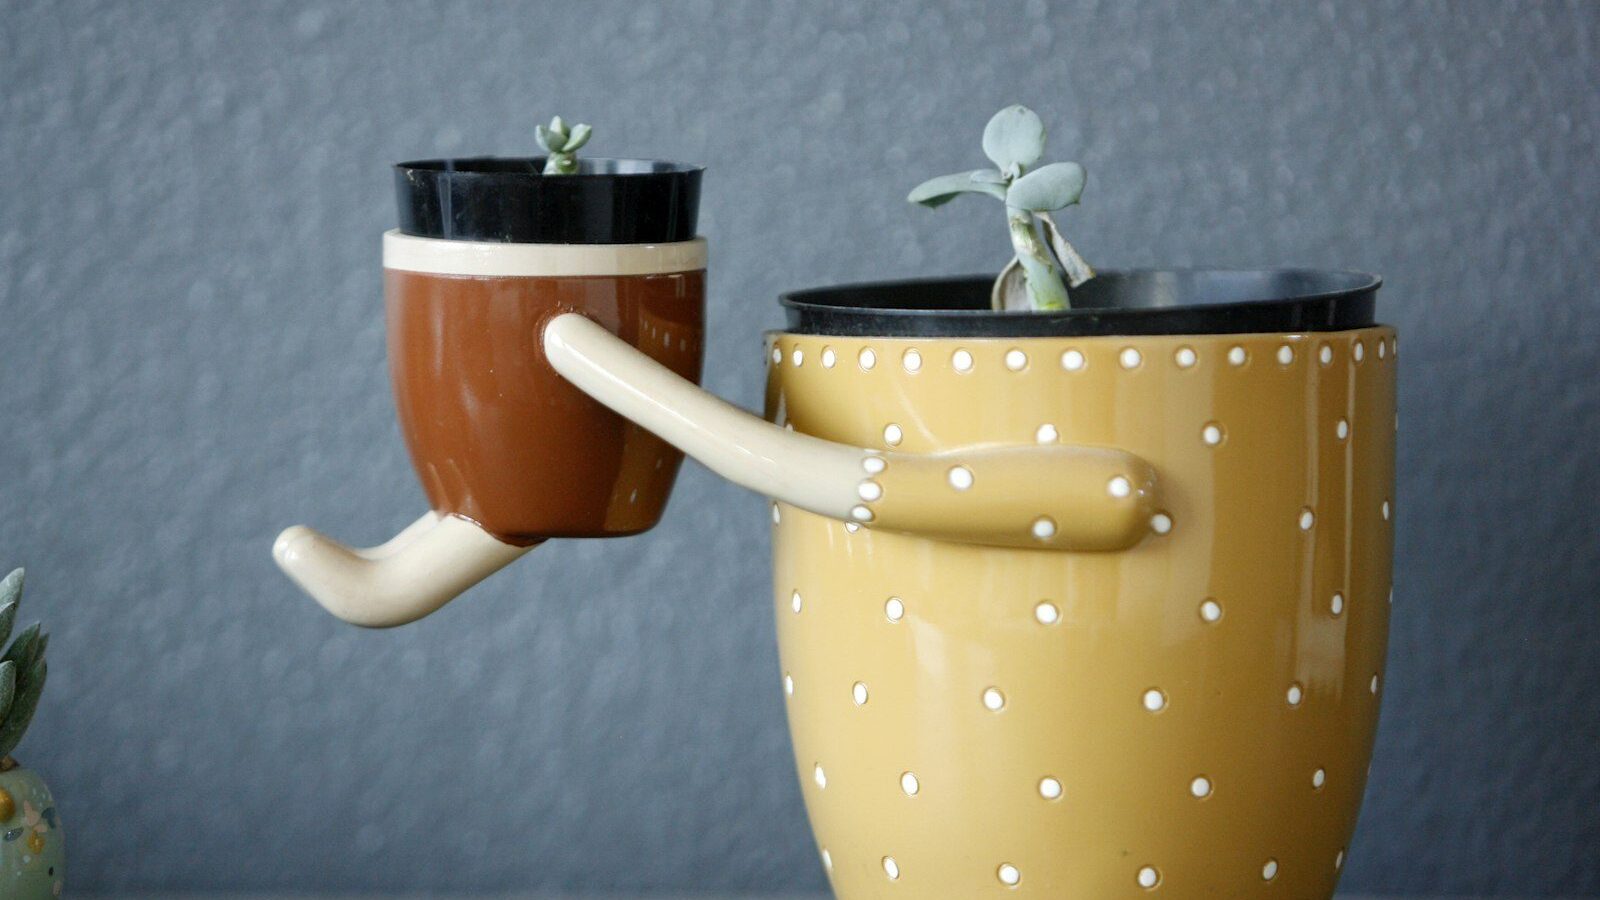
A self-watering container is not magic; it is a pot with a water reservoir in the base that feeds the soil from below through wicking action. Instead of watering the surface every day, you fill a reservoir every few days, and the plant draws up exactly what it needs. For busy gardeners, hot balconies, and thirsty crops like tomatoes, these sub-irrigated planters cut watering chores dramatically and keep soil moisture far steadier than hand-watering ever can. Here is how they work, which plants thrive in them, and how to set one up correctly.
Key Takeaways
- A reservoir in the base wicks water up to the roots through capillary action.
- You refill the reservoir every 3–7 days instead of watering daily.
- Best for thirsty, consistent-moisture crops: tomatoes, peppers, leafy greens, herbs.
- Avoid them for cacti, succulents, and Mediterranean herbs that want dry roots.
- An overflow hole prevents waterlogging; never bury the wicking zone with packed soil.
- Top-water the first weeks after planting until roots reach the reservoir zone.
How Self-Watering Containers Work
Every self-watering planter has the same four parts: a sealed water reservoir at the bottom, a soil chamber above it, a wicking system that connects the two, and an overflow hole at the reservoir’s top edge. You pour water through a fill tube into the reservoir. The soil touching the water, either through wicking baskets dipping into the reservoir or a perforated platform, absorbs moisture and pulls it upward by capillary action, the same way a paper towel draws up a spill. The roots take what they need, and the soil stays evenly damp without ever sitting in standing water.
The overflow hole is the safety valve. When you fill past the reservoir’s capacity, excess drains out the hole rather than drowning the roots, which is why these pots resist overwatering even in heavy rain. The result is the consistent moisture plants love, with none of the wild wet-dry swings of a conventional pot.
The unsung hero of the system is the air gap. Because the reservoir sits below the soil and only the wicking zone touches the water, most of the root ball stays moist but never submerged, so roots get both water and oxygen at once. That balance is what makes sub-irrigation outperform a saucer of standing water, which simply waterlogs the lower roots and suffocates them. Understanding this is also why packing the soil down hard is a mistake: compressed mix loses its air pockets and either refuses to wick or stays soggy, defeating the whole design.
Best Plants for Self-Watering Pots
Sub-irrigation shines with plants that want steady, abundant moisture. Tomatoes are the classic success story, since even watering prevents the blossom-end rot and fruit cracking that erratic watering causes. Peppers, cucumbers, leafy greens, celery, and most herbs like basil, parsley, mint, and cilantro all flourish. Moisture-loving ornamentals such as ferns, coleus, and many annual flowers do beautifully too.
The plants to keep out are those that prefer to dry between waterings: cacti and succulents, lavender, rosemary, sage, and other Mediterranean herbs that rot in constantly damp soil. Deep-rooted root vegetables can also struggle, since the constantly wet lower zone is not ideal for them. If you grow tomatoes and peppers, our guides on growing peppers in containers pair well with a self-watering setup.
Match the container size to the plant’s thirst. A single large tomato or a clump of cucumbers needs a planter with a sizeable reservoir, ideally several gallons, or you will be refilling daily in summer and undercutting the whole point. Leafy greens, herbs, and bush beans are happy in smaller window-box-style self-watering planters. As a guide, choose at least a 5-gallon body for one full-size fruiting vegetable, and step up from there for anything larger. Because the reservoir buffers the plant against missed waterings, these containers are also forgiving for beginners and for anyone who travels, often coasting through a long weekend untouched.
Setting Up a Self-Watering Container
Whether you buy a commercial planter or convert a tote yourself, the setup principles are the same and getting them right is what makes wicking actually work.
Use the right soil mix
This is the step people get wrong. Wicking depends on a light, fluffy mix that draws water upward; dense soil or topsoil will not wick and the upper roots stay dry. Use a peat- or coir-based potting mix with plenty of perlite. Do not pack it down hard. Many gardeners blend in compost for nutrition but keep the overall texture open and airy.
Prime and plant
Before planting, water the mix from the top thoroughly to saturate it and start the wicking process; a bone-dry mix sometimes will not begin drawing on its own. Set transplants at normal depth, then for the first one to two weeks water from the top as usual while roots grow down toward the wicking zone. Once established, switch to filling only the reservoir. Add a slow-release fertilizer or place a strip of granular feed on the surface, since liquid feeds poured into the reservoir can build up salts over time.
Mulch and cover the surface
Many commercial planters and good DIY designs include a plastic mulch cover over the soil surface. This is more useful than it looks: it stops rain from flooding the soil chamber from above (rain should fill the reservoir through the overflow level, not soak the mix), it slows evaporation from the top so almost all water moves through the plant rather than the air, and it suppresses weeds and algae. A simple sheet of black plastic with slits cut for the plants does the same job. The cover is also your defense against mosquitoes, since it keeps the open soil and any surface water out of reach; pair it with a capped or screened fill tube and you remove the one real hygiene drawback of these planters.
Filling and Maintenance
Fill the reservoir through the fill tube until water trickles from the overflow hole, then stop. How long a fill lasts depends on plant size, pot size, and weather: a small herb planter might go a week, while a large tomato in midsummer heat can empty a reservoir in two to three days. Check by lifting the pot (lighter means empty), peeking down the fill tube, or watching a built-in water-level indicator if your model has one.
Let the reservoir run empty occasionally rather than topping it constantly; a brief dry spell pulls oxygen into the root zone and discourages root rot. At season’s end, empty and scrub the reservoir to clear algae and mineral buildup, and flush the soil with plain water from the top a couple of times during the season to wash out accumulated fertilizer salts.
Winterizing self-watering pots
In freezing climates, do not leave water in the reservoir over winter. Trapped water expands as it freezes and can crack the plastic body or split the inner platform, so drain the reservoir completely once the season ends, empty the fill tube, and store the planter somewhere sheltered if you can. If a perennial or shrub lives in the container year-round, switch to occasional top-watering through the cold months and keep the reservoir empty until spring. Resetting the system each spring with a fresh top-watering to re-prime the wick gets it drawing properly again before the growing season begins.
DIY vs. Store-Bought
Commercial self-watering planters are tidy and reliable, with built-in fill tubes, overflow holes, and level indicators. But you can convert a 5-gallon bucket or a large storage tote cheaply: suspend a perforated platform a few inches above the base, add a wicking column packed with soil that dips into the reservoir, drill an overflow hole at the platform’s level, and run a length of pipe down one corner as a fill tube. The DIY version performs just as well if you get the wicking and overflow right.
A few drawbacks are worth knowing. Self-watering pots are heavier when full, can encourage mosquito breeding if the reservoir sits open (a screened fill tube helps), and are not suited to drought-loving plants. For most edible container gardeners, though, the time saved and the steadier harvests make them well worth it. Explore more compact-growing options in our list of the best vegetables for container gardening and the Urban Gardening hub.
Frequently Asked Questions
How do self-watering containers actually work?
A reservoir in the base holds water that wicks up into the soil by capillary action. The roots draw what they need, and an overflow hole drains any excess so the plant never sits in standing water.
How often do I refill the reservoir?
Typically every 3–7 days, depending on plant size and heat. A large tomato in summer may need refilling every 2–3 days, while a small herb pot can last a week.
What plants should not go in self-watering pots?
Avoid drought-loving plants such as cacti, succulents, lavender, rosemary, and sage, which rot in constantly moist soil. They prefer to dry out between waterings.
Why is my self-watering container not wicking?
Usually the soil is too dense or was never primed. Use a light coir or peat mix with perlite, avoid packing it, and water thoroughly from the top first to start the wicking action.
Can I make a self-watering planter myself?
Yes. A 5-gallon bucket or storage tote with a raised perforated platform, a soil-packed wicking column dipping into the reservoir, an overflow hole, and a fill tube works as well as store-bought.
Do self-watering containers breed mosquitoes?
They can if the reservoir or surface sits open, but a soil cover plus a capped or screened fill tube keeps mosquitoes out. Letting the reservoir run dry occasionally also interrupts any breeding cycle.
How do I overwinter a self-watering container in freezing weather?
Drain the reservoir and fill tube completely so trapped water cannot freeze and crack the plastic, then store the empty planter under cover. Re-prime it with a top-watering in spring to restart the wicking.