

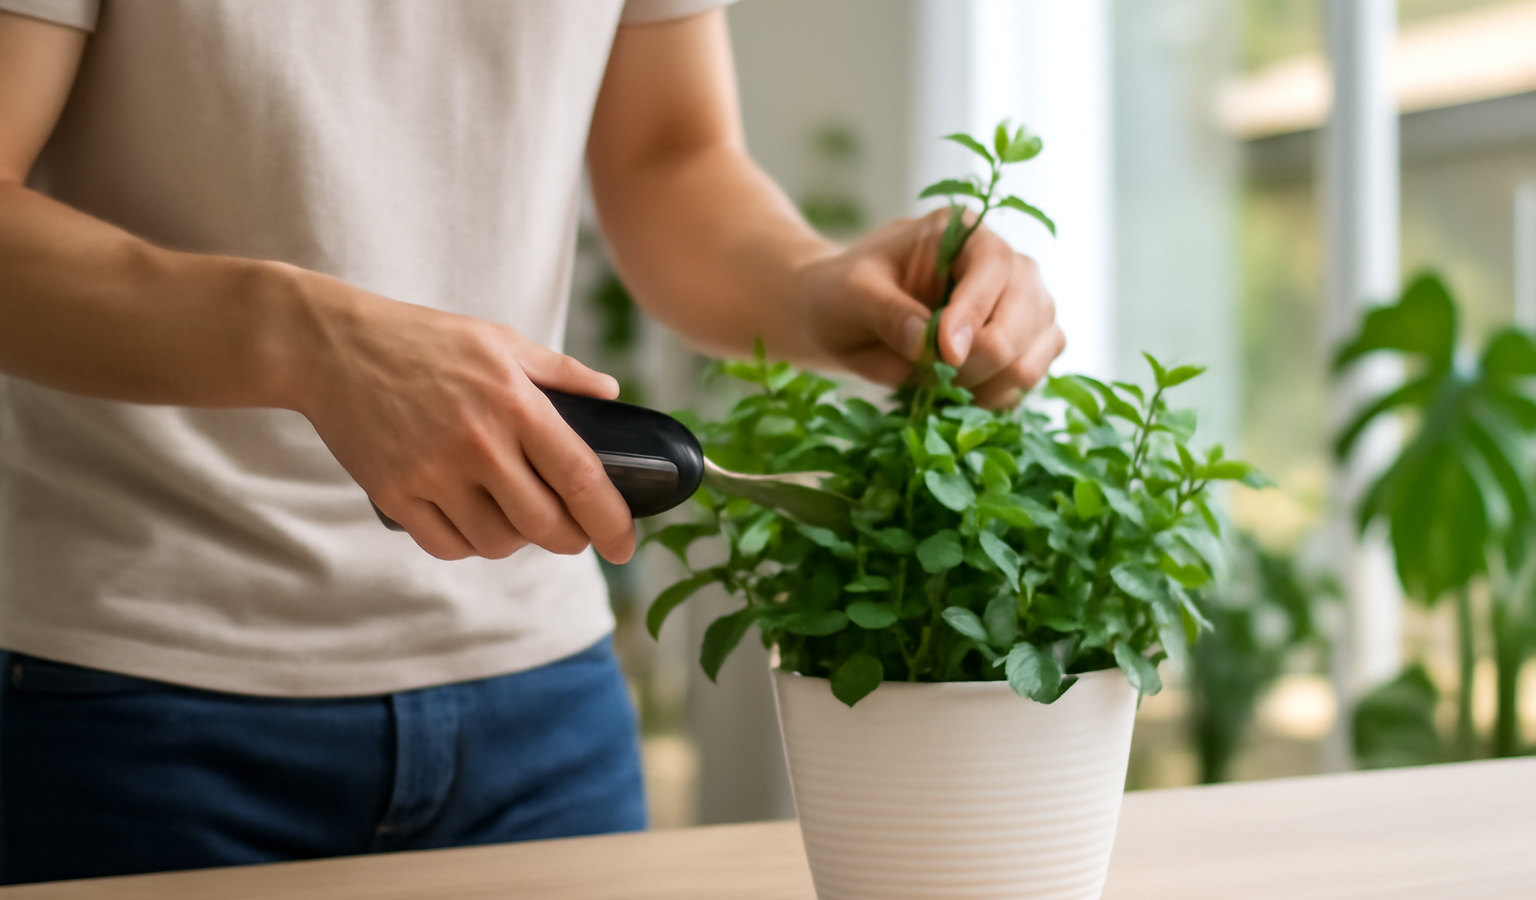
Most houseplants do not get leggy and sparse because their owner did something wrong. They get leggy because nobody ever cut them back. Left to their own devices, plants like pothos, philodendron, and tradescantia pour their energy into a few long, reaching vines, while a young rubber plant or fiddle-leaf fig will happily shoot straight up as a single bare stalk with a tuft of leaves on top. Pruning flips that script. By removing the right growth at the right spot, you redirect the plant’s energy into producing multiple new branches, and the result is the full, bushy, lush plant you actually wanted. Pruning is the single most powerful tool you have for shaping an indoor plant, and once you understand the simple botany behind it, it stops being scary and starts being one of the most satisfying parts of plant care.
Part of our Houseplants & Container Gardening guide →
In this guide
This guide explains exactly how to prune houseplants for bushier growth: the difference between pinching and pruning, precisely where on the stem to cut and why, how to encourage branching on vining and upright plants alike, and how to turn the pieces you remove into brand-new plants instead of throwing them in the compost. I will keep it concrete, with the specific node-and-leaf landmarks to look for, so you can walk over to your leggiest plant and start with confidence.
Key Takeaways
- Pruning removes apical dominance, the hormonal signal from the tip that suppresses side shoots, so the plant branches and bushes out.
- Always cut just above a node, the bump where leaves and roots emerge, leaving about a quarter inch of stem above it.
- Pinching is finger-pruning soft new tips to encourage branching; pruning with clean shears handles woody or thick stems.
- For bushiness, cut back leggy stems by a third to a half, prune above an outward-facing node, and spread cuts around the plant.
- Most cuttings with at least one node will root in water or moist mix, giving you free new plants from every trim.
- Prune in spring and summer during active growth, use clean sharp tools, and never remove more than a third at once.
Why Pruning Makes Plants Bushier
To prune well, it helps to understand one piece of plant biology: apical dominance. The growing tip at the end of each stem, called the apical bud, produces a steady stream of a hormone (auxin) that travels down the stem and suppresses the dormant buds waiting at every leaf node below it. As long as that tip is intact and growing, those lower buds stay asleep, and the plant keeps extending in a single direction, longer and longer, leggier and leggier. This is a smart survival strategy in a wild forest, where racing upward toward light beats out competitors, but indoors it produces gangly, bare-stemmed plants.
When you cut off that growing tip, you remove the source of the suppressing hormone. The dormant buds just below the cut suddenly wake up, and instead of one stem you get two, three, or more new shoots branching out from that point. Repeat this around the plant and each cut multiplies the number of growing points, filling the plant in from a sparse single stem into a dense, many-branched bush. That is the entire mechanism behind bushier growth, and it is why a single well-placed cut can transform a plant’s shape. Understanding it also tells you exactly where to cut, which is the next thing to get right.
Where to Cut: The All-Important Node
Every productive cut you make on a houseplant is defined by one landmark: the node. A node is the slightly thickened bump or joint on a stem where a leaf, a side branch, or an aerial root emerges. The dormant buds that will become new branches live right at these nodes. The smooth stretch of stem between two nodes is called the internode, and it contains no buds, so cutting in the middle of an internode leaves a dead stub that will brown and die back rather than sprout.
The rule, therefore, is simple and nearly universal: always cut just above a node. Leave roughly a quarter inch of stem above the node and make your cut there. The buds at that node, now released from the suppressing hormone above them, will push out new growth, and the short stub you left will dry back to the node cleanly without leaving an exposed gap that invites rot. On most vining and leafy plants, make a clean straight cut; the small angle traditional with woody outdoor cuttings matters little indoors. Just be sure you can see a node below your cut, and that there is healthy leaf or stem remaining on the plant beyond it.
Cut above an outward-facing node for shape
One refinement makes a real difference to the finished shape: when you have a choice, cut just above a node whose bud or leaf points outward, away from the center of the plant. The new growth tends to emerge in the direction that bud faces, so cutting above an outward-facing node sends fresh shoots out and away from the plant’s middle, opening it up and giving it a balanced, rounded form. Cutting above an inward-facing node sends growth crowding into the center, where it tangles and shades itself. This trick is borrowed straight from outdoor shrub and rose pruning, and it works just as well on a rubber plant or a hibiscus on your windowsill.
Pinching vs. Pruning
People often use these two words interchangeably, but they describe different tools for different growth. Knowing which to reach for keeps the job quick and the plant healthy.
Pinching: finger-pruning soft new growth
Pinching is simply removing the soft, tender growing tip of a stem with your thumb and forefinger, no tools required. You reach for the very end of a young, actively growing shoot, grasp it just above the topmost set of leaves or the next node down, and pinch it off. This does exactly the same thing as a pruning cut, removing the apical bud to trigger branching, but it is best for soft, herbaceous, fast-growing tips. Pinching is the everyday maintenance technique for plants like coleus, basil, pilea, tradescantia, and the soft tips of pothos and philodendron. Because the growth is so tender, your fingers make a clean break, and doing it regularly, every few weeks during the growing season, keeps these plants compact and lush almost effortlessly. Pinching young plants early and often is the secret to a full, bushy specimen rather than a stretched one.
Pruning: cutting woody or thick stems with shears
Pruning, in the stricter sense, means using a cutting tool, sharp scissors, snips, or bypass pruners, to remove thicker, tougher, or woody stems that you cannot cleanly pinch. You will prune rather than pinch when shaping a rubber plant, fiddle-leaf fig, hibiscus, or any plant with stems too firm to break by hand, when removing a long established vine, or when cutting out dead, damaged, or diseased growth. Whatever the tool, the rules are the same: keep the blade clean and sharp, and cut just above a node. A clean sharp cut heals quickly; a crushing cut from dull blades or torn growth from a bad pinch leaves a ragged wound that is slow to heal and more prone to rot or infection.
How to Prune for Bushier Growth, Step by Step
Put the pieces together and pruning for bushiness becomes a repeatable routine. Start by cleaning your tool. Wipe the blades with rubbing alcohol or a little household disinfectant before you begin and between plants, so you are not spreading disease from one to another. Then work through these steps.
First, step back and assess the plant. Identify the leggy, overlong, or bare stems that are spoiling the shape, along with any dead, yellowing, or damaged leaves you will remove along the way. Decide roughly how full you want the plant and where new growth should fill in. Second, remove the dead and damaged growth first; clearing it out makes the live structure easier to read. Third, tackle the leggy stems: cut each overlong stem back by about a third to a half of its length, making each cut just above a healthy, ideally outward-facing node. Cutting that hard sounds drastic, but it is exactly what forces vigorous branching low on the plant where you want the fullness. Fourth, spread your cuts around the whole plant rather than hacking one side, so it bushes out evenly and keeps a balanced silhouette. Fifth, do not overdo it; never remove more than about a third of the plant’s total foliage in a single session, since the plant needs enough leaves left to photosynthesize and recover.
For vining plants like pothos, philodendron, and tradescantia, the same principle cures legginess. Trim the long bare vines back to within a few inches of the soil, always above a node, and the plant will throw out fresh shoots near the base and along the remaining stems, refilling the pot densely instead of trailing thin and sparse. If your trailing plant has become all string and no leaves, our guide on why a pothos stops growing covers the light and care side of the problem that pruning then completes. For upright plants like a rubber plant or fiddle-leaf fig, cutting the main stem at the height you want triggers branching there, turning a single bare trunk into a multi-stemmed, fuller tree.
When to Prune Houseplants
Timing matters because pruning asks the plant to push new growth, and it does that best when it is already in an active growing phase. For most houseplants, that means early spring through summer, when lengthening days and warmth have the plant growing vigorously and recovery is fast. A plant pruned in spring rebounds within a couple of weeks, branching enthusiastically. Avoid heavy pruning in the depths of winter, when most houseplants slow to a near standstill in low light; a hard cut then just leaves a wound that sits open and idle. That said, you can remove dead, dying, or diseased growth at any time of year, since that is cleanup rather than growth stimulation, and light pinching of fast growers like tradescantia can continue whenever they are actively pushing tips. Adequate light is the partner to good timing; if your plants are stretching from low light, our beginner’s guide to indoor grow lights will help the new growth come in compact rather than leggy all over again.
Don’t Waste the Cuttings: Propagation
Here is the best part of pruning: the pieces you cut off are not trash, they are free new plants. Most common houseplants root readily from stem cuttings, and the trimmings from a bushiness-pruning session are ideal material. This is how a single pothos becomes five, and how you turn a leggy plant’s removed growth into gifts or fuller pots.
What makes a good cutting
The single requirement is the same node you have been cutting above: a usable cutting must include at least one node, because that is where new roots will emerge. Take a healthy stem segment three to six inches long that has one or two nodes and a few leaves. Strip off the lower leaves so that the bottom node or two are bare, since those bare nodes are where roots will form and any leaves left underwater or buried in soil will just rot. Keep one or two leaves at the top to power the cutting through photosynthesis. Vining plants like pothos, philodendron, tradescantia, and monstera, and softer plants like pilea, coleus, and tradescantia, all root from such cuttings with ease. Plants that grow as a single rosette or trunk without nodes along a stem, such as many palms and some ferns, do not propagate this way.
Rooting in water or soil
The easiest method is water propagation. Drop the cutting into a glass of room-temperature water with the bare lower node submerged and the leaves above the waterline, set it somewhere bright but out of direct sun, and change the water every few days to keep it fresh and oxygenated. Within one to four weeks, depending on the plant and the season, you will see white roots emerging from the submerged node. Once those roots are an inch or two long, pot the cutting up in moist potting mix and care for it as a new plant. Alternatively, you can root cuttings directly in soil: dip the cut end in rooting hormone if you have it, insert the bare node into moist, well-draining mix, and keep it warm and humid, loosely tented with a clear bag, until new growth signals that roots have taken. Either way, you can plant several rooted cuttings back into the original pot to make the parent plant even fuller. For more ways to multiply plants and stretch a small indoor garden, browse our urban gardening hub.
Tools, Aftercare, and Common Mistakes
Good pruning is as much about the basics around the cut as the cut itself. Use the right tool for the stem: clean fingers for soft tips, sharp scissors or snips for thin stems, and bypass pruners for anything woody. Always sterilize blades with rubbing alcohol before starting and between plants to avoid spreading disease. After pruning, water the plant normally, keep it in good light, and hold off on fertilizing for a couple of weeks until you see new growth, then resume feeding to fuel the fresh shoots. Expect visible new branching within two to four weeks during the growing season.
The common mistakes are easy to avoid once named. Do not cut in the middle of an internode, where there is no bud to sprout; always cut just above a node. Do not remove more than a third of the plant at once, which can stress it badly. Do not prune heavily in winter dormancy. Do not use dull or dirty blades, which crush stems and spread infection. And do not be timid: the most common pruning mistake by far is cutting too little, leaving a plant leggy because the owner was afraid to make the bold cuts that actually trigger bushy growth. Plants are far more resilient than they look, and a confident cut just above a node is almost always rewarded with fuller, healthier growth.
Frequently Asked Questions
Where exactly should I cut when pruning a houseplant?
Always cut just above a node, the slightly thickened bump on the stem where leaves, branches, or aerial roots emerge. Leave about a quarter inch of stem above the node and make a clean cut there. The dormant buds at that node will wake up and produce new branches once the suppressing growing tip above them is gone. Never cut in the middle of an internode (the bare stretch between nodes), because there is no bud there to sprout and the stub will just die back.
What is the difference between pinching and pruning?
Pinching means removing the soft, tender growing tip of a stem with your fingers, no tools needed, and it is best for fast-growing, herbaceous plants like coleus, pilea, and the soft tips of pothos and tradescantia. Pruning means using clean, sharp scissors or pruners to remove thicker, tougher, or woody stems, like those on a rubber plant or fiddle-leaf fig. Both do the same thing biologically, removing the growing tip to trigger branching, but you match the technique to how soft or woody the stem is.
How do pruning and pinching make a plant bushier?
The growing tip of each stem releases a hormone that keeps the dormant buds below it asleep, a phenomenon called apical dominance, so an unpruned plant keeps growing longer and leggier in one direction. When you cut or pinch off that tip, the suppression lifts and the dormant buds just below the cut wake up and grow, turning one stem into several. Repeat this around the plant and each cut multiplies the growing points, filling a sparse plant into a dense, bushy one.
When is the best time to prune houseplants?
Prune during active growth, generally early spring through summer, when longer days and warmth let the plant recover fast and branch vigorously, usually within two to four weeks. Avoid heavy pruning in the low light of winter dormancy, when a hard cut just leaves an open wound with little new growth to follow. You can, however, remove dead, dying, or diseased growth at any time of year, since that is cleanup rather than growth stimulation.
Can I grow new plants from the cuttings I prune off?
Yes, and it is one of the best reasons to prune. Most common houseplants, including pothos, philodendron, monstera, tradescantia, and pilea, root easily from stem cuttings. Take a three- to six-inch piece that includes at least one node, strip the lower leaves to expose the bottom node, and place it in a glass of water or moist potting mix. In one to four weeks roots form at the node, and you can pot it up as a new plant or tuck it back into the parent pot for extra fullness.