

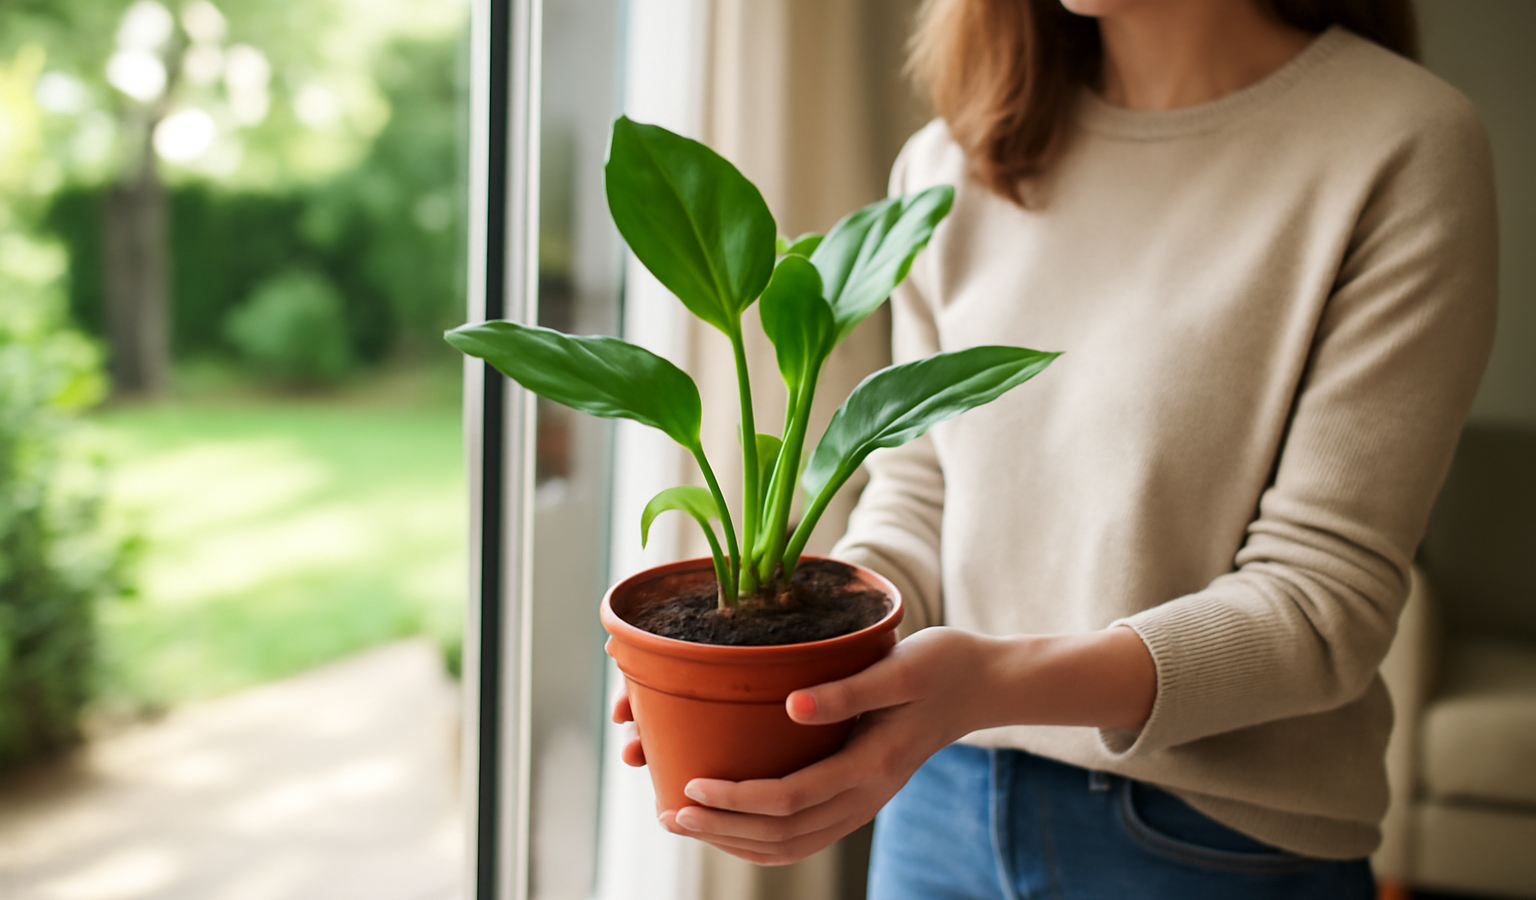
That new plant you just carried home from the nursery, the big-box garden center, or a swap with a friend has had a very different life than the one waiting for it on your windowsill. It was grown in a high-humidity greenhouse under bright, even light, fed on a tight fertilizer schedule, and kept at a steady temperature. Your living room is drier, dimmer, draftier, and far less predictable. The week or two after a plant arrives is the single riskiest stretch of its life with you, and most of the dramatic deaths and pest outbreaks beginners blame on “bad luck” actually trace back to skipping the acclimation process. Acclimating a new houseplant is not complicated, but it is deliberate: you quarantine it, inspect it for hitchhiking pests, ease it into its new light over a couple of weeks, hold off on repotting, and refuse to panic when a few leaves drop. Do those five things and the overwhelming majority of plants settle in and thrive.
Key Takeaways
- Quarantine every new plant 2 to 3 weeks, isolated at least 3 feet from your existing collection, before integrating it.
- Inspect leaves (especially undersides), stems, and the soil surface for spider mites, mealybugs, scale, thrips, and fungus gnats the day it arrives and again every few days.
- Introduce light gradually over 10 to 14 days; jumping straight into a bright window can scorch greenhouse-soft foliage.
- Do not repot for at least 2 to 4 weeks unless the plant is rootbound or sitting in soggy soil; let it adjust before you disturb the roots.
- Some leaf drop, yellowing, or wilting in the first weeks is normal acclimation stress, not a death sentence.
Why New Houseplants Struggle (and Why Acclimation Works)
Commercial growers raise houseplants in conditions you cannot replicate at home: 70 to 90 percent humidity, diffused light measured in the thousands of foot-candles, automated drip irrigation, and a constant 70 to 80°F. The plant builds tissue tuned to that environment. When it lands in your home, it suddenly faces 30 to 50 percent humidity, a fraction of the light, tap water, and temperature swings near windows and vents. The plant has to re-engineer its leaves, root behavior, and water use to match. That transition takes time, and rushing any part of it forces the plant to fight several stressors at once. Acclimation simply spaces those stressors out so the plant adapts to one challenge at a time instead of all of them on day one.
There is also a hidden risk that has nothing to do with the plant’s comfort: pests. Greenhouses are warm, crowded, and humid, which makes them ideal breeding grounds for spider mites, mealybugs, scale, thrips, and fungus gnats. A new plant can look perfectly healthy and still carry eggs or a handful of adults you will not notice until they have spread to every plant in the room. Quarantine and inspection exist to catch those passengers before they turn a single purchase into a household-wide infestation.
Step 1: Quarantine the New Plant for 2 to 3 Weeks
The moment a new plant comes through your door, treat it as guilty until proven innocent. Set it in a separate room, or at minimum on a shelf or counter at least 3 feet away from your existing plants, with no overlapping foliage. Spider mites and mealybugs travel by crawling and by air currents, so physical distance genuinely matters. Two to three weeks is the standard quarantine window because it covers more than one life cycle of the most common pests: a single inspection can miss eggs, but by the time you have watched the plant for two weeks, anything that hatched will have revealed itself.
Pick a quarantine spot that still meets the plant’s basic needs: reasonable indirect light and stable temperature. A windowless bathroom is too dark; a guest room with an east window is ideal. Wash your hands or wipe down tools after handling the quarantined plant before you touch the rest of your collection. If you have the space, a clear plastic tote or a dedicated “plant hospital” corner makes the routine easy to stick to. This is also the perfect period to observe baseline behavior so you know what normal looks like for that specific plant before you move it anywhere permanent. Resist the urge to integrate it early just because it looks fine; the whole point is that early-stage infestations look fine.
Step 2: Inspect Thoroughly for Pests
Inspection is the active half of quarantine. On arrival, take the plant somewhere with good light and go over it systematically. Turn leaves over and examine the undersides, because that is where mites and scale prefer to feed. Run your fingers along the stems and into leaf axils where mealybugs hide as white cottony specks. Check the soil surface and the drainage holes for fungus gnat larvae and the small black adults that flit up when you disturb the pot. Use a 10x jeweler’s loupe or your phone’s macro camera if your eyesight needs help; many infestations start as specks you would otherwise dismiss.
What to look for, pest by pest
- Spider mites: fine webbing in leaf joints, tiny moving dots, and a stippled, dusty-looking leaf surface. They explode in dry indoor air.
- Mealybugs: white, cottony, waxy clumps in crevices and on stems; sticky residue (honeydew) nearby.
- Scale: small brown or tan bumps along stems and midribs that do not rub off easily and feel waxy.
- Thrips: silvery streaks or scarring on leaves, black fecal specks, and slim fast-moving insects you may only catch when you shake the leaf over white paper.
- Fungus gnats: small black flies around the soil; harmless adults, but larvae chew tender roots in consistently wet potting mix.
If you find anything, isolate harder and treat before the quarantine clock resets. A firm spray of water knocks back mites; insecticidal soap or neem oil handles soft-bodied pests over repeated weekly applications; a cotton swab dipped in 70 percent isopropyl alcohol kills mealybugs and scale on contact. Let the soil dry out more between waterings to break the fungus gnat cycle, or top the soil with a half-inch of sand. Repeat inspections every three to four days for the full quarantine period; one clean look is not proof, but two clean weeks usually is. For chemical-free routines you can lean on the same principles covered in our guide to neem oil vs insecticidal soap, which breaks down when each option is the better call.
Step 3: Introduce Light Gradually
Light is the change that most often scorches a new plant, and it catches people off guard because it feels counterintuitive: you bought a “bright light” plant, so you put it in your brightest window, and within days the leaves bleach or develop crispy tan patches. The problem is that greenhouse light, though intense, is heavily diffused, and the plant’s foliage is soft and unhardened. Drop it straight into direct sun through glass and the leaf tissue burns the same way pale skin burns on the first beach day of summer.
Instead, harden the plant off over 10 to 14 days. For the first few days, place it in bright indirect light a few feet back from a window or filtered by a sheer curtain. Every two to three days, move it modestly closer to its eventual position, watching for any bleaching, browning, or sudden curling. If you see scorch, back it off and slow down. Match the destination to the species: most aroids (pothos, philodendron, monstera), calatheas, and ferns want bright indirect light and never direct midday sun, while succulents, cacti, and citrus can ultimately take direct light but still need the same gradual ramp. If your home is genuinely dark, a basic LED grow light bridges the gap, and you can increase its daily run time over the same two-week window rather than blasting 14 hours from day one.
Step 4: Hold Off on Repotting
The most common acclimation mistake is repotting immediately. It feels like a kindness, fresh soil and a prettier pot, but it stacks a major root disturbance on top of every other stressor the plant is already managing. Repotting tears fine feeder roots, changes the soil’s water-holding behavior, and resets the plant’s relationship with its own root ball, all while it is trying to adjust to your light and humidity. Wait at least 2 to 4 weeks, ideally until quarantine is over and the plant has shown it has settled in, before you even consider it.
There are two exceptions. First, if the plant is severely rootbound, roots circling thickly and growing out the drainage holes with water running straight through, it may need relief sooner, but pot up gently into a container only one size larger and disturb the root ball as little as possible. Second, if it arrived in waterlogged, sour-smelling soil or has obvious root rot, you should remove it from the soggy mix, trim mushy roots, and replant in fresh, well-draining medium right away, because leaving it in rot is worse than the stress of repotting. Outside those cases, leave the nursery pot alone. The plastic grower’s pot drains well and the plant is already adapted to it; you can drop it inside a decorative cachepot for looks and repot properly once it is thriving. If you garden in tight quarters, our notes on container and small-space growing approaches are a useful companion when you do finally size up.
Step 5: Expect Some Leaf Drop (and Don’t Panic)
Here is the reassurance every new plant owner needs: a few leaves yellowing or dropping in the first couple of weeks is normal. The plant grew lush foliage to exploit greenhouse light, and in your dimmer home it cannot support all of it, so it sheds the leaves it can no longer afford and redirects energy to the foliage that suits its new conditions. Fiddle-leaf figs, ficus, and crotons are especially dramatic about this and may drop several leaves; that does not mean you killed it. Minor wilting between waterings and slowed growth are also typical while roots adjust.
What you want to watch for is the difference between normal adjustment and real trouble. Acclimation drop is gradual, affects older or lower leaves first, and tapers off within a few weeks as the plant stabilizes. Warning signs that something else is wrong include mushy or blackened stems, a sour smell from the soil (root rot from overwatering), sudden collapse of many leaves at once, or the pest symptoms above. During acclimation, water only when the plant actually needs it rather than on a fixed schedule, since overwatering a stressed, low-light plant is the fastest way to rot it. If you are unsure how to judge that, our guide on how to tell when to water houseplants walks through the finger test, moisture meters, and the weight method. Hold off on fertilizer entirely for the first month; a stressed plant cannot use it, and fertilizing soft new arrivals often does more harm than good.
A Simple Two-Week Acclimation Timeline
- Day 1: Inspect top to bottom, including leaf undersides and soil. Place in quarantine, 3+ feet from other plants, in bright indirect light. Water only if the soil is dry.
- Days 2 to 7: Re-inspect every few days. Keep light moderate and indirect. Do not repot or fertilize. Expect some leaf drop.
- Days 7 to 14: If pest-free, begin moving the plant gradually toward its permanent light position, a little closer every 2 to 3 days. Continue watering only on demand.
- Day 14 to 21: Quarantine ends after two to three clean inspections. Integrate with the collection, settle it in its final spot, and only now consider repotting if needed.
- Week 4 onward: Once new growth appears, resume a light feeding schedule and normal care.
Frequently Asked Questions
How long does it take a houseplant to acclimate to a new home?
Most houseplants stabilize within two to four weeks, which is why quarantine runs two to three weeks and you hold off on repotting and fertilizing for about a month. Slower or more sensitive plants, like fiddle-leaf figs and calatheas, can take six to eight weeks to fully settle and resume vigorous growth.
Why is my new plant dropping leaves after I brought it home?
It is almost always acclimation stress. The plant grew extra foliage under bright greenhouse light and cannot support all of it in your dimmer home, so it sheds older, lower leaves and redirects energy. As long as the drop is gradual and tapers off, and stems stay firm, it is normal. Watch for mushy stems or sour-smelling soil, which signal overwatering instead.
Do I really need to quarantine a plant from a reputable nursery?
Yes. Even healthy-looking plants from good growers can carry spider mite or mealybug eggs that only hatch days later. Greenhouses are ideal pest-breeding environments, and a single missed infestation can spread to your whole collection. Two to three weeks of isolation with repeated inspections is cheap insurance.
Should I repot a new houseplant right away?
No, not unless it is severely rootbound or sitting in waterlogged, rotting soil. Repotting adds a major root disturbance on top of every other stressor the plant is already managing. Wait at least two to four weeks, ideally until quarantine ends and the plant has clearly settled, before potting it up.
Can I put my new plant straight into a bright window?
Avoid it. Greenhouse-grown foliage is soft and burns easily in direct sun through glass. Introduce light gradually over 10 to 14 days, starting in bright indirect light and moving the plant a little closer to its final position every few days while watching for bleaching or crispy patches.
Acclimation rewards patience. Quarantine and inspect to keep pests out, ease the plant into its new light, leave the roots and fertilizer alone for a few weeks, and read leaf drop as adjustment rather than failure. Give a new houseplant that calm, deliberate first month and it will reward you with steady, well-suited growth for years.