

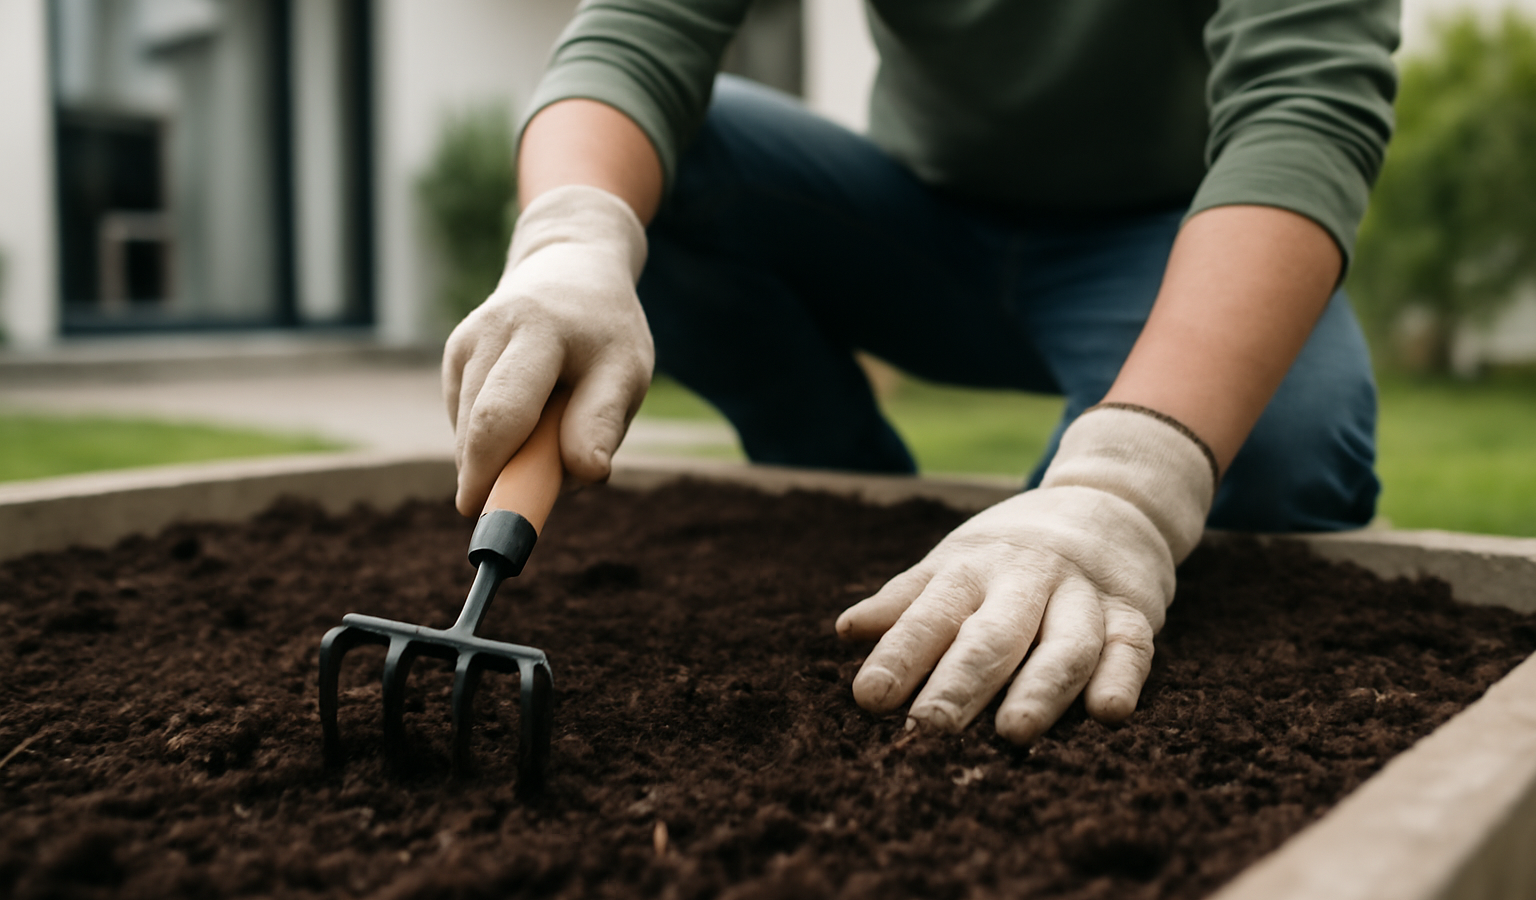
Healthy plants start with healthy soil — almost every garden problem, from stunted growth to poor yields to disease, traces back to soil that was never properly prepared. Preparing soil isn’t just “digging a hole.” It’s a sequence: knowing what you’ve got (testing), clearing what’s in the way, loosening compaction, correcting pH, and building organic matter so the soil holds water, drains well, and feeds roots. Get it right once and you set up a bed that performs for years with far less fuss. This guide takes you through the whole process step by step, with the rates, timing, and numbers you need, whether you’re starting a brand-new bed or refreshing an existing one for the season.
Key Takeaways
- Test your soil first — pH and nutrient levels tell you exactly what to add instead of guessing and overspending.
- Most plants want a pH near 6.0–7.0; adjust with lime (to raise) or sulfur (to lower), ideally weeks ahead of planting.
- Organic matter is the master amendment: 2–4 inches of compost worked in fixes clay, sandy, and tired soils alike.
- Loosen compaction to 8–12 inches, but avoid over-tilling — broadforking or single digging beats repeated rototilling.
- Don’t work soil when it’s wet; squeeze a handful — if it forms a sticky ball, wait until it crumbles.
Step 1: Test Your Soil
Before you add anything, find out what your soil actually needs. A soil test — from your county extension office or a mail-in lab, typically inexpensive — reports pH, the major nutrients (phosphorus and potassium), often calcium and magnesium, and organic matter percentage. This single step saves money and prevents the most common mistake in soil prep: dumping in fertilizer or lime the soil didn’t need, which can do more harm than good. Take samples from several spots in the bed, mix them, and send a composite. Test a new bed before you start and established beds every two to three years.
While you wait for results, identify your soil texture with a simple squeeze test. Grab a moist handful and squeeze: if it forms a slick, sticky ribbon, you have clay (holds nutrients and water but drains poorly and compacts); if it falls apart instantly and feels gritty, it’s sandy (drains fast, dries out, leaches nutrients); if it holds together loosely then crumbles, you have loam — the ideal. The good news: the fix for both clay and sandy extremes is the same, and it’s organic matter.
Step 2: Clear the Area
Remove everything that will compete with your plants. Pull weeds — roots and all, especially perennial weeds like bindweed and quackgrass that resprout from fragments. Clear rocks, sticks, old roots, and debris. For a new bed over lawn, you have a few options: strip the sod with a spade, smother it with cardboard topped by compost and mulch (sheet mulching — start this a few months ahead, ideally the prior fall), or solarize with clear plastic over a hot summer. Avoid the temptation to just till grass under; it regrows from the chopped pieces. Define the bed’s edges now so you know exactly what you’re preparing.
Step 3: Loosen the Soil
Roots need air, water, and room to grow, and compacted soil denies all three. Loosen the bed to a depth of 8–12 inches. The right tool depends on your soil and philosophy:
- Broadfork or digging fork — the preferred method. It lifts and cracks compaction without inverting the soil layers, preserving structure and soil life. Step it in, rock it back, move down the row.
- Single digging with a spade — turn over the top spit, breaking up clods, for a new bed.
- Rototiller — fast for breaking new ground, but use sparingly. Repeated tilling destroys soil structure, kills earthworms and fungal networks, creates a compacted “tiller pan” just below the tilled layer, and brings buried weed seeds to the surface. Till new ground once if you must, then switch to no-till maintenance.
Never work wet soil. Digging or tilling wet clay smears it into dense, airless clods that bake hard and ruin structure for the season. Use the squeeze test: if a handful forms a sticky ball, it’s too wet — wait until it crumbles when you open your hand. Spring soil is often workable a couple of weeks after it looks dry on top.
Step 4: Correct the pH
Soil pH governs whether plants can absorb the nutrients present — even well-fed soil starves plants if the pH is wrong. Most vegetables, herbs, and flowers thrive at a slightly acidic to neutral pH of 6.0–7.0 (acid-lovers like blueberries and azaleas are the exception, wanting 4.5–5.5). Adjust based on your test:
- To raise pH (soil too acidic): apply garden lime. Dolomitic lime also supplies magnesium. Lime is slow, so apply weeks to months ahead — fall application before spring planting is ideal. Follow your soil test’s recommended rate; rates vary widely with soil texture.
- To lower pH (soil too alkaline): apply elemental sulfur, which soil microbes convert to acid over months. This is gradual, so plan ahead. Organic matter and acidifying amendments help too.
Don’t try to swing pH dramatically in one shot — make moderate adjustments, retest, and nudge it over a season or two.
Step 5: Add Organic Matter and Amendments
This is the heart of soil prep. Organic matter improves every soil: it opens up heavy clay so it drains and breathes, and it gives sandy soil the sponge it lacks to hold water and nutrients. It also feeds the microbial and fungal life that makes nutrients available to roots.
- Compost is the workhorse — spread 2–4 inches over the bed and incorporate it into the top 6–8 inches (or layer it on top for no-dig). You can hardly add too much good compost.
- Aged manure (never fresh — it can burn plants and carry pathogens) adds nutrients and organic matter. Apply composted manure and, if fresh, only in fall well ahead of planting.
- Leaf mold (composted leaves) is superb for soil structure and free.
- Targeted nutrients per your soil test — bone meal or rock phosphate for phosphorus, kelp or greensand for potassium and trace minerals, blood meal or composted manure for nitrogen.
For poor-draining clay, generous organic matter plus a one-time addition of coarse material helps; for fast-draining sand, organic matter is the long-term fix to hold moisture. Resist adding sand to clay (or vice versa) as a quick fix — the wrong proportions can make a concrete-like mess. Compost is the safe, universal answer.
Step 6: Rake, Level, and Settle
Once amendments are incorporated, rake the surface smooth, breaking up remaining clods and removing surfaced rocks and roots. Create a level, fine-textured seedbed for direct sowing, or a slightly looser tilth for transplants. If you can, water the bed and let it settle for a few days to a week before planting — this lets the soil structure stabilize, amendments begin integrating, and any flush of weed seedlings emerge so you can hoe them off before they compete with your crops. A final light raking just before planting takes out that first weed flush.
Step 7: Mulch After Planting
After planting, top the bed with 2–3 inches of mulch — straw, shredded leaves, or fine bark — kept a little back from stems. Mulch conserves moisture, suppresses weeds, moderates soil temperature, and slowly feeds the soil as it breaks down, continuing the soil-building you started. It’s the finishing step that protects all the work below it.
Bringing It Together
Good soil prep follows a logical order: test so you know what’s needed, clear competing growth, loosen compaction without destroying structure, correct pH well ahead of planting, build organic matter generously, then level, settle, and mulch. The single most valuable habit is leaning on compost and organic matter — it’s the universal fix for clay, sand, and tired soil alike, and it gets better every year you add it. Do this once thoughtfully and your bed rewards you with vigorous, productive plants and far fewer problems. To understand your starting point better, see our guide on clay vs sandy vs loam soil, and for the off-season side of soil care read how to prepare a garden bed for winter. The Outdoor Living hub has more on lawns, beds, and landscaping.
Frequently Asked Questions
What is the first step in preparing soil for planting?
Test it. A soil test reports pH and nutrient levels so you add exactly what’s needed instead of guessing. Skipping this leads to over-applying lime or fertilizer the soil never needed, which wastes money and can harm plants.
How much compost should I add to a garden bed?
Spread 2–4 inches over the surface and work it into the top 6–8 inches, or layer it on top for no-dig. Compost improves clay, sandy, and tired soils alike, and you can hardly add too much good-quality compost.
What pH is best for most garden plants?
Around 6.0 to 7.0 — slightly acidic to neutral — suits most vegetables, herbs, and flowers. Raise low pH with lime and lower high pH with elemental sulfur, applying weeks to months ahead since both work slowly. Acid-lovers like blueberries want 4.5–5.5.
Can I plant in soil right after tilling it?
It’s better to wait a few days to a week. Letting the bed settle and watering it in stabilizes structure, lets amendments integrate, and brings up a flush of weed seedlings you can hoe off before planting. Never till or work soil when it’s wet.
Should I add sand to clay soil to improve drainage?
No — the wrong ratio of sand to clay sets up like concrete. The reliable fix for both clay and sandy soil is generous organic matter (compost and leaf mold), which opens up clay and helps sand hold moisture. Skip the sand shortcut.