

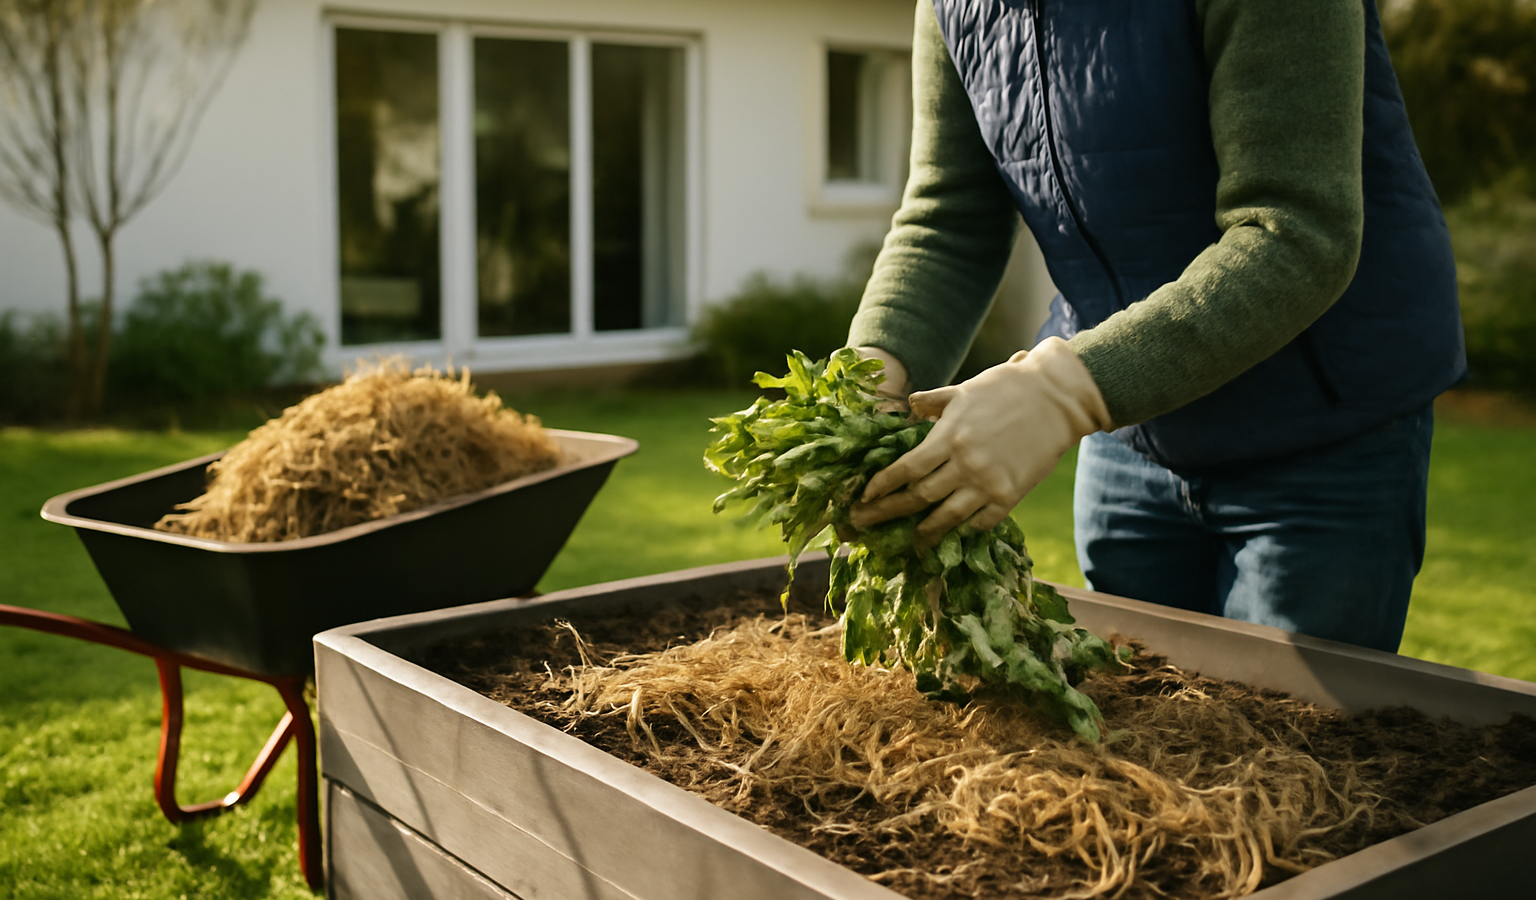
What you do to a garden bed in fall determines how it performs the following spring. A bed left bare and neglected over winter loses nutrients to leaching, erodes, compacts under rain and snow, and emerges weedy and lifeless. A bed put to rest properly — cleaned up selectively, fed with amendments, protected with cover or mulch, and tested so you know what it needs — comes back loose, fertile, and ready to plant weeks earlier. Fall is also simply the best time to do soil-building work, because amendments have all winter to break down and integrate before roots need them. This guide walks through the full process in order: cleanup, soil testing, amendments, cover and mulch, and the season-by-season timing that ties it together.
Key Takeaways
- Clear out diseased and spent annual crops, but leave healthy perennial stems and seed heads for pollinators and birds where you can.
- Fall is the ideal time to test soil and add slow-release amendments like compost, lime, and rock minerals — they need months to work.
- Never leave soil bare over winter; cover it with mulch, shredded leaves, or a cover crop to stop erosion and nutrient loss.
- Cover crops (rye, vetch, clover) add organic matter and nitrogen and protect soil structure better than bare ground.
- A 3–4 inch mulch or leaf layer insulates roots, feeds soil life, and suppresses the weeds that would otherwise get a head start in spring.
When to Do It
Start fall bed prep after your first light frosts have knocked back the tender annuals but before the ground freezes hard — generally late September through November depending on your USDA zone. In cold zones (3–5) that means earlier; in mild zones (7–9) you may be working into December. The goal is to get amendments and cover in place while soil life is still active and the ground is workable, so the bed has weeks of above-freezing soil to begin integrating what you add. Don’t rush it before the first frosts, though — pulling everything too early removes habitat and forgoes the last of the season’s growth.
Step 1: Selective Cleanup
Cleanup is about disease control and tidiness, not scorched earth. The distinction matters for both plant health and wildlife.
What to Remove
- Spent annual vegetables and flowers — pull tomato, squash, bean, and annual flower plants once they’re done. Their decaying tissue harbors pests and disease over winter.
- Anything diseased. Blighted tomato foliage, powdery-mildew-covered squash leaves, rusted hollyhocks — bag and discard these in the trash, do not compost. Composting diseased material recycles the pathogen straight back into next year’s beds.
- Weeds, especially those that have set seed. Removing them now prevents a thick spring flush.
- Fallen fruit and heavy debris that shelter overwintering pests.
What to Leave
Leave the sturdy, healthy stems and seed heads of perennials like coneflower, rudbeckia, sedum, and ornamental grasses standing where you can. They provide winter food for birds, overwintering sites for beneficial insects, and a bit of cold protection for the crowns. You can cut them back in early spring instead. Healthy, disease-free plant matter and chopped leaves can stay on the bed or go into the compost.
Step 2: Test the Soil
Fall is the smartest time to test soil, for two reasons: labs are less busy than in spring, and any pH adjustments you make now have all winter to take effect. A basic soil test — through your county extension office or a mail-in lab — reports pH and the major nutrients (phosphorus, potassium, and often calcium, magnesium, and organic matter percentage). It tells you precisely what to add instead of guessing.
Most vegetables and many ornamentals prefer a pH of about 6.0–7.0. If your test shows acidic soil (below 6.0), fall is the ideal time to apply lime, because lime is slow-acting and needs months to raise pH — apply it now and it’s working by spring. If soil is too alkaline, elemental sulfur applied in fall similarly has time to lower pH gradually. Trying to correct pH in spring, right before planting, simply doesn’t give the amendment enough time to work.
Step 3: Add Amendments
With the bed cleared and your test results in hand, build the soil. Fall amendments break down slowly through winter, so by planting time they’re integrated rather than raw.
- Compost or aged manure — the workhorse amendment. Spread a 1–3 inch layer over the bed. It adds organic matter, feeds soil microbes, improves structure in both clay and sandy soils, and slowly releases nutrients. Aged or composted manure (never fresh, which can burn plants and carry pathogens) is excellent applied in fall, when the months until planting let it mellow fully.
- Lime or sulfur as indicated by your soil test, to correct pH.
- Slow-release minerals — rock phosphate, greensand, or bone meal for phosphorus and potassium if your test shows deficiencies. These are slow to become available and benefit from fall application.
- Leaf mold and shredded leaves — free organic matter. Shred fallen leaves with a mower and work them in or layer them on top.
You can lightly fork amendments into the top few inches, but avoid deep tilling — it disrupts soil structure and the fungal networks that benefit your plants. A “lasagna” or no-dig approach, simply layering compost and leaves on the surface and letting worms and weather incorporate them, works beautifully over winter.
Step 4: Cover the Soil
The single most important rule of winter bed prep: never leave soil bare. Bare soil erodes in winter rain, compacts under snow, loses nutrients to leaching, and grows weeds the moment it warms. You have two good ways to cover it.
Option A: Mulch or Leaves
Spread a 3–4 inch layer of shredded leaves, straw, or bark mulch over the bed. This insulates the soil, protects perennial roots and overwintering bulbs from freeze-thaw heaving, feeds soil organisms as it breaks down, and smothers weeds. Shredded leaves are ideal and free. Keep mulch pulled back slightly from the crowns of any perennials and the bases of woody plants to prevent rot.
Option B: Plant a Cover Crop
For vegetable beds especially, a cover crop (“green manure”) beats bare ground and even beats mulch for soil-building. Sow it 4+ weeks before hard frost so it establishes. Good choices: winter rye (hardy, tremendous biomass, scavenges leftover nitrogen), hairy vetch and crimson clover (legumes that fix nitrogen), or field peas and oats (winter-killed in cold zones, leaving an easy spring mulch). Cover crops hold soil against erosion, add organic matter, suppress weeds, and — for the legumes — pump nitrogen back into the bed. In spring, mow or cut the cover crop and either turn it in or lay it down as mulch a few weeks before planting.
Step 5: Final Touches
Clean, sharpen, and store your tools so they’re ready in spring. Drain and store hoses and shut off outdoor water before a hard freeze. Empty, clean, and dry ceramic and terracotta pots, which crack if water freezes inside them, and bring tender containers under cover. If you grow in raised beds, top them off with compost now, since the soil level drops over the season. Label any perennials you cut back so you remember what’s where, and jot a quick note of what grew where this year — fall is the time to plan next season’s crop rotation while it’s fresh.
Bringing It Together
Winter bed prep is really soil-building disguised as cleanup. Clear out the disease and spent annuals, but leave habitat where you can. Test the soil while you have time to fix pH the slow way, feed the bed with compost and the minerals your test calls for, and — above all — never let it sit bare; cover it with mulch or a living cover crop. Done in fall, all of this has the entire winter to settle and integrate, so you start spring with loose, rich, weed-free soil instead of a hard, depleted slate. For the spring side of this work, see our guide on how to prepare soil for planting, and the Outdoor Living hub for more seasonal landscaping how-tos. If you’re dividing perennials before the cold, our walkthrough on dividing coneflowers pairs well with fall bed work.
Frequently Asked Questions
Should I clean out my garden beds completely in fall?
No — clean selectively. Remove spent annuals, diseased material (to the trash, not compost), and weeds that have set seed. But leave healthy perennial stems and seed heads standing for pollinators and birds; cut those back in early spring instead.
Is fall a good time to test and amend soil?
It’s the best time. Labs are less busy, and slow-acting amendments like lime, sulfur, and rock minerals need months to work — applied in fall, they’re integrated by spring planting. Correcting pH in spring rarely gives the amendment enough time.
Should I cover my garden bed over winter?
Always. Never leave soil bare. Cover it with a 3–4 inch layer of mulch or shredded leaves, or plant a cover crop. Bare soil erodes, compacts, loses nutrients to leaching, and grows weeds the moment it warms.
What is the best cover crop for a vegetable bed?
Winter rye is the toughest and adds the most organic matter; hairy vetch and crimson clover fix nitrogen; oats and field peas winter-kill in cold zones for an easy spring mulch. Sow at least four weeks before hard frost so they establish.
Do I need to add fertilizer to beds in fall?
Skip fast-release synthetic fertilizer — it leaches away over winter. Instead add compost and slow-release amendments (rock phosphate, greensand, bone meal) as your soil test indicates. These break down gradually and are ready when roots need them in spring.