

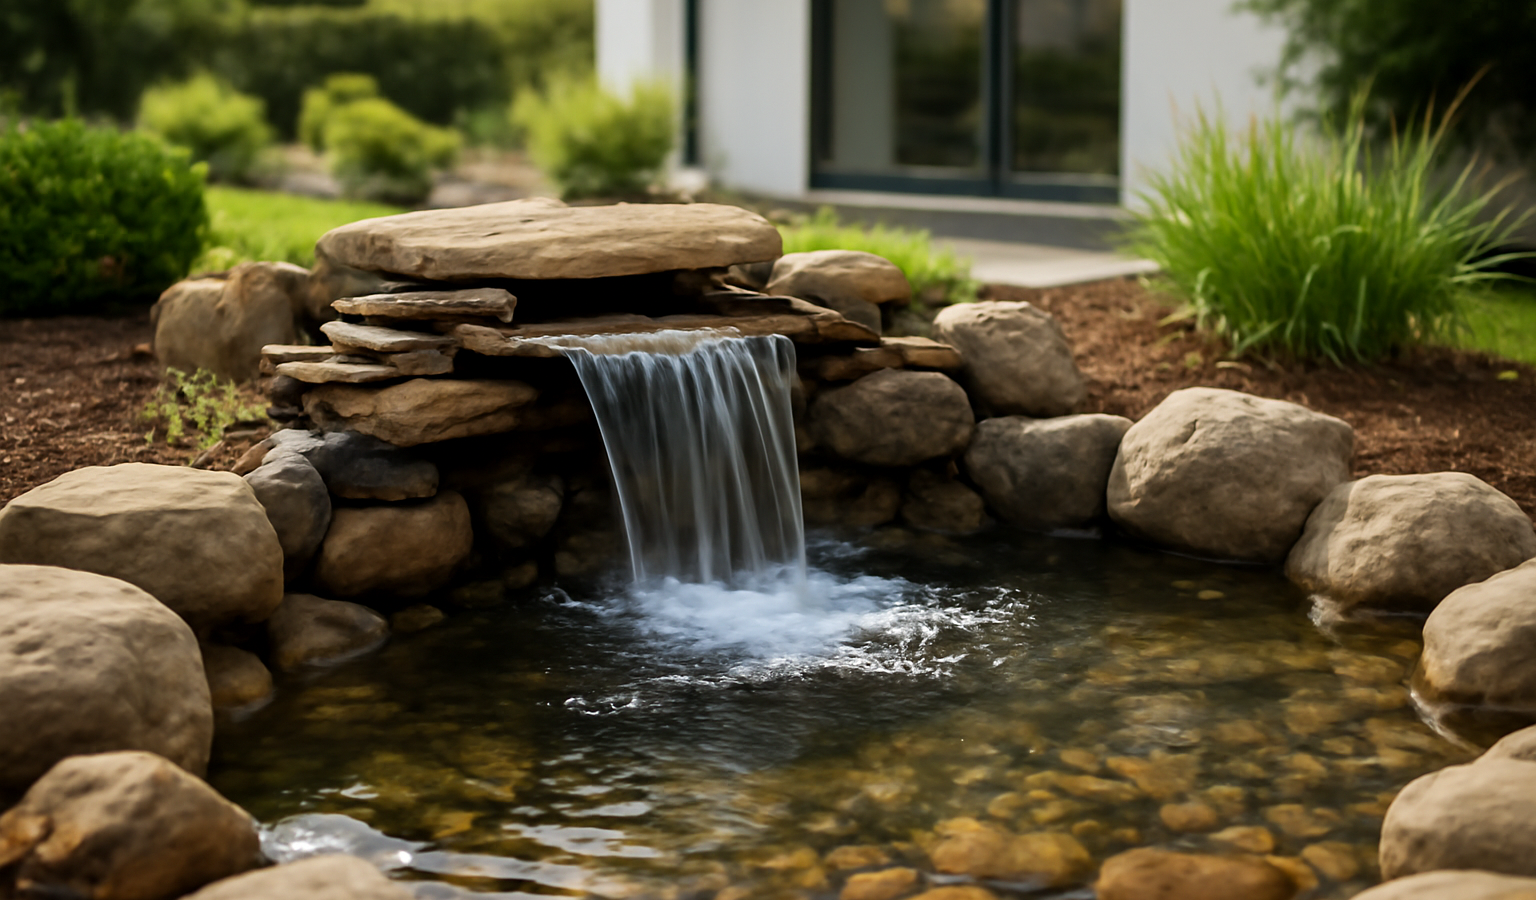
Adding a waterfall to a pond you already own is one of the highest-payoff upgrades in the whole water-garden hobby. You get moving water that aerates the pond, masks pump and street noise, and gives fish the oxygen they crave on hot August afternoons — all without re-digging the basin. The trick is that a waterfall is really three problems stacked on top of each other: getting the right volume of water to the top, building a watertight cascade that drops back into the existing pond, and hiding the plumbing so the whole thing looks like it was always there. Get the pump sizing and the liner overlap right and the rest is patient stacking of rock. Get them wrong and you end up with a trickle, a leak that empties your pond overnight, or a pump that burns out in a season.
Key Takeaways
- Size the pump by GPH at your actual head height: aim for 100–150 GPH per inch of spillway width measured at the lift, not the box rating.
- Choose your drop mechanism first: a pre-formed spillway, a molded waterfall box (biofalls), or a stacked-rock weir each set the look and the plumbing.
- Match tubing to flow: 1″ tubing for up to ~1,200 GPH, 1.5″ to ~3,000 GPH, 2″ beyond that — undersized tube strangles the flow.
- Overlap liner like shingles: upper liner always laps over lower liner so water can never run behind it.
- Build the berm before the rock: a compacted earth or block base carries the weight; rock is decoration, not structure.
Plan the Waterfall Before You Buy Anything
Stand at your pond and decide three numbers: the spillway width (how wide the sheet of falling water will be), the lift height (vertical distance from pond surface to the top spillway), and the run length (horizontal distance the tubing travels from pump to top). These three numbers drive every purchase that follows, so measure them with a tape and a string level before you touch a catalog.
For a typical backyard pond, a lift of 18–36 inches over a run of 6–12 feet reads as natural. Going much higher than three feet starts to look like a fountain and demands a far bigger pump. Keep the waterfall on the side of the pond away from your main viewing spot so you see the falling face, not the back of the rock pile, and orient it so the prevailing summer breeze does not blow spray off the liner and slowly drain the pond.
Decide the style of drop now, because it changes the plumbing. A pre-formed spillway (a rigid lip you set into the rock) gives a clean, predictable sheet. A molded waterfall box, often called a biofalls, doubles as a biological filter and a header reservoir — you hide it at the top, pipe into the back, and water sheets over the front lip. A stacked-rock weir is the most natural-looking but the hardest to seal, because you are relying on liner and foam, not a manufactured lip, to define where the water goes.
Pump Sizing and GPH: The Number That Makes or Breaks It
Waterfall pumps are rated in GPH (gallons per hour), but the rating on the box is the flow at zero lift. The moment you ask the pump to push water up a hill and through tubing, flow drops — sometimes by half. So you size in two steps: figure the GPH you want at the top, then figure the total dynamic head the pump must overcome to deliver it.
Step 1: GPH per inch of spillway
The look you want sets the flow. As a working rule, plan on 100–150 GPH for every inch of spillway width. A thin, glassy veil over a 12-inch lip needs roughly 1,200 GPH at the top; a full, splashy whitewater face over the same lip wants closer to 1,800 GPH. Want a 24-inch-wide cascade with a generous sheet? You are looking at 3,000+ GPH delivered to the spillway. Decide the appearance, multiply by the width, and you have your target flow at the top.
Step 2: Total dynamic head
Now add up everything fighting the pump. Head = vertical lift + friction loss in the tubing + losses at fittings. The vertical lift is your measured height from pond surface to spillway. Friction loss depends on tubing diameter and run length: as a rough planning figure, add about 1 foot of head for every 10 feet of correctly sized tubing, and add a foot or two for each elbow or check valve. So an 30-inch (2.5-foot) lift over 20 feet of tubing with one elbow is roughly 2.5 + 2 + 1 = about 5.5 feet of total head.
Take your target flow and your total head to the pump’s flow curve — the chart on the box or spec sheet that lists GPH at 1 ft, 5 ft, 10 ft of lift, and so on. You want a pump that still delivers your target GPH at your calculated head. If you need 1,800 GPH at 5.5 feet, do not buy a pump rated “1,800 GPH” at zero lift; buy one that reads ~1,800 at six feet, which is often a box rated 2,500–3,000 GPH. Always round up: a slightly oversized pump can be dialed back with a ball valve, but an undersized one can only disappoint. Solids-handling (waterfall) pumps tolerate pond debris far better than the fountain pumps sold for tabletop use; choose one rated for continuous duty so it survives running 24/7.
Tubing: Don’t Strangle the Flow You Paid For
Plenty of good pumps get crippled by skinny tubing. Friction loss climbs steeply as diameter shrinks, so match the hose to the flow:
- Up to ~1,200 GPH: 1″ inside-diameter tubing.
- 1,200–3,000 GPH: 1.5″ tubing.
- 3,000 GPH and up: 2″ tubing (or larger).
Use kink-free corrugated pond tubing rather than stiff PVC for the buried run — it bends around the berm without elbows, and every elbow you avoid is head you keep. Make the run as short and as straight as you reasonably can. If you must size the pump’s outlet down to fit a fitting, step the tubing back up immediately so only an inch or two of the system is the bottleneck. Bury the tubing in a shallow trench along the berm so it is hidden and protected, leaving the last foot accessible at the top for connection to the spillway or biofalls.
Install a true-union ball valve just downstream of the pump. It lets you fine-tune the flow to dial in the exact look of the sheet and makes pulling the pump for cleaning a two-minute job rather than a wrestling match. If your spillway sits well above the pond, a check valve stops the elevated tubing from draining back through the pump each time you shut it off — useful, but remember it adds head, so account for it in Step 2.
The Spillway or Weir: Where the Sheet Forms
The spillway is the lip the water leaves from, and its design decides whether you get a clean sheet or a dribble down the rocks. With a pre-formed spillway or biofalls, the manufacturer has already engineered a level lip and a reservoir behind it that fills and then sheets evenly over the front. Set the unit dead level side to side — a spillway that is even a quarter-inch low on one end will dump all its water to that corner and leave the rest dry. Use a torpedo level on the lip and shim the base until it reads true, then bed it in mortar or sand so it cannot shift.
For a stacked-rock weir, you create the lip yourself with a broad, flat spillway stone — pick a slab with a clean, straight front edge and set it so it tips very slightly toward the pond, projecting an inch or two past the rock beneath it. That overhang is what throws the water clear of the face so it falls rather than clinging and running behind the rocks. Behind the spillway stone you want a small header pool a few inches deep; this calms the turbulence coming out of the tubing so the water arrives at the lip smooth instead of surging. Black expanding pond foam is your friend here: gun it into the gaps under and beside the spillway stone to force every drop over the top instead of leaking between rocks. Foam after a dry fit and a test run, never before.
Liner and Overlap: The Part That Actually Keeps Water In
This is where most DIY waterfalls fail. The cascade needs its own liner, and the single most important rule is the shingle principle: every upper piece of liner must overlap the top edge of the piece below it, exactly like roof shingles, so gravity carries water onto the lower liner and never behind it.
Use 45-mil EPDM for the waterfall — the same flexible rubber used for pond liners. It molds around rock and tolerates the freeze-thaw cycle. Run a continuous strip up the berm if you can; seams are leak risks. Where the waterfall liner meets the existing pond, the waterfall liner must lap over the inside of the pond liner and hang down below the pond’s normal water line, so the falling water is always delivered into the pond, with no edge for it to escape past. If your pond liner is buried under coping and you cannot lift its edge, lay the new waterfall liner over the top of the pond liner and run a bead of pond sealant or a strip of EPDM seam tape between them, then weigh the joint with rock.
Set the liner generously wide — at least 12 inches of liner beyond each side of the planned water path — and turn those edges up into a lip along the sides of the channel before you hide them under rock. Water finds the lowest escape point, and a side edge that sits below the water level is a slow leak that will have you topping off the pond every few days. After the rock is set, fold the surplus liner up behind the back rocks rather than trimming it flush; you can always trim later, but you cannot add liner back.
Step-by-Step: Building the Waterfall
- Build the berm. Mound and compact soil (or stack concrete blocks) to your lift height behind the pond edge. This is structure — tamp it hard in layers so it will not settle and crack your watercourse later. Carve the rough channel and the header-pool depression into the top.
- Lay underlayment, then liner. Put down geotextile underlayment to protect against punctures, then the EPDM, observing the shingle overlap onto the pond liner at the bottom and turning the side edges up into lips.
- Set the spillway or spillway stone. Level it carefully, bed it, and confirm the lip tips slightly pondward with a clean overhang.
- Run the tubing. Connect pump to spillway/biofalls, install the ball valve (and check valve if needed), and bury the line along the berm.
- Test before you decorate. Fill, switch on, and watch a full cycle. Adjust the valve for the sheet you want, look for water sneaking behind or beside the liner, and re-level the lip if the sheet is lopsided. Fix every leak now.
- Place and foam the rock. Set the large face and side boulders, then gun black pond foam into the gaps to channel water over the lip, not through the pile. Tuck smaller stones and gravel to hide foam and liner edges.
- Top off and run for a day. Mark the water level, run 24 hours, and check it again. A drop bigger than normal evaporation means a leak — usually a low liner edge or an un-foamed gap. Hide all remaining liner only once the level holds.
Maintenance and Common Problems
A waterfall changes the pond’s chemistry for the better — more surface agitation means more dissolved oxygen and faster off-gassing of CO₂ — but it also evaporates more water, so expect to top off more often in summer and keep an eye on the level. If the sheet thins out over a season, the usual culprit is a clogged pump intake or a debris-packed biofalls media: pull the pump via the ball valve and rinse the screen. If water starts running behind the rocks, a settling berm has tipped a stone or opened a liner gap — re-level and re-foam. In freezing climates, either run the waterfall all winter (moving water resists icing and a constantly running pump rarely freezes) or shut it down completely, pull and store the pump dry, and let the pond go static; the danger zone is a part-time winter waterfall that freezes, dams up, and pumps your pond out over the ice.
For more on keeping the water itself healthy once it is moving, see our guide to choosing the right pond pumps and filters, and if you are adding greenery around the new cascade, our walkthrough on how to acclimate new pond plants will keep them from melting in the first week. You will also find more design ideas on the Water Gardens & Ponds hub.
Frequently Asked Questions
What size pump do I need for a pond waterfall?
Plan on 100–150 GPH per inch of spillway width for the look you want, then check the pump’s flow curve at your total dynamic head (lift plus friction). A 12-inch spillway with a 2.5-foot lift and 20 feet of tubing typically needs a pump rated around 2,000–2,500 GPH at zero lift so it still delivers ~1,500 GPH at the top.
Can I add a waterfall without draining or re-digging my pond?
Yes. The waterfall is built on a berm beside the existing pond and its liner overlaps into the pond above the water line. You only lower the level a few inches while you tuck and seal the bottom liner edge, then refill.
How do I stop water from leaking behind the rocks?
Two things: always overlap upper liner over lower liner like shingles, and gun black expanding pond foam into the gaps under and beside the spillway stone so water is forced over the lip instead of running between rocks. Turn the side liner edges up into a lip above the water line, too.
What tubing diameter should I use?
Match it to flow: 1″ for up to ~1,200 GPH, 1.5″ for 1,200–3,000 GPH, and 2″ above that. Use kink-free corrugated pond tubing, keep the run short and straight, and avoid unnecessary elbows that add head.
Should I run the waterfall in winter?
Either run it continuously — moving water resists freezing — or shut it down fully, remove and store the pump, and let the pond go static. The one bad option is part-time winter running, which lets ice dam the watercourse and siphon the pond dry.