

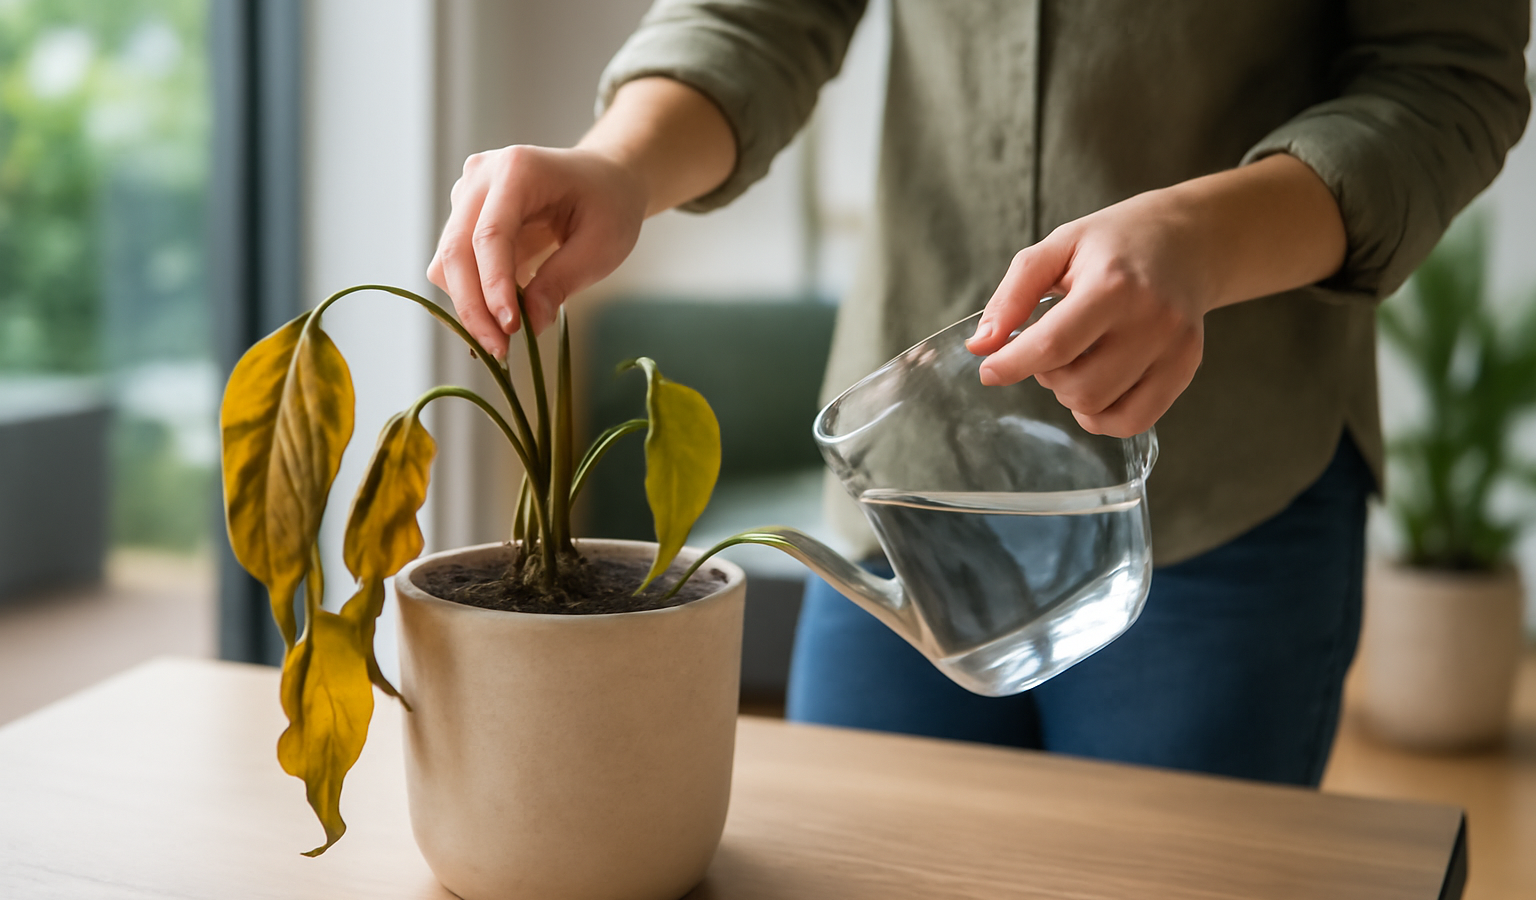
A dying houseplant almost always has a single fixable cause hiding behind alarming symptoms, and your job is to play detective before you reach for water or fertilizer. Drooping leaves, browning tips, yellowing foliage, and bare stems all look like the plant is “thirsty,” but the most common killer of indoor plants is the opposite—overwatering and the root rot it causes. The wrong reaction makes things worse, so the order matters: diagnose first, then treat. This guide walks you through a step-by-step triage—checking the roots, the light, the watering, and for pests—so you can find the real problem, then gives you a recovery plan to nurse the plant back. Many plants that look like goners can recover with the right intervention, but you have to act on the cause, not the symptom.
Key Takeaways
- Diagnose before you treat. Wilting can mean too little or too much water—reacting wrong is what kills most struggling plants.
- Check the roots first. Mushy, brown, foul-smelling roots mean root rot from overwatering, the most common cause of houseplant death.
- Match light to the plant. Leggy, pale, leaning growth means too little light; scorched, bleached patches mean too much.
- Inspect for pests—webbing, sticky residue, tiny bugs on stems and leaf undersides—before assuming a watering problem.
- Recovery takes patience: stabilize conditions, prune the dead, and hold off on fertilizer until you see new growth.
Step 1: Check the Roots for Rot (do this first)
Because overwatering is the leading cause of houseplant decline, the roots are where you start. Drooping, yellowing leaves and a soft, wilting stem on a plant whose soil is constantly damp is the classic signature of root rot—roots suffocating in waterlogged soil and rotting away, so the plant can no longer drink even though it’s sitting in water.
How to diagnose it
Slide the plant out of its pot and look at the roots. Healthy roots are firm and white or tan. Rotting roots are brown or black, mushy, and often smell sour or swampy; they may slough off when you touch them. Also feel the soil: if it’s wet days after watering and the pot has no drainage hole, rot is likely. A constantly soggy, heavy pot with a foul smell is a near-certain diagnosis.
How to fix it
Act fast. Rinse the soil off the roots and trim away every mushy, dark, rotten root with clean scissors, cutting back to firm, healthy tissue. Remove a proportional amount of dead and dying foliage to lighten the load on the reduced root system. Repot into fresh, well-draining mix in a clean pot with a drainage hole—never a cachepot with no escape for water. Water lightly, then let the top inch or two of soil dry before watering again. If only a little root remains, you can sometimes root healthy stem cuttings as a backup. Going forward, water by checking the soil, not the calendar.
Step 2: Diagnose the Light
If the roots look fine, light is the next suspect. Too little light starves a plant slowly; too much scorches it. Both show on the leaves, and the patterns are distinct.
How to diagnose it
Too little light: the plant grows long, thin, pale stems with big gaps between leaves (leggy), leans hard toward the nearest window, drops lower leaves, and loses variegation, turning plain green. Too much light: leaves develop bleached, washed-out, or crispy brown patches—essentially sunburn—often on the side facing the window, and may feel dry and papery. Match the symptom to the plant’s known preference: a low-light plant like a pothos or snake plant baking in a south window, or a sun-lover like a succulent stuck in a dim corner, tells you which way you’ve erred.
How to fix it
Move the plant to suit its needs. Too little light: shift it closer to a bright window (an east or near a south window suits most foliage plants) or add a grow light; rotate it regularly so it grows evenly instead of leaning. Too much light: pull it back from the glass or filter the light with a sheer curtain. Make light changes gradually—moving a shade-grown plant straight into strong sun causes fresh scorch. Don’t expect existing damaged leaves to heal; you’re protecting the new growth that follows.
Step 3: Diagnose the Watering Routine
Even if the roots aren’t rotted yet, an off-balance watering habit is often what’s dragging the plant down. The trick is that underwatering and overwatering can look identical—both cause wilting and yellowing—which is exactly why people guess wrong and water a drowning plant.
How to diagnose it
Don’t guess—feel the soil. Push a finger an inch or two down. Underwatered: soil is bone dry and pulling away from the pot’s sides, leaves are crispy and brown at the edges, the whole plant feels limp and the pot is suspiciously light. Water often runs straight through dry, hydrophobic soil without soaking in. Overwatered: soil is wet and heavy, leaves are soft, yellow, and limp rather than crispy, and you may see mold on the surface or fungus gnats hovering. Wet soil plus drooping equals too much water; dry soil plus drooping equals too little.
How to fix it
Underwatered: rehydrate thoroughly. If the soil is so dry it repels water, bottom-water by setting the pot in a tray of water for 20–30 minutes until the soil wicks up moisture, then drain. Most plants perk up within hours to a day. Overwatered: stop watering, move the plant somewhere with good light and airflow to help the soil dry, and check the roots (Step 1). Switch to watering only when the top inch or two is dry, and always empty the saucer so the pot never sits in standing water. Consistency, driven by the soil’s actual moisture rather than a fixed schedule, is the cure.
Step 4: Inspect for Pests
If watering and light check out, look closely for pests, which quietly drain a plant and cause yellowing, speckling, and decline that’s easy to misread as a culture problem.
How to diagnose it
Examine stems, leaf joints, and especially the undersides of leaves—the favorite hideout. Watch for fine webbing and tiny moving dots (spider mites), white cottony tufts (mealybugs), small brown bumps that don’t rub off easily (scale), clouds of tiny white flies that scatter when disturbed (whiteflies), or a sticky, shiny residue (honeydew) on leaves and nearby surfaces, which signals sap-suckers at work. Stippled, speckled, or yellowing leaves with any of these signs point to pests.
How to fix it
Isolate the plant immediately so pests don’t spread. Wipe leaves down and knock back light infestations with a spray of insecticidal soap or a diluted neem oil solution, coating leaf undersides and stems; repeat every 5–7 days for a few weeks to catch newly hatched generations. For mealybugs and scale, dab individuals with a cotton swab dipped in rubbing alcohol. Rinse heavily infested plants in the shower first to physically reduce numbers. Keep the plant quarantined until you’ve gone a couple of weeks with no new signs.
Putting It Together: A Recovery Plan
Once you’ve found and corrected the cause, give the plant a stable environment and time. Recovery is a marathon, not a sprint.
- Prune the dead. Remove fully dead leaves and stems so the plant directs energy into living tissue. Don’t strip everything at once if green remains—leave anything that might recover.
- Stabilize, don’t fuss. Set the plant in appropriate light, water by the soil-moisture test, and then leave it alone. Constant moving and rewatering stresses a recovering plant.
- Hold the fertilizer. Do not feed a sick plant; fertilizer can burn stressed roots. Wait until you see healthy new growth, then resume feeding at half strength.
- Mind the humidity and drafts. Keep tropical plants away from heating vents and cold drafts; many “dying” plants are simply reacting to dry winter air or a chilly windowsill.
- Be patient. New growth—a fresh leaf or a firming stem—is the sign you’ve turned the corner. It can take weeks. If the plant is too far gone, take healthy cuttings and start over.
The same diagnose-first discipline applies whether you’re nursing a houseplant or troubleshooting outdoors. If you’re growing in containers indoors and out, our Urban Gardening hub has more small-space care guides, and if your revived plant later starts dropping leaves you can work through why a potted tree drops leaves. For the watering-versus-light confusion that trips up so many beginners, the techniques in our guide on choosing the right potting medium help you build soil that drains well in the first place.
Frequently Asked Questions
How do I know if my houseplant is overwatered or underwatered?
Feel the soil an inch or two down. If it’s wet and the leaves are soft, yellow, and limp, the plant is overwatered. If it’s bone dry, pulling from the pot’s edges, and the leaves are crispy and brown, it’s underwatered. Both cause wilting, so always check the soil before adding more water.
Can a plant with root rot be saved?
Often yes, if you catch it before the roots are entirely gone. Remove the plant, rinse the roots, cut away all mushy brown roots back to firm tissue, trim some foliage to match, and repot in fresh well-draining mix in a pot with a drainage hole. Then water sparingly until it recovers.
Should I fertilize a dying houseplant to give it a boost?
No. Fertilizer can burn the roots of a stressed or sick plant and make things worse. Fix the underlying problem first—roots, light, water, or pests—and wait until you see healthy new growth before feeding, then start at half the recommended strength.
Why are the leaves on my houseplant turning yellow?
Yellowing has several causes. The most common is overwatering and the start of root rot. It can also come from too little light, nutrient issues, or sap-sucking pests. Check the soil moisture and roots first, then the light, then inspect leaf undersides for pests to pin down the cause.
How long does it take a houseplant to recover?
It varies, but expect weeks, not days. Once you correct the cause and stabilize the plant’s conditions, give it time and resist the urge to keep moving or rewatering it. The first sign of recovery is fresh new growth—a new leaf or a firming stem—which tells you you’ve turned the corner.