

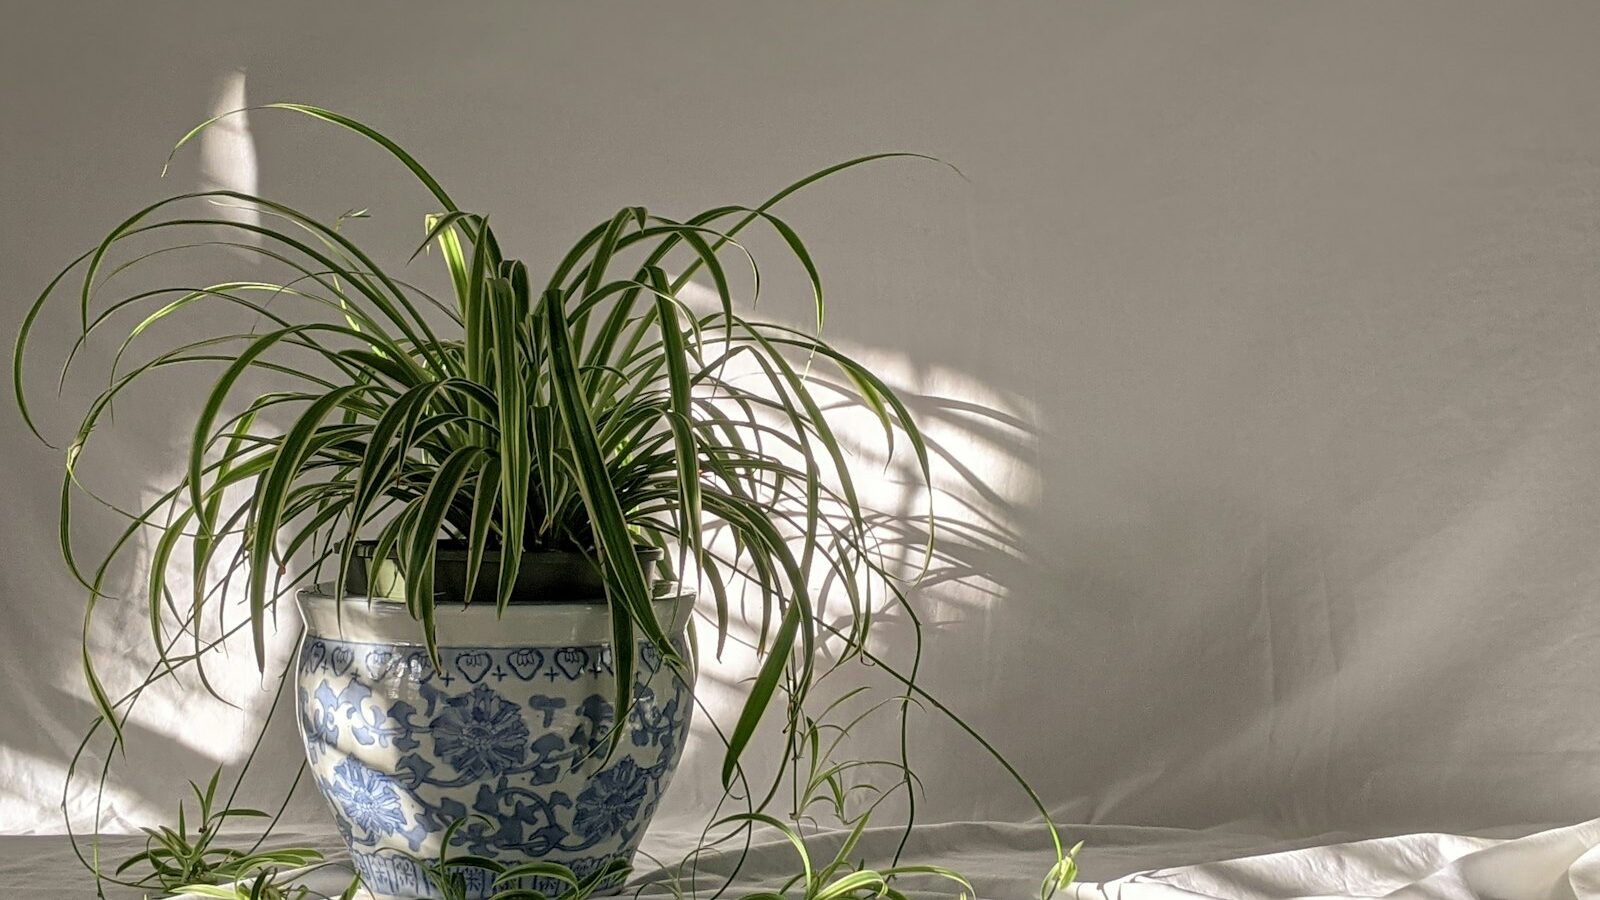
The spider plant (Chlorophytum comosum) earns its reputation as one of the most forgiving houseplants you can own. It tolerates inconsistent watering, adapts to a wide range of light, sends out adorable plantlets you can root for free, and best of all, it’s completely non-toxic to cats and dogs. If you want a lush, arching plant that thrives on benign neglect and won’t endanger your pets, this is the one to start with.
Spider plant quick care
- Light: bright indirect
- Water: keep lightly moist; sensitive to fluoride
- Soil: standard well-draining mix
- Easy to propagate from babies
- Pet-safe (non-toxic)
As an Amazon Associate we earn from qualifying purchases.
Light requirements
Spider plants are happiest in bright, indirect light. In their native habitat across coastal South Africa, they grow in dappled shade beneath larger plants, so they’re built to handle filtered sun rather than harsh, direct rays. An east-facing window, or a few feet back from a south- or west-facing one, is close to ideal. The brighter the light (without scorching), the more vivid the variegation and the more spiderettes the plant will produce.
That said, this plant is genuinely adaptable. It will survive in low light, though growth slows and variegated varieties can fade toward solid green. Avoid prolonged direct midday sun, which bleaches and crisps the foliage.
Signs your light is off
- Pale, washed-out leaves or scorched patches: too much direct sun, move it back from the window.
- Leggy, sparse growth and faded stripes: too little light, shift it closer to a window.
- Few or no babies: often a light issue, brighter conditions trigger more spiderettes.
Watering and humidity
Keep the soil lightly and evenly moist during the growing season, allowing the top inch to dry out between waterings. Spider plants store water in thick, tuberous roots, so they handle the occasional missed watering far better than they handle soggy soil. In winter, when growth slows, cut back and let the soil dry a little more between drinks.
The single most common complaint about spider plants is brown leaf tips, and watering quality is usually the culprit. These plants are unusually sensitive to fluoride, chlorine, and the salt buildup from hard tap water and excess fertilizer. The fix is simple: water with filtered, distilled, or rainwater, or leave tap water out overnight so some chlorine dissipates. Flush the pot thoroughly every couple of months to wash out accumulated salts, and go easy on the feeding.
Average household humidity is fine, but very dry indoor air (especially near heating vents in winter) can worsen tip browning. A nearby pebble tray or occasional misting helps if your home runs dry.
Why leaf tips turn brown
- Fluoride and chlorine in tap water, switch to filtered or distilled water.
- Salt buildup from fertilizer, flush the soil and feed less often.
- Dry air, raise humidity around the plant.
- Inconsistent watering, aim for evenly moist, never bone-dry or waterlogged.
Already brown tips won’t turn green again, but you can snip them off at an angle with clean scissors to tidy the plant while you correct the underlying cause.
Soil and potting
Spider plants aren’t fussy about soil, but good drainage is non-negotiable. A standard, well-draining houseplant mix works perfectly. If you want to improve aeration, blend in a handful of perlite or orchid bark, which keeps the dense tuberous roots from sitting in water. A quality indoor potting mix straight from the bag is more than enough for most growers.
Always use a pot with drainage holes. If you love a decorative cachepot without holes, keep the plant in a plastic nursery pot inside it and lift it out to water, so it never sits in standing runoff.
Feeding
- Feed lightly with a balanced, diluted liquid fertilizer once a month in spring and summer.
- Skip feeding in fall and winter when growth naturally slows.
- Less is more, over-fertilizing is a leading cause of brown tips and salt buildup.
Popular varieties
Spider plants come in several attractive forms, and care is essentially identical across all of them. Choosing one is mostly about looks and the space you have. You can usually find a healthy starter spider plant online or at any garden center.
The main cultivars
- Variegatum: green leaves edged with creamy white margins, a classic, bold look.
- Vittatum: the most common form, with a white or pale stripe down the center of each green leaf.
- Bonnie: a compact, curly-leaved variety with the same center stripe as Vittatum, perfect for small spaces and tabletops.
- Ocean: a tidy, slightly smaller plant with broad green leaves and crisp white margins.
Solid green (non-variegated) spider plants exist too and tend to be the most tolerant of low light. Whichever you pick, expect the same easygoing temperament.
Spiderettes and propagation
One of the great joys of this plant is the way it reproduces. When mature and happy, a spider plant sends out long, wiry stems (called stolons) tipped with miniature plantlets known as spiderettes, babies, or pups. These dangling offspring are why the plant is sometimes called the “airplane plant” or “spider ivy,” and they make propagation almost effortless.
You’ll often notice that spiderettes appear more readily when the plant is slightly pot-bound and getting bright light. Some growers find that the shorter days of fall trigger a flush of babies, though a well-lit plant can produce them year-round.
How to propagate the babies
- Water rooting: snip a spiderette that already has small root nubs, set it in a glass of water with the base submerged, and wait one to two weeks for roots to lengthen before potting.
- Soil rooting: press a baby (still attached or detached) onto the surface of moist potting mix, keep it lightly damp, and it will root in a couple of weeks. Cut it from the parent once established.
- Layering while attached: set a small pot of soil next to the parent and pin a spiderette onto it, letting it root before you cut the connecting stem. This is the most reliable method.
Within a season, one plant can supply you with a windowsill full of new spider plants, ideal for gifting or filling out a hanging basket. For more beginner-friendly options once you’re hooked, browse our guides to pothos care and snake plant care, two other nearly indestructible houseplants.
Hanging vs. potted, and repotting
Spider plants look stunning in hanging baskets, where the arching leaves and cascading spiderettes can spill freely on display. A sturdy hanging planter shows them off beautifully and keeps the trailing babies out of curious pets’ reach. They also thrive in standard pots on shelves, mantels, or plant stands, where the foliage fountains outward. There’s no wrong choice, it’s purely about your space and style.
These plants grow fast and their fleshy roots fill a container quickly. You’ll know it’s time to repot when roots push up out of the soil or out the drainage holes, when the plant dries out unusually fast, or when it visibly strains its pot. Repot in spring, moving up just one pot size, into fresh well-draining mix. A pot only an inch or two larger than the old one is plenty, since spider plants actually bloom and produce babies more freely when they’re a touch root-bound.
Repotting quick steps
- Water the plant a day before to ease it out of its pot.
- Gently loosen the root ball, you can trim a few of the thickest tubers if badly crowded.
- Set it at the same depth in fresh mix, fill in around the roots, and water thoroughly.
- Keep it out of harsh sun for a week while it settles.
Pet safety: a non-toxic favorite
Here’s the headline feature for animal lovers: the spider plant is non-toxic to cats and dogs. It appears on the ASPCA’s list of plants that are safe for pets, which is a rare and reassuring quality among popular houseplants. You can grow it confidently in a home with curious nibblers without the worry that comes with pothos, philodendron, or peace lily.
One caveat worth knowing: cats are often strangely drawn to chewing on spider plant leaves. While it won’t poison them, eating large amounts of any plant can cause mild stomach upset or vomiting. If your cat treats yours like a salad bar, a hanging basket keeps it out of reach and protects the foliage from constant nibbling.
For a deeper dive into more pet-safe picks and complete instructions on dozens of species, explore our full plant & flower care guide.
Frequently asked questions
Are spider plants safe for cats and dogs?
Yes. Spider plants are non-toxic to both cats and dogs and appear on the ASPCA’s pet-safe plant list. Cats are sometimes tempted to chew the leaves, which can cause mild stomach upset if they eat a lot, so a hanging basket is a smart way to keep nibbling to a minimum.
Why are my spider plant’s leaf tips turning brown?
Brown tips are almost always caused by fluoride and chlorine in tap water, salt buildup from fertilizer, or dry air. Switch to filtered, distilled, or rainwater, flush the soil every couple of months, and ease off feeding. Trim existing brown tips at an angle, they won’t regreen.
How do I propagate the babies?
Snip a spiderette that has small root nubs and either root it in a glass of water for one to two weeks or press it onto moist potting soil until it roots. The most reliable method is to pin a baby onto a small pot of soil while it’s still attached to the parent, then cut the stem once it’s rooted.
How much light does a spider plant need?
Bright, indirect light is ideal and produces the best variegation and the most babies. They tolerate lower light but grow slowly and may fade. Avoid prolonged direct midday sun, which scorches and bleaches the leaves.
How often should I repot my spider plant?
Repot every one to two years, or whenever roots push out of the soil or drainage holes. Move up just one pot size in spring using fresh well-draining mix. A slightly snug pot actually encourages more flowers and spiderettes.