

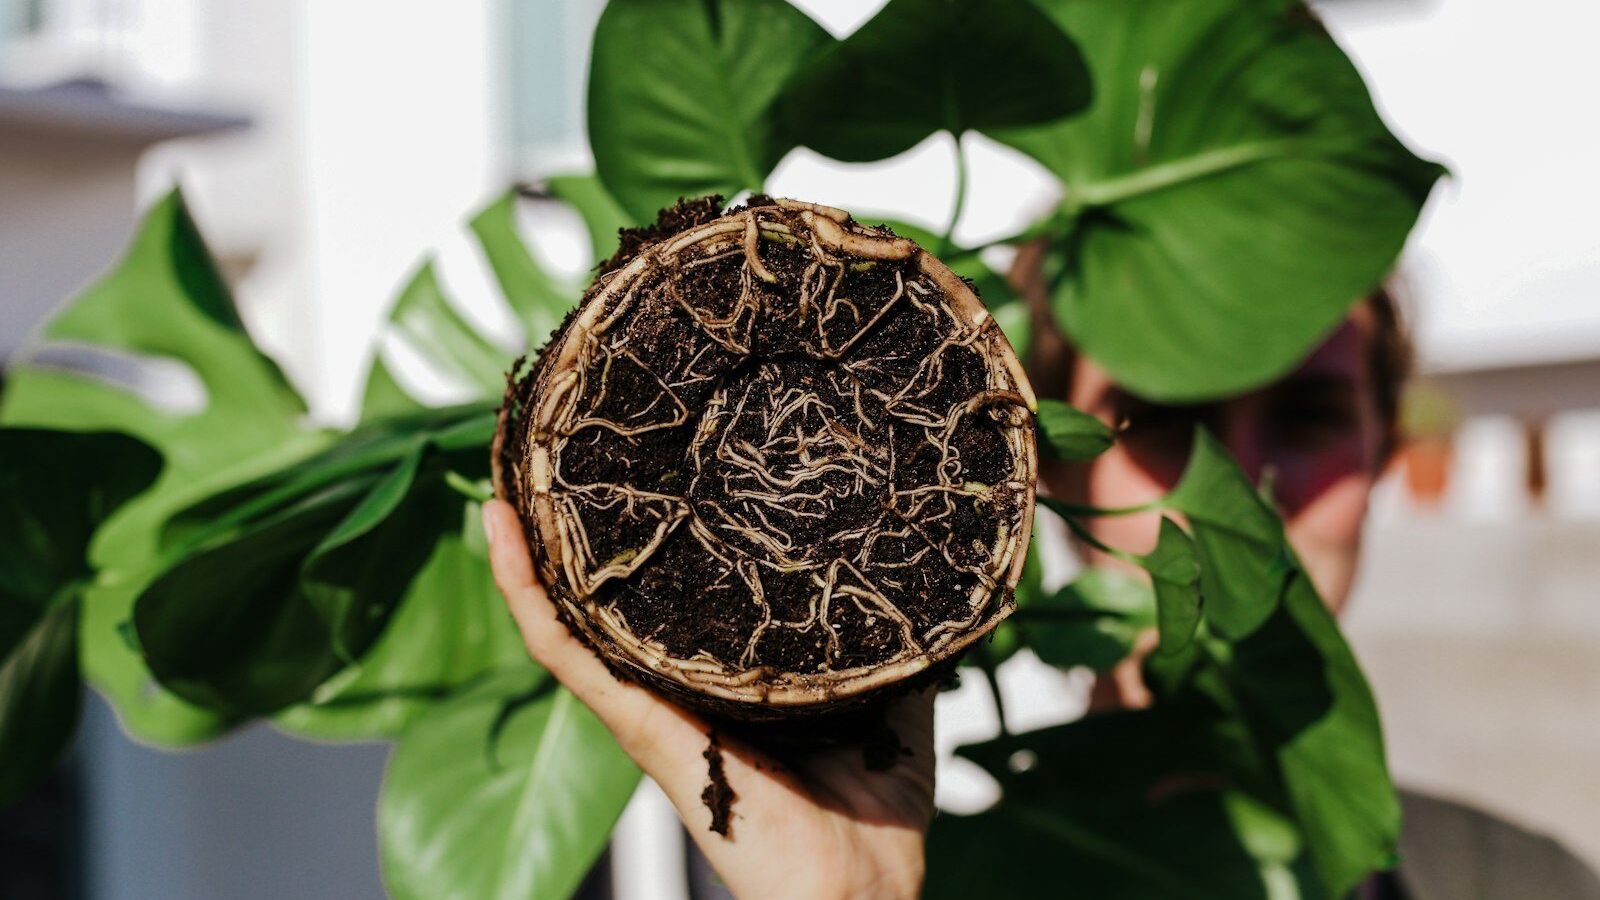
Repot a phalaenopsis (moth) orchid every one to two years, ideally right after it finishes blooming and when you see fresh green root tips starting to grow. The job is simple: soak fresh orchid bark, slide the plant out, strip off the old mix, trim any mushy or papery dead roots with sterile shears, and set the plant into a pot only slightly larger than its root mass, filling around the roots with bark so the crown sits at the surface. The most common mistakes are using regular potting soil, choosing a pot that is too big and watering heavily right afterward. Avoid those three and repotting is one of the best things you can do for an orchid that has stopped thriving.
Part of our Houseplants & Container Gardening guide →
In this guide
Key Takeaways
- Repot every 1–2 years, after flowering, when new roots are just emerging.
- Repot sooner if the mix has broken down into mush, smells sour, or roots are rotting.
- Use orchid bark or sphagnum moss, never regular potting soil.
- Choose a pot only about an inch wider than the old one, with plenty of drainage.
- Trim only dead roots — firm green, silver or white roots stay, even if they grow outside the pot.
Signs Your Orchid Needs Repotting
Orchids from grocery stores and garden centers are usually packed in sphagnum moss inside a plastic liner. That mix is fine for shipping and selling but often stays too wet in a home, so a first repot within the first year after flowering is a good idea. (Orchids break a few of the usual rules in our houseplants and containers guide, mainly around soil.) After that, watch for:
- Broken-down media: bark that has turned to fine, soil-like crumbs or moss that is dark and compacted. Decomposed media holds water and starves roots of air.
- Root problems: brown, mushy or hollow roots visible through a clear pot, or a sour smell.
- Wobbly plant: the orchid rocks in its pot because roots have rotted or media has shrunk.
- Overcrowding: roots climbing over the rim in a dense mass and the plant top-heavy. A few aerial roots alone are normal and not a reason to repot; see why orchid roots grow out of the pot.
- Time: two years in the same bark, even if the plant looks fine.
When to Repot
The best time is when the orchid has finished flowering and is putting out new roots — look for bright green tips about a quarter to half an inch long. New roots grow into fresh media quickly, so the plant settles in without a long sulk. For most phalaenopsis grown indoors in the US, that falls somewhere in late spring or early summer, but go by the plant rather than the calendar.
Avoid repotting while the plant is in bud or bloom unless the roots are rotting. Disturbing the roots can cause buds to drop. If rot is present, repot immediately; saving the plant matters more than the flowers. You can cut the flower spike and put it in a vase.
What You Need
- Fresh orchid mix: medium-grade fir bark (pieces roughly 1/4 to 1/2 inch) for phalaenopsis, often blended with perlite or charcoal; or long-fiber sphagnum moss.
- A pot: clear plastic orchid pot with side slots, or a terra cotta or ceramic orchid pot with drainage. See our picks for the best orchid pots.
- Sharp, sterile scissors or pruners: wipe the blades with rubbing alcohol between plants to avoid spreading viruses.
- A chopstick or pencil to work media between roots.
- A stake and clips if the plant is top-heavy.
- Newspaper or a tray to catch the mess.
Bark or sphagnum?
Bark drains fast and gives roots lots of air. It suits growers who water weekly and homes with average humidity. Sphagnum holds much more water, which helps in dry, heated homes and with small plants or weak root systems, but it is easy to overwater. If you tend to overwater, choose bark. If your orchid dries out in four days, sphagnum may suit you. For more on the moss options, see sphagnum vs peat moss. Regular potting soil is never right: phalaenopsis are epiphytes whose roots grow on tree bark in the wild and suffocate in dense soil.
How to Repot a Phalaenopsis Orchid, Step by Step
1. Prepare the night before
Soak the bark in water for several hours or overnight so it absorbs moisture; dry bark sheds water for weeks. If using sphagnum, soak it until fully hydrated, then squeeze it out until just damp. Water the orchid lightly a few hours before repotting, which makes its roots more flexible and less likely to snap.
2. Remove the plant
Squeeze a plastic pot gently around its sides to loosen roots stuck to the walls, then ease the plant out by its base, not its leaves. For roots clinging to a clay pot, run a thin knife around the inside edge. If necessary, cut a plastic pot away rather than tearing roots.
3. Remove the old media
Tease away old bark or moss with your fingers. A gentle rinse under lukewarm water helps loosen stubborn bits. Do not worry about every last piece stuck tightly to healthy roots; leave it rather than ripping roots. Remove any plastic plugs, foam peanuts or cups that growers sometimes bury in the center of the root ball.
4. Inspect and trim the roots
| Root looks like | Condition | What to do |
|---|---|---|
| Firm, plump, green when wet | Healthy, hydrated | Keep |
| Firm, silvery-white when dry | Healthy, needs water | Keep |
| Brown, mushy, slimy | Rotted | Cut back to firm tissue |
| Papery, hollow, skin slides off a thread | Dead | Remove |
| Slightly wrinkled but firm | Dehydrated, alive | Keep |
Squeeze each questionable root gently. If it collapses or the outer layer slides off, cut it. When in doubt, keep a root; healthy roots are the plant’s reserves. After trimming, some growers dust cut ends with ground cinnamon as a mild drying agent. Let the roots air-dry for an hour or so if you removed a lot of rot.
5. Choose the pot size
Hold the trimmed root mass over the new pot. The roots (not counting aerial roots) should fill the pot snugly. For most phalaenopsis that means the same size pot or one about an inch wider, typically 4 to 6 inches. If you removed a lot of dead roots, you may need a smaller pot than before. An oversized pot holds wet media around the roots for too long, which is how rot starts.
6. Position and fill
- Add a layer of bark to the bottom of the pot.
- Hold the plant so the base of the lowest leaf (the crown) sits at or just above the rim, centered in the pot.
- Spread the roots and trickle bark in around them, tapping the pot on the table and pushing bark down between roots with a chopstick.
- Fill until the plant is firm and does not wobble. The top roots can sit right at the surface; do not bury the crown or lower leaves.
- Tuck long aerial roots into the pot only if they bend easily; otherwise leave them outside.
With sphagnum, wrap moss loosely around the roots and press the bundle into the pot. Snug but not packed — tightly packed moss stays soggy.
7. Stake if needed
If the plant still rocks, push a stake into the media beside the stem and clip the base of the plant to it until new roots anchor it, usually a month or two.
Aftercare: The First Month
- Watering: pre-soaked bark gives the roots some moisture. Wait several days to a week before a thorough watering so trimmed roots can callus. Mist the leaves lightly in very dry rooms, but avoid water sitting in the crown.
- Light: bright, indirect light, out of direct sun for a couple of weeks.
- Fertilizer: hold off for about a month, then resume a dilute orchid fertilizer; see our picks for the best orchid fertilizers.
- Expect a pause: slightly limp leaves for a week or two are normal. New root tips appearing is the sign the plant has settled.
For long-term watering, light and temperature routines, see our complete guide on how to care for orchids.
Repotting Other Common Orchids
Phalaenopsis grow from a single central crown. Cattleya, oncidium and many dendrobium orchids are sympodial — they grow sideways, producing new pseudobulbs along a rhizome. Repot these when new growths are starting to root, and place the oldest pseudobulb against the back edge of the pot so new growths have room to move forward. They usually prefer a coarser bark and can be divided into clumps of three or more pseudobulbs when large.
Common Repotting Mistakes
- Leaving the nursery liner inside a decorative pot. Water collects in the cachepot with nowhere to go. Use a pot with drainage, or empty the cachepot after every watering.
- Reusing old bark. Decomposed bark is the reason you are repotting; always start with fresh media.
- Packing the mix too tightly. Bark should settle around roots, not be crushed against them.
- Burying the crown. Water collecting at the base of the leaves leads to crown rot.
- Repotting every few months. Each repot sets the plant back. Unless roots are rotting, once every one to two years is enough.
Troubleshooting After Repotting
- Leaves wrinkled and limp for weeks: too few healthy roots left, or the media is too dry. Increase humidity and water when bark is nearly dry.
- Yellowing lower leaf: some lower-leaf loss after repotting is normal; multiple yellow leaves suggest rot.
- Crown turning black: water sat in the crown or the plant was set too deep. Tip out any standing water and reposition higher.
- No new flowers: repotting can delay flowering one season; see why an orchid won’t bloom.
Frequently Asked Questions
How often should I repot an orchid?
Every one to two years for phalaenopsis in bark, or whenever the media breaks down, roots rot or the plant becomes unstable. Plants in sphagnum often need repotting more frequently because moss decomposes faster.
Can I repot an orchid while it is blooming?
It is better to wait until flowers fade, because disturbing roots can cause buds and flowers to drop. Repot immediately only if the roots are rotting.
Can I use regular potting soil for orchids?
No. Phalaenopsis and most popular orchids are epiphytes whose roots need air. Regular potting soil stays dense and wet and quickly rots their roots. Use orchid bark or sphagnum moss.
Should I cut off orchid aerial roots when repotting?
No, if they are firm and green or silver. Aerial roots are healthy and help the plant absorb moisture. Remove only dead, papery or mushy roots.
When should I water an orchid after repotting?
If you used pre-soaked bark, wait several days to a week before the first full watering so trimmed roots can heal. Then water when the media is nearly dry.