

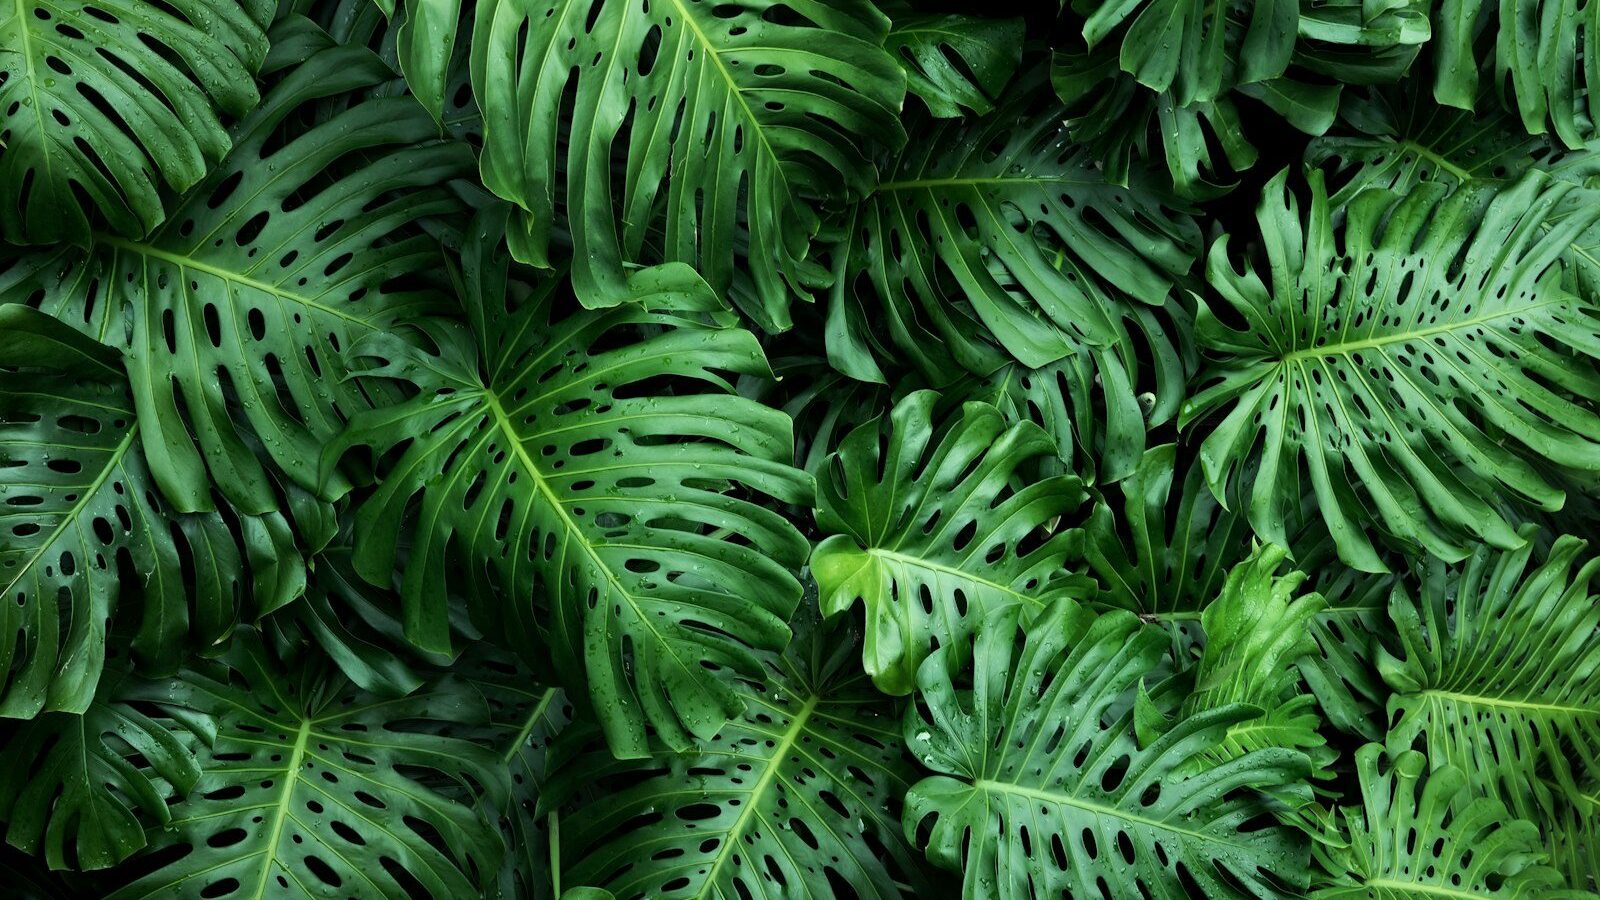
Monstera deliciosa is one of the most rewarding houseplants to propagate, because a single cutting can become a full, fenestrated plant in a season or two — and because the process is genuinely hard to mess up once you understand the one thing that matters: the node. Unlike some plants, a Monstera leaf alone will never grow into a new plant. You need a stem section that includes a node, the slightly swollen joint where leaves, aerial roots, and new growth all originate. Get a node, and you can root that cutting in water, in soil, or in sphagnum moss with a high success rate. This guide shows you how to identify a node, take a clean cutting, and root it by whichever method suits you, plus how to nurse the new plant into a bushy specimen and avoid the rot and stalling that frustrate beginners.
Part of our Houseplants & Container Gardening guide →
In this guide
Key Takeaways
- The node is everything: every cutting must include at least one node — a leaf alone will never root into a plant.
- Three rooting methods: water (easy to watch), sphagnum moss (fast, strong roots), and direct in soil (least disturbance).
- Timing: roots appear in 3 to 6 weeks; pot up once roots reach 2 to 3 inches.
- Aerial roots help: cut just below a node that already has an aerial root nub for a head start.
- Best season: spring and summer, during active growth and warmth.
- Patience over poking: changing water and resisting the urge to disturb cuttings prevents most failures.
Find the Node First
Before you cut anything, learn to spot a node. A node is the knobby joint on the main stem where a leaf attaches via its petiole (the leaf stalk). It is the point from which new leaves emerge and from which aerial roots — those thick brown or green tendrils Monsteras send out to climb and feed — grow. The smooth stem section between two nodes is called an internode, and it has no rooting potential on its own. A petiole (the stalk connecting a leaf to the stem) is also not a node; a cutting of just a leaf and petiole, with no piece of main stem, cannot grow roots or new leaves and will eventually die.
The ideal cutting includes a node, at least one healthy leaf, and ideally an aerial root or the small brown nub where one is forming. A cutting with an existing aerial root roots faster because that root quickly converts to a water- or soil-feeding root. You can take a cutting with one or several nodes; multi-node cuttings simply give you a bigger head start and more growth points.
Taking the Cutting
Work in spring or summer when the plant is actively growing. Sterilize a sharp knife or pruners with rubbing alcohol to prevent introducing disease into the open wound.
- Choose a healthy stem section with at least one node and one leaf. A stem with an aerial root is ideal.
- Cut about a quarter inch below the node so the node and any aerial root are included on the cutting. Make a clean, single cut rather than a ragged sawing motion.
- If the cutting has several large leaves, you can remove the lowest one or two to reduce moisture loss while it roots — but leave at least one leaf so the cutting can photosynthesize.
- Let the cut end air-dry and callus for 30 minutes to a few hours. This brief drying reduces the chance of rot once it hits water or soil.
Don’t worry about the mother plant — Monsteras handle pruning well and will push new growth from the node just below your cut, often branching to become fuller. This makes propagation a two-for-one: a new plant from the cutting and a bushier parent.
Method 1: Rooting in Water
Water propagation is the most popular method because you can watch roots develop and time the move to soil precisely.
- Place the cutting in a clear glass or jar so the node — and the aerial root, if present — is submerged, while the leaf stays above the water.
- Set the jar in bright, indirect light. Direct sun cooks the cutting and grows algae in the water.
- Change the water every 3 to 5 days to keep it fresh and oxygen-rich. Stale water starves and rots the node.
- Top up as needed so the node stays covered.
Small white roots usually appear from the node within 2 to 4 weeks. Wait until those roots are 2 to 3 inches long, with several branching, before potting up — a robust root system transitions to soil far more reliably than a couple of thin threads. When you pot up, keep the soil consistently moist for the first two weeks so the water-grown roots adjust to soil life.
Method 2: Rooting in Sphagnum Moss
Sphagnum moss often produces faster, sturdier roots than water because it holds moisture while still allowing air to reach the node — the airy, humid environment Monstera roots love. It is the method many collectors prefer for valuable cuttings.
- Soak sphagnum moss in water, then wring it out so it is damp but not dripping.
- Nestle the node and aerial root into a handful of the moss in a small pot or clear container, leaving the leaf exposed.
- Keep the moss lightly moist at all times — never soggy — and place the container in bright, indirect light. A clear cover or loose bag raises humidity and speeds rooting, but vent it daily to prevent mold.
- Check moisture every few days and re-dampen the moss as it dries.
Roots typically establish in 3 to 5 weeks. Because moss roots are already adapted to a soil-like medium, transplanting into potting mix causes less shock than moving from water. You can even pot the cutting up with some of the moss still attached.
Method 3: Rooting Directly in Soil
You can also root a Monstera cutting straight in soil, skipping the transplant shock entirely. The catch is that you can’t see the roots, so it takes faith and careful watering.
- Use a chunky, well-draining aroid mix: potting soil amended with orchid bark and perlite so the cutting gets both moisture and air.
- Bury the node about an inch deep, keeping the leaf above the surface, and firm the mix around it.
- Water until it drains, then keep the soil lightly moist — never waterlogged — in bright, indirect light.
- After 4 to 6 weeks, a gentle tug that meets resistance tells you roots have taken hold.
This method works best when paired with high humidity, so a spot near a humidifier or grouped with other plants helps. If you enjoy this kind of project, our guide to propagating a snake plant covers another easy beginner propagation to try next.
Potting Up and Aftercare
Once your cutting has a healthy 2- to 3-inch root system, pot it into a container with drainage holes using a chunky aroid mix. Choose a pot only slightly larger than the root mass; an oversized pot holds excess water and invites rot. Water thoroughly, let the top inch dry before watering again, and give the new plant bright, indirect light. Keep temperatures between 65°F and 85°F and humidity moderate to high — 50% or more keeps leaves glossy and growth steady.
Hold off on fertilizer for the first month, then feed lightly with a balanced liquid fertilizer every 4 to 6 weeks during spring and summer. As the plant matures, give it a moss pole or trellis to climb; Monsteras are natural climbers, and vertical support encourages larger leaves with more of the signature splits and holes (fenestrations). Young cuttings often produce small, solid leaves at first — fenestrations develop as the plant gains size and maturity, so be patient. For more easygoing indoor greenery to grow alongside your new Monstera, browse our urban gardening guides.
Troubleshooting Common Issues
If a water cutting’s node turns brown, mushy, or slimy, it has rotted — usually from stale water or a bruised node. Trim back to firm tissue, refresh the water, and try again. If roots are slow to appear after a month, check that the node is actually submerged and the cutting is getting enough warmth and light; cold or dim conditions stall rooting. Yellowing leaves on a cutting are normal as it diverts energy into roots, but widespread yellowing plus a soft stem signals rot. Finally, if nothing happens at all, double-check that your cutting actually includes a node — a leaf-and-petiole-only cutting can stay green in water for weeks but will never grow roots.
Frequently Asked Questions
Can you propagate a Monstera from just a leaf?
No. A leaf with only its petiole and no node cannot grow roots or new leaves. It may stay green in water for a while, but it will never become a plant. Every successful cutting must include a node — the joint on the main stem.
How long does it take a Monstera cutting to root?
Roots usually appear within 2 to 4 weeks in water and 3 to 5 weeks in moss. Wait until roots reach 2 to 3 inches — about 4 to 6 weeks total — before potting up for the best transition to soil.
Do I need an aerial root to propagate a Monstera?
No, but it helps. A node alone will root. A cutting that includes an aerial root or its forming nub roots faster, because that root quickly converts into a water- or soil-feeding root once submerged or buried.
Why isn’t my potted Monstera cutting growing splits?
Fenestrations — the splits and holes — develop as a Monstera matures and gains size, especially with a pole to climb. Young cuttings naturally produce smaller, solid leaves first. Give it bright light, support, and time, and split leaves will follow.
Is water or soil better for propagating Monstera?
Both work well. Water lets you watch the roots and time the move to soil, while soil and sphagnum moss produce sturdier roots with less transplant shock. Moss is often the fastest and most reliable, especially for valuable cuttings.