

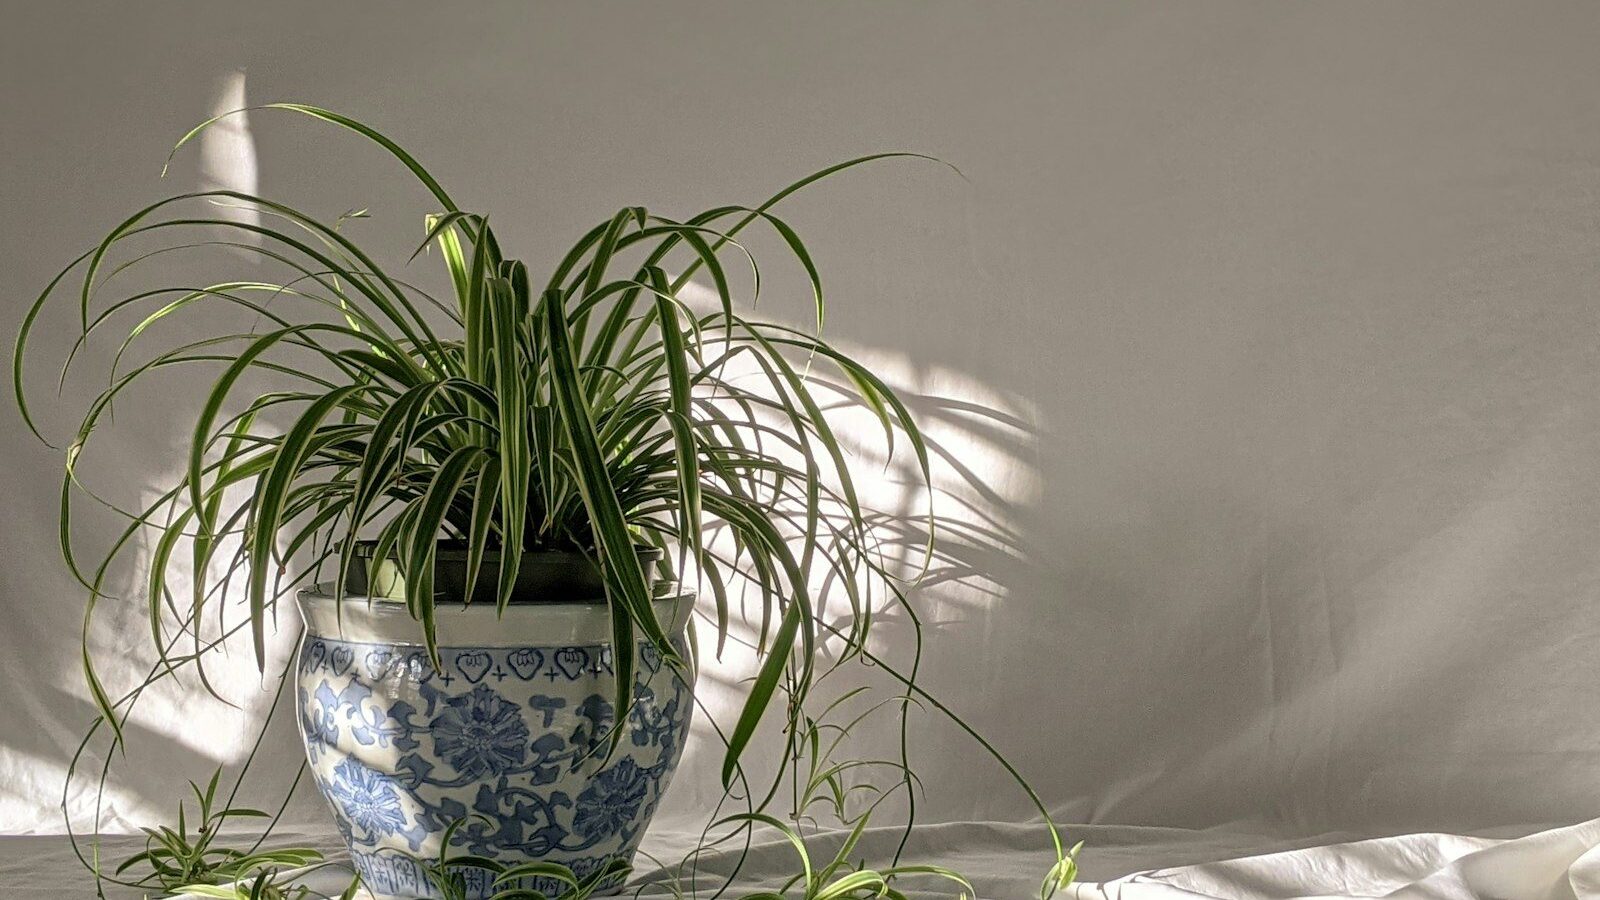
The spider plant is the houseplant that wants to be propagated. A healthy one throws out long arching stems tipped with miniature plantlets—the “spiderettes” or “babies”—each a ready-made clone of the parent, some already sprouting little nub roots before they ever touch soil or water. That makes spider plants one of the easiest plants on earth to multiply: you can root a baby in a glass of water on the windowsill, pot one straight into soil, or peg it down to root while still attached to the parent. This guide walks through all three methods step by step, with rooting times, the right time to do it, exactly when and how to pot up the new plants, and the troubleshooting for the handful of ways it can go sideways.
Key Takeaways
- Propagate from the plantlets (spiderettes) on the long runners—choose mature ones that already show small root nubs at the base.
- Three methods work: rooting in water, planting directly in soil, or layering the plantlet into soil while still attached to the parent.
- Water-rooting shows roots in about 1–2 weeks; pot up once roots reach 1–2 inches so they don’t get too water-adapted.
- Use a light, well-draining potting mix and keep the new plant warm, humid, and in bright indirect light while it establishes.
- Spring and summer—the active growing season—give the fastest, most reliable rooting.
Understanding the Plantlets
A mature spider plant sends out long, wiry stems called runners or stolons, and at their tips it forms small clusters of leaves—the plantlets. These aren’t flowers; they’re fully formed baby plants. Look closely at the base of a plantlet and you’ll often see small brown or white root nubs already beginning to form, the plant’s way of getting a head start before the baby reaches soil. Those pre-formed nubs are your friend: a plantlet that already shows root starts will establish far faster than a tiny, immature one still no bigger than a thumbnail. Choose the most developed plantlets—ones with several leaves and visible root nubs—for the highest success rate.
The best time to propagate is during the active growing season, spring through summer, when the plant roots quickly and the parent recovers easily from losing a few babies. You can propagate year-round indoors, but expect slower rooting in the low light and cool of winter.
Method 1: Rooting in Water
Water propagation is the most popular method because you get to watch the roots grow, and it’s nearly foolproof.
Step 1: Snip the plantlet
With clean scissors, cut a healthy plantlet from the runner, leaving a little stub of stem at its base. You can detach it completely from the parent for this method.
Step 2: Suspend it in water
Set the plantlet in a small glass or jar so the base and root nubs sit in the water but the leaves stay dry above the rim. Submerged leaves rot and foul the water. A narrow-necked glass holds the baby at the right height; a propagation station or even a toothpick sling works too.
Step 3: Place and wait
Put the glass in bright, indirect light—not direct sun, which overheats the water and scorches the baby. Change the water every few days to keep it fresh and oxygenated. Roots typically appear within one to two weeks and grow quickly from there.
Step 4: Pot up promptly
Once the roots reach about 1 to 2 inches long, move the plantlet into soil. Don’t wait for a huge root mass—water roots differ from soil roots, and a plant left too long in water has a harder transition to potting mix. Plant it in a small pot of light, well-draining mix, water it in, and keep it humid and bright while it adjusts.
Method 2: Planting Directly in Soil
Skipping water and going straight to soil produces a tougher root system that never has to transition, and it’s just as easy.
Step 1: Prepare a small pot
Fill a 3–4 inch pot with a light, well-draining houseplant mix (a peat or coco-based mix with perlite is ideal). Moisten it lightly before planting.
Step 2: Plant the plantlet
Snip a plantlet that already shows root nubs and nestle its base into the soil so the nubs are buried and the leaves sit above the surface. Firm the mix gently around it. Water lightly to settle the soil.
Step 3: Keep it warm, humid, and bright
Set it in bright, indirect light and keep the soil consistently lightly moist—not soggy—while roots establish, which usually takes a couple of weeks. A clear plastic bag or dome loosely over the pot raises humidity and speeds rooting; vent it daily so it doesn’t get stale. You’ll know it has rooted when new growth appears and a gentle tug meets resistance. From then on, treat it like a normal spider plant and let the top inch of soil dry between waterings.
Method 3: Layering (Rooting While Attached)
This is the most reliable method of all because the plantlet keeps drawing energy from the parent the entire time it roots.
Step 1: Set a pot beside the parent
Place a small pot of moist potting mix next to the mother plant, close enough that a runner can reach it.
Step 2: Pin the plantlet down
Without cutting the runner, lay a plantlet onto the soil in the new pot and pin it in place with a bent paperclip, a hairpin, or a small stone over the base so its root nubs make firm contact with the mix. The runner stays attached to the parent.
Step 3: Wait, then sever
Keep the soil lightly moist. The plantlet roots into the new pot over a couple of weeks while still fed by the parent. Once it’s firmly rooted—new growth, resistance to a gentle tug—cut the runner to separate the now-independent young plant. Because it never had to survive on its own roots alone during rooting, this method has the highest success rate and the least transplant shock.
Aftercare for the New Plants
Young spider plants want the same conditions as adults, just a little gentler. Give them bright, indirect light—direct sun bleaches and scorches the leaves, while deep shade dulls the variegation. Keep the mix lightly moist while establishing, then water when the top inch dries; spider plants are sensitive to fluoride and chlorine in tap water, which can brown the leaf tips, so use filtered or rested water if your tap gives you brown tips. Hold off on fertilizer for the first month, then feed lightly during spring and summer. Normal room temperatures and moderate humidity suit them fine. Pot up to the next size when roots fill the small pot—spider plants are vigorous and will reward you with their own runners and babies within a year, ready to start the cycle again.
Spider plants are a perfect gateway to propagation; once you’ve mastered them, the same water-rooting and layering instincts carry over to many houseplants. For more small-space and indoor growing projects, browse our Urban Gardening hub, and if you’ve caught the soilless-growing bug, see our beginner’s guide to ebb and flow hydroponics.
Troubleshooting
No plantlets forming? Spider plants tend to produce babies when slightly pot-bound and given consistent light; a too-large pot or very low light delays runners. Plantlet rotting in water? Leaves are touching the water, or the water isn’t being changed—keep only the base submerged and refresh it every few days. Roots forming but the baby wilts after potting? The water-to-soil transition shocked it—pot up sooner (at 1–2 inch roots), keep humidity high with a vented bag, and avoid direct sun for the first couple of weeks. Brown leaf tips on the new plant? Usually fluoride/chlorine in tap water or salt buildup from over-fertilizing—switch to filtered water and flush the soil. Choose mature plantlets with visible root nubs, propagate in the growing season, and keep them warm, humid, and brightly but indirectly lit, and nearly every baby will take.
Frequently Asked Questions
How long does it take a spider plant to root in water?
Roots usually appear within one to two weeks when the plantlet sits in bright, indirect light with fresh water changed every few days. Pot it into soil once the roots reach 1–2 inches—waiting too long makes the transition to soil harder.
Can I plant a spider plant baby directly in soil?
Yes, and it produces a tougher root system. Choose a plantlet with visible root nubs, nestle its base into a light, well-draining mix, keep it lightly moist and humid in bright indirect light, and it roots in a couple of weeks.
Do I have to cut the plantlet off the parent to propagate it?
No. The layering method—pinning a still-attached plantlet onto a pot of soil and cutting the runner only after it roots—is the most reliable, because the baby keeps drawing energy from the parent while it establishes.
When is the best time to propagate a spider plant?
Spring through summer, during active growth, gives the fastest and most reliable rooting and lets the parent recover easily. You can propagate year-round indoors, but expect slower rooting in winter’s lower light and cooler temperatures.
Why does my spider plant have brown leaf tips?
Most often it’s fluoride or chlorine in tap water, or salt buildup from over-fertilizing. Switch to filtered or rested water, flush the soil occasionally, and ease off the fertilizer to keep tips green.