

A raised bed with legs — sometimes called an elevated planter or waist-high garden — is the friendliest growing structure you can build. It puts the soil at a comfortable working height so you can plant, weed, and harvest standing up, with no kneeling, no bending, and no back strain. It keeps slugs, rabbits, and most digging pests at bay, drains beautifully, warms up fast in spring, and looks tidy enough for a patio, deck, or balcony. The trade-off is that an elevated bed holds a shallower, smaller volume of soil than a ground-level bed, so it dries out faster and the build has to be genuinely strong: wet soil is heavy, and a planter box brimming with damp mix can weigh a couple hundred pounds. This guide gives you a proven design, an exact cut list, the measurements that keep it sturdy, and a step-by-step build any weekend DIYer can finish in an afternoon.
Key Takeaways
- Build the box roughly 4 ft long × 2 ft wide with legs sized so the soil surface sits at a comfortable 30–36 in. working height.
- Make the soil box 8–12 in. deep — deeper for tomatoes and root crops, shallower is fine for greens and herbs.
- Use cedar, redwood, or untreated framing lumber for the box; never use old creosote or arsenic-treated wood for edibles.
- Drainage is everything: drill plenty of holes and line the floor with landscape fabric so soil stays put while water escapes.
- An elevated bed dries out fast — plan to water more often, and consider a self-watering reservoir or drip line.
Why Choose an Elevated Bed
An elevated raised bed solves problems a ground-level bed can’t. Because you work at waist height, it’s genuinely accessible for gardeners with limited mobility, bad knees, or back trouble — no stooping required. The raised soil mass warms quickly in spring, so you can sow earlier and harvest later. Pests that crawl or dig — slugs, snails, rabbits, voles — have a much harder time reaching the crop a yard off the ground. And on a hard surface like a deck, patio, or apartment balcony, an elevated planter lets you garden where there’s no ground soil at all. The one thing to respect is volume: because the box is shallow, it holds less moisture and fewer nutrients than open ground, so you’ll water and feed more often. That’s a fair price for a bed you can tend with a cup of coffee in one hand.
Pick Your Dimensions
Three measurements define the build, and getting them right up front makes everything easier.
- Box length and width: A 4 ft × 2 ft footprint is the sweet spot. Two feet wide means you can reach the center from either side without straining; four feet long gives useful planting room without making the box too heavy to be rigid. You can go to 6 ft long, but add a center support if you do.
- Soil depth: Make the box 8–12 inches deep. Leafy greens, herbs, lettuce, and radishes thrive in 6–8 inches; tomatoes, peppers, carrots, and other deep-rooted crops want a full 10–12 inches. Deeper soil also holds moisture longer, which matters in an elevated bed.
- Working height: Size the legs so the top of the soil sits 30–36 inches off the ground. For most adults a 32-inch box top is comfortable to work standing; if you’ll mostly sit on a stool, drop it to 28–30 inches. Remember the legs need to reach from the floor up to the bottom of the box, so leg length = desired box-top height minus box depth.
Materials and Cut List
This cut list builds a 4 ft × 2 ft box, 10 inches deep, with legs that put the box top at about 32 inches. Adjust leg length if you want a different height. Cedar is the ideal wood — naturally rot-resistant, light, and beautiful — but untreated pine or fir works for a few seasons if you seal the inside. Avoid older pressure-treated lumber for edibles; if you must use modern treated wood, line the interior with heavy plastic so soil doesn’t touch it.
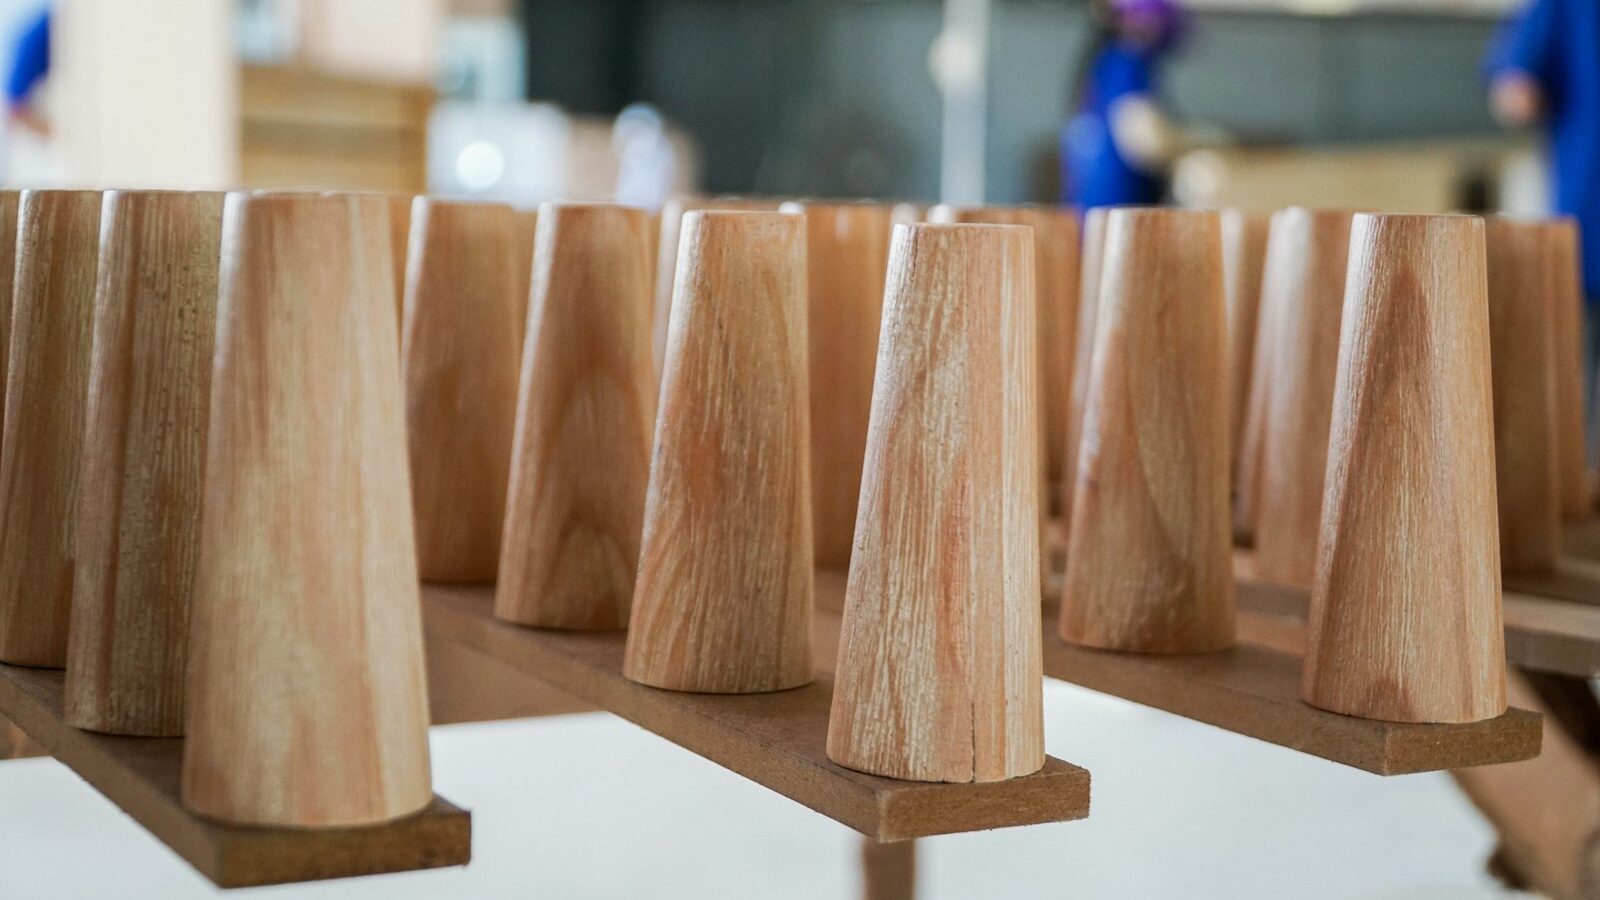
- 4 legs: 4×4 cedar posts, each 22 in. long (32 in. target height minus the 10 in. box depth).
- 2 long sides: 1×10 (or two 1×6) cedar boards, 48 in. long.
- 2 short ends: 1×10 cedar boards, 24 in. long.
- Floor slats: five or six 1×6 cedar boards cut to fit across the bottom (about 22.5 in. each), spaced with small gaps for drainage.
- Top cap (optional but recommended): 1×3 or 1×4 trim mitered around the top edge — gives a finished lip and stiffens the box.
- Fasteners: 2.5 in. and 1.5 in. exterior/deck screws (coated or stainless to resist rust).
- Landscape fabric to line the floor, plus a roll of weed-block if desired.
- Tools: circular saw or miter saw, drill/driver, tape measure, square, clamps, and a 3/8 in. spade bit for drainage holes.
Step-by-Step Build
Step 1: Build the box frame
Lay out the two 48-inch side boards and the two 24-inch end boards on a flat surface to form a rectangle, with the end boards tucked between the side boards. Pre-drill to avoid splitting cedar, then drive two or three 2.5-inch screws through each side board into the end grain of the end boards. Check the box for square by measuring corner to corner diagonally — both diagonals should match — and adjust before the screws are fully seated. You now have an open-bottomed box 48 × 24 inches and 9.25 inches tall (a nominal 1×10 is really 9.25 in.).
Step 2: Attach the legs
Stand a 22-inch 4×4 leg vertically inside each corner of the box so the top of the leg is flush with the top edge of the box and the rest extends down below it. This is the strongest arrangement — the legs run the full height of the box wall, so screws can pass through both side and end boards into each post. Clamp the first leg in place, pre-drill, and drive three or four 2.5-inch screws through each adjoining board face into the leg. Repeat at all four corners. Stand the unit up; it should be rock solid. For a 6-foot box or for heavy soil, add a fifth leg or a cross brace at the midpoint.
Step 3: Install the floor and drainage
Flip the box on its side or work from underneath. Lay the 1×6 floor slats across the bottom, resting on the lower inside edges of the box, leaving roughly a quarter-inch gap between slats for water to escape. Screw each slat down with 1.5-inch screws into the box walls. Then drill a grid of 3/8-inch drainage holes through the slats every few inches — you cannot have too much drainage in an elevated bed. Finally, line the entire interior floor (and a few inches up the walls) with landscape fabric, stapling it in place. The fabric holds soil in while letting water drain freely, which keeps your deck or patio from being buried in mud.
Step 4: Add the cap and finish
If you’re adding a top cap, miter the 1×3 trim at 45 degrees and screw it flat around the top edge to create a clean lip you can lean on or set tools across. Sand any sharp edges. Cedar can be left to weather to a silvery gray, or you can brush on a food-safe exterior oil or sealer on the outside only to extend its life. Leave the interior raw if you used cedar; seal or plastic-line the interior only if you used pine or treated wood.
Step 5: Fill with the right soil mix
Don’t fill an elevated bed with heavy native garden soil — it compacts, holds too much water, and weighs a ton up on legs. Use a light, fast-draining raised-bed mix: roughly one-third quality compost, one-third peat or coir, and one-third coarse perlite or vermiculite. This mix is light enough to be kind to your structure and your deck, drains well, and holds nutrients. A 4 × 2 × 0.83 ft box needs about 6.6 cubic feet of mix — buy a little extra, since soil settles after the first watering and you’ll want to top it up.
Watering, Feeding, and Care
The shallow soil volume is the one real drawback of an elevated bed, so build your watering routine around it. In summer heat a small elevated bed can dry out in a single day, so check the top inch of soil daily and water until it runs from the drainage holes. A simple drip line on a timer, or a self-watering version with a reservoir tray under the floor, takes the worry out of it. Because frequent watering flushes nutrients out the bottom, feed every two to three weeks with a balanced organic liquid fertilizer, or mix slow-release granules into the soil at planting. Refresh the top few inches with fresh compost each spring, and your elevated bed will produce reliably for years. This kind of compact, high-yield setup is perfect for a small-space urban garden, and it pairs well with other patio and deck projects in our outdoor living guides. If you want a second build this season, our window box planter plans use the same basic skills and tools.
Common Mistakes to Avoid
The biggest errors are under-building the legs, skimping on drainage, and using the wrong soil. Spindly 2×2 legs will wobble and eventually fail under wet soil — use 4×4 posts and run them the full height of the box. Too few drainage holes turn the box into a swamp that rots roots and the wood alike. And dense garden dirt or topsoil compacts into a brick and is far too heavy. Build strong, drain hard, fill light, and you’ll have a comfortable, productive bed that lasts a decade.
Frequently Asked Questions
How deep should a raised bed with legs be?
Make the soil box 8–12 inches deep. Leafy greens and herbs are happy in 6–8 inches, but tomatoes, peppers, and root crops like carrots want a full 10–12 inches. Deeper soil also dries out more slowly, which is a real advantage in an elevated bed.
What is the best height for an elevated garden bed?
Size the legs so the soil surface sits 30–36 inches off the ground — about 32 inches suits most adults working while standing. If you plan to sit on a stool, drop it to 28–30 inches. Leg length equals your target height minus the box depth.
What wood should I use for an edible raised bed?
Cedar or redwood are ideal — naturally rot-resistant, light, and safe. Untreated pine works for a few seasons if you seal it. Avoid old creosote or arsenic-treated lumber for food crops, and if you use modern treated wood, line the inside with plastic so soil never touches it.
What soil should I fill it with?
Use a light raised-bed mix, not heavy garden soil. A blend of about one-third compost, one-third peat or coir, and one-third perlite or vermiculite drains well, stays light enough for the structure, and holds nutrients. Heavy native dirt compacts and is far too heavy on legs.
How often do I need to water an elevated bed?
More often than a ground bed — the shallow soil dries fast, sometimes within a day in summer heat. Check the top inch daily, water until it drains from the holes, and consider a drip timer or a self-watering reservoir to keep moisture steady.