

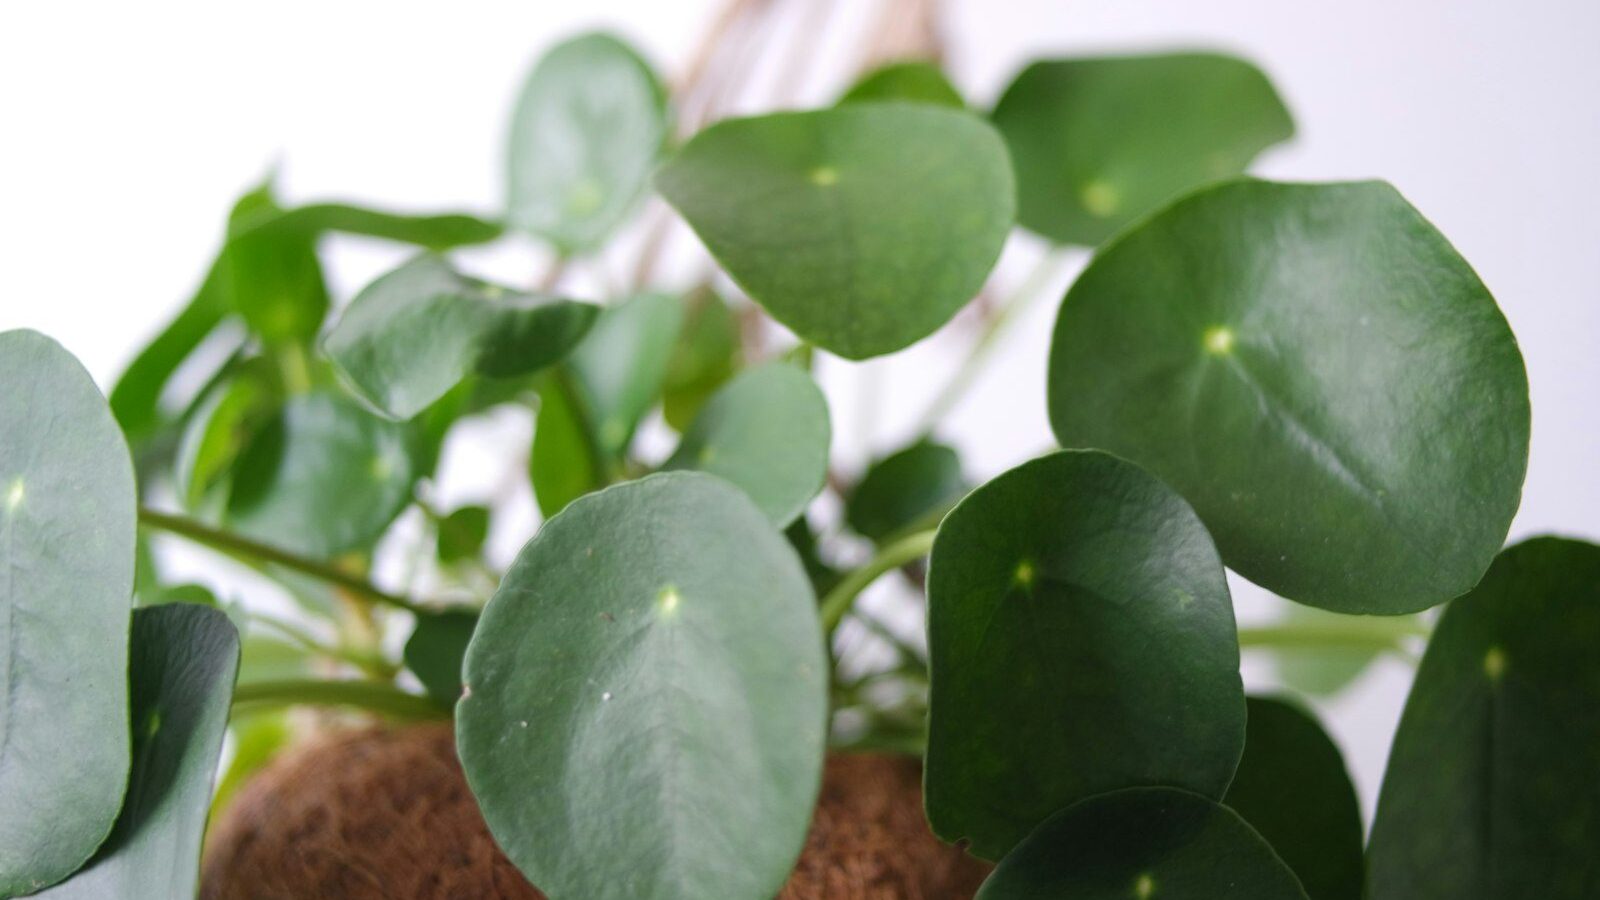
Kokedama is the Japanese art of growing a plant in a hand-formed ball of soil, wrapped in living moss and bound with string — no pot required. The name literally means “moss ball” (koke, moss; dama, ball), and it grew out of bonsai practice as a simpler, sculptural way to display a single plant. Done well, a kokedama looks like a small green planet you can hang, perch on a dish, or cluster into a hanging “string garden.” It is also genuinely beginner-friendly: you need a few cheap materials, about thirty minutes, and a plant whose roots you do not mind exposing. This guide walks through the soil mix that actually holds together, the wrapping technique step by step, the best plants to start with, and the watering routine that keeps the ball alive for years.
Key Takeaways
- The classic mix is roughly 7 parts akadama (or peat-free substitute) to 3 parts sphagnum peat or coco coir, moistened until it clumps like dough and holds a ball.
- Wrap the root ball in pre-soaked sheet moss, then bind tightly with cotton or jute string in a crisscross pattern until the ball is firm and won’t sag.
- Choose forgiving, humidity-loving plants for your first try — pothos, ferns, philodendron, or peace lily — and avoid cacti and succulents, which rot in the moist core.
- Water by soaking the whole ball in a bowl for 10–20 minutes until it stops bubbling, then let it drain; the ball’s weight tells you when it’s dry.
- A finished kokedama lasts 1–3 years; when roots fill the ball or it won’t hold water, simply re-wrap in a larger ball of fresh mix.
What you’ll need
Gather everything before you start, because your hands will be muddy halfway through. None of it is exotic — a garden center and a craft shop cover the list.
- A small plant in a 3–4 inch nursery pot (see the plant list below).
- Akadama clay (the traditional bonsai soil) or a peat-free substitute such as bonsai grit mixed with potting soil.
- Sphagnum peat moss or coco coir to bind the mix and hold moisture.
- Sheet moss (dried or living) for the outer wrap — green side out.
- Cotton or jute twine, or clear fishing line for a near-invisible finish.
- A bowl of water for soaking the moss, scissors, and a mixing tub.
If you cannot find akadama, do not stall — a workable substitute is 60% bonsai grit or coarse potting soil, 30% peat or coir, and 10% sifted compost. The goal is a mix that compacts into a firm ball but still breathes.
Step 1: Mix and moisten the soil
In your tub, combine roughly 7 parts akadama (or substitute) to 3 parts peat or coir. Add water a little at a time and knead with your hands until the mixture holds together like firm cookie dough — when you squeeze a handful it should clump and keep its shape without water streaming out. Too wet and it slumps; too dry and it crumbles when you try to form the ball. Aim for the texture of well-wrung modeling clay. Set aside a softball-to-grapefruit-sized amount per plant, depending on the plant’s size.
Step 2: Prepare the plant’s roots
Slide the plant out of its nursery pot and gently tease away most of the potting soil from the roots — work over your tub and be patient with tangled roots. You want a mostly bare root system so the new mix surrounds it directly. If the plant is badly root-bound, loosen the outer roots with your fingers. Trim any mushy, dark, or circling roots with clean scissors; healthy roots are pale and firm. For larger plants you can leave a small core of original soil intact to reduce shock.
Step 3: Form the ball
Take your moistened mix and pack a generous layer around the roots, working it into a sphere with the plant’s stem emerging from the top. Press firmly so the ball is dense and holds together — a loose ball falls apart the first time you water it. Aim for a sphere a bit larger than a baseball for a small plant. Smooth the surface with your palms. If the ball won’t cohere, your mix is either too dry (add water) or too low in peat/coir (add binder). Hold the finished ball up by the stem briefly; it should not crack or slump.
Step 4: Wrap in moss
Soak your sheet moss in water for a few minutes, then squeeze out the excess. Lay pieces green-side-out against the soil ball, overlapping them like shingles until the entire sphere is covered — no bare soil showing. Hold the moss in place with one hand while you begin wrapping with the other. Living moss will continue to grow and green up over time; dried sheet moss gives an instant finished look but stays dormant. Either works, so pick by budget and the look you want.
Step 5: Bind with string
Tie one end of your twine around the base of the stem to anchor it, then wrap the ball in a random crisscross pattern, rotating it as you go and pulling firmly so the moss is held tight against the soil. Keep wrapping — twenty or thirty passes is normal — until the ball feels solid and the moss can’t shift. Tuck and tie off the end under an existing strand, then snip the excess. The wrapping does double duty: it holds the moss on and it compresses the ball so it keeps its shape through repeated soakings. If you want to hang the kokedama, leave a loop of stronger cord or fishing line attached at this stage.
Best plants for kokedama
Choose plants that like the moist, humid conditions inside a moss ball and tolerate having their roots disturbed. For a first attempt, lean toward the forgiving end of this list.
- Pothos — nearly indestructible, trails beautifully, ideal for beginners.
- Ferns (Boston, maidenhair, bird’s nest) — love the constant moisture and humidity.
- Philodendron — vigorous, forgiving, and happy in moderate light.
- Peace lily — thrives moist and tells you when it’s thirsty by drooping.
- Asparagus fern, ivy, and small calatheas — all suit the humid root zone.
- Compact ferns and tropical foliage generally outperform anything that wants to dry out.
Avoid cacti and succulents — the perpetually damp core of a kokedama will rot them. Also skip very large or top-heavy plants, which overwhelm the small root ball.
Watering and care
How to water
Watering a kokedama is the most satisfying part of owning one. Fill a bowl or sink with room-temperature water and lower the moss ball in, plant-side up. It will release a stream of air bubbles as water soaks into the core. Leave it for 10–20 minutes until the bubbling stops, then lift it out and gently squeeze to drain the excess. Set it on a dish or rehang it. Misting the moss between soakings keeps the surface green and the plant humid.
How often
Frequency depends on plant, light, and home humidity — anywhere from twice a week to once every week or so. The reliable cue is weight: a freshly soaked ball is heavy, and a dry one is noticeably light. Pick the ball up; when it feels light and the moss starts to feel crisp rather than springy, it’s time to soak again. Erring slightly dry is safer than keeping it waterlogged.
Light, feeding, and humidity
Most kokedama plants want bright, indirect light — a few feet from an east or north window is ideal. Direct midday sun dries the ball fast and can scorch foliage. Feed during the growing season by adding a weak (quarter-strength) liquid fertilizer to the soaking water about once a month. In dry homes, group several kokedama together or sit them on a pebble tray to raise humidity around the foliage.
How long it lasts and when to re-wrap
A well-made kokedama lasts one to three years before the plant outgrows it. Tell-tale signs it’s time to refresh: roots poking through the moss, the ball refusing to hold water, or the plant looking stalled despite good care. To renew it, soak the ball, peel away the old string and moss, set the root ball into a larger ball of fresh mix, and re-wrap. You can also pot the plant up conventionally at this point if you’d rather retire the moss-ball form. For other compact, soil-light projects, see our guides to building an herb spiral and making a fairy garden, or browse the full urban gardening collection.
Frequently Asked Questions
How often should I water a kokedama?
Water when the ball feels light, which is usually every few days to about once a week depending on the plant, light and humidity. Soak the whole ball in a bowl for 10–20 minutes until the air bubbles stop, then drain. Judge by weight rather than a fixed schedule — a heavy ball is still moist, a light one needs soaking.
What plants work best for a beginner kokedama?
Forgiving, moisture-loving foliage plants are best: pothos, ferns, philodendron and peace lily all thrive in the damp moss ball and tolerate root disturbance. Avoid cacti and succulents, which rot in the constantly moist core, and skip large top-heavy plants that overwhelm the small root mass.
Can I use succulents in a kokedama?
It’s not recommended. The center of a kokedama stays moist between soakings, and that is exactly the condition that rots succulent and cactus roots. If you love the moss-ball look with succulents, you’d need to let it dry out far more than typical, which works against the technique. Stick to humidity-loving plants instead.
Why is my kokedama falling apart?
A ball that crumbles was usually packed too loosely or wrapped too loosely. Make sure the soil mix has enough peat or coir to bind, moisten it until it clumps like dough, pack it firmly around the roots, and wrap the string tightly with many crisscrossing passes. Re-wrapping a sagging ball with more string often saves it.
How long does a kokedama last?
Expect one to three years before the plant outgrows the ball. When roots break through the moss or the ball won’t hold water, soak it, peel off the old moss and string, set the root ball into a larger ball of fresh mix, and re-wrap. You can also pot the plant up normally at that point.