

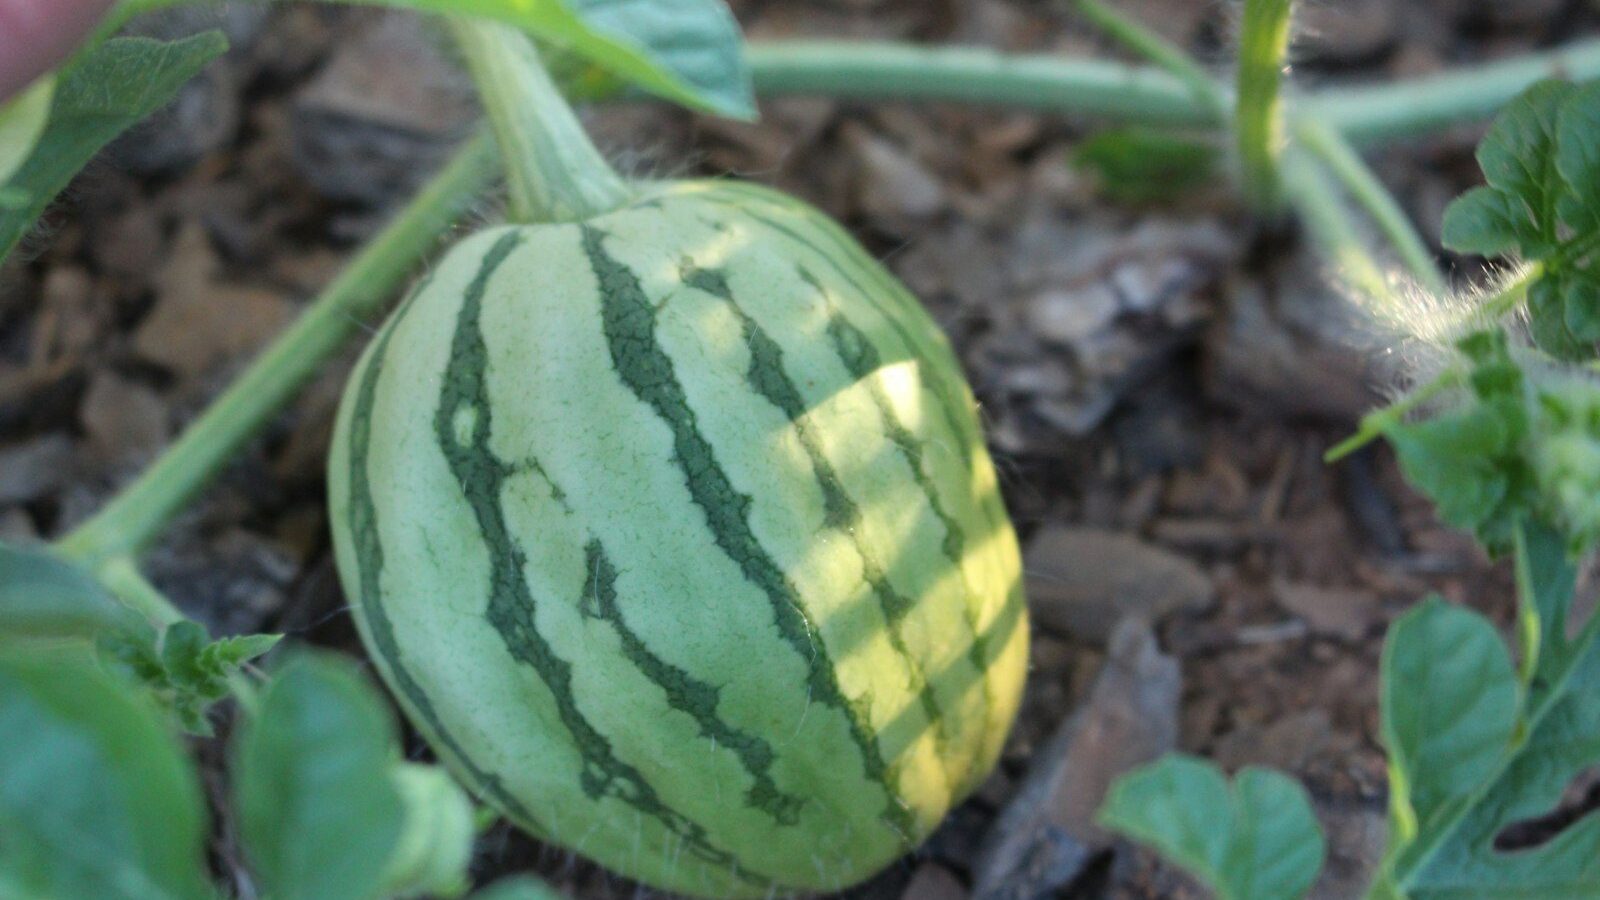
Watermelon needs three things in abundance: heat, sun, and room. Give it 70-90 frost-free days, soil that warms to 70F, full sun for eight hours a day, and 6 to 12 feet of sprawl per plant, and it will reward you with fruit you can never buy at the grocery store. Get any one of those wrong and you’ll get vines, flowers, and golf-ball fruit that quits in August. This guide walks the whole season, from when to drop seed through how to know the exact day a melon is ripe.
Part of our Vegetable Gardening & Raised Beds guide →
In this guide
Key Takeaways
- Plant only when soil hits 70F and all frost is gone; cold soil rots seed and stalls transplants for weeks.
- Direct-sow if your season allows, or start indoors in peat pots 3-4 weeks before transplant since watermelon hates root disturbance.
- Give each plant full sun, well-drained sandy loam at pH 6.0-6.8, and 1-2 inches of deep water per week.
- Feed nitrogen early for vines, then switch to phosphorus and potassium once flowers and fruit set.
- Harvest when the curly tendril nearest the fruit dries brown and the ground spot turns creamy yellow, not white.
Climate, Zones, and Timing
Watermelon is a warm-season crop with zero frost tolerance. It grows as an annual everywhere, but the season length is what separates an easy crop from a gamble. Most icebox varieties need 70-75 days from transplant to ripe fruit; large picnic types like Charleston Gray need 85-95 days of consistent heat. Count backward from your first fall frost and make sure you have that many warm days with night temperatures staying above 60F.
Gardeners in USDA zones 7-11 have the easiest time and can grow nearly any variety. In zones 4-6, stick to short-season icebox types (Sugar Baby, Blacktail Mountain) and use every heat trick you have: black plastic mulch, transplants instead of direct seed, and row cover early. In zones 3 and colder, watermelon is possible only with transplants, black plastic, and a short-season cultivar bred for the job. If your summers rarely break 80F, watermelon will sulk no matter what you do.
When to Plant
Soil temperature is the trigger, not the calendar. Seed will not germinate reliably below 70F and rots in cold, wet ground. Wait until your last frost date has passed by at least two weeks, then check soil temperature with a probe thermometer two inches down in the morning. When it reads a steady 70F, you’re clear to sow. For most of the country that’s late May into June; in the Deep South and low desert, March to April.
If you started transplants indoors, set them out two to three weeks after your last frost when the soil is warm and nights are mild. Rushing transplants into cold soil sets them back further than seed sown a week later into warm ground, so patience pays here.
Seed vs. Transplant
Direct seeding is the simplest route when your season is long enough. Watermelon resents having its roots disturbed, and seed sown straight into warm garden soil never suffers transplant shock. Sow seeds one inch deep, two to three seeds per spot, and thin to the two strongest seedlings once they have a couple of true leaves.
In a short season you’ll want a head start, so grow transplants but protect those roots. Start seed indoors only 3-4 weeks before your transplant date; older seedlings get rootbound and transplant poorly. Use peat pots, soil blocks, or large cells so you can move the whole root ball without breaking it. Keep them at 75-85F to germinate, give strong light, and harden them off over a week before they go outside. Plant the peat pot intact, tearing the rim so it doesn’t wick water away from the roots. The same root sensitivity makes raised beds a good fit because the soil warms faster and drains better; if you’re building one, our guide on how to build a raised planter box covers sizing and drainage.
Site and Soil Preparation
Pick the sunniest, warmest spot you have. Watermelon wants a minimum of eight hours of direct sun and does best with ten. A south-facing slope or a bed against a heat-reflecting wall ripens fruit faster and sweeter. Avoid low spots where cold air pools and water sits.
The ideal soil is a well-drained sandy loam with a pH between 6.0 and 6.8. Heavy clay holds too much water and warms slowly, which invites rot; if that’s what you have, plant on raised hills or in mounded rows to lift the roots and improve drainage. Work two to three inches of finished compost into the top eight inches of soil before planting. Compost feeds slowly, holds moisture without waterlogging, and improves structure. If a soil test shows you’re below pH 6.0, add lime the previous fall so it has time to react.
Mulch Strategy
Black plastic mulch is the single biggest upgrade for cool-climate growers. Lay it over the bed a week or two before planting to pre-warm the soil by 5-10F, then cut planting holes through it. It also blocks weeds and keeps ripening fruit off bare dirt. In hot climates where soil warming isn’t the issue, switch to a thick straw mulch once the soil is fully warm; it conserves moisture, moderates temperature swings, and gives developing melons a clean, dry bed to rest on.
Spacing and Layout
Watermelon vines run 8 to 12 feet, and crowding them cuts yield and invites disease by trapping humidity. The traditional method is hill planting. Build low mounds and space them according to vine vigor.
- Small icebox types: hills 2-3 feet apart, rows 6 feet apart.
- Standard picnic types: hills 4-6 feet apart, rows 8-12 feet apart.
- Plant 2-3 plants per hill after thinning; the hill’s slight rise improves drainage and warms the root zone.
If space is tight, you can trellis small icebox varieties (3-5 pound fruit) up a sturdy A-frame or cattle panel. Once melons reach softball size, support each one with a sling made from old t-shirt fabric, mesh produce bags, or pantyhose tied to the trellis so the weight doesn’t tear the vine. Full-size picnic melons are too heavy to trellis; let those run on the ground.
Watering
Watermelon is mostly water, so consistent moisture during vine growth and fruit set is non-negotiable. Aim for 1-2 inches per week from rain and irrigation combined, delivered in deep soakings rather than daily sprinkles. Deep watering drives roots down where they’re insulated from heat stress. Drip irrigation or a soaker hose is far better than overhead watering, which wets foliage and spreads fungal disease.
Here’s the trick most beginners miss: once melons are nearly full-sized and starting to ripen, cut back on water. Easing off in the final week or two concentrates the sugars and gives you a sweeter, more flavorful melon. Too much water at the end produces bland, watery fruit and can split the rind. Don’t let plants wilt severely, but stop the heavy feeding-and-watering routine as harvest approaches.
Fertilizing
Match the nutrient to the growth stage. Early in the season, while plants are building vines and leaves, they need nitrogen. A balanced feed or one slightly higher in nitrogen, such as a 10-10-10 worked in at planting plus a side-dressing when vines start to run, gives you the leafy framework that powers fruit production.
Once flowering begins, switch gears. Too much nitrogen now gives you lush vines and few melons. Move to a fertilizer higher in phosphorus and potassium to support flowering, fruit set, and sugar development; a 5-10-10 or a tomato-and-vegetable formula works well. Side-dress lightly again when the first fruits are golf-ball sized. Don’t overdo it. Watermelon does best with steady moderate feeding, and excess fertilizer of any kind near harvest hurts flavor.
Pollination
Watermelon plants produce separate male and female flowers on the same vine. Males open first and for a week or two you may see flowers but no fruit set, which is normal. Female flowers are easy to spot: they have a tiny swollen melon at the base, behind the petals. Each female flower must be pollinated by bees carrying pollen from several male flowers, and it needs multiple visits to set a full, well-shaped fruit. Poor pollination produces lopsided, stunted melons.
If bees are scarce, especially under row cover or in a small urban yard, hand-pollinate in the early morning when flowers are freshly open. Pick a male flower, peel back its petals, and dab its pollen-laden stamen directly onto the stigma in the center of several female flowers. To attract more pollinators naturally, plant flowers nearby and avoid spraying insecticides while plants are in bloom. The same pollinator logic applies across the warm-season garden; for another sun-loving crop with its own quirks, see our guide on how to grow corn.
Seedless (triploid) varieties add a wrinkle: they produce sterile pollen and cannot pollinate themselves. You must interplant a standard seeded (diploid) variety as a pollinizer, usually one seeded plant for every two or three seedless plants, or you’ll get flowers and no fruit.
Choosing a Variety
Pick by your season length and your space. Icebox types are small (5-12 pounds), early, and fit small gardens or trellises. Picnic types are the big classic melons (15-30 pounds) that need a long season and plenty of room.
- Sugar Baby — icebox, 8-10 lb, ~75 days, very sweet, dependable in shorter seasons.
- Crimson Sweet — picnic, 15-25 lb, ~85 days, classic flavor and good disease resistance.
- Charleston Gray — picnic, 20-30 lb, ~90 days, long oblong fruit with strong wilt resistance, loves heat.
- Jubilee — picnic, large oblong, ~95 days, sweet but needs a long, hot season.
- Blacktail Mountain — icebox, ~70 days, bred for cool, short-season climates.
- Seedless (triploid) types — convenient eating but require a seeded pollinizer planted alongside.
Pests and Diseases
Scout your patch twice a week. Catching trouble early is the difference between a quick fix and a lost crop.
Common Pests
- Cucumber beetles — striped or spotted yellow beetles that chew leaves and, worse, spread bacterial wilt. Use row cover until flowering (then remove it for pollination), and knock populations down with yellow sticky traps or targeted spinosad.
- Aphids — cluster on new growth and undersides of leaves, spreading viruses. Blast off with water or treat with insecticidal soap; encourage ladybugs.
- Squash vine borer — larvae tunnel into the stem base, causing sudden wilt. Look for sawdust-like frass at the crown; mound soil over vine nodes so they root and back up the main stem.
- Spider mites — thrive in hot, dry conditions, stippling leaves yellow with fine webbing underneath. Keep plants watered and spray undersides with insecticidal soap or neem.
Common Diseases
- Powdery mildew — white powdery patches on leaves in humid weather. Improve air flow with wide spacing, water at the soil line, and treat with a sulfur or potassium-bicarbonate fungicide.
- Fusarium wilt — soil-borne fungus that yellows and collapses vines from one side. There’s no cure; rotate crops on a 3-4 year cycle and choose resistant varieties.
- Anthracnose — dark sunken spots on leaves and fruit, worse in wet weather. Avoid overhead watering, remove debris, and rotate.
- Blossom-end rot — a sunken brown patch on the bottom of the fruit, caused by inconsistent watering and calcium uptake, not an infection. Keep moisture steady and mulch well to fix it.
Rotating where you plant cucurbits, keeping foliage dry, and clearing diseased material at season’s end prevent most problems before they start.
How to Tell When a Watermelon Is Ripe
This is where most home growers either pick too early or wait too long. Watermelon does not ripen further once cut from the vine, so timing the harvest matters more than with almost any other crop. Use these signs together, not in isolation.
- The tendril test — find the curly tendril growing on the stem right where the melon attaches. When it dries up and turns brown, the melon is ripe. A green, fresh tendril means wait.
- The ground spot — the underside where the melon rests on the soil starts white and turns creamy yellow or buttery gold as it ripens. A white or pale-green spot means it’s not ready.
- Dull rind — a ripe melon loses its shiny gloss and develops a dull, slightly rough finish on the top side.
- The thump — tap the melon with a knuckle. A ripe one returns a deep, hollow thunk; an unripe one sounds tight and high-pitched. This takes practice, so use it to confirm the other signs.
Harvest and Storage
When the signs line up, cut the melon free with a sharp knife or pruners, leaving an inch or two of stem attached. Don’t yank it off the vine; tearing the stem can damage the fruit and the plant. Handle melons gently, since bruises invite rot.
An uncut watermelon keeps at room temperature for about a week, or up to two weeks in the refrigerator. For the best flavor, chill it for a day before serving. Once cut, wrap the exposed flesh tightly and refrigerate, then use it within three to four days. For more warm-season growing projects, browse the Plants & Flowers hub.
Frequently Asked Questions
How long does it take to grow a watermelon?
Most watermelons take 70 to 95 days from transplant or germination to ripe fruit, depending on the variety. Small icebox types like Sugar Baby finish in about 75 days, while large picnic melons like Charleston Gray and Jubilee need 90 days or more of consistent warm weather.
Can I grow watermelon in a small garden?
Yes. Choose a small icebox variety (5-12 pound fruit) and trellis it vertically up a sturdy A-frame or cattle panel. Support each developing melon with a fabric sling tied to the trellis so the weight doesn’t tear the vine. Full-size picnic melons are too heavy to trellis and need ground space.
Why does my watermelon plant have flowers but no fruit?
Early in the season the plant produces only male flowers, which never set fruit; female flowers (with a tiny swollen melon at the base) come a week or two later. If females bloom but still don’t set, pollination is the problem. Hand-pollinate in the morning, attract bees, and remember that seedless varieties need a seeded pollinizer planted nearby.
How much water does a watermelon need?
Aim for 1 to 2 inches of water per week during vine growth and fruit set, delivered in deep soakings rather than light daily watering. Reduce watering once the melons are nearly full-sized and starting to ripen, which concentrates sugars for sweeter fruit and prevents the rind from splitting.
What is the best way to know when a watermelon is ripe?
Check the curly tendril nearest the fruit: when it dries and turns brown, the melon is ready. Confirm with the ground spot, which turns from white to creamy yellow, a dull (not glossy) rind, and a deep hollow sound when thumped. Use these signs together, since watermelon does not ripen after picking.