

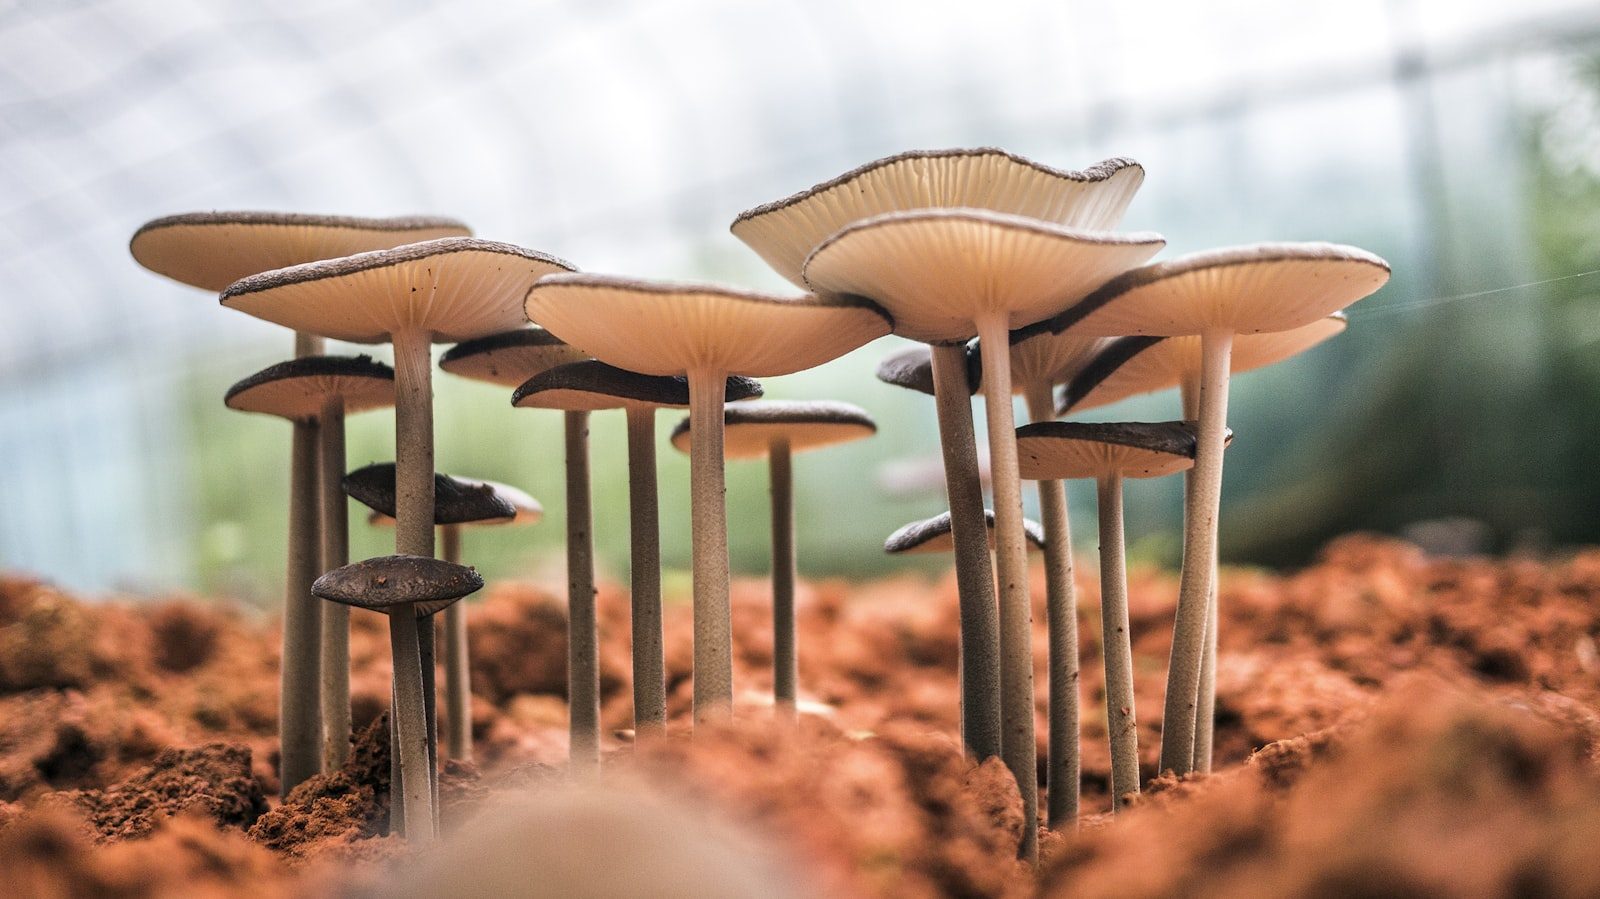
Growing mushrooms at home is unlike any other kind of gardening — no sun, no soil, no seeds. Mushrooms are fungi, and what you are really cultivating is a network of thread-like cells called mycelium that colonizes a nutrient-rich material and then, under the right cues, fruits into the caps you harvest and eat. The good news is that it is far more approachable than it sounds. A pre-made kit can put fresh oyster or shiitake mushrooms on your counter within a week or two of arriving, and once you understand the basic cycle you can graduate to growing your own from spawn and substrate for pennies per pound. This guide explains how mushroom cultivation works, walks through both the beginner kit route and the DIY substrate route, and covers the conditions, harvesting, and contamination control that make or break a crop.
Key Takeaways
- Mushrooms grow from mycelium colonizing a substrate (straw, sawdust, grain), not from soil or sun — most need no light to fruit, only indirect light as a signal.
- The easiest start is a pre-inoculated kit: open it, mist daily, and harvest the first flush in 1–2 weeks; oyster mushrooms are the most beginner-friendly species.
- DIY growing means mixing spawn into a pasteurized substrate, letting the mycelium fully colonize it (warm and dark), then triggering fruiting with fresh air, light, and high humidity.
- High humidity (80–95%) and fresh air exchange during fruiting are critical — mist often and avoid stale, stagnant air.
- Cleanliness is everything: contamination by competing molds is the main cause of failure, so work clean and pasteurize substrate properly.
How Mushroom Growing Works
It helps to understand the life cycle before you start, because it is so different from growing plants. A mushroom is just the fruiting body of a much larger organism. The main organism is the mycelium — a web of fine white threads that grows through a food source, digesting it. When the mycelium has thoroughly colonized its food and then experiences a change in conditions (typically a drop in temperature, exposure to fresh air and light, and high humidity), it responds by producing mushrooms to release spores. Home cultivation is simply the art of creating those two phases in sequence: a warm, dark, undisturbed colonization phase, followed by a humid, fresh-aired fruiting phase.
The vocabulary is worth knowing. Spawn is mycelium grown on a carrier such as grain or wooden dowels — it is your “seed.” Substrate is the bulk food the mycelium fruits from, such as straw, hardwood sawdust, or supplemented sawdust. A flush is a batch of mushrooms; most substrates produce two or three flushes before they are spent. Crucially, mushrooms do not photosynthesize, so they need almost no light — a little indirect light acts only as a directional and timing signal, never as food. That is why a closet, basement, or kitchen corner can be a perfectly good mushroom farm.
The Easy Way: Start With a Kit
If you have never grown mushrooms, begin with a ready-made kit. A kit is a block of substrate already fully colonized by mycelium, sealed in a bag inside a box — all the hard, contamination-prone work is done for you. Oyster mushroom kits are the most forgiving and the fastest, and shiitake, lion’s mane, and other species are widely available. Kits are the perfect confidence-builder and a great project for kids.
- Open the fruiting window. Following the kit instructions, cut the X or slit in the bag, or open the box flap, to expose a patch of the colonized block to air. This signals the mycelium to start fruiting.
- Mist daily. Spray the exposed surface with clean water once or twice a day to keep it humid. Many kits include a humidity tent or you can loosely drape a clear bag to hold moisture, opening it daily for fresh air.
- Give it indirect light and the right temperature. Set the kit somewhere out of direct sun with normal indoor light, typically around 60–70°F (15–21°C) for oysters.
- Watch for pins. Within a few days to about a week, tiny mushroom “pins” appear and then grow astonishingly fast — sometimes doubling in size daily.
- Harvest and repeat. Pick the first flush, then keep misting; the block usually produces a second and sometimes a third flush over the following weeks.
The DIY Way: Spawn and Substrate
Once a kit has shown you what success looks like, growing from scratch is dramatically cheaper and far more satisfying. The standard beginner method is “spawn to substrate”: you buy grain spawn of your chosen species, mix it into a prepared bulk substrate, let it colonize, and then induce fruiting. Oyster mushrooms on pasteurized straw are the classic starting point because oysters are aggressive colonizers that outcompete many contaminants.
Preparing the Substrate
Substrate must be made hospitable to your mushroom and hostile to competitors, which means killing off existing molds and bacteria. For straw, the common home method is pasteurization: chop the straw, then soak it in hot water held at roughly 150–170°F (65–75°C) for about an hour, or use a hot-lime or hydrated-lime cold bath. After pasteurizing, drain the straw until it is moist but not dripping — squeeze a handful and only a few drops should come out. Hardwood sawdust substrates for shiitake or lion’s mane are usually fully sterilized in a pressure cooker instead, because they are richer and spoil more easily.
Inoculating and Colonizing
With clean hands and a clean workspace, mix your grain spawn evenly through the cooled, drained substrate — a rate of around 10 to 20 percent spawn to substrate by weight works well. Pack the mix into a clean grow bag or a bucket with a few small holes for air. Then put it somewhere warm and dark, around 70–75°F (21–24°C), and leave it undisturbed. Over one to three weeks the white mycelium will spread through the substrate until the whole mass is colonized and looks uniformly white. Patience here is essential; opening or disturbing it invites contamination.
Triggering Fruiting
Once fully colonized, move the block to fruiting conditions: cut openings in the bag, lower the temperature a little, introduce indirect light, raise humidity, and ensure fresh air. This shift from warm-and-dark to humid-and-airy is what tells the mycelium to fruit. Pins form at the cut openings and develop into mushrooms within days. Many growers build a simple fruiting chamber from a clear plastic tote with holes for airflow, misted regularly to hold humidity high. The principles overlap with other humidity-and-airflow growing setups in our Urban Gardening hub.
Fruiting Conditions That Matter Most
Two conditions make or break the fruiting phase: humidity and fresh air. Mushrooms are mostly water and form best at very high humidity, roughly 80 to 95 percent, so misting one to several times a day — or running a small humidity tent or chamber — is essential. Without enough moisture, pins abort or mushrooms come out cracked and stunted. At the same time, developing mushrooms breathe and release carbon dioxide, and stale, CO2-heavy air produces long, spindly stems and tiny caps. So you must balance humidity with regular fresh-air exchange: fan or open the chamber daily, or build in air holes.
Temperature matters too and varies by species. Oyster mushrooms are flexible and fruit across a wide range, which is why they are recommended for beginners; shiitake and others have narrower preferences. A drop in temperature often helps trigger fruiting, mimicking the seasonal shift the fungus responds to in nature. Indirect light, finally, is a signal rather than food — a bit of ambient room light or a north-facing window is plenty, and direct sun should be avoided because it dries and overheats the block.
Harvesting and Getting More Flushes
Harvest mushrooms just before or as the caps fully open and the edges begin to flatten or curl up — picking at this point gives the best flavor, texture, and shelf life, and it stops the mushroom dropping spores all over your kitchen. To pick, grasp the cluster at its base and twist and pull gently, or cut it off cleanly at the substrate with a clean knife. Take the whole cluster rather than picking individual caps. Eat them fresh within a few days, or refrigerate them in a paper bag so they breathe rather than sweat in plastic.
After the first flush, do not toss the block. Keep misting and maintaining fruiting conditions; the mycelium will usually rally for a second flush about a week or two later, and sometimes a third, each typically smaller than the last. Some growers rehydrate a tiring block by soaking it in cool water for several hours to encourage another round. When flushes finally stop and the block is light, crumbly, and spent, it makes excellent compost or garden mulch — and oyster substrate can even be buried outdoors to fruit once more in mild weather.
Avoiding Contamination
The single biggest reason home mushroom grows fail is contamination — competing molds and bacteria that colonize your substrate before or alongside your chosen fungus. Cleanliness is your defense at every step. Wash your hands and work surfaces, properly pasteurize or sterilize the substrate, and minimize the time it sits exposed to open air during inoculation. Learn to recognize trouble: healthy mycelium is bright white and smells pleasantly earthy, while green, black, or pink patches and any sour, foul, or rotten odor signal contamination. A spot of green mold in a colonizing bag usually means that batch should be discarded, sealed up, and removed, never opened indoors.
Starting with a vigorous, fast-colonizing species like oyster mushrooms stacks the odds in your favor, because the mycelium claims the substrate before competitors get a foothold. As you gain confidence you can experiment with shiitake logs, lion’s mane, wine caps in an outdoor bed, and more advanced sterile techniques. Mushroom growing rewards clean habits and patience, and the payoff — fresh gourmet mushrooms from a closet shelf for a fraction of store prices — is hard to beat. To round out a productive indoor growing setup, pair your mushroom project with the easy edible crops in our plant and herb growing guides.
Frequently Asked Questions
What is the easiest mushroom to grow at home?
Oyster mushrooms. They colonize substrate aggressively, fruit quickly across a wide temperature range, and outcompete many contaminants, which makes them the most forgiving choice for beginners — especially from a ready-made kit.
Do mushrooms need light to grow?
Not as food — mushrooms do not photosynthesize. They need only a little indirect light during fruiting as a directional and timing signal. A closet or basement with ambient room light works fine; avoid direct sun, which dries the block.
How long does it take to grow mushrooms?
From a kit, you can harvest the first flush within one to two weeks. Growing from spawn and substrate takes longer — typically one to three weeks for the mycelium to fully colonize, then several more days to a week for mushrooms to fruit.
Why are my mushrooms long and spindly?
Long stems and tiny caps usually mean too little fresh air — stale, carbon-dioxide-rich air. Increase air exchange by fanning or opening the fruiting chamber daily while keeping humidity high with regular misting.
How do I know if my mushroom grow is contaminated?
Healthy mycelium is bright white and smells earthy. Green, black, or pink patches, slimy spots, or any sour or foul odor indicate contamination from competing mold. Discard a contaminated batch — sealed and removed from indoor air — rather than trying to salvage it.