

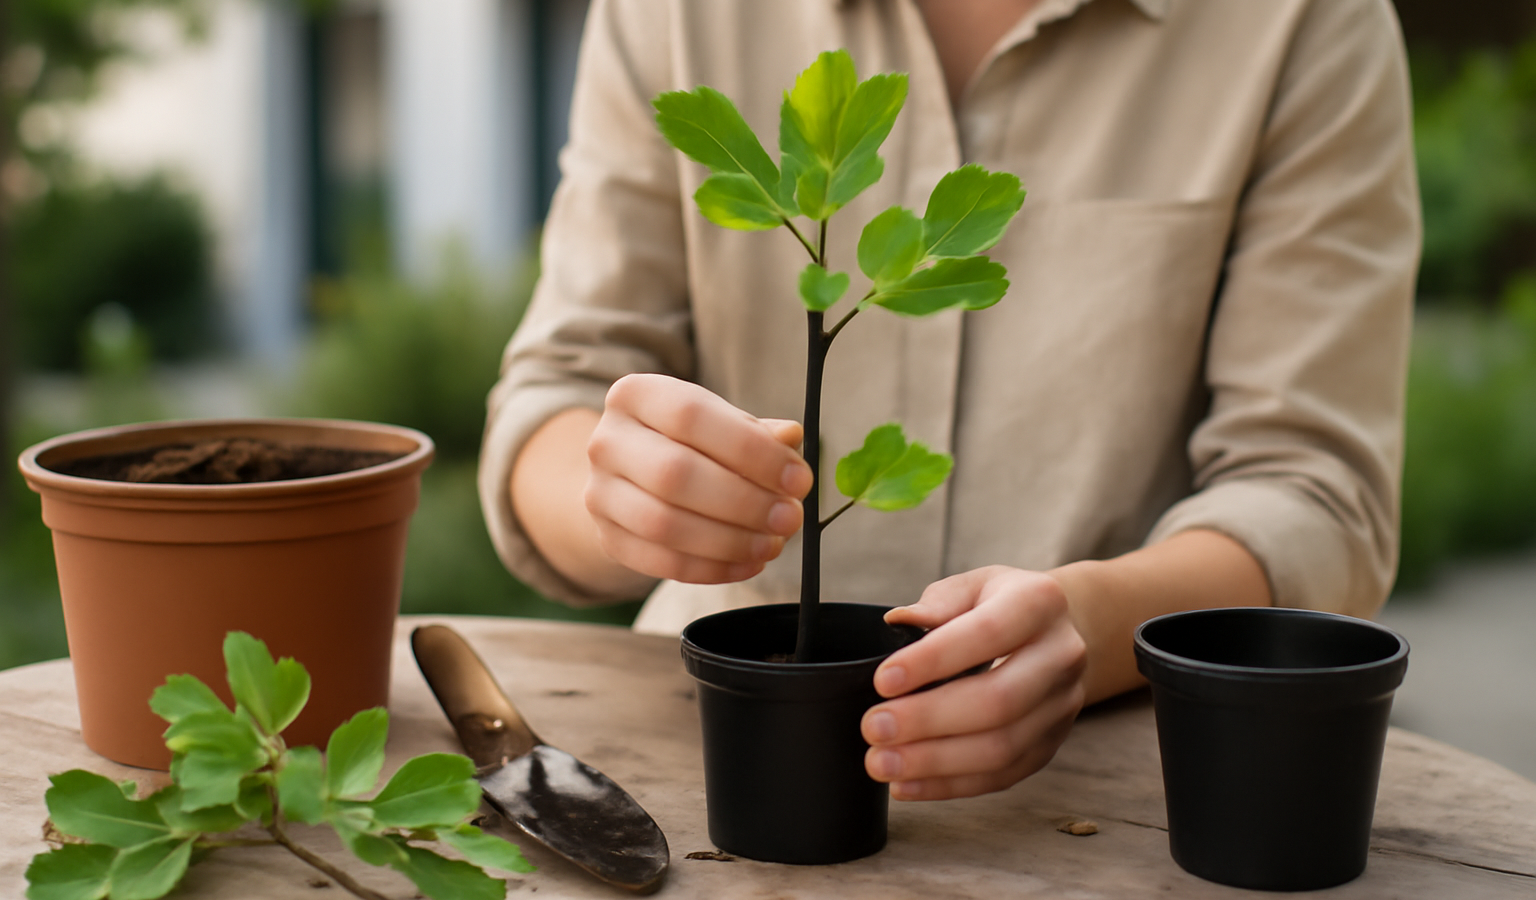
If you want a free, identical copy of a favorite fig tree, take a hardwood cutting in late winter and root it. Figs (Ficus carica) are among the easiest woody plants on the planet to propagate this way. A pencil-thick piece of dormant, leafless wood, stuck in a pot of well-draining mix and kept warm, will throw roots in three to eight weeks with almost no effort. This guide walks you through every step, from selecting the right wood off the parent tree to potting up rooted cuttings and growing them on into sturdy young trees.
Key Takeaways
- Take cuttings in the dormant season (roughly December through March) from leafless, one-year-old wood about pencil-thickness.
- Cut sections 6 to 10 inches long with 3 to 5 nodes; take several extras since not every cutting roots.
- Figs root with or without hormone, but they demand warmth (65 to 75°F) and a slightly moist, never soggy, medium.
- Overwatering is the number one killer of fig cuttings, causing rot before roots ever form.
- Cuttings often leaf out before they root, so wait for genuine roots, not leaves, before treating a cutting as established.
Why Grow Figs From Cuttings?
The single best reason to propagate figs from cuttings rather than seed is that a cutting is a clone. It grows true to type, producing exactly the same fruit, in the same color, size, and flavor, as the tree it came from. Fig seed, by contrast, is a genetic lottery: seedlings are unpredictable, many produce poor or inedible fruit, and a good number turn out to be non-fruiting males. When you have tasted a fig you love, the only way to guarantee that same fig again is to take wood from that specific tree.
Beyond fidelity, the economics are unbeatable. A single mature fig can supply dozens of cuttings in a season, each one a potential new tree, all for the cost of a little potting mix. That makes figs perfect for trading and sharing. The fig-growing community runs largely on cuttings mailed between hobbyists, which is how rare and heirloom varieties spread despite never appearing in nurseries. If a friend has a prized variety, a few inches of dormant wood is all you need to own it yourself. And because figs are so forgiving, this is an ideal first propagation project for anyone new to cloning woody plants. If you have had success with other species, you may already know the rhythm from a general guide to taking hardwood cuttings; figs simply make it easier.
When to Take Fig Cuttings
The classic, most reliable window is the dormant season, roughly December through March across most of the United States, while the parent tree is leafless and resting. Dormant hardwood cuttings carry stored energy in the wood and are not stressed by trying to support leaves while they root. You take them when you would normally be pruning anyway, which means propagation and winter maintenance happen in one job.
You want wood that is fully dormant: no green leaves, no swelling buds. In mild climates that might mean mid-winter; in colder zones, late winter just before bud break is ideal because the buds are primed to push as soon as warmth arrives, but the cutting has not yet started spending its reserves. If you miss the dormant window, you can also root softer green cuttings during the growing season, but those need more humidity control and root less consistently. For beginners, dormant hardwood is the method that simply works, so plan your propagation around the cold months.
Selecting the Right Wood
Good cutting material is the foundation of the whole process. Look for healthy, one-year-old growth, meaning the wood that grew last season. The ideal thickness is roughly that of a pencil, somewhere between three-eighths and three-quarters of an inch in diameter. This wood has enough stored carbohydrate to fuel rooting but is still young and vigorous.
Avoid two extremes. Skinny, whippy tip growth dries out fast and lacks reserves, so it often fails. Old gray, thick branch wood, two or more years old, roots reluctantly if at all. Aim for the firm, smooth, lighter-colored wood in between. Each cutting should be 6 to 10 inches long and carry 3 to 5 nodes, the slightly raised bands where buds and leaves emerge. Nodes are where roots form most readily, so more nodes means more chances. Because figs are cheap to propagate and not every stick will take, always cut several extras. If you want five new trees, start eight or ten cuttings.
Use clean, sharp pruners and take wood only from a tree you know to be healthy. A virus or scale infestation travels with the cutting, so inspect the parent for sooty mold, scale insects, or unusual mottling before you harvest. If you are uncertain whether a variety will thrive in your area, browse the broader Plants and Flowers hub for climate notes before you invest a whole winter in rooting it.
Preparing the Cuttings
Once you have your lengths of wood, a little preparation orients them and improves your odds. The most important thing is to keep track of which end is up: a cutting planted upside down will never root. The standard trick uses two different cuts to mark orientation.
- Make a flat, straight cut at the bottom of each cutting, just below a node. The base node is where most roots will emerge, so keeping it close to the cut concentrates rooting where you want it.
- Make an angled, slanting cut at the top, just above a bud. The slope sheds water away from the bud and the different cut angle tells you at a glance which end points up.
- Optionally dip the flat bottom end in rooting hormone (powder or gel). Figs barely need it and root fine without, but hormone can speed things up and is cheap insurance on harder varieties.
- Optionally seal the top cut with a dab of wax, white glue, or pruning sealer. This prevents the cut end from drying back and discourages dieback while the cutting roots.
If you are propagating several varieties at once, label every cutting immediately with a waterproof marker on tape or a plastic tag. Fig wood all looks alike once leafless, and mixing up varieties is a frustration you will not discover until fruiting, possibly a year or more later.
Rooting Methods
There are several reliable ways to root fig cuttings, and experienced growers each have a favorite. All of them rely on the same two conditions: warmth and a medium that is moist but never waterlogged. Below are three methods, from most foolproof to least.
Method 1: Direct Potting
This is the simplest approach and the one I recommend for beginners. Fill a deep pot or tall container with a well-draining mix, ideally about half potting mix and half perlite, which gives the air-to-water balance fig roots love. Insert the cutting so that roughly two-thirds of its length is buried, with at least one node below the soil surface. Firm the mix gently around it.
- Place the pot somewhere warm, ideally 65 to 75°F, in bright indirect light rather than harsh direct sun.
- Keep the medium slightly moist, never soggy. Water sparingly; you are aiming for the dampness of a wrung-out sponge, not mud. This is the step where most people fail.
- If you can, set the pot on a heat mat held around 70 to 75°F. Bottom heat dramatically speeds rooting and is the closest thing to a guarantee with figs.
- Resist the urge to tug or check the cutting. Disturbing fragile new roots sets it back.
The cardinal rule with direct potting is to underwater rather than overwater. A fig cutting sitting in cold, wet medium will rot from the base up long before it ever roots. When in doubt, wait another day before watering.
Method 2: The Paper Towel and Bag Method
Often called the “fig pop,” this approach lets you see roots forming, which is reassuring for nervous propagators. Dampen a paper towel or a pinch of sphagnum moss, just barely moist, and wrap it around the lower nodes of the cutting. Slide the wrapped cutting into a zip-top bag, seal it most of the way, and set it somewhere warm and bright but out of direct sun, such as on top of the refrigerator or near a heat mat.
Check it every few days. The damp, warm, enclosed environment encourages roots to push from the nodes, often visible in two to four weeks. As soon as you see small white roots about half an inch long, pot the cutting up carefully into the perlite-rich mix described above. The advantage here is visibility and a high success rate; the catch is that those first roots are brittle, so handle them gently during transplant. Many growers who root mulberries from cuttings use this same bag technique, and the skills transfer directly between the two trees.
Method 3: Water Rooting
You can also stand cuttings in an inch or two of water in a jar on a warm windowsill, changing the water every couple of days to keep it fresh. It is the least reliable of the three because water-formed roots are weak and adapt poorly when moved to soil, and stagnant water invites rot. Mention it as an option if you enjoy watching roots, but for trees you actually intend to keep, the potting or bag methods serve you better.
Roots Versus Leaves: Do Not Be Fooled
This is the most important warning in fig propagation. A fig cutting will very often leaf out before it has formed a single root. The energy stored in the wood pushes the buds open, and you see fresh green leaves and assume success. Then, with no roots to feed them, those leaves wilt and the whole cutting collapses a few weeks later. Leaves are not proof of rooting. Wait for true roots, either visible in the bag method or shown by firm new growth that continues for several weeks in a potted cutting, before you treat the plant as established. Patience here saves heartbreak.
Timeline: What to Expect
Under good conditions, fig cuttings root in roughly three to eight weeks. Warmth is the biggest variable: a heat mat can have roots showing in under a month, while a cool room may stretch the process toward the longer end. Do not panic if a cutting sits quietly for several weeks; as long as the wood stays firm and green under the bark, it is still viable. A cutting that turns soft, black, or mushy at the base has rotted and should be discarded.
Once roots reach about one to two inches long, the cutting is ready to be potted up into its own container if it is not already, and to begin growing on as a young tree. From there, it will spend its first season building a root system and a small framework of branches.
Aftercare and Growing On
After a cutting has rooted and you see steady new growth, gradually increase watering to match its expanding root system. The plant is now actively photosynthesizing and will use more water than it did as a bare stick, but the same caution applies: let the top of the mix dry slightly between waterings. Begin feeding only after the plant is clearly established, using a dilute, balanced fertilizer at perhaps half the label strength. Fresh cuttings have no roots to take up nutrients, so early feeding does nothing but risk burning tender tissue.
As the young tree fills its pot, move it up to a larger container so the roots are never cramped. If you rooted indoors or in a greenhouse, harden the plant off before it goes outside: set it out in a sheltered, shady spot for a few hours a day and lengthen the exposure over a week or two so it acclimates to sun and wind. Plant out only after your last spring frost has passed.
Figs are reliably hardy outdoors in roughly USDA zones 7 through 10. In colder regions, growing the tree in a container and overwintering it in a garage, basement, or other cool, frost-free space is the standard approach. Protect first-year plants in particular: a young fig has not yet built the woody resilience of a mature tree and is far more vulnerable to a hard freeze. A thick mulch, a wrap, or simply bringing the pot indoors will carry it through its first winter. For a related fruit tree that tolerates cold well, the guide to growing a medlar tree covers similar establishment principles.
Common Problems and How to Fix Them
Most failures with fig cuttings trace back to a handful of causes, and nearly all are avoidable once you know them.
Rot is the leading killer, almost always from a medium that is too wet, too cold, or both. The base of the cutting turns dark and mushy. The fix is prevention: use a free-draining mix, water sparingly, and keep cuttings warm. If you catch rot early on a long cutting, you can sometimes recut above the damage into fresh, firm wood and start over.
Mold appears as fuzzy white or gray growth, usually in the high humidity of the bag method or a covered tray. Improve airflow by opening the bag periodically, and sterilize your tools, containers, and medium before starting. A cutting with surface mold can often be wiped clean and rescued if caught quickly.
Cuttings that leaf but never root are exhausting their reserves without forming a feeder system, as described earlier. Bottom heat and patience are the best countermeasures; some varieties are simply slower, which is another reason to start extras.
Drying out kills cuttings from the opposite direction. If the medium goes bone dry or the bag loses its moisture, the cutting desiccates. Check humidity regularly and keep that wrung-out-sponge dampness. The art of rooting figs is really the art of staying in the narrow band between too wet and too dry, with steady warmth throughout.
Frequently Asked Questions
How long does it take to grow figs from cuttings?
Fig cuttings usually root in three to eight weeks under warm conditions, faster with bottom heat. Once roots reach one to two inches, pot them up. The plant then needs a full growing season or two to mature enough to fruit, though some varieties produce a few figs surprisingly early.
Do fig cuttings need rooting hormone?
No. Figs are among the easiest woody plants to root and take readily without hormone. You can still dip the base in rooting hormone to speed things up or to improve odds on a stubborn variety, but it is optional rather than essential.
Why is my fig cutting growing leaves but no roots?
This is normal and a common trap. The energy stored in the wood pushes buds open before roots form. Those leaves cannot sustain themselves without roots, so the cutting may still fail. Keep it warm, water carefully, and wait for genuine roots rather than celebrating early leaves.
What is the best month to take fig cuttings?
Take cuttings during dormancy, generally December through March, while the tree is leafless. Late winter, just before bud break, is ideal because the buds are primed to grow as warmth returns. This is also when you would normally prune, so the timing works out conveniently.
Can you root fig cuttings in water?
Yes, but it is the least reliable method. Stand the cutting in an inch or two of water and change it every couple of days. Water-formed roots are fragile and transplant poorly into soil, so for trees you intend to keep, potting or the paper-towel bag method gives far better results.