

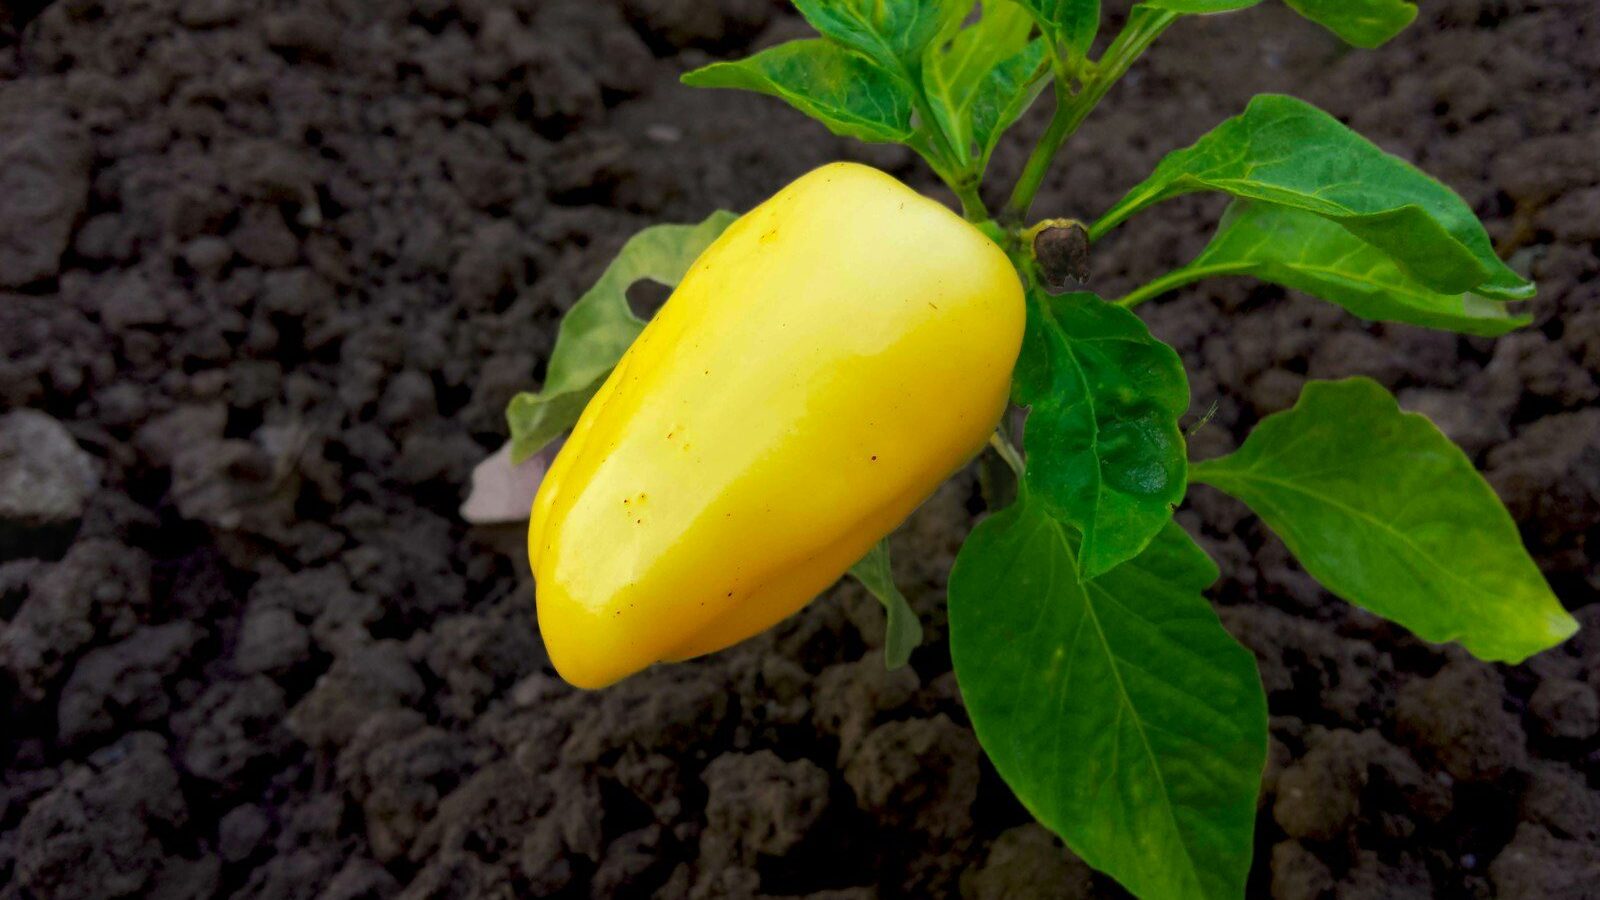
Bell peppers are one of the most satisfying vegetables to grow at home: a single healthy plant can produce a dozen or more thick-walled, glossy fruit, and homegrown peppers ripened to red, orange, or yellow on the plant are far sweeter than anything picked green for the supermarket. The key to success is understanding that peppers are heat-loving, slow-starting plants — they need a long warm season, a head start indoors in most climates, and steady care to avoid the classic frustrations of dropped blossoms and sunscald. Get the timing, spacing, and watering right and peppers are genuinely easy. This guide walks through starting seeds, transplanting, spacing, feeding, watering, common problems, and exactly when to harvest for the best flavor.
Part of our Vegetable Gardening & Raised Beds guide →
In this guide
Key Takeaways
- Start early: Sow seed indoors 8–10 weeks before your last frost; peppers are slow to germinate and grow.
- Wait for warmth: Transplant only after nights stay above 55°F; cold stunts peppers for weeks.
- Spacing: Set plants 18–24 inches apart in full sun and warm, well-drained soil.
- Feeding: Go easy on nitrogen — too much gives lush leaves and few fruit. Favor phosphorus and potassium.
- Harvest: Pick green any time once full-size, or leave them to ripen to red/yellow/orange for maximum sweetness.
Starting Bell Peppers from Seed
Bell peppers (Capsicum annuum) have a long growing season — 60 to 90 days from transplant to a green pepper, and another two to three weeks to fully ripen to color — so in most of the U.S. you must start them indoors. Sow seed 8 to 10 weeks before your last expected frost date. Peppers are notoriously slow and fussy to germinate: they need warm soil, ideally 80–90°F, and a heat mat makes an enormous difference, cutting germination from three weeks down to about one. Sow seeds about ¼ inch deep in a sterile seed-starting mix and keep them consistently moist and warm.
Once seedlings emerge, move them under bright grow lights kept just a few inches above the foliage for 14–16 hours a day; a sunny windowsill is rarely bright enough and produces leggy, weak plants. Keep them warm, water when the surface dries, and begin a weak diluted fertilizer once true leaves appear. About two weeks before transplanting, harden the seedlings off by setting them outdoors in a sheltered spot for gradually longer periods so they acclimate to sun and wind. If you would rather skip seed-starting, healthy nursery transplants are widely available in spring and are a perfectly good shortcut.
When and Where to Plant
Patience at transplant time is the single biggest factor in pepper success. Peppers are tropical perennials grown as annuals, and they hate cold. Do not rush them out with the tomatoes — wait until all danger of frost has passed and nighttime temperatures stay reliably above 55°F, which is typically two to three weeks after your last frost date. A pepper transplanted into cold soil sulks, yellows, and may be set back by weeks, never fully recovering its vigor. Warm the soil first with black plastic or simply wait for late spring.
Choose a spot in full sun — eight or more hours daily — with rich, well-drained soil and a pH around 6.0 to 6.8. Work in a few inches of compost before planting. Peppers grow beautifully in containers too (a 3- to 5-gallon pot per plant), which is ideal for patios, balconies, and short-season gardeners who want to move plants to capture warmth. For more small-space growing strategies, see our Urban Gardening guides.
Spacing and Transplanting
Space bell pepper plants 18 to 24 inches apart, with rows about 24 to 36 inches apart. This spacing matters more than gardeners expect: peppers set close together shade each other’s developing fruit, which actually helps prevent sunscald in hot climates, but too tight and you get poor airflow and disease. The 18–24 inch range balances both.
- Plant at the same depth the seedling grew. Unlike tomatoes, peppers do not root readily along a buried stem, so do not bury them deep.
- Water in thoroughly to settle the roots and eliminate air pockets.
- Mulch around plants with straw or shredded leaves to conserve moisture, suppress weeds, and keep soil temperature even.
- Stake or cage tall, heavy-bearing varieties, as branches laden with fruit are brittle and snap easily.
Some growers pinch off the first flower or two on young transplants to channel early energy into building a bigger plant, which can increase total yield later — optional but effective.
Watering and Feeding
Peppers want consistent, even moisture — about one to two inches of water per week, more in heat. Inconsistent watering, swinging between bone-dry and soaked, is the leading cause of blossom-end rot (a sunken black patch on the bottom of the fruit) because it disrupts calcium uptake. Water deeply at the base, keep foliage dry to limit disease, and let mulch even out the moisture. Container peppers dry out fast and may need daily watering in summer heat.
Feeding peppers is a balancing act. Avoid heavy nitrogen, which produces a big bushy green plant with very few peppers. Use a balanced or slightly phosphorus- and potassium-favoring fertilizer. A common approach is a balanced feed at transplant, then switching to a lower-nitrogen, higher-potassium formula (like a tomato fertilizer) once the plant begins flowering and setting fruit. Some gardeners add a calcium and magnesium source (such as a dose of Epsom salts or gypsum) to support fruiting and ward off blossom-end rot. Testing your soil first removes the guesswork — see how to test soil pH.
Common Problems and Solutions
Blossom Drop
The most common complaint is flowers falling off without setting fruit. The usual cause is temperature stress: peppers drop blossoms when nights fall below 60°F or when daytime highs exceed about 90°F. There is little to do but wait for moderate weather; shade cloth helps in extreme heat, and avoiding excess nitrogen prevents the plant from prioritizing leaves over fruit.
Blossom-End Rot
A dark, leathery sunken spot on the bottom of the fruit signals calcium can’t reach the developing pepper — almost always because of uneven watering, not a true calcium shortage. Keep moisture steady and mulch well; affected fruit is still edible if you cut away the bad part.
Sunscald and Pests
Pale, papery patches on exposed fruit are sunscald, common when plants lack leaf cover; the close spacing above helps, as does leaving foliage intact. Watch for aphids, flea beetles, and pepper hornworms; a strong hose spray or insecticidal soap handles most soft-bodied pests, and handpicking works for hornworms.
When and How to Harvest
Here is the good news that surprises many new growers: every bell pepper starts green and then ripens to its final color — red, yellow, orange, or even purple or chocolate depending on the variety. You can harvest at either stage.
- Green peppers can be picked as soon as they reach full size and feel firm and glossy, usually 60–75 days after transplant. They are slightly grassy and less sweet.
- Colored peppers develop when you leave the green fruit on the plant another 2–3 weeks to ripen fully. They are noticeably sweeter, more nutritious, and what you pay a premium for at the store — the single best reason to grow your own.
Always harvest with pruners or scissors, cutting the stem rather than pulling, since the brittle branches break easily. Regular picking encourages the plant to keep setting more fruit, so harvest often. In a long-season climate a single plant will produce into fall until the first frost ends the season. Store harvested peppers in the refrigerator, where they keep for one to two weeks; they also freeze well, sliced, for cooking later. For more edible-growing guides, browse our Plants & Flowers section.
Seasonal Timeline
- 8–10 weeks before last frost: Sow seed indoors on a heat mat under grow lights.
- 2 weeks before transplant: Harden off seedlings outdoors gradually.
- After frost, nights above 55°F: Transplant into warm soil, 18–24 in apart, in full sun.
- Through summer: Water evenly, mulch, feed lightly with low-nitrogen fertilizer, stake heavy plants.
- 60–90+ days after transplant: Harvest green or let ripen to color; pick often until frost.
Frequently Asked Questions
How long do bell peppers take to grow?
Most varieties take 60–90 days from transplant to a harvestable green pepper, plus another 2–3 weeks if you want them to ripen to red, yellow, or orange. Counting the indoor seed-starting period, plan for roughly four to five months total.
Why are my pepper flowers falling off?
Blossom drop is caused by temperature stress — nights below 60°F or days above about 90°F — and sometimes by too much nitrogen or inconsistent watering. Wait for moderate weather, water evenly, and avoid heavy nitrogen feeding.
How far apart should I space bell pepper plants?
Space plants 18–24 inches apart with rows 24–36 inches apart. This gives good airflow while letting plants shade each other’s fruit, which helps prevent sunscald.
Can I pick bell peppers when they are green?
Yes. Every bell pepper starts green and is edible once full-size and firm. Leaving them on the plant another two to three weeks lets them ripen to red, yellow, or orange, which is sweeter and more nutritious.
Can I grow bell peppers in containers?
Absolutely. Use a 3- to 5-gallon pot per plant in full sun, with quality potting mix and consistent watering. Containers warm faster in spring and can be moved to capture heat, which suits short-season and small-space gardeners well.
Bell peppers reward patience: start them early indoors, resist the urge to plant out until the nights are truly warm, keep the water steady and the nitrogen modest, and they will fruit reliably all summer. Best of all, leave a few on the plant to ripen to deep red or gold — that sun-ripened sweetness, picked straight from your own garden, is something the supermarket green pepper can never match.