

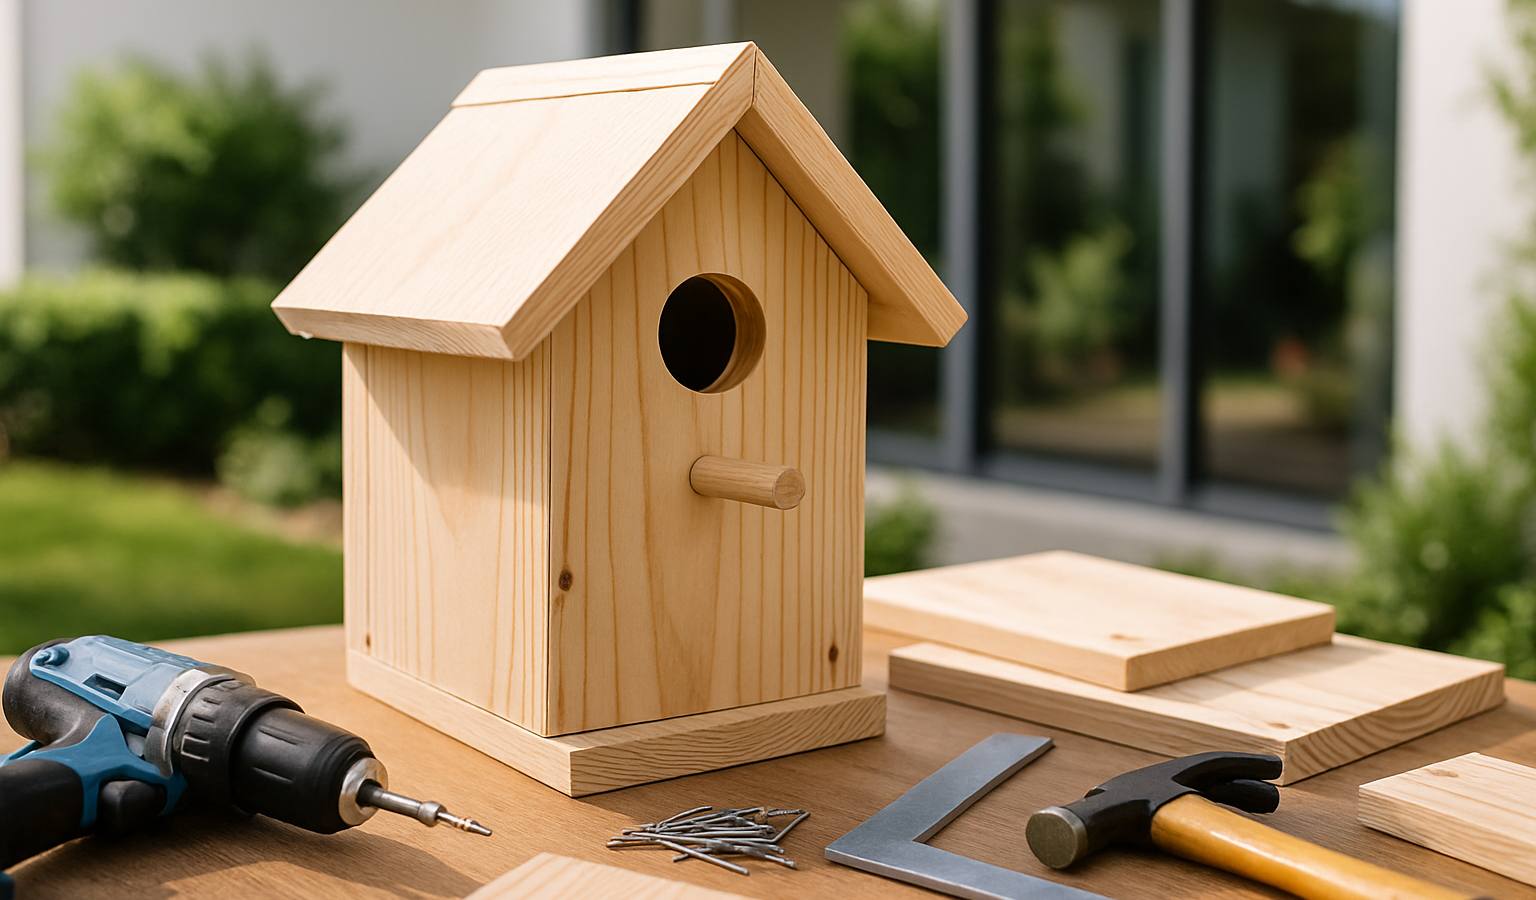
A well-built bird house is a tiny, durable home that can shelter generations of cavity-nesting birds — chickadees, wrens, bluebirds, titmice, nuthatches, and tree swallows among them. These species nest in holes they cannot excavate themselves, and as old trees and dead snags disappear from tidy suburban landscapes, the natural cavities they depend on vanish too. A correctly sized nest box fills that gap. The key word is correctly: the dimensions are not decorative suggestions. Hole size, floor area, and mounting height determine which species will use the box and whether the chicks survive predators, heat, and damp.
This guide walks through a single, adaptable nest-box design and the species-specific numbers that make it work. You will get a materials list, step-by-step assembly, the entry-hole sizes that admit the bird you want while excluding bullies, and the often-overlooked details — ventilation, drainage, a predator guard, and an easy-clean door — that turn a cute box into a safe one. A nest box pairs naturally with a wildlife-friendly yard; the same plantings that help you attract hummingbirds to your garden also give nesting birds the insects they need to feed their young.
Key Takeaways
- Entry-hole diameter selects the species: 1⅛ in (29 mm) for wrens and chickadees, 1½ in (38 mm) for bluebirds, 1¼ in (32 mm) for titmice and nuthatches.
- Leave the perch off. Perches give predators a foothold and invasive house sparrows an advantage — birds do not need them.
- Use untreated, unpainted wood 3/4 in thick (cedar, cypress, or pine) for insulation and non-toxic shelter.
- Build in ventilation and drainage: gaps or holes near the top to vent heat, and corner holes in the floor to drain rain.
- Mount it at the right height and direction for the species, with the entrance facing away from prevailing wind — generally east or north.
- Add a predator guard and a hinged side so you can clean the box out every season.
Box Dimensions by Species
Before cutting a single board, decide who you are building for. A box sized for a wren will be cramped and lethal for a bluebird, and a box with a hole big enough for a bluebird will let in starlings that evict everyone else. The table below gives the standard, field-tested dimensions used by nest-box monitors across North America.
| Species | Floor (in) | Box height (in) | Entry hole | Hole above floor | Mount height |
|---|---|---|---|---|---|
| House wren | 4 × 4 | 8 | 1⅛ in (29 mm) | 6 in | 5–10 ft |
| Chickadee | 4 × 4 | 9 | 1⅛ in (29 mm) | 7 in | 5–8 ft |
| Titmouse / nuthatch | 4 × 4 | 9 | 1¼ in (32 mm) | 7 in | 5–8 ft |
| Eastern bluebird | 5 × 5 | 9–11 | 1½ in (38 mm) | 6–7 in | 4–6 ft |
| Tree swallow | 5 × 5 | 9 | 1½ in (38 mm) | 6 in | 5–8 ft |
The single most important number is the entry-hole diameter. Keep it precise. Even an eighth of an inch too large lets in house sparrows and starlings, two aggressive non-native species that will destroy eggs and kill nestlings of native birds. A snug hole is the cheapest predator and pest control you can build in.
Materials List
- One 1 × 6 or 1 × 8 untreated board, roughly 4–5 ft long — rough-sawn cedar or cypress is ideal; pine works but lasts fewer years. Never use pressure-treated, plywood with glues, or painted/stained lumber inside.
- Exterior-grade wood screws (1¼–1⅝ in) — galvanized or coated. Avoid nails; screws let you re-open the box for repairs.
- A single galvanized or stainless screw or a small hinge for the cleanout door.
- A spade or Forstner bit in the exact hole size for your species (see table).
- A drill for the entry hole, ventilation, and drainage holes.
- A predator guard: a wooden hole-extender block, a metal portal plate, or a stovepipe baffle for the mounting post.
- Optional: a few shallow saw kerfs cut into the inside of the front panel below the hole, giving fledglings a climbing ladder to reach the exit.
Wood thickness matters more than people expect. Use stock around 3/4 in thick. Thin walls cook eggs in summer sun and offer little insulation; thick, untreated wood breathes and buffers temperature. Leave the wood bare inside and out — if you must finish the exterior for looks, use only a light, water-based stain on the outside surfaces, never inside and never near the hole.
Step-by-Step: Building the Box
Step 1 — Cut the panels
Cut six pieces: a front, a back, two sides, a floor, and a roof, sized to the species in the table. The back panel should run longer than the box itself, extending several inches above and below, so it doubles as a sturdy mounting plate. Cut the floor about 1/4 in narrower than the interior so a small drainage gap remains at each corner.
Step 2 — Drill the entry hole — and skip the perch
Mark the entry hole at the correct height above the floor (see table) and bore it with a spade or Forstner bit in the exact diameter for your target species. Sand the edge smooth. Do not add a perch or dowel below the hole. Cavity-nesting birds grip the wood and need no landing peg, and a perch only gives predators a place to cling and lets house sparrows lord over the entrance. Instead, on the inside face of the front panel below the hole, score several shallow horizontal saw cuts so fledglings have toeholds to climb out.
Step 3 — Add ventilation and drainage
Two details quietly save broods. For ventilation, leave a small gap along the top of the side panels or drill a couple of 1/4 in holes near the top of each side; this lets summer heat escape, which can otherwise kill nestlings inside a sun-baked box. For drainage, drill four 1/4 in holes in the floor, one near each corner, or simply cut the floor slightly undersized so water runs out. A box that holds water grows mold and chills eggs.
Step 4 — Assemble with a cleanout door
Screw the back, sides, and floor together first. Make one side panel a hinged door: fasten its top with a single screw or a small hinge and secure the bottom with a removable screw. This lets you swing the side open to clean the box between broods and over winter — non-negotiable for a healthy box. Attach the front panel, then the roof.
Step 5 — Fit a generous roof
The roof should slope forward and overhang the front by at least 2 in and the sides by an inch, shielding the entry hole from driving rain and from sun. A good overhang also keeps raccoons and cats from reaching down into the hole from above. Slope it enough that water sheds off the front rather than pooling.
Step 6 — Add a predator guard
A bare entry hole lets raccoons and squirrels chew it wider and reach inside. Mount a predator guard over the hole — either a second block of wood with a matching hole drilled through it (a “hole extender” that deepens the tunnel beyond a paw’s reach) or a metal portal plate that stops chewing. If you will mount the box on a post or pole, add a stovepipe or cone baffle below it; this is the most effective single defense against climbing predators reaching the nest.
Mounting: Height, Direction, and Predator Protection
Where and how you mount the box is as important as the box itself.
- Height: follow the species table — roughly 4–6 ft for bluebirds, 5–10 ft for wrens and chickadees. Mounting too low invites cats; too high makes cleaning a chore.
- Direction: face the entrance away from prevailing wind and harsh afternoon sun. In most of North America, an entrance facing east or north keeps the box cooler and drier. Avoid a hole facing directly into hot west sun.
- Mounting surface: a freestanding metal pole or pipe is safest because you can fit a baffle. Tree trunks and fence posts give squirrels and raccoons an easy climb unless baffled.
- Stability: fix the box firmly so it does not sway. Birds avoid swinging boxes, and a steady box is easier to defend.
- Spacing: keep boxes of the same species well apart — bluebirds want 100 yards or more between boxes — to reduce territorial fighting. Tree swallows tolerate closer neighbors.
- Habitat: place bluebird and swallow boxes in open, grassy areas; wren and chickadee boxes near shrubs or woodland edge. Match the box to the bird’s preferred habitat.
Put boxes up in late winter so they are weathered and ready before the breeding season opens in early spring. A box surrounded by insect-rich, pesticide-free plantings will draw far more interest; the same approach that helps you attract bees and other pollinators keeps a steady supply of caterpillars and insects for parent birds to feed their chicks.
Cleaning and Seasonal Care
This is why the hinged side matters. Old nesting material harbors mites, blowfly larvae, and bacteria that weaken or kill the next brood, so the box needs cleaning out at least once a year. Many species raise two or three broods a season, and removing the old nest after each brood fledges encourages the pair to nest again and reduces parasite load.
To clean, open the side door, scrape out all old nesting material, and brush away debris. If the box was heavily infested, scrub it with a weak bleach solution (about one part bleach to nine parts water), rinse, and let it dry fully in the sun before closing it back up. Do a final clean-out in late autumn so the box is fresh for spring — and so it can serve as a dry winter roost for birds escaping the cold.
One more season-long habit: monitor without meddling. A quick weekly check to confirm the nest is active and pest-free is helpful, but keep visits brief and never open the box once chicks are close to fledging, or you may startle them out early. Build it right, mount it safely, and clean it faithfully, and a single box can fledge dozens of birds over its life. For more small-space wildlife projects, see the Urban Gardening hub.
Frequently Asked Questions
Why shouldn’t I add a perch to the bird house?
Perches do more harm than good. Cavity-nesting birds grip the wood face and don’t need a landing peg, while a perch gives predators a foothold to reach into the hole and lets aggressive house sparrows guard the entrance. Skip it entirely — score a few shallow grooves inside the front panel instead so fledglings can climb out.
What size entry hole should I use?
The hole diameter decides who moves in. Use 1⅛ in (29 mm) for wrens and chickadees, 1¼ in (32 mm) for titmice and nuthatches, and 1½ in (38 mm) for bluebirds and tree swallows. Keep it exact — even slightly oversized holes admit starlings and house sparrows that destroy native nests.
Which way should the entrance face?
Point the entrance away from prevailing wind and hot afternoon sun. Across most of North America that means facing east or north, which keeps the box cooler and drier and shelters the hole from storms. Avoid facing it into direct west sun, which can overheat the nestlings.
Do I need to paint or seal the box?
No — and never inside. Untreated cedar, cypress, or pine weathers fine on its own and stays non-toxic. If you want the exterior to last longer, you can apply a light water-based stain to the outside surfaces only, keeping it well away from the entry hole and the interior. Pressure-treated and painted wood can harm eggs and chicks.
How often should I clean the bird house?
Clean it out at least once a year, and ideally after each brood fledges, since many species raise two or three broods a season. Open the hinged side, remove old nesting material, and for a heavy infestation scrub with a 1:9 bleach solution, rinse, and dry fully. A final autumn clean-out leaves it fresh for spring and ready as a winter roost.