

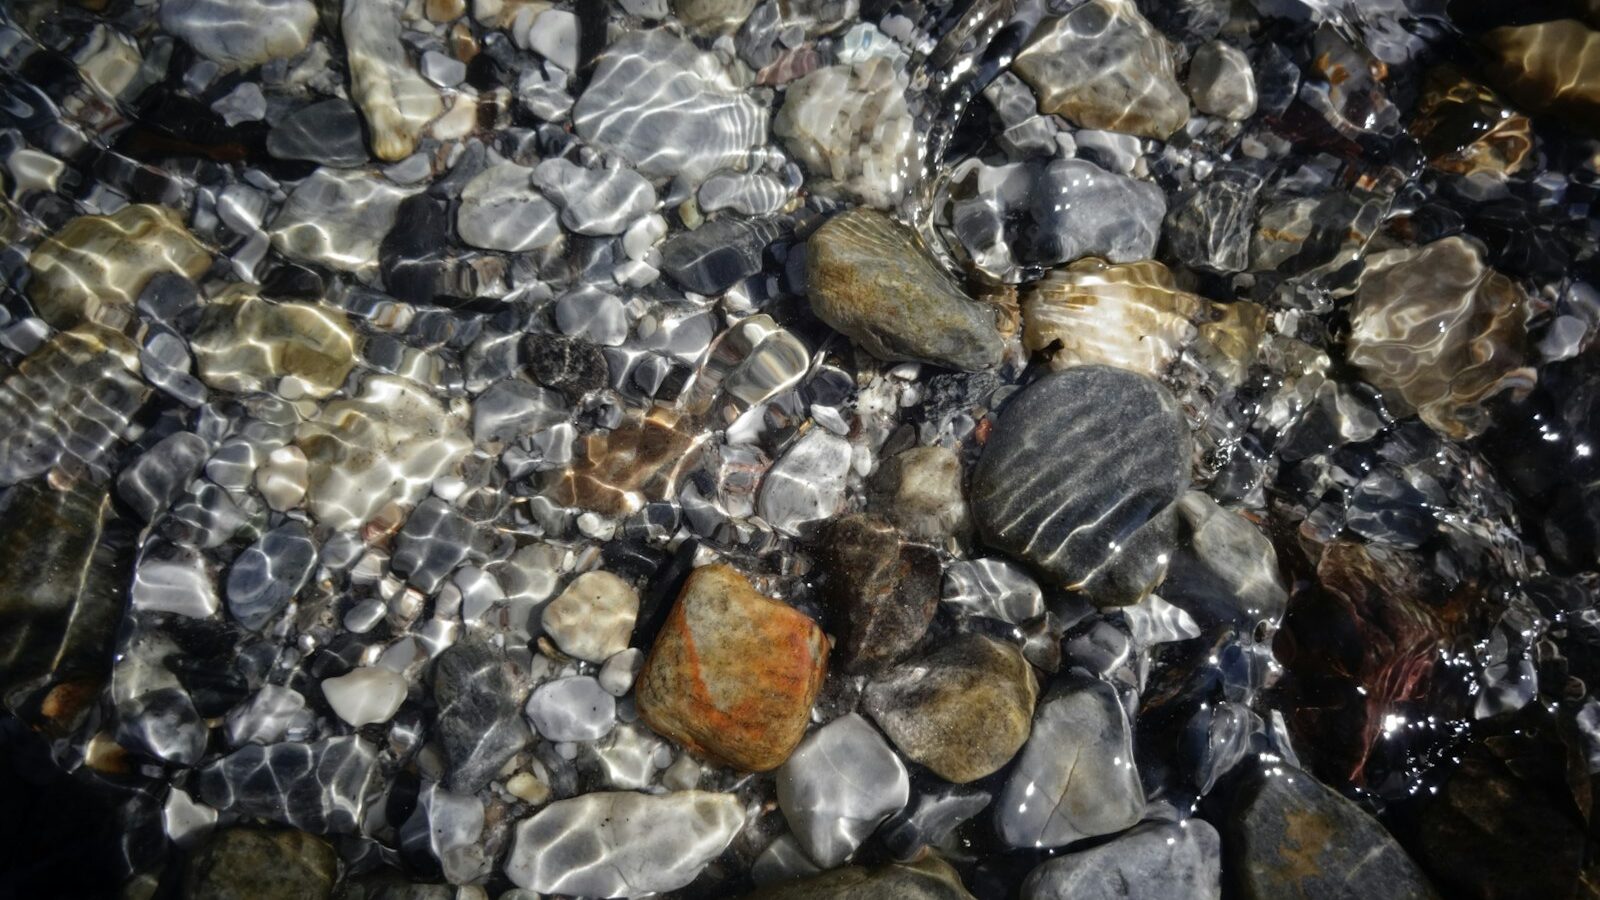
Adding rocks and gravel to a pond is one of the most debated topics in water gardening, and the honest answer is that both camps are right depending on your goals. A gravel-bottom pond looks natural, hides the liner, and grows a thick mat of beneficial bacteria that helps process waste. A clean-bottom pond is far easier to keep spotless and drain, which is why many koi keepers swear by it. This guide lays out the real trade-offs, then walks through the right way to wash, place, and depth your rock and gravel so you get the natural look without ending up with a stinking layer of trapped sludge two seasons from now.
Key Takeaways
- The debate is real: gravel bottoms look natural and boost biological filtration; clean bottoms are easier to maintain and drain. Choose based on whether you want a planted ecosystem pond or a low-debris koi pond.
- Wash everything until the water runs clear. Unwashed gravel clouds the pond for weeks and can alter pH if it contains limestone.
- Keep gravel shallow — 1 to 2 inches. Deep gravel traps anaerobic muck; a thin layer stays aerobic and self-cleaning with good circulation.
- Use rounded river rock, not sharp or limestone-based stone. Sharp edges puncture liners and limestone raises pH and hardness.
- Gravel only works with strong circulation and filtration. Without flow, any gravel layer eventually turns to sludge — the pump and filter are what keep it clean.
The debate: gravel bottom vs. clean bottom
Before you buy a single bag of stone, decide which philosophy fits your pond. This is the single biggest decision in the whole project, and it shapes everything that follows.
The case for a gravel bottom
A gravel-covered bottom is the heart of the “ecosystem pond” approach championed by naturalistic pond builders. The argument is compelling. Gravel provides an enormous amount of surface area for the nitrifying bacteria that convert toxic fish waste (ammonia) into nitrite and then relatively harmless nitrate — in effect, the entire pond floor becomes a giant biological filter. It also protects the liner from UV degradation and accidental punctures, anchors aquatic plants and their roots, gives beneficial insects and microorganisms a place to live, and looks dramatically more natural than a black rubber sheet. For a planted wildlife pond or a balanced ecosystem with a modest fish load, gravel can genuinely reduce the maintenance burden because the biology does more of the cleaning.
The case for a clean (bare-liner) bottom
The opposing school — popular with serious koi keepers — argues that gravel is a trap. Fish waste, leaves, and uneaten food sink into the gaps between stones, decompose out of reach of your net, and over a couple of seasons turn into a black, oxygen-starved (anaerobic) sludge that smells of rotten eggs and releases hydrogen sulfide and ammonia spikes when disturbed. A bare-bottom pond with a slight slope to a bottom drain lets all that solid waste flow straight out to the filter, so the pond stays genuinely clean and can be fully drained and pressure-washed in an afternoon. For high-stocking-density koi ponds where fish waste is the dominant concern, bare bottom wins on maintenance.
So which should you choose?
Pick gravel if you want a natural-looking, planted ecosystem pond with light to moderate fish stocking and you are committed to strong circulation. Pick a clean bottom if you keep koi at high density, prize a sterile easy-to-drain pond, or simply do not want to risk the sludge problem. A common middle path works well for most backyard ponds: gravel the shallow shelves and planting ledges where it looks great and helps plants, but leave the deepest zone (where the pump intake sits) bare so solids collect there and get pulled into the filter. That hybrid gives you the natural look on the visible margins and easy waste removal at the bottom. If you have not finalized your circulation yet, read our guide on how to set up a pond pump first — gravel without adequate flow is what causes the sludge horror stories.
Choosing the right rock and gravel
Not all stone belongs in a pond. The wrong choice can shred your liner or quietly poison your water chemistry.
- Use smooth, rounded river rock and pea gravel. Rounded stone will not abrade or puncture the liner and is gentle on fish that forage along the bottom. Avoid crushed stone, lava rock, and anything with sharp edges.
- Avoid limestone, dolomite, and marble. These carbonate rocks slowly dissolve, raising pH and water hardness — fine for some fish, harmful to others, and unpredictable. Inert stone like granite river rock, quartz, and basalt is safe and pH-neutral.
- Match size to placement. Use pea gravel (roughly 3/8 inch) on the flat bottom and shelves, medium cobbles (2–6 inches) to build up edges and conceal the liner at the waterline, and a few larger boulders (8 inches and up) as focal points and to break up the rock pattern naturally.
- Estimate quantity. A 1-inch layer of gravel covers about 100 square feet per ton. Measure your bottom and shelf area, decide your depth, and buy roughly 10–15% extra for building up edges and filling gaps.
- Source it clean and inert. Buy washed river rock from a landscape-stone supplier and tell them it is for a fish pond so they steer you away from dyed, treated, or limestone product.
How to wash gravel before it goes in
This is the step everyone wants to skip and nobody should. Even “washed” landscape gravel carries fine dust and grit that will cloud your pond into a milky soup for days or weeks, clog your filter, and stress your fish. Washing is tedious but non-negotiable.
- Work in small batches. Put a few shovelfuls into a 5-gallon bucket, a wheelbarrow, or a large colander — never try to wash a whole ton at once.
- Run a hose into the bucket and stir vigorously with your hand or a stick. The dust lifts and the dirty water overflows the rim.
- Keep rinsing until the overflow runs completely clear. That is the only finish line that matters. Cloudy runoff means the gravel is not ready.
- Skip soap and chemicals entirely. Detergent residue is toxic to fish and bacteria; plain water only.
- Stage the washed gravel on a clean tarp so it does not pick up soil again before it goes in the pond.
If you are gravelling an existing, filled pond rather than a fresh build, lower washed gravel in gently using a bucket or by hand near the surface rather than dumping it, which kicks up far less cloud. Expect some temporary haze regardless; a filter and a few days of running the pump will clear it.
How to lay the rock and gravel well
The goal is a layer that looks like a natural streambed, protects the liner, and stays thin enough to keep clean. Build from the bottom up and from the edges in.
- Protect the liner first. If you are starting from bare liner, lay an extra strip of underlayment or geotextile fabric under heavy boulders so their weight does not stress a single point of the liner.
- Set the big rocks first. Place boulders and larger cobbles before the gravel, working them into the liner contours and using them to terrace the edges and hide the liner at the waterline. Tuck the liner behind a ring of edge stones so no rubber shows.
- Then spread the gravel. Pour washed pea gravel over the flat bottom and shelves between the larger stones, raking it to an even depth.
- Vary the look. Group stones in odd numbers, mix sizes, and avoid a uniform “poured concrete” appearance. Let a few larger rocks rise above the gravel line for a natural feel.
- Keep gravel out of skimmer mouths and pump intakes. Leave a clear gravel-free zone around the intake so stones do not get sucked in.
The right depth
Depth is where gravel ponds succeed or fail. Keep the gravel layer to 1 to 2 inches on the bottom and shelves — just enough to cover the liner and host bacteria. The temptation to pour a deep, cushiony 4–6 inch bed is exactly what causes trouble: anything deeper than about 2 inches develops anaerobic dead zones in the lower layers where oxygen cannot reach, and that is where the black, gassy sludge forms. A thin layer, by contrast, stays aerobic, lets debris sit on top where the pump can move it to the filter, and is easy to stir and rinse during a cleanout. On steeply sloped sides, gravel will not hold anyway, so concentrate it on the flat bottom and the planting shelves and use larger set stones on the slopes.
Keeping a gravel bottom from turning to sludge
A gravel bottom is only as clean as your circulation and maintenance routine. The same gravel that filters beautifully in a well-run pond becomes a liability in a stagnant one. Three habits keep it healthy.
First, run strong circulation continuously so water moves across the entire bottom and oxygen reaches the gravel — dead zones are where sludge starts. Second, add a colony of beneficial bacteria (and consider aeration) to keep the biological breakdown of waste running faster than waste accumulates. Third, give the gravel a light cleaning during seasonal maintenance: a pond vacuum or a gentle stir-and-net in spring lifts settled muck out of the stones before it compacts. Many ecosystem-pond keepers do a partial cleanout each spring, stirring the gravel and vacuuming the released debris, then topping up the water and bacteria. Do that, and a shallow gravel bottom can stay clean and natural for many years.
If you find yourself fighting sludge despite good flow, that is usually a sign the gravel went in too deep, the fish load is too high for the filtration, or the pond is collecting too many leaves — net the surface and consider a hybrid bare-deep-zone layout. For more on balancing plants, fish, and filtration in a planted pond, browse the Water Gardens & Ponds hub.
Frequently Asked Questions
Should I put gravel on the bottom of my pond?
It depends on your goals. Gravel creates a natural look and boosts biological filtration, which suits planted ecosystem ponds with light fish loads. Bare bottoms are easier to keep clean and drain, which suits high-density koi ponds. A popular compromise is to gravel the shelves but leave the deepest zone bare so solids collect there for the filter.
How deep should pond gravel be?
Keep it to 1 to 2 inches. Anything deeper develops oxygen-starved layers where black, gassy sludge forms. A thin layer stays aerobic, lets debris sit on top for the pump to move, and is easy to stir and rinse during cleanouts.
Do I have to wash pond gravel before adding it?
Yes. Even bagged “washed” gravel carries dust and fine grit that will cloud the water for days and clog your filter. Rinse it in small batches with a hose, stirring until the overflow runs completely clear. Never use soap or detergents.
What kind of rock is safe for a pond?
Use smooth, rounded, inert river rock such as granite, quartz, or basalt. Avoid sharp crushed stone that can puncture the liner, and avoid limestone, dolomite, and marble, which dissolve and raise pH and water hardness unpredictably.
Why does my gravel-bottom pond smell bad?
A rotten-egg smell is hydrogen sulfide from anaerobic sludge trapped in deep or stagnant gravel. The fixes are stronger continuous circulation and aeration, reducing the gravel depth to 1–2 inches, lowering the fish load, and doing a spring cleanout to vacuum settled muck out of the stones.