

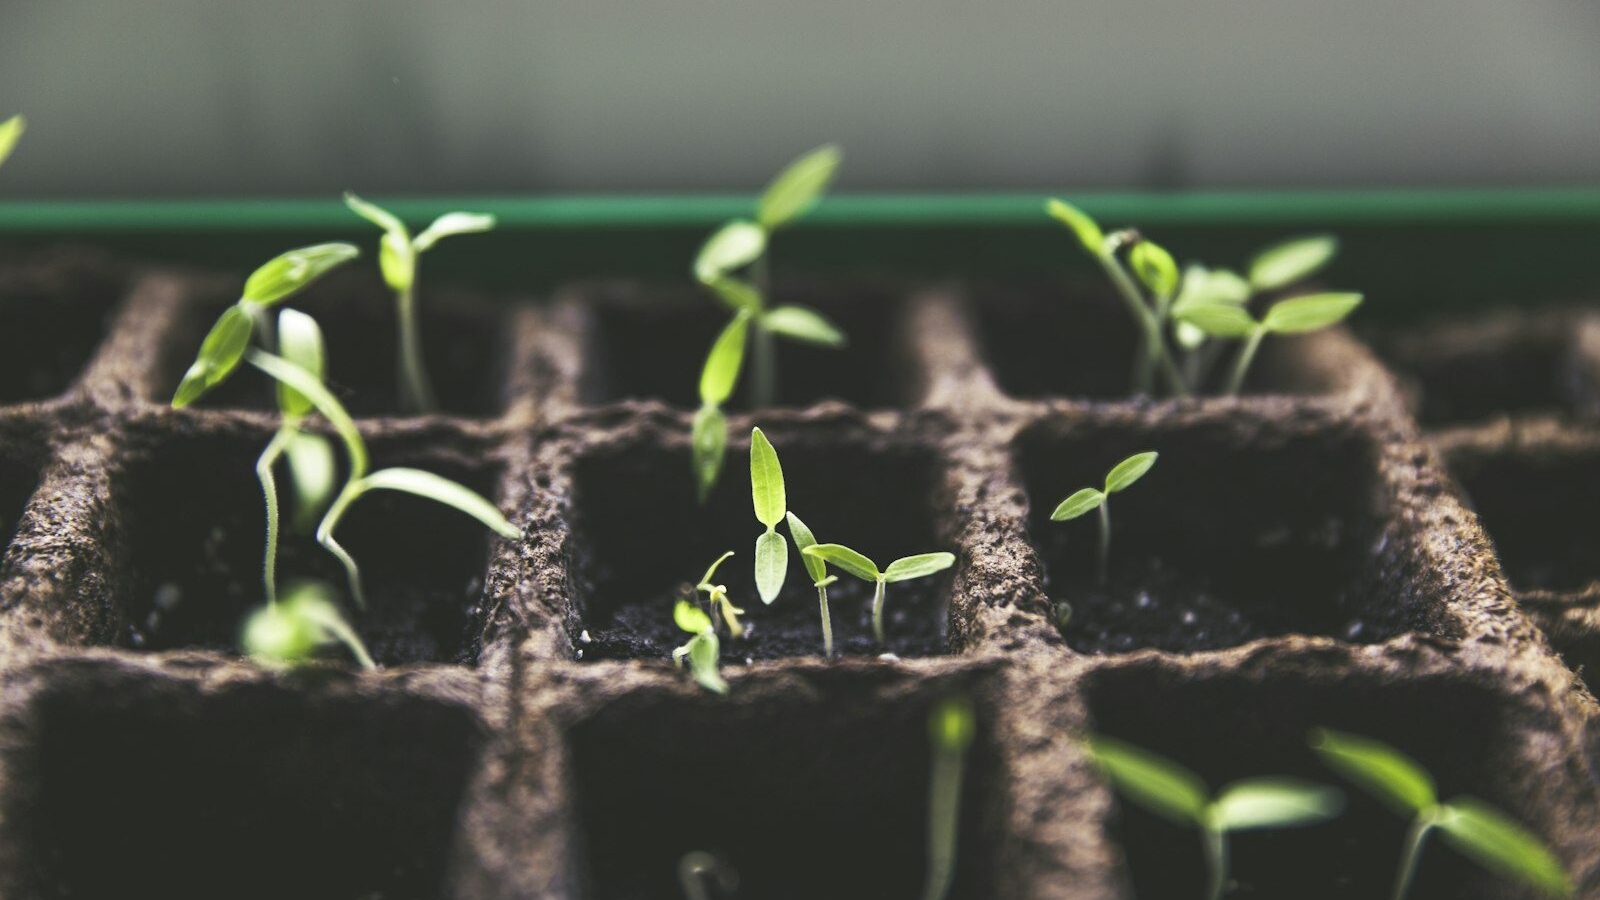
Soil blocking is seed starting without pots. Instead of filling plastic cells, you compress a special damp mix into free-standing cubes of soil, each with a dimple on top for a seed. The block is the container. Roots grow to the edge, hit air, and stop — a process called air-pruning that produces dense, fibrous root systems and seedlings that transplant with zero shock. There’s no plastic to buy, store, or throw away, and no roots circling a pot. For small-space and urban growers raising trays of seedlings on a shelf, soil blocking is compact, sustainable, and produces noticeably healthier transplants.
Part of our Composting & Soil guide →
In this guide
Key Takeaways
- Soil blocks are self-contained cubes of compressed mix — no pots, no plastic, no transplant shock.
- Air-pruning at the block’s edges produces fibrous, well-branched roots instead of root-bound spirals.
- A proper soil-block mix needs more peat or coir and a binder so blocks hold their shape; standard potting mix crumbles.
- Water from below to avoid breaking the blocks, and keep humidity up until seedlings establish.
- “Pot up” by dropping small blocks into larger ones — seedlings never need to be pried out of anything.
Why Soil Blocking Works
In a plastic cell, roots reach the wall and circle, becoming root-bound and stressed. In a soil block, roots reach the open edge, are exposed to air, and naturally stop extending in that direction — instead branching back into the block to form a dense root ball. When you transplant, there is no pot to remove and no root disturbance, so the seedling barely notices the move. That means faster establishment and less of the stall that potted transplants often suffer.
The other big advantage is waste. A blocker is a one-time purchase that makes thousands of blocks. There are no flimsy cell trays to crack and discard each season. For gardeners trying to cut plastic out of their setup, it’s one of the most satisfying switches you can make.
The Tools: Soil Blockers
A soil blocker is a metal or plastic form with spring-loaded ejector plates. You press it into wet mix, lift, and push the handle to release perfect cubes. Three sizes cover most needs:
- Mini ¾-inch blocker (micro): Makes 20 tiny blocks at once for germinating large quantities of seed in little space. Seedlings get potted up into larger blocks.
- 2-inch blocker (standard): The workhorse, usually making 4 blocks per press. Suits most vegetables and flowers from seed straight through to transplant.
- 4-inch blocker: For potting up vigorous seedlings like tomatoes that need more room before they hit the garden.
Blockers can take a “pin” or “cube” insert. A cube insert on the 2-inch blocker leaves a square hole sized to drop in a ¾-inch micro block — this is the elegant potting-up system that makes soil blocking so seamless. You can start with just a 2-inch blocker and add others later.
The Soil-Block Mix
This is the part beginners get wrong. Ordinary potting mix won’t hold a block — it’s too chunky and crumbles. Soil-block mix needs high water-holding capacity and fine fibrous material to bind the cube together. A classic recipe blends peat moss (or coconut coir), compost, and a little garden soil or fine perlite, plus lime to balance the peat’s acidity.
A simple starter recipe by volume: 3 parts peat or coir, 2 parts fine compost, 1 part fine sand or perlite, with a small handful of lime per batch if using peat. Sift out any large chunks. The key is mixing it much wetter than you’d expect — almost like a thick mud or brownie batter. Add water until the mix glistens and a fistful holds together and oozes a little. Too dry and the blocks fall apart; too wet and they slump. A few test presses will dial it in.
How to Make Soil Blocks: Step by Step
1. Mix it wet
In a tub, combine your mix and add water gradually until it reaches the wet, mud-pie consistency described above. Spread it 3–4 inches deep — deeper than your blocker — in a flat-bottomed tray or tub so you can press straight down into a full bed of mix.
2. Charge the blocker
Press the blocker firmly straight down into the wet mix, twisting slightly and pressing two or three times to pack each chamber completely. Air pockets make weak blocks. Scrape the bottom flat against the tub’s base or a board so the blocks are level and full.
3. Eject onto a tray
Hold the blocker just above a flat, solid-bottomed tray (no drainage holes — you’ll bottom-water) and squeeze the handle while lifting smoothly. The blocks should release as clean cubes with a seed dimple on top. Space them with a small gap so air can prune the roots at the edges. Re-dip the blocker in water between presses to help release.
4. Sow the seeds
Drop one or two seeds into each dimple at the depth the packet recommends. For surface-germinating seeds, leave them uncovered; for others, pinch a little extra mix over the top. Mist gently to settle the seed into contact with the block.
Watering and Care
Never water soil blocks from above with a hard stream — it erodes and collapses them. Instead, bottom-water: pour a shallow layer of water into the solid tray and let the blocks wick it up, or mist very gently from the top early on. Blocks dry faster than pots because all sides are exposed to air, so check moisture daily and keep them consistently damp but not sitting in standing water for long.
A humidity dome over the tray holds moisture during germination, but vent it once seedlings emerge to prevent damping off. Keep blocks warm for germination and move them into strong light immediately after sprouting — bright light prevents the leggy stretch that plagues windowsill seedlings. The fundamentals of light, warmth, and airflow are the same as any indoor sowing; our guide to starting seeds indoors covers grow lights and heat mats in detail.
Potting Up and Transplanting
Here’s where soil blocking shines. When a seedling in a micro block outgrows it, you simply drop the whole block into the square cavity of a larger 2-inch block — no prying, no root disturbance. The seedling continues growing as if nothing happened. Repeat into a 4-inch block for hungry plants like tomatoes if they need more time before the garden.
To transplant into the garden or a container, lift the whole block (slide a spatula under it) and set it into a hole the same size. Firm soil around it and water in. Because the roots were never circling and never disturbed, the seedling establishes fast. Before any indoor-grown block goes outside, harden it off gradually — see our guide to hardening off seedlings for the week-long routine that prevents transplant shock and sunscald.
Which Plants Suit Soil Blocking
Most vegetables and annual flowers do beautifully in soil blocks: lettuce, brassicas (broccoli, cabbage, kale), tomatoes, peppers, onions, herbs, zinnias, marigolds, and snapdragons. Quick-germinating, fibrous-rooted crops are especially forgiving. Plants that resent any root disturbance — like some squash, cucumbers, and beans — actually benefit because there’s no disturbance at all, though they grow so fast they’re often direct-sown anyway.
Plants with very deep taproots (carrots, parsnips) are still best sown directly in the ground, and very large seeds may need a bigger block from the start. Otherwise, if a plant can be started in a cell, it can be started in a block — usually better.
Troubleshooting
- Blocks crumble or won’t hold shape: Mix is too dry or too coarse. Add water to a mud-like consistency and use finer, peat- or coir-heavy mix; sift out chunks.
- Blocks slump or melt: Mix is too wet, or you didn’t pack the blocker firmly. Ease off the water and press harder.
- Blocks dry out fast: Normal — all sides are exposed. Bottom-water daily and use a dome until germination.
- Damping off (seedlings collapse at the soil line): Too humid and stagnant. Vent the dome, improve airflow, and avoid overwatering.
- Leggy seedlings: Insufficient light after germination. Move under bright grow lights kept close to the seedlings.
- Blocks won’t release from the blocker: Mix too dry or blocker not dipped in water between presses. Re-wet the mix and rinse the blocker.
Frequently Asked Questions
Can I use regular potting mix for soil blocks?
No. Standard potting mix is too chunky and won’t bind into a cube — it crumbles when you eject it. Soil-block mix needs a high proportion of fine peat or coir plus compost to hold its shape, mixed much wetter than usual. Either buy a soil-block mix or blend your own.
How do I water without breaking the blocks?
Water from below. Use a solid tray with no drainage holes, pour a shallow layer of water in the bottom, and let the blocks wick it up. Early on you can mist gently from above, but never use a hard stream — it erodes and collapses the blocks.
What is air-pruning and why does it matter?
When roots reach the open edge of a block, exposure to air stops them from extending further, so they branch back into the block. This creates a dense, fibrous root system instead of the circling, root-bound mass that forms in plastic pots, leading to faster establishment after transplant.
Do I need every size of soil blocker?
No. You can start with just a 2-inch blocker, which handles most vegetables and flowers from seed to transplant. Add a ¾-inch micro blocker for high-volume germination and a 4-inch blocker for vigorous plants like tomatoes once you scale up.
Is soil blocking worth it for a small balcony garden?
Yes. It’s compact — micro blocks fit dozens of seedlings on one tray — produces healthier transplants, and eliminates plastic pots you’d otherwise store and discard. For urban growers raising a modest number of seedlings each season, the one-time cost of a blocker pays off quickly.