

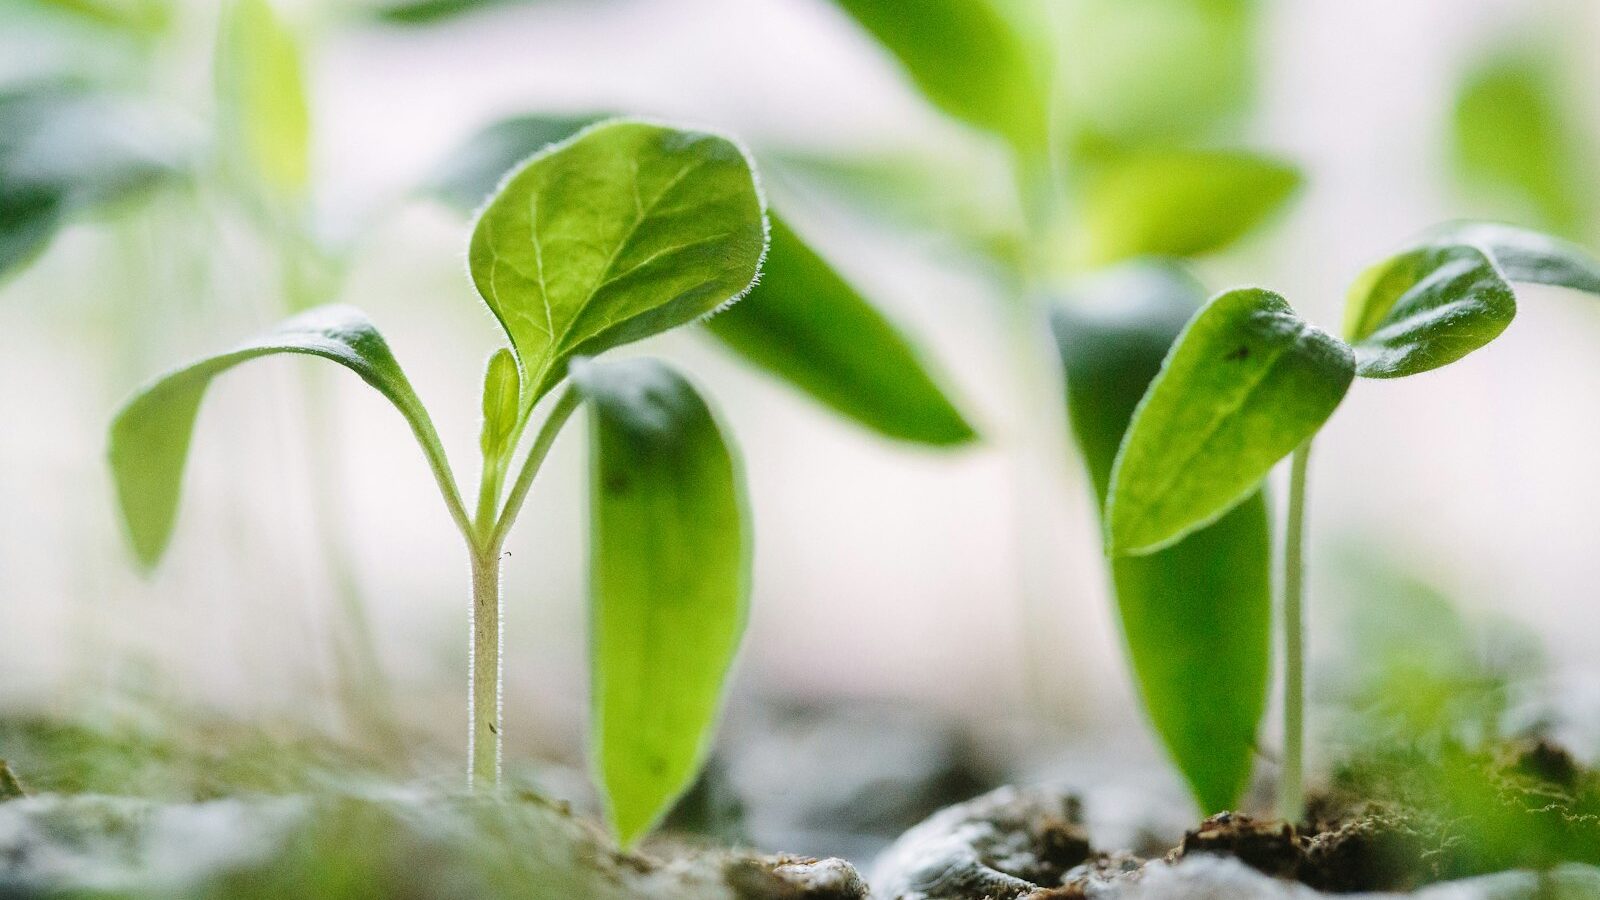
Transplanting is the bridge between a tray of indoor seedlings and a productive garden bed — and it is where a surprising number of strong young plants get killed. Move them too soon, root-bound and unhardened, and they stall, wilt, or simply die in the open ground. Get the timing, handling, and aftercare right, and the same seedlings barely notice the move and roar into growth. This guide covers the full sequence: when to pot up into bigger containers, how to handle fragile roots, why hardening off is non-negotiable, how to read the calendar for transplant timing, and the watering-in step that seals the deal.
Key Takeaways
- Pot up when roots fill the cell or you see them at the drainage holes — move to a container about one size larger, not a huge jump.
- Handle by the leaves, never the stem. A crushed stem kills a seedling; a torn leaf does not.
- Harden off over 7–10 days before transplanting outdoors. Skipping this step is the most common cause of transplant failure.
- Time it by last frost and soil temperature — warm-season crops only after frost danger passes and soil hits 60°F+.
- Disturb roots as little as possible; gently loosen a tight root ball but never strip soil from the roots.
- Water in thoroughly right after planting to settle soil around the roots and eliminate air pockets.
Potting Up: Giving Roots Room Before the Garden
Many seedlings need an intermediate step between their germination cell and the garden bed: potting up into a larger container. This is especially true for crops started early indoors — tomatoes, peppers, eggplant — that outgrow their cells weeks before the weather is safe for planting out. Potting up keeps them growing steadily instead of stalling in cramped quarters.
How to know it’s time to pot up
Watch for these signs that a seedling has outgrown its current home:
- Roots are visible poking out of the drainage holes at the bottom of the cell.
- The plant dries out noticeably faster than it did a week ago — a sign roots have filled the soil and there is little reserve moisture.
- Growth has slowed or leaves are yellowing despite adequate light and feeding (root-bound stress).
- The seedling has two to three sets of true leaves and looks crowded in its cell.
When you pot up, move to a container only one size larger — from a cell to a 3- or 4-inch pot, then later to a quart or one-gallon if needed. Jumping straight into an oversized pot backfires: the large volume of unused, wet soil holds too much water around the small root mass and invites rot. Use a fresh, light potting mix (not garden soil, which compacts and may carry disease), and water the seedling before you move it so the root ball holds together.
One useful trick for tomatoes specifically: when potting up, bury the stem deeper than it sat before, up to the lowest set of leaves. Tomatoes sprout roots all along a buried stem, so a deeper planting builds a bigger, stronger root system. This works for tomatillos and (to a lesser extent) peppers, but do not bury the stems of most other crops, which will simply rot.
Handling Roots: The Make-or-Break Step
The single most important rule of transplanting: support and handle the seedling by its leaves, never by the stem. A seedling can regrow a torn leaf, but a crushed or pinched stem severs the plant’s circulation and is almost always fatal. To remove a seedling from a cell, squeeze the bottom of the flexible cell to push it up, cradle the root ball in your palm, and steady the plant with a couple of fingers on a leaf — never grip the stem.
Dealing with a tight root ball
If the seedling has been in its container a while, the roots may circle the bottom in a dense mat — root-bound. Left as-is, those roots keep circling instead of spreading into the new soil, and the plant never establishes well. Gently tease the outer roots loose with your fingers, or make two or three shallow vertical cuts up the sides of the root ball with a clean knife to encourage new roots to grow outward. Do this with a light touch: the goal is to redirect roots, not to shred them.
Critically, keep as much soil clinging to the roots as possible. The fine feeder roots that do most of the water and nutrient uptake are microscopic and tear away the instant you brush soil off them. A root ball moved intact barely registers the transplant; bare roots stripped of soil send the plant into severe shock. This is why crops with sensitive taproots — squash, cucumbers, melons, and beans — should be started in biodegradable pots or soil blocks and planted pot-and-all, so the roots are never exposed at all.
Hardening Off: Don’t Skip This
Seedlings raised indoors or in a greenhouse have lived a pampered life: stable temperatures, no wind, filtered light, constant moisture. Drop them straight into the open garden and the sudden hit of direct sun, wind, and temperature swings can scorch their leaves and kill them within a day. Hardening off is the gradual acclimation process that toughens seedlings up for outdoor life, and it is the most commonly skipped — and most commonly fatal — omission in the whole transplant process.
The standard schedule runs about 7 to 10 days:
- Days 1–2: Set seedlings outside in a sheltered, shaded spot for 1–2 hours, then bring them back in. Avoid wind and direct sun entirely at first.
- Days 3–5: Lengthen outdoor time to 3–5 hours and introduce a little morning sun and gentle breeze.
- Days 6–8: Build up to most of the day outside, including several hours of direct sun. Reduce watering slightly so they toughen.
- Days 9–10: Leave them out overnight (if no frost is forecast), then transplant.
Through the whole process, watch the weather — bring plants in if a cold snap, hailstorm, or hard wind threatens, and never expose tender seedlings to frost. For a deeper walkthrough of acclimating plants to outdoor conditions, see our companion guide on how to harden off seedlings, which covers cold frames and shortcut methods. If you only have a few days, you can compress the schedule, but never go from windowsill to full sun in one step.
Timing: Frost Dates and Soil Temperature
Transplant too early and frost or cold soil stunts or kills your plants; too late and you waste growing season. Two numbers govern the decision: your average last frost date and the soil temperature.
Know your last frost date
Look up your average last spring frost date for your zip code or USDA zone — it ranges from February in the Deep South to late May or June in cold northern zones. This date anchors everything. Cool-season crops (lettuce, kale, broccoli, cabbage, onions) tolerate light frost and can go out 2–4 weeks before the last frost date. Warm-season crops (tomatoes, peppers, eggplant, squash, cucumbers, basil) are frost-tender and must wait until after all danger of frost has passed — often a week or two after the official date, to be safe.
Check the soil temperature
The calendar is a guide, but soil temperature is the reality. Push a soil thermometer 2–3 inches into the bed in the morning for a few days and average the readings:
- 40–50°F: Hardy cool-season transplants (onions, brassicas, lettuce) can go out.
- 60°F+: Warm-season crops like tomatoes and peppers will actually grow rather than sulk.
- 70°F+: Heat-lovers — peppers, eggplant, melons, basil — establish best.
Setting a tomato into 55°F soil does not kill it, but the plant stalls, turns purple from phosphorus lockout, and a transplant set out two weeks later into warm soil will often overtake it. Patience pays. Transplant on a cloudy day or in the evening rather than under blazing midday sun, which lets roots settle before the plant has to cope with heat and light.
Planting and Watering In
With hardened-off seedlings and warm-enough soil, the actual transplant goes quickly. Work through it in order:
- Water the seedlings first, an hour or so before planting, so the root balls are moist and hold together.
- Dig each hole slightly wider and as deep as the root ball. For tomatoes, dig deeper and bury the stem; for everything else, set the plant at the same depth it grew, with the soil line matching the root ball’s top.
- Set the plant in, backfill gently, and firm the soil with your hands to close air pockets without compacting it hard.
- Space according to the crop — give each plant its full mature footprint so you are not undoing the work of thinning indoors.
- Water in thoroughly and immediately. This is the step that settles soil against the roots, drives out air pockets that would dry roots out, and gives the plant the moisture it needs to recover.
Watering in is not optional and a light sprinkle does not count — soak the root zone so water reaches the full depth of the root ball and the surrounding soil. A diluted starter fertilizer or seaweed solution in that first watering can ease shock and encourage rooting, though it is not essential. For the next week, keep the soil consistently moist (not soggy) while the roots venture out into the bed; new transplants have a limited root system and dry out fast. After that, taper to normal watering for the crop.
Expect a day or two of mild droop, called transplant shock, even when you do everything right — the plant is rebuilding root contact with the soil. A light shade cloth or an upturned basket over the plant for the first day or two in hot weather helps it recover. As long as you hardened off properly, handled the roots gently, and watered in well, the seedling will perk up and start putting on new growth within several days.
Where to Go From Here
Transplanting follows directly from raising healthy, well-spaced seedlings in the first place — if your trays are crowded, start with our guide on how to thin seedlings before you ever get to the transplant stage. Container and balcony growers moving seedlings into pots rather than open ground will find more space-specific tactics on the urban gardening hub. And once your transplants are in the ground, locking in soil moisture and suppressing weeds with a layer of mulch around your vegetables gives the young plants the best possible start.
Frequently Asked Questions
How big should seedlings be before I transplant them?
Most seedlings are ready to transplant when they have two to four sets of true leaves and a root system that fills their cell or pot. They should look sturdy and stocky, not thin and leggy. Beyond a certain size they become root-bound and stressed, so do not wait too long — but also do not move them at the fragile cotyledon (seed-leaf) stage. For fruiting crops like tomatoes, a transplant 6–8 inches tall with a thick stem is ideal.
Do I really need to harden off my seedlings?
Yes. Hardening off is the most commonly skipped step and the most common cause of transplant failure. Indoor seedlings have never experienced direct sun, wind, or temperature swings; moving them straight outside can scorch and kill them within a day. Spend 7–10 days gradually increasing their outdoor exposure first. If you are short on time you can compress the schedule, but never skip it entirely.
Why are my transplants wilting after I moved them?
A day or two of mild wilting is normal transplant shock as the plant re-establishes root contact with the soil. It usually resolves on its own with consistent moisture. Persistent or severe wilting points to a problem: inadequate hardening off, root damage during planting, soil that is too cold, air pockets from not watering in, or simply hot sun on an unestablished plant. Water in well, provide temporary shade in heat, and keep the soil evenly moist.
Can I transplant directly from a seed tray to the garden, skipping potting up?
Often yes, if the timing lines up — many crops go straight from their starting cells to the garden once hardened off and the weather is right. Potting up is only needed when seedlings outgrow their cells before it is safe to plant outdoors, which is common for tomatoes and peppers started early. If a seedling is ready and outdoor conditions are suitable, transplant it directly; do not pot up just for the sake of it.
Should I disturb or loosen the roots before planting?
Keep root disturbance to a minimum and preserve the soil around the roots — the fine feeder roots are fragile and tear easily. The exception is a root-bound plant whose roots circle the bottom of the pot: gently tease those outer roots loose or make a few shallow vertical cuts so they grow outward instead of continuing to circle. Crops with sensitive taproots, like squash and cucumbers, should be started in biodegradable pots and planted pot-and-all so the roots are never disturbed.