

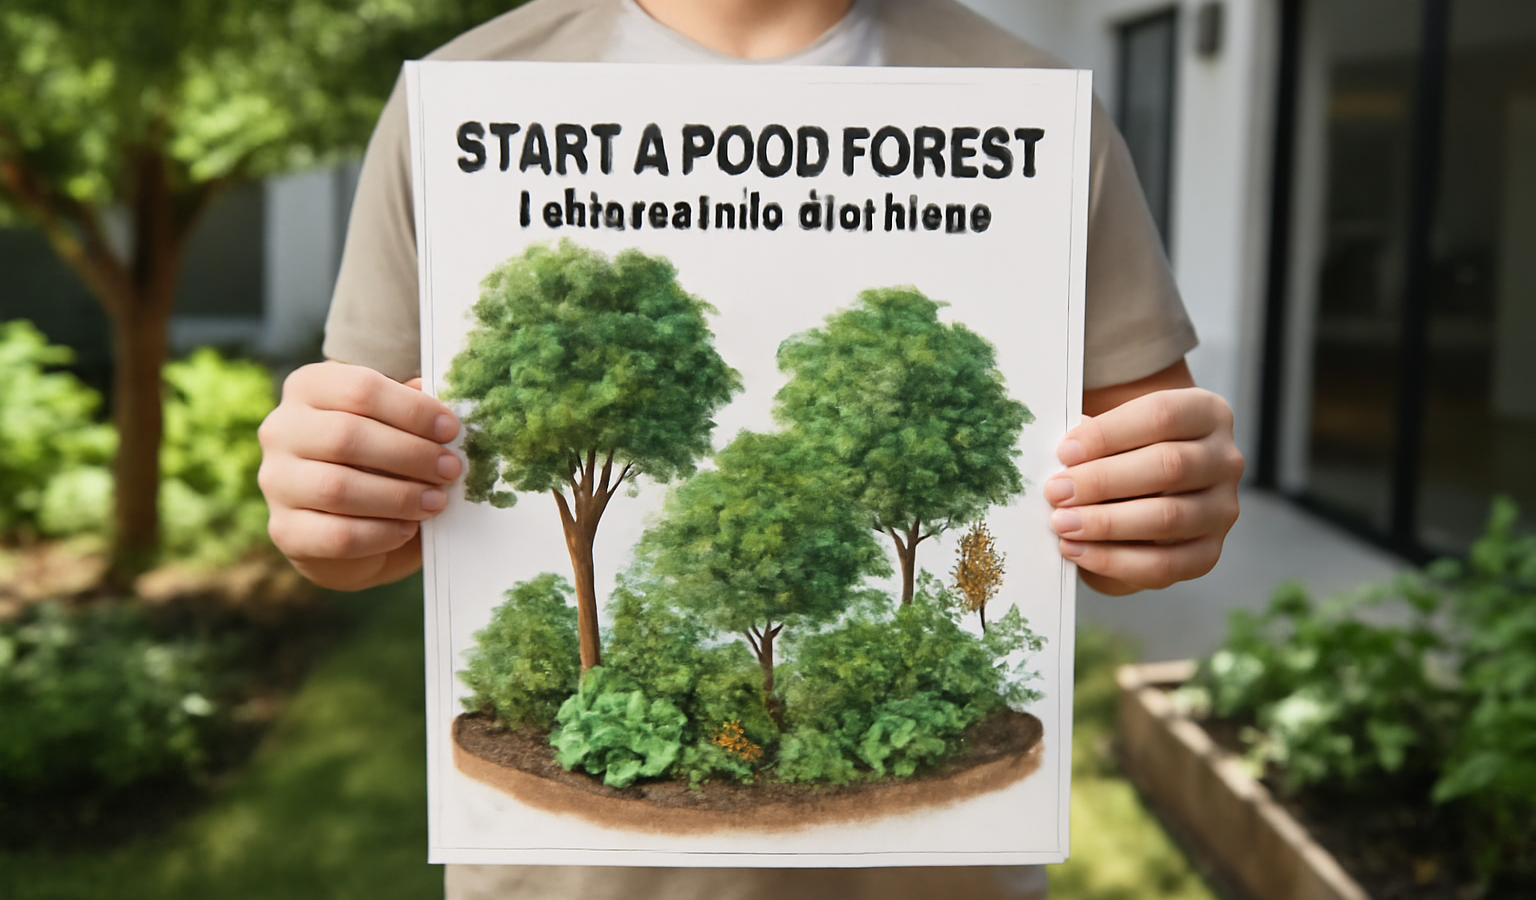
A food forest is a deliberately designed, edible ecosystem that mimics the structure of a young natural woodland: tall fruit and nut trees overhead, smaller trees and berry shrubs filling the middle, and a dense skirt of herbs, vegetables, roots, and groundcovers below. Done well, it produces food for decades with a fraction of the digging, watering, and feeding a conventional vegetable plot demands. The trade-off is patience and design up front. You are not planting a garden you weed every weekend; you are assembling a self-sustaining community of plants that feed, shade, and protect one another. This guide walks you through the seven permaculture layers, how to combine them into functional plant guilds, how to read and shape your site, a workable small-yard version, and a realistic establishment timeline so you know what to expect in years one through seven.
Key Takeaways
- A food forest stacks seven vertical layers — canopy, understory, shrub, herbaceous, groundcover, root, and vine — so every cubic foot of space does work.
- Plants are grouped into guilds: a central fruit tree surrounded by nitrogen-fixers, dynamic accumulators, pest-confusers, pollinator plants, and groundcover.
- Design follows the land: map sun, water flow, wind, and access first, then place trees on the contour and zones by how often you visit them.
- Small yards work — a single semi-dwarf tree guild in a 12-by-12-foot footprint is a legitimate starter food forest.
- Expect a 3–7 year establishment curve: heavy mulching and ground-prep early, real fruit yields around years 3–5, full canopy closure by years 5–7.
What a Food Forest Actually Is
The model is a forest edge or a clearing in early succession — the most productive, biodiverse stage of a woodland, before a closed canopy shades everything out. You freeze the system at that abundant edge stage and stock it almost entirely with plants that feed you, your soil, or your pollinators. Unlike a row garden, which fights succession by keeping bare soil and annual crops, a food forest works with succession: perennials dominate, the soil stays covered year-round, and fertility is built on-site through leaf litter, nitrogen-fixing roots, and deep-rooted nutrient miners rather than imported bags of fertilizer.
This matters for climate and effort. A mature food forest holds water in its soil and shade, buffers temperature swings, and resists pest outbreaks because no single crop is planted in a vulnerable monoculture block. The same logic that makes a small-space urban garden resilient — diversity, vertical layering, dense planting — is simply scaled up and made perennial here.
The Seven Permaculture Layers
The defining feature of a food forest is vertical stacking. Sunlight that would hit bare ground in a conventional orchard is intercepted at multiple heights, so a quarter-acre can carry several times the edible biomass of the same space planted as lawn or single-canopy fruit trees. Here are the seven layers, from sky to subsoil.
1. Canopy (tall tree) layer
The tallest trees, typically 30 feet and up at maturity: standard apple, pear, walnut, chestnut, pecan, mulberry, or persimmon depending on your USDA zone. On a small lot you may skip the full-size canopy entirely and let a semi-dwarf tree act as your “high” layer. Space full-size trees 25–40 feet apart so light still reaches the layers beneath; crowding the canopy is the single most common beginner mistake.
2. Understory (low tree) layer
Dwarf and semi-dwarf fruit trees, 10–25 feet: peach, plum, cherry, dwarf apple, pawpaw, hazelnut, and citrus in warm zones. These fit in the dappled gaps between canopy trees and carry much of the early fruit yield because they bear faster than full-size trees.
3. Shrub layer
Berries and other woody bushes, roughly 2–10 feet: blueberry, currant, gooseberry, raspberry, blackberry, elderberry, seaberry, and aronia. This is the most rewarding layer for new growers — most berries fruit within 1–3 years, giving you a real harvest while the trees are still teenagers.
4. Herbaceous layer
Non-woody perennials and self-seeding annuals: rhubarb, asparagus, comfrey, culinary herbs, perennial kale, sorrel, and pollinator flowers like yarrow and echinacea. Many of these double as guild support plants, attracting beneficial insects or mining nutrients from deep soil.
5. Groundcover layer
Low, spreading plants that carpet the soil and crowd out weeds: strawberry, creeping thyme, clover, sweet woodruff, nasturtium, and wild ginger. Living groundcover replaces the bark mulch you would otherwise have to keep buying — it shades the soil, holds moisture, and many species fix nitrogen or feed pollinators.
6. Root layer
Crops harvested from below ground that occupy the soil profile without competing for light: garlic, onion, potato, Jerusalem artichoke, groundnut, daikon, and horseradish. Deep-rooted root crops also break up compacted subsoil and pull minerals upward when their tops die back.
7. Vine (climbing) layer
Climbers that ride up trees, trellises, and fences to use vertical air space: grape, hardy kiwi, passionflower, hops, and runner beans. Match vine vigor to host strength — a hardy kiwi will smother a young dwarf tree, so give the aggressive climbers a dedicated arbor and reserve gentle climbers for established trunks.
Building Plant Guilds
A guild is the functional unit of a food forest: a cluster of plants assembled around a central productive tree so that the group meets most of its own needs. Instead of planting a peach tree alone and then feeding, mulching, and spraying it forever, you surround it with companions that do those jobs biologically. A classic guild has six roles.
- Central element: the main fruit or nut tree the guild is built around.
- Nitrogen-fixers: legumes and actinorhizal plants — clover, lupine, false indigo, autumn olive (where not invasive), or sea buckthorn — that pull nitrogen from the air and feed the soil. Aim for nitrogen-fixers to make up a meaningful share of plantings in the first years.
- Dynamic accumulators: deep-rooted miners like comfrey, yarrow, and dandelion that pull potassium, calcium, and trace minerals up from the subsoil. Chop-and-drop their leaves as living fertilizer.
- Pest confusers / repellents: alliums (garlic, chives, onions) and aromatic herbs that mask the target tree’s scent and deter borers and aphids.
- Pollinator and predator attractors: umbrella-flowered plants (dill, fennel, yarrow) and asters that bring in bees, hoverflies, and parasitic wasps.
- Groundcover / mulch makers: strawberries, clover, or comfrey that shade the root zone and suppress competing weeds.
A worked example: an apple guild might center on a semi-dwarf apple, ringed by comfrey at the dripline (accumulator + mulch), daffodils planted in a circle around the trunk (a “grass-suppression ring” that also deters voles), chives and garlic tucked among the comfrey (pest confusers), white clover sown as living groundcover (nitrogen), and yarrow plus dill at the edge (pollinators). That single guild needs almost no outside fertilizer once established. Many of the same companion principles that drive companion planting versus monoculture in an annual garden scale directly into these perennial guilds.
Reading and Designing Your Site
Before you buy a single tree, spend time observing. The cheapest mistakes to fix are the ones you catch on paper. Sketch your space and map four things across a full day and, ideally, across seasons.
Sun
Track where shadows fall morning, noon, and afternoon. Most fruiting plants want 6+ hours of direct sun. In the Northern Hemisphere, step the layers down toward the south or southwest so tall trees sit on the north edge and don’t shade the shorter productive layers.
Water and contour
Watch where rain runs and pools after a storm. On any slope, plant tree rows along the contour (the level line across the hill) rather than up and down it. Shallow, level swales or even just contour-planted mulch berms slow runoff, let water soak in, and irrigate the trees passively. Put thirsty plants in low, moist spots and drought-tolerant species on high, dry ground.
Wind and microclimate
Identify your prevailing wind. A windbreak hedge on the exposed side — hazelnut, seaberry, or a mixed shrub row — shelters the interior, reduces moisture loss, and protects blossoms. South-facing walls and fences create warm pockets where you can push a zone-tender plant like a fig or citrus.
Access and zones
Permaculture “zones” simply mean placing things by how often you visit them. Herbs you pick daily and salad greens go nearest the door; berry bushes you harvest weekly sit a little further; nut trees and the wilder edge, which you tend a few times a year, go furthest out. Lay out paths first — you need to reach every plant without trampling beds, so a keyhole or branching path pattern usually beats straight rows in a dense planting.
Finally, prep the soil by sheet mulching rather than tilling. Mow or knock down existing grass, lay overlapping cardboard to smother it, and pile 4–8 inches of wood chips, leaves, and compost on top. Over a few months this kills the sod, feeds soil life, and gives you a planting-ready bed without disturbing the soil structure your future trees depend on.
The Small-Yard Food Forest
You do not need acreage. A productive starter food forest fits in a 12-by-12-foot footprint built around one semi-dwarf fruit tree. Plant the tree slightly off-center, ring it with three to five berry shrubs on the sunny side, and fill the remaining ground with an herbaceous and groundcover guild: comfrey, chives, clover, strawberries, and a couple of pollinator perennials. Run a grape or hardy-kiwi vine up the fence behind it to claim the vertical layer. That single guild gives you tree fruit, berries, herbs, and groundcover crops in a space most people waste on lawn.
In containers and on balconies the same stacking logic applies in miniature: a dwarf citrus or columnar apple in a large pot, underplanted with strawberries and trailing thyme, with a bush bean or nasturtium for nitrogen and pollinators. Scale the layers to the space — even a raised bed can carry three or four of the seven layers. From there you expand outward one guild at a time as you gain confidence, eventually linking guilds into a continuous canopy.
Establishment Timeline: Years 1 to 7
A food forest is a slow build, and knowing the curve keeps you from giving up in year two when it still looks like a mulched lot with sticks in it.
- Year 1 — Groundwork. Sheet mulch, shape paths and contour, plant trees and shrubs, and sow a dense cover of nitrogen-fixers and groundcover. Expect to water new trees through dry spells and to harvest fast annuals and a few herbs only.
- Years 2–3 — Filling in. Berries begin to crop, herbaceous perennials establish, and groundcover starts closing gaps. Keep mulching, chop-and-drop comfrey, and replace any plant that failed. Soil life visibly improves.
- Years 3–5 — First real yields. Understory dwarf trees fruit, shrubs hit full production, and the system needs far less watering as roots deepen and shade builds. You shift from planting to light pruning and harvesting.
- Years 5–7 — Canopy closure. Tall trees begin bearing, layers knit together, weeds are largely suppressed by shade and groundcover, and external inputs approach zero. The food forest is now mostly self-maintaining.
The work front-loads heavily: most of your effort lands in the first two years of soil-building and planting, after which the system increasingly runs itself. That inversion — high effort early, low effort forever after — is the whole point. For ongoing ideas on squeezing more yield from tight spaces, the urban gardening hub pairs naturally with a maturing food forest.
Frequently Asked Questions
How much space do I need to start a food forest?
As little as 12 by 12 feet for a single-tree guild, or a few large containers on a balcony. You scale the seven layers to whatever space you have — the principles work from a patio up to several acres.
How long until a food forest produces food?
Fast annuals and herbs crop in year one, berries in years 2–3, and tree fruit around years 3–5. Full canopy closure and near-zero maintenance arrive around years 5–7.
Do I really not need to fertilize?
Once established, a well-built guild feeds itself through nitrogen-fixers, dynamic accumulators, and constant leaf-litter mulch. In the first 1–2 years you may still add compost while the soil biology ramps up.
Should I till the soil first?
No. Tilling destroys soil structure and fungal networks your trees rely on. Sheet mulch instead — cardboard plus wood chips and compost — to smother grass and build soil without disturbance.
What are the most common beginner mistakes?
Planting the canopy too densely so lower layers get shaded out, skipping nitrogen-fixers and groundcover, ignoring contour and water flow on slopes, and giving up before year three when the system is still establishing.