

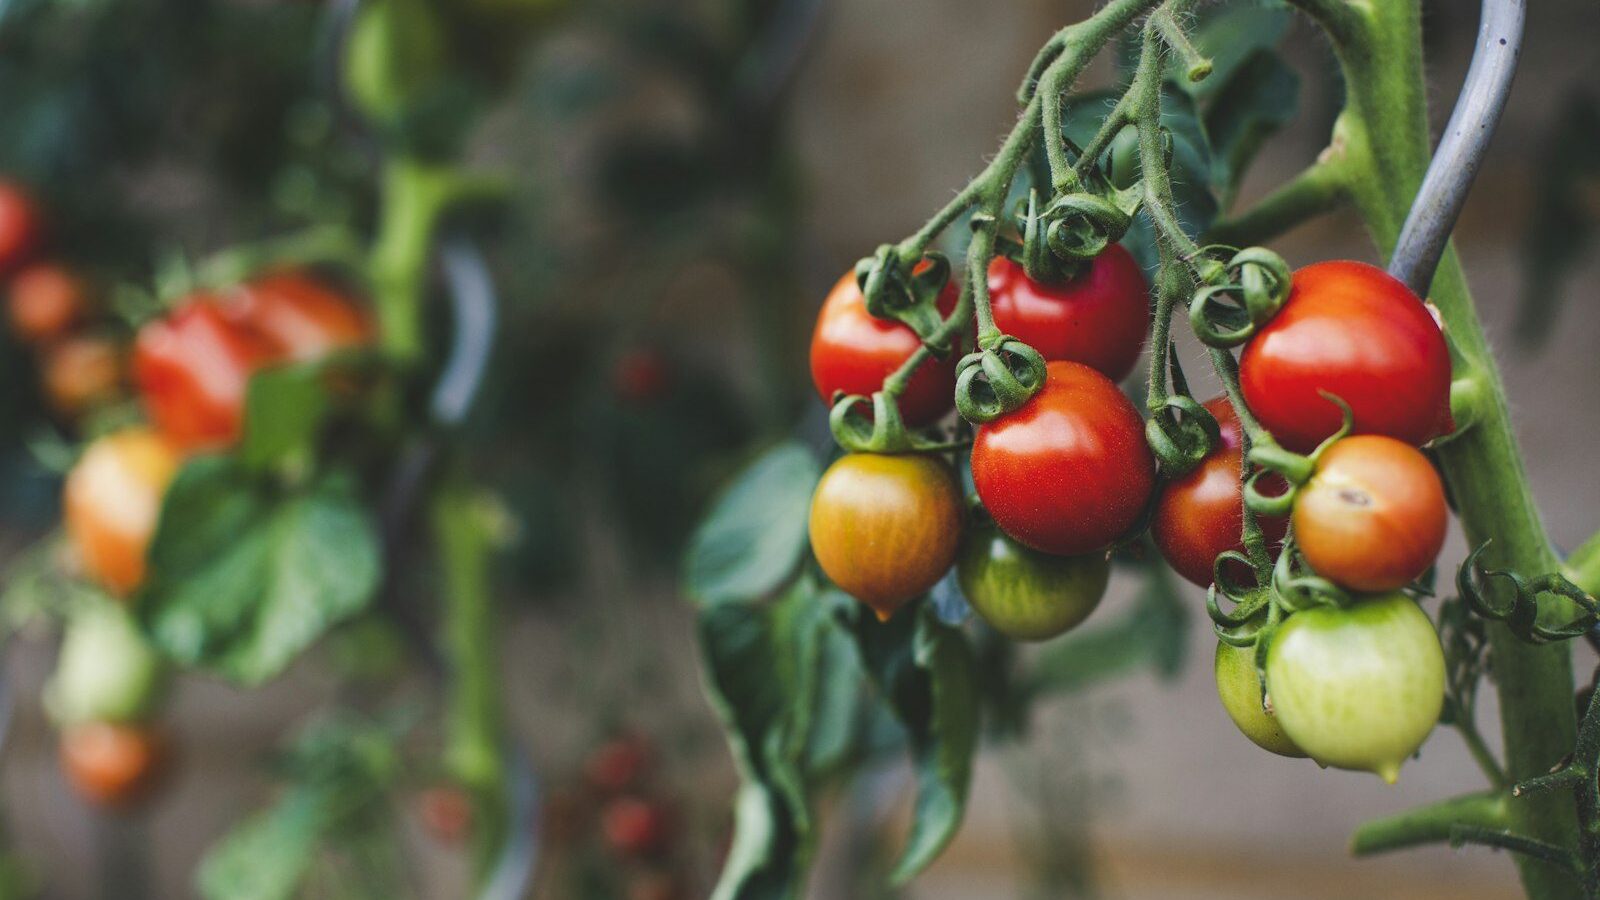
Saving your own tomato seeds is one of the most satisfying loops a gardener can close: a single ripe heirloom can yield enough seed for years, free, and selected from the plants that thrived in your own garden. Tomatoes are also forgiving to save from — they are mostly self-pollinating, so seed usually comes true to the parent. The one technique that trips people up is the slimy gel sac around each seed, which contains germination inhibitors and must be removed. The classic fix is a short fermentation that mimics what happens when a tomato rots on the ground, breaking down that coating and killing seed-borne diseases in the bargain. This guide covers choosing the right fruit, the fermentation method step by step, drying, storing for maximum longevity, and testing your seed before next spring.
Key Takeaways
- Save from open-pollinated and heirloom tomatoes, not F1 hybrids — hybrid seed will not grow true to the parent fruit.
- Ferment the seeds for 2–4 days. The gel sac around each seed contains germination inhibitors; fermentation removes it and kills seed-borne diseases.
- Choose your best fruit. Save from healthy, vigorous, fully ripe tomatoes with the traits you want — you are selecting your future crop.
- Dry thoroughly on a plate or screen, never paper towel (seeds stick), until they snap rather than bend.
- Store cool, dark, and dry. Properly dried tomato seed stays viable 4–6 years or more; label every batch with variety and year.
Choose the Right Tomatoes to Save From
The first decision matters most: only save seed from open-pollinated or heirloom varieties. These breed true, meaning the seed grows into a plant that closely matches its parent. F1 hybrids — anything labeled “hybrid” or “F1,” including popular varieties like ‘Better Boy’ or ‘Sun Gold’ — are a genetic cross of two parent lines, and their saved seed scatters back into an unpredictable mix that rarely resembles the fruit you ate. If you do not know whether your tomato is a hybrid, check the seed packet or plant tag; when in doubt, assume hybrid and save from a known heirloom instead. Reliable heirlooms to save from include ‘Brandywine’, ‘Cherokee Purple’, ‘San Marzano’, ‘Black Krim’, and ‘Roma’.
Within an open-pollinated variety, treat seed-saving as gentle plant breeding: save from your best plants and best fruit. Pick a tomato from a vigorous, healthy, disease-free plant that performed well in your conditions, and choose a fully ripe — even slightly overripe — fruit, since seed inside under-ripe tomatoes is immature. Selecting for the traits you value (flavor, size, early ripening, disease resistance) gradually adapts the line to your garden over the years. One large tomato holds plenty of seed, but saving from two or three fruits off different plants of the same variety preserves a little genetic diversity. Note that tomatoes can occasionally cross-pollinate via insects, especially older potato-leaf and currant types; if purity matters, isolate or bag a few blossoms, but for most home gardeners a single variety nearby is low-risk.
Scoop the Seeds and Start Fermenting
Cut the ripe tomato across its “equator” rather than through the stem end — this exposes the seed cavities and makes scooping easy. Squeeze and spoon the seeds, along with their surrounding gel and juice, into a small clean jar or cup. You do not want much tomato flesh, just the seeds and gel; a little pulp is fine and actually helps the ferment. Add a splash of water — roughly an equal volume to the seed mixture — to keep things from getting too thick. Label the jar immediately with the variety name if you are processing more than one, because once they are fermenting they all look identical.
Cover the jar loosely with a coffee filter, paper towel, or just a loose lid that lets air in (it will smell, and fruit flies are drawn to it). Set it somewhere out of direct sun at room temperature, ideally around 70°F, and let it ferment for two to four days. Stir once a day. This is the step that does the real work: naturally occurring microbes consume the gel sac that coats each seed — the same gel that contains chemicals preventing the seed from sprouting inside the wet fruit — and the process also destroys several seed-borne tomato diseases. You will know it is working when a layer of white or gray mold forms on the surface and the mixture smells sour and fermented. Do not let it run much past four days, or the seeds can begin to sprout or be damaged.
Rinse and Separate the Good Seed
When the surface has a moldy layer and the gel has broken down, fermentation is done. Now clean the seed. Add plenty of water to the jar and stir vigorously, then let it settle for a minute. Here is the useful trick: viable, well-filled seeds are heavy and sink to the bottom, while dead seeds, pulp, and debris float. Carefully pour off the floating layer of mold, pulp, and hollow seeds, add more water, stir, and pour off again. Repeat until the only thing left at the bottom is clean, heavy seed and the water pours off clear.
Tip the cleaned seeds into a fine mesh strainer and rinse under running water, rubbing gently with your fingers to remove any last clinging gel. Good seed should now look clean and slightly fuzzy as it dries. This sink-or-float sort is a genuine quality filter — by discarding the floaters you are keeping only the seeds most likely to germinate, which is part of why home-saved tomato seed often performs so well. Give the strainer a final tap to shed excess water before drying.
Dry the Seeds Properly
Spread the rinsed seeds in a single layer to dry, and here is a rule worth tattooing on your trowel: do not dry tomato seeds on paper towel or paper. They glue themselves to it as they dry and become almost impossible to peel off intact. Instead use a ceramic or glass plate, a coffee filter, a fine window screen, or a paper coffee filter set on a rack for airflow. Spread the seeds out so they are not clumped, and set the plate in a warm, dry, well-ventilated spot out of direct sunlight — direct sun can overheat and kill the seed.
Stir or break up the seeds once a day so they dry evenly and do not stick together, separating any clumps with your fingers. Drying typically takes one to two weeks depending on humidity. The seeds are fully dry when they are hard and snap rather than bend — a seed that is leathery or pliable still holds moisture and will mold in storage. Do not rush this with high heat, which damages viability; gentle air-drying at room temperature is best. Thorough drying is the single biggest factor in how long your seed lasts, so err on the side of an extra few days. For more on timing your seed-starting once these seeds are dry, the plants and flowers guides cover sowing schedules by zone.
Store for Maximum Longevity
Once bone-dry, store the seeds cool, dark, and dry — the three enemies of seed life are heat, moisture, and light. A paper envelope inside an airtight jar or container is the gold standard: the envelope keeps the seeds together while the sealed jar blocks humidity. Tuck a small silica gel packet or a spoonful of powdered milk wrapped in tissue into the jar to absorb stray moisture. Label every batch with the variety and the year saved — this is not optional, because unlabeled seed becomes a mystery within a season and you lose all the selection benefit of saving from a known plant.
A cool closet works, but the refrigerator (not freezer for casual saving) extends life further as long as the seeds are truly dry and in an airtight container so condensation cannot reach them. Stored well, tomato seed stays viable for four to six years and often longer — tomatoes are among the more durable garden seeds. Even after several years you can usually expect decent germination if the seed was dried and stored properly. Keep your envelopes organized by variety and year so you rotate through the oldest first.
Test germination before planting season
A few weeks before you plan to sow, run a quick viability test so you are not surprised by empty cells. Place ten seeds on a damp paper towel, fold it over, slip it into a labeled zip bag, and keep it warm (around 75–80°F). Check after 5 to 10 days: if seven or more sprout, you have roughly 70%-plus germination — plant as normal. If only a few sprout, sow extra seeds per cell to compensate, or replace that batch. This ten-seed test takes minutes and saves you from a tray of no-shows in spring.
Why Saving Your Own Seed Pays Off
Beyond the obvious savings, saved seed quietly improves your garden. Each year you keep seed from the plants that performed best in your specific soil, climate, and pest pressure, the line edges toward being better adapted to your conditions — something no commercial packet can offer. You also preserve heirloom varieties that big seed catalogs may drop, and you build a personal seed library that makes you resilient to supply shortages and price hikes. Trading saved seed with other gardeners spreads rare varieties and keeps genetic diversity alive in the food system.
Tomatoes are the ideal gateway crop for seed-saving because they are self-pollinating, prolific, and forgiving of beginner mistakes. Once you have the fermentation rhythm down, you can apply the same selection mindset to peppers, beans, peas, and lettuce, gradually building a kitchen-garden seed collection that is entirely your own. The whole cycle — grow, select, ferment, dry, store, sow — turns gardening from a yearly shopping trip into a continuous, self-sustaining loop. If you grow tomatoes in containers or tight spaces and want to make the most of every plant you save seed from, our urban gardening guides cover squeezing a productive tomato harvest out of pots and small beds.
Frequently Asked Questions
Can I save seeds from any tomato I buy or grow?
Only from open-pollinated or heirloom tomatoes, which breed true to the parent. F1 hybrids (anything labeled “hybrid” or “F1,” like ‘Sun Gold’ or ‘Better Boy’) produce seed that grows into an unpredictable mix unlike the original fruit. Check the seed packet or plant tag; if you cannot confirm, assume it is a hybrid and save from a known heirloom such as ‘Brandywine’ or ‘Cherokee Purple’ instead.
Why do I need to ferment tomato seeds?
Each seed is coated in a gel sac containing germination inhibitors that stop it sprouting inside the wet fruit. A two-to-four-day fermentation lets natural microbes break down that gel — mimicking a tomato rotting on the ground — so the seed can germinate later. Fermentation also destroys several seed-borne tomato diseases, leaving you cleaner, healthier seed.
How long does the fermentation take and how do I know it’s done?
Ferment at room temperature (around 70°F) for two to four days, stirring once daily. It is finished when a layer of white or gray mold forms on the surface and the mixture smells sour. Then rinse with water — viable seeds sink while pulp and dead seeds float off. Do not let it run past four days, or the seeds may begin to sprout or be damaged.
Why shouldn’t I dry tomato seeds on paper towel?
Tomato seeds glue themselves to paper towel and paper as they dry and become nearly impossible to peel off without damage. Dry them instead on a ceramic or glass plate, a fine screen, or a paper coffee filter with good airflow, stirring daily so they don’t clump. They’re fully dry when they snap rather than bend — usually one to two weeks.
How long do saved tomato seeds stay viable?
Properly fermented, dried, and stored tomato seeds stay viable for four to six years and often longer — they’re among the more durable garden seeds. Store them cool, dark, and dry in a paper envelope inside an airtight jar, ideally with a silica packet, and label each batch with variety and year. Run a ten-seed germination test before sowing if the seed is several years old.