

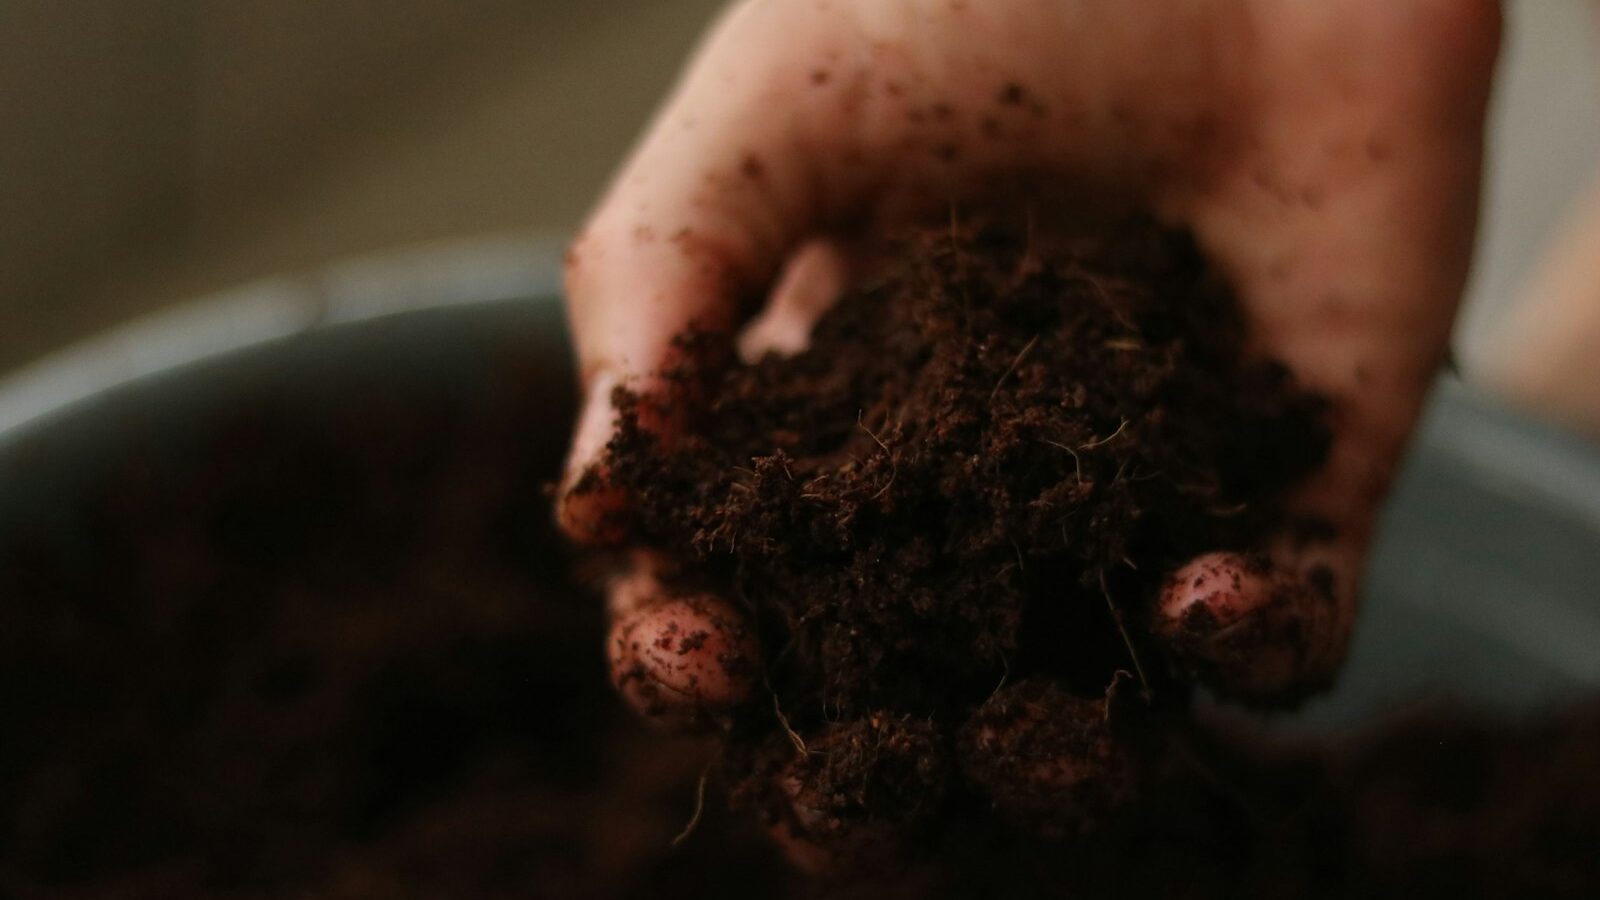
Repotting is one of those plant chores that sounds intimidating but is genuinely simple once you know the signs to watch for and the few steps that matter. Done at the right time, with the right pot and mix, it gives a tired houseplant a fresh start and a burst of new growth. This step-by-step guide walks you through when to repot, how to choose a pot, and exactly what to do so your plant barely notices the move.
Key takeaways
- Repot when root-bound (roots circling/out the holes)
- Spring is the best time
- Go up only 1-2 in pot size, with drainage
- Loosen circling roots before replanting
- Wait a few weeks before fertilizing
As an Amazon Associate we earn from qualifying purchases.
Signs your houseplant needs repotting
Most houseplants only need repotting every one to two years, so the trick is reading the plant rather than following a calendar. A root-bound plant has filled its container so completely that there is little soil left to hold water or nutrients, and you will usually see several clues at once. Before you reach for a new pot, run through this quick checklist.
What to look for
- Roots out the drainage hole. Roots poking through the bottom holes or popping up at the soil surface mean the plant has run out of room.
- Root-bound, circling roots. Slide the plant out and if you see a dense, spiraling mat of roots wrapped around the shape of the pot, it is time.
- Water runs straight through. When you water and it drains out almost instantly, the pot is more root than soil, so there is nothing left to hold moisture.
- Slowed or stalled growth. A healthy plant that suddenly stops growing in spring or summer is often starved for space, even with regular feeding.
- The plant gets top-heavy or dries out fast. If you are watering far more often than you used to, or the plant tips over, the roots have outgrown the container.
Keep in mind that not every struggling plant needs a bigger pot. Yellowing leaves, for example, are more often a watering or light issue, so it is worth reading our guide on why leaves turn yellow before assuming the pot is the problem. If the soil smells sour and the roots look brown and mushy, you may be dealing with how to fix root rot rather than a plant that has simply outgrown its home.
The best time to repot
Spring is the best time to repot almost any houseplant. As days lengthen and plants wake from their winter slowdown, they enter active growth, which means roots recover quickly and the plant settles into its new pot fast. Repotting in early to mid spring gives your plant the whole growing season to establish before light levels drop again in fall.
When to wait, and when to act anyway
- Avoid late fall and winter. Plants are resting then, so they recover slowly and are more prone to transplant stress.
- Skip repotting a plant in bloom. Wait until flowering finishes so the plant can put energy into roots, not blossoms.
- Act out of season for emergencies. Root rot, a broken pot, or pests in the soil are reasons to repot immediately, no matter the month.
- Give new plants a few weeks. Let a plant from the nursery acclimate to your home before moving it, unless it is clearly root-bound.
Choosing the right pot
The single most common repotting mistake is jumping to a pot that is far too big. An oversized container holds more soil than the roots can use, and that wet, unused soil stays soggy and invites root rot. The goal is a modest upgrade, not a mansion.
How to pick a container
- Go up only 1 to 2 inches in diameter. For a plant in a 6-inch pot, choose an 8-inch pot at most. Small plants can step up just an inch.
- Insist on drainage holes. A pot must have holes in the bottom so excess water can escape. Decorative pots without holes are fine only as outer covers (cachepots) for a draining nursery pot.
- Match the material to your habits. Terracotta breathes and dries faster, which suits overwaterers; plastic and glazed ceramic hold moisture longer, which suits forgetful waterers.
- Consider fabric grow bags. These breathable bags air-prune roots and prevent circling, making them a great low-cost option for many houseplants.
You can find inexpensive plant pots with drainage in every size, and breathable fabric grow bags are worth trying if you tend to overwater.
The right potting mix
Never reach for garden soil or dirt from the yard. It is too dense for containers, compacts around roots, and can carry pests and disease indoors. A good houseplant mix is light, fluffy, and drains freely while still holding some moisture.
What makes a good mix
- Start with a quality indoor mix. A bagged houseplant or indoor potting mix is formulated for drainage and aeration right out of the bag.
- Amend for drainage if needed. Stir in perlite, pumice, or orchid bark to lighten dense mixes, especially for plants that hate wet feet.
- Match the mix to the plant. Succulents and cacti want a gritty, fast-draining blend; aroids like monstera and pothos love chunky, bark-heavy mixes.
- Moisten the mix first. Lightly dampen dry mix before potting so it settles evenly and does not repel water later.
A bag of all-purpose indoor potting mix covers most houseplants, and you can adjust it with extra perlite or bark as needed. For specifics on chunky aroid mixes, see our monstera care guide.
How to repot a houseplant, step by step
Lay down newspaper or work outside, gather your new pot and fresh mix, and set aside about fifteen minutes. Here is the full process from start to finish.
The repotting steps
- Water the plant first. Give it a drink a day or a few hours before repotting. Moist roots slide out more easily and suffer less stress than dry, brittle ones.
- Ease it out of the pot. Tip the plant sideways, support the base of the stems, and gently squeeze or tap the pot. Coax the root ball out rather than yanking the stem.
- Loosen the roots. Tease apart the outer roots with your fingers, especially any that are circling. For a severely root-bound plant, make a few shallow vertical cuts down the sides of the root ball to encourage new outward growth.
- Add a base layer of mix. Put a few inches of fresh, moistened mix in the bottom of the new pot so the plant will sit at the same depth it did before.
- Position the plant. Center it and check the height: the top of the root ball should sit about an inch below the rim, leaving room to water. Adjust the base layer until it is right.
- Backfill with fresh mix. Fill in around the sides, pressing gently as you go to remove big air pockets. Do not pack it down hard, you want it firm but still airy.
- Water it in. Water thoroughly until it runs from the drainage holes. This settles the soil around the roots. Top up with a little more mix if it sinks.
That is it. Resist the urge to trim healthy top growth at the same time; let the plant focus on settling its roots first.
Aftercare so your plant bounces back
The first few weeks after repotting are about recovery, not pushing growth. A little patience now prevents the wilting and stress many people mistake for a failed repot.
The first few weeks
- Hold off on fertilizer. Do not feed right away. Fresh potting mix already contains nutrients, and feeding stressed, freshly cut roots can burn them. Wait four to six weeks before resuming feeding.
- Give bright, indirect light. Keep the plant out of harsh direct sun for a week or two so it can settle without extra heat stress.
- Water carefully. The new, larger volume of soil dries more slowly, so check moisture before watering and avoid keeping it soggy.
- Expect a little droop. Mild wilting or a dropped leaf or two is normal transplant shock. Keep conditions steady and most plants perk up within a week or two.
Refreshing soil without potting up
Sometimes a plant has reached the size you want, or is simply too large to keep moving into bigger pots. In those cases you can refresh the soil while keeping it in the same container, often called top-dressing or a root prune-and-return.
Two ways to refresh in place
- Top-dress. Scrape off the top inch or two of old, depleted soil and replace it with fresh mix. This is the gentlest refresh and adds new nutrients without disturbing the roots.
- Prune and return. For a root-bound plant you want to keep the same size, ease it out, trim the outer roots and bottom of the root ball by up to a quarter, loosen the rest, then return it to the same pot with fresh mix around the sides.
- Refresh on a schedule. Even slow growers benefit from a soil refresh every year or two to replace nutrients and improve drainage.
Want the bigger picture on keeping your plants thriving? Our complete plant & flower care guide ties watering, light, feeding, and repotting together into one simple routine.
Frequently asked questions
How often should I repot a houseplant?
Most houseplants need repotting every one to two years, but let the plant guide you. Fast growers may need it yearly, while slow growers and succulents can go several years. Watch for roots out the drainage holes, water running straight through, or stalled growth as your real cues.
Can I repot a plant any time of year?
Spring is ideal because plants are actively growing and recover fastest. You can repot in summer too. Avoid late fall and winter when plants are resting, unless it is an emergency like root rot, pests, or a broken pot, in which case repot right away regardless of season.
Why is my plant wilting after repotting?
Mild wilting is normal transplant shock as the roots adjust. Keep the plant in bright, indirect light, water carefully without overdoing it, and skip fertilizer. Most plants recover within one to two weeks. If leaves yellow and mushy stems appear, check for overwatering or root rot instead.
Do I really need a pot with drainage holes?
Yes. Without drainage, excess water pools at the bottom and rots the roots. If you love a decorative pot with no holes, use it as a cachepot: keep the plant in a plain nursery pot that drains and set that inside the pretty one, emptying any standing water after watering.
Should I water before or after repotting?
Both. Water a few hours to a day before so the roots are hydrated and slide out easily, which reduces stress. Then water again right after repotting to settle the fresh mix around the roots and remove air pockets. After that, let the new soil dry out a bit before the next watering.