

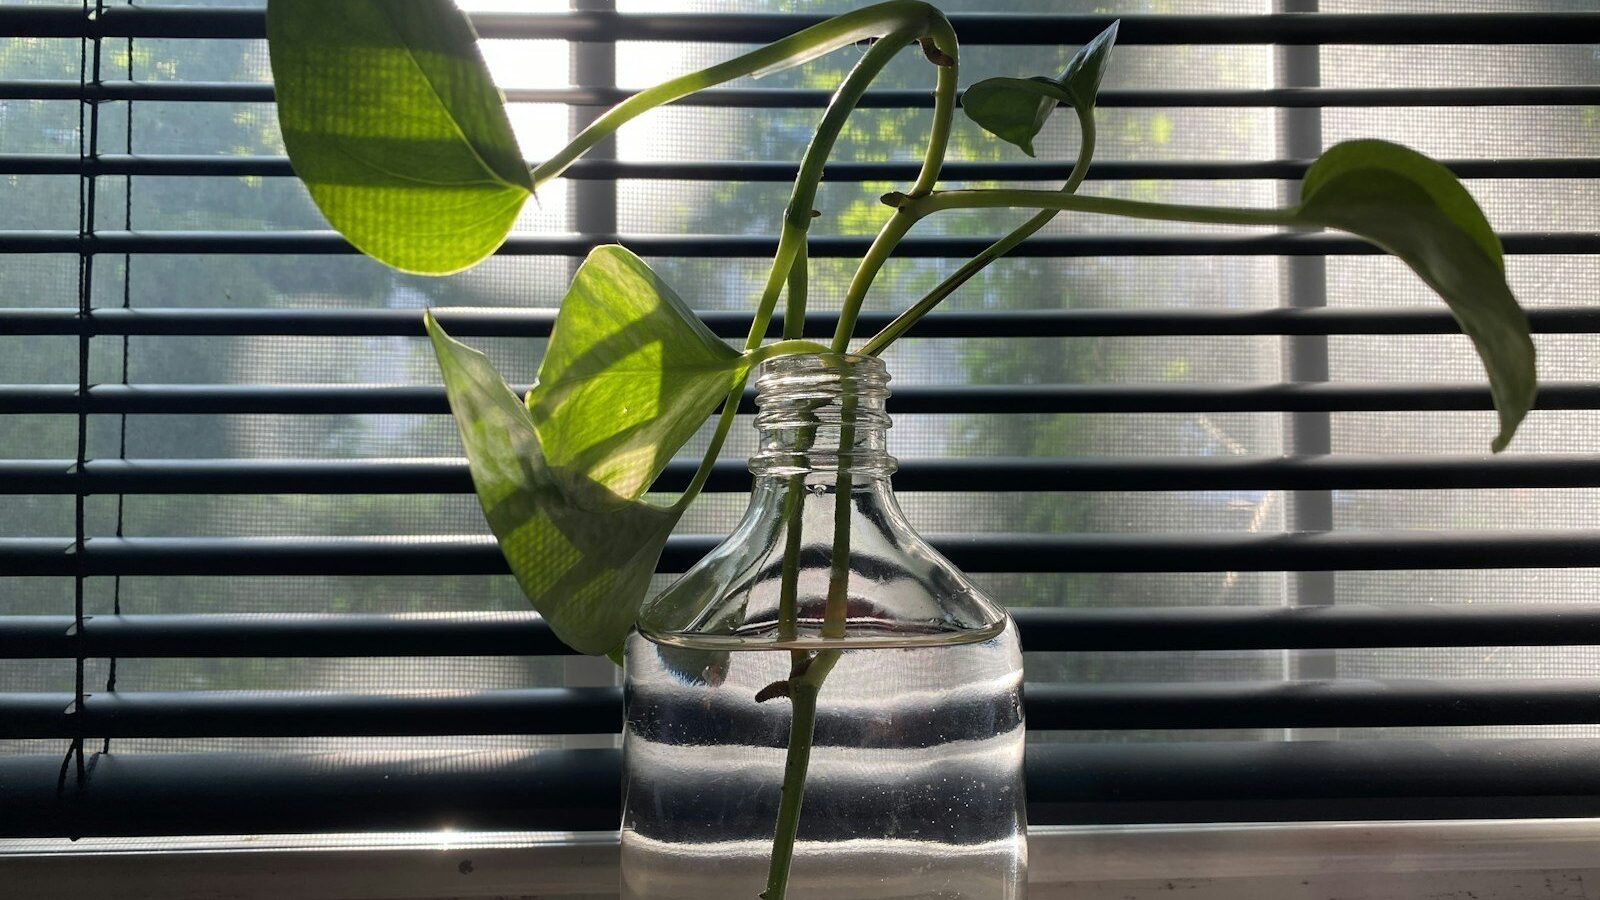
Pothos is the plant that taught most of us we could make new plants for free. Snip a vine, drop it in a jar of water on the windowsill, and within a couple of weeks you’ve got white roots reaching down through the glass. It is genuinely one of the easiest houseplants on earth to propagate, with a success rate close to 100% if you cut in the right place — and that one detail, the node, is the whole game. This guide walks through exactly where to cut, how to root cuttings in both water and soil, how long each method takes, how to transplant water-rooted cuttings without losing them, and the trick to turning a leggy, bare-stemmed pothos into a lush, full pot. Whether you’re trying to fill out a thin plant, share cuttings with friends, or rescue an overgrown vine, the steps are the same and almost foolproof.
Key Takeaways
- The node is everything: Cut just below a node — the little brown nub where a leaf meets the stem. No node, no roots.
- Water method: Place cuttings in water on a bright sill; roots appear in 1–2 weeks, ready to pot at 1–2 inches long.
- Soil method: Plant cuttings directly in moist mix; slightly slower but skips transplant shock and builds stronger roots.
- Cutting size: Each cutting needs at least one node and one or two healthy leaves; 4–6 inches is ideal.
- Fuller plant: Plant several rooted cuttings back into the mother pot to fill bare spots fast.
- Best time: Spring and summer root fastest, but pothos propagates year-round indoors with warmth and light.
Find the node — the single most important step
Before you make a single cut, learn to spot a node. Run your eye along a pothos vine and you’ll see, at the point where each leaf joins the stem, a slightly swollen joint with a small brown bump on it. That bump is an aerial root — the node — and it is where every new root will emerge. Without a node, a cutting can sit in water for months and never root; the leaf alone has no growth point. This is the mistake that sinks most failed pothos propagation: people cut a length of stem between nodes, or root a single leaf, and nothing happens. Every cutting you take must include at least one node, and ideally two.
Pick a healthy vine and decide where to cut. Make your cut about a quarter inch below a node using clean, sharp scissors or pruners — clean tools matter because a ragged or dirty cut invites rot. Each cutting should be 4 to 6 inches long with one or two leaves and at least one node along the stem. If a cutting has a lower leaf right at the node you’ll plant or submerge, strip that leaf off; you never want leaves sitting underwater or buried in soil, where they rot and foul the cutting. A bare node with a leaf or two above it is the perfect propagation unit.
Method 1: Water propagation, step by step
Water rooting is the most satisfying way to start because you watch the whole thing happen. It’s the best choice for beginners and for anyone who likes the visual confirmation that roots are forming.
- Take your cuttings. Cut 4–6 inch stem pieces just below a node, each with one or two leaves, using clean scissors.
- Strip the lower leaves. Remove any leaf that would sit below the waterline so only the bare node is submerged.
- Fill a clear jar. Use room-temperature water in a glass or jar — clear glass lets you monitor root growth and water clarity.
- Submerge the nodes. Place the cuttings so at least one node is underwater and all leaves stay above it.
- Set it in bright, indirect light. An east-facing sill is ideal. Avoid harsh direct sun, which cooks the cutting and grows algae.
- Refresh the water. Change it every three to five days, or whenever it looks cloudy, to keep oxygen up and bacteria down.
- Wait for roots. Tiny white roots usually appear within 7–14 days. Let them reach 1–2 inches before potting.
That’s the entire process. Within a week you’ll see nubs swelling at the node, and within two to three weeks you’ll have a respectable root system. One caveat worth knowing: roots that form in water are slightly different from roots that form in soil, so a cutting left in water too long can struggle a bit when finally potted. The fix is simple — don’t wait for a giant tangle of roots. Pot up once roots are 1 to 2 inches long, while they adapt easily to soil.
Method 2: Soil propagation, step by step
Rooting directly in soil skips the transplant step entirely and produces roots already adapted to their permanent home, so the cuttings often establish faster in the long run. You don’t get the window-show of watching roots form, but the end result is frequently a sturdier plant.
- Prepare a small pot. Fill it with a light, well-draining houseplant mix and moisten it evenly so it’s damp but not soggy.
- Take cuttings the same way. Cut below a node, 4–6 inches long, and strip the leaf nearest the node.
- Optional rooting hormone. Dip the cut end and node in rooting hormone powder to speed things along — helpful but not essential for pothos.
- Plant the node. Poke a hole with a pencil and bury the node about an inch deep, leaves above the soil. Firm the mix around it.
- Keep it humid and warm. Set it in bright, indirect light and keep the soil lightly moist. A clear bag or dome over the pot holds humidity and speeds rooting.
- Test after 3–4 weeks. Give a gentle tug; resistance means roots have formed and the cutting has taken.
Soil cuttings take a little longer to show progress — usually three to four weeks before roots are solid — but you never have to transplant a fragile water-root system. Keep the soil consistently moist (not wet) during rooting, because a cutting with no roots yet can’t recover from drying out. Once it’s rooted and pushing new leaves, treat it like any established pothos. For more on keeping the parent plant healthy, our urban gardening hub covers easy indoor growing.
Transplanting water-rooted cuttings to soil
This is the step where the occasional failure happens, so it’s worth doing gently. Once your water-rooted cutting has roots 1 to 2 inches long, prepare a small pot of moist, well-draining mix. Make a hole, lower the delicate roots in without bending or breaking them, and backfill loosely so soil surrounds the roots and the node. Water it in well to settle the soil against the new roots and eliminate air pockets.
For the first one to two weeks after potting, keep the soil a touch more moist than you normally would for a mature pothos. Those water-formed roots need to grow soil-adapted root hairs, and consistent moisture eases the transition. It’s normal for a freshly transplanted cutting to droop slightly for a few days; keep it in bright indirect light, resist the urge to fertilize immediately, and it will perk up as the roots take hold. After a couple of weeks, ease back to a normal “water when the top inch is dry” routine.
How to grow a fuller, bushier pothos
Propagation isn’t just for making new plants — it’s the secret to fixing a leggy one. Pothos naturally grows long single vines that go bare near the base, leaving all the leaves at the tips. The cure is to use the cuttings you take to refill the mother pot. When you trim back long vines, root those cuttings and plant them straight back into the original pot’s bare spots. The result is a dense, lush plant instead of a few straggly trailers.
Better still, regular pruning encourages the cut vines to branch, so the parent plant fills out on its own too — every cut just above a node tends to push two new growing tips. Plant three or four cuttings per small pot from the start and you’ll have a full-looking plant in a fraction of the time a single cutting would take. This multiply-and-replant approach is how growers turn one tired plant into several thriving ones. If you enjoy this kind of easy multiplication, our NFT hydroponics guide shows another low-effort way to grow leafy plants indoors.
Troubleshooting
No roots after weeks
Almost always a missing node — check that each cutting actually includes one of those brown nubs. Also make sure it’s warm and bright enough; cold, dim conditions stall rooting.
Mushy, rotting stem
A submerged or buried leaf is rotting, or the water went stale. Remove any underwater leaves, change the water more often, and trim back to clean tissue.
Yellowing cutting
Some leaf drop is normal as the cutting redirects energy to roots. Persistent yellowing can mean too much direct sun or stagnant water — move it to indirect light and refresh.
Cutting wilts after transplanting
Normal transplant shock from water to soil. Keep the soil moist, hold off on fertilizer, and give it a week or two of bright indirect light to recover.
Frequently Asked Questions
Where exactly do I cut a pothos to propagate it?
Cut about a quarter inch below a node — the small brown nub where a leaf meets the stem. Each cutting needs at least one node, because that’s where roots emerge. A cutting with leaves but no node will never root.
How long does pothos take to root in water?
Tiny white roots usually appear within 7–14 days in bright, indirect light. Let them grow to 1–2 inches before potting in soil — longer than that and water roots can struggle to adapt when transplanted.
Is water or soil propagation better?
Water is easier for beginners and lets you watch roots form, but those roots need to adapt to soil later. Soil rooting is slightly slower to show progress yet skips transplant shock and builds soil-ready roots. Both work nearly every time.
Can I propagate pothos from just a leaf?
No. A single leaf with no node has no growth point and will never form roots or a new plant. Always include a section of stem with at least one node in every cutting.
How do I make my pothos fuller?
Root your trimmings and plant them back into the mother pot’s bare spots, and prune just above nodes to force branching. Several cuttings per pot grows a dense, lush plant far faster than a single vine.
Pothos propagation comes down to one rule — include the node — and from there it’s nearly impossible to fail. Cut cleanly below a node, root in water or soil whichever you prefer, pot up before the water roots get too long, and replant your trimmings to build a fuller plant. Do it a few times and you’ll have more pothos than windowsills, which is exactly how this plant earned its reputation as the houseplant that keeps on giving.