

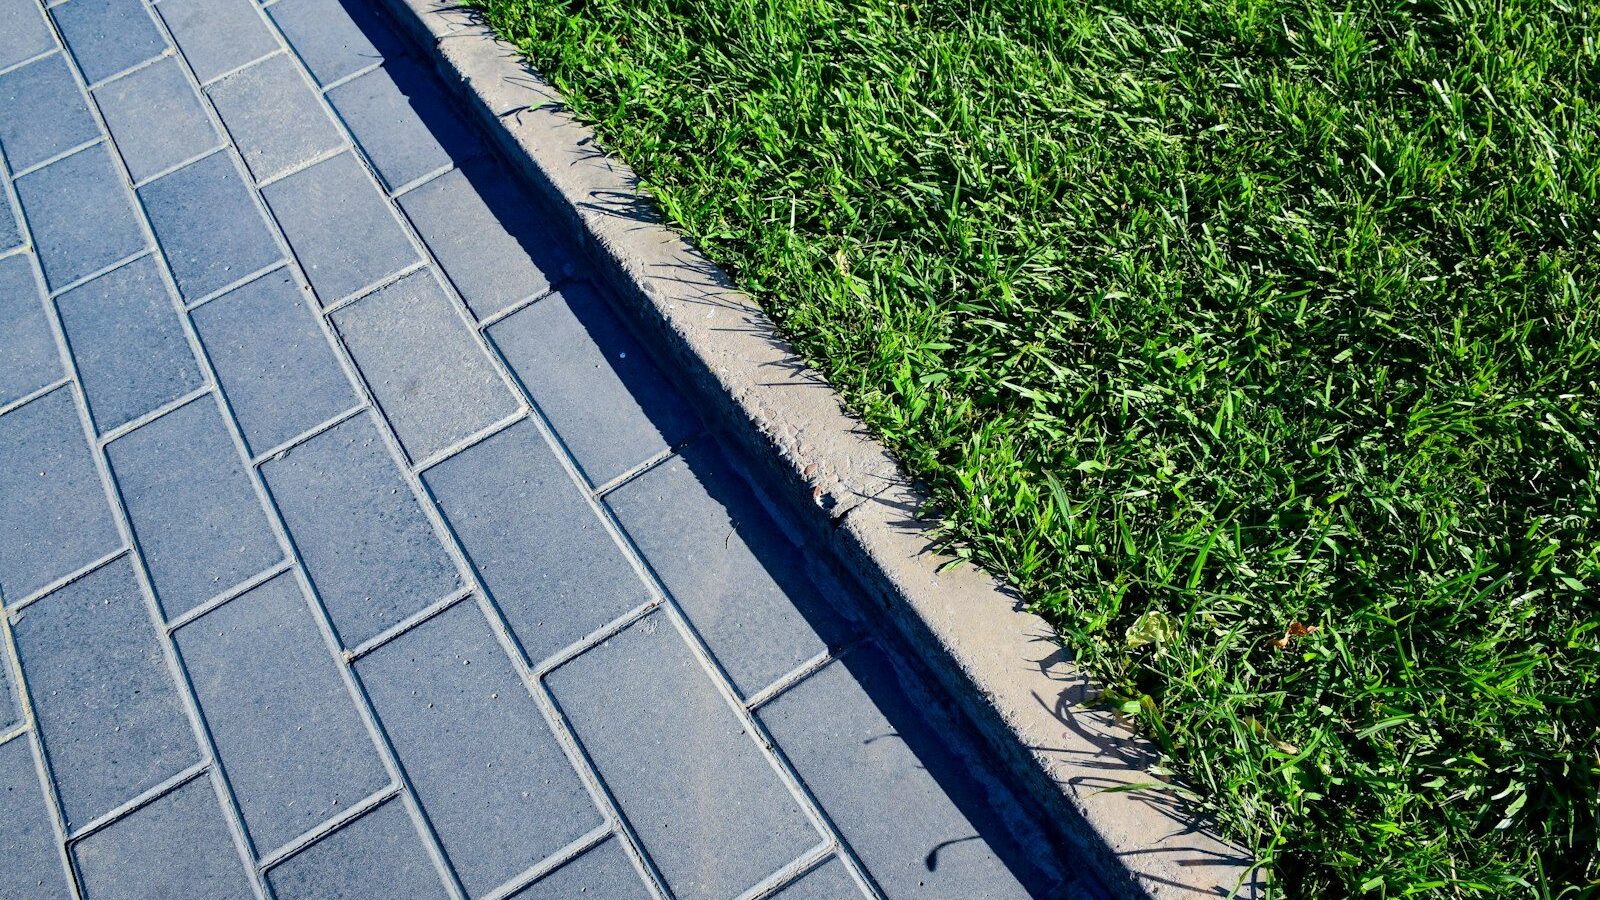
Paver edging, also called edge restraint, is what keeps a paver patio or walkway from slowly spreading apart, opening joints and letting edge pavers tip and sink. To install it, you set the restraint tight against the outer pavers on top of the compacted base, then anchor it with 10-inch steel spikes about every 12 inches (closer on curves) before sweeping in joint sand. Plastic restraint is the go-to for most DIY patios, aluminum and steel are slimmer and stronger, and a concrete haunch or poured curb is the most permanent. Below is how to choose, and exactly how to install each type.
Part of our Lawn Care guide →
In this guide
- Why Pavers Need Edge Restraints
- Types of Paver Edging Compared
- Before You Start: Base and Layout
- How to Install Plastic or Aluminum Paver Edging
- How to Install a Concrete Haunch Edge
- Edging for Curves, Circles and Steps
- Fixing Paver Edges That Have Already Spread
- Choosing Edging by Project
- Driveways and Permeable Pavers
- Paver Edging vs Landscape Edging
- Common Mistakes to Avoid
- Frequently Asked Questions
Key Takeaways
- Every edge of a paver installation that is not against a structure needs a restraint.
- The compacted base must extend beyond the pavers so the edging sits on solid ground, not loose soil.
- Spike plastic and aluminum edging about every 12 inches, every 8 inches on curves, plus both ends of each section.
- Install edging before sweeping polymeric or joint sand into the pavers.
- Concrete restraints are permanent but harder to undo if pavers ever need to be reset.
Why Pavers Need Edge Restraints
Interlocking pavers work as a flexible system. Joint sand locks units together, and loads from feet, furniture or cars spread sideways across the field. Without something solid at the perimeter, that sideways force pushes outer pavers outward, joints open, sand washes out, and the edge row rocks, sinks or tilts. Edging also keeps the bedding sand from washing out from under the outer row during heavy rain. It is not decorative; it is structural. If you are planning the whole project, our step-by-step guide on how to build a paver patio shows where edging fits in the sequence.
Types of Paver Edging Compared
| Type | Best for | Pros | Cons |
|---|---|---|---|
| Rigid PVC/plastic restraint | Patios and walkways, straight runs and gentle curves | Affordable, easy to cut, hidden below grade, widely available | Can lift if poorly spiked; needs flexible version for tight curves |
| Flexible notched plastic | Curves and circles | Bends to tight radii | Slightly less rigid on straight runs |
| Aluminum edging | Clean modern lines, driveways, heavy use | Strong, slim, rust-free, holds straight lines well | Higher cost, needs a hacksaw to cut |
| Steel edging | Long straight runs, landscape borders | Very strong; some powder-coated or Corten styles | Plain steel can rust; heavier |
| Concrete haunch (troweled) | Patios and walkways where edges stay hidden | Permanent, low cost per foot | Can crack in freeze-thaw if too thin; hard to remove |
| Precast curb or soldier course in concrete | Driveways, visible borders | Very strong, decorative border | Most labor; requires mixing and setting concrete |
Plastic restraint
Most DIY and many professional installations use rigid plastic edge restraint, an L-shaped profile with a vertical face that sits against the pavers and a horizontal base flange with holes for spikes. It is designed to sit below the paver top so sod or mulch can grow over it and hide it. Flexible versions have notches cut in the flange so they bend around curves.
Aluminum and steel
Aluminum restraint has a similar L profile but is thinner and stiffer, so it holds dead-straight lines and resists heavier loads. Some homeowners prefer it on driveways and around permeable pavers. Steel landscape edging can also be used where it is designed for pavers, but plain steel will rust over time unless coated.
Concrete
A concrete haunch is a wedge of concrete troweled against the outside of the edge pavers, sloping down and away at roughly 45 degrees. It is common on walkways and patios where sod will cover the edge. A poured or precast concrete curb, or a soldier course of pavers set in concrete, is the most durable option for driveways and visible borders.
Before You Start: Base and Layout
- The compacted gravel base should extend at least 6 inches beyond the edge of the pavers on every unrestrained side, and more on driveways. Edging spikes need that firm base to grip.
- Lay out and cut all edge pavers first; edging goes against the final paver line.
- Plan where edging is not needed: along house foundations, existing concrete slabs, retaining walls and steps, the structure acts as the restraint.
- Have tools ready: 10-inch galvanized steel spikes (or the length the edging maker specifies), a small sledge or 3-lb hammer, a hacksaw or pruning saw for cutting, and a straightedge or string line.
How to Install Plastic or Aluminum Paver Edging
Step 1: Trim the bedding sand
Bedding sand should stop at the edge of the pavers. Scrape away any sand that extends beyond the outer row, down to the compacted base, so the edging flange sits directly on gravel, not on loose sand.
Step 2: Position the edging
Set the edging so its vertical face is snug against the side of the pavers and the flange points outward, away from the patio. Push it firmly against the pavers along the whole length; any gap lets pavers creep.
Step 3: Cut and join sections
Cut plastic with a hacksaw or fine-tooth saw. At corners, either cut the flange so one piece wraps the corner, or butt two pieces together and spike both ends. Join straight sections with the connectors supplied, or overlap by a few inches and spike through both.
Step 4: Spike it down
- Drive spikes through the flange holes about every 12 inches on straight runs.
- Every 8 inches or closer on curves.
- Always within a few inches of each end and at every joint and corner.
- Drive spikes straight down until the head seats firmly on the flange. Angled or half-driven spikes are a common reason edging lifts later.
Step 5: Sand, compact and backfill
With edging in place, sweep joint sand or polymeric sand into the joints, run a plate compactor with a protective pad over the pavers, and top up the sand. Then backfill outside the edging with topsoil, sod, mulch or gravel to cover the flange and hide the restraint. Our guide on how to lay pavers covers sanding and compaction in detail.
How to Install a Concrete Haunch Edge
- Lay and compact the pavers first, with the base extending at least 6 inches beyond the edge.
- Mix a stiff concrete or mortar mix; it should hold its shape when packed.
- Pack it against the edge pavers, starting about an inch below the paver top so sod or soil can cover it.
- Shape a sloped wedge running down and outward at about 45 degrees, roughly 4 to 6 inches wide at the base, sitting on the gravel base, not on soil.
- Keep concrete off the paver surfaces; wipe smears immediately with a damp sponge.
- Let it cure for a few days before backfilling and sanding joints.
Thin haunches crack and flake in freeze-thaw regions, so do not skimp on width. In cold climates, many installers prefer plastic or aluminum restraint because it flexes with frost movement.
Edging for Curves, Circles and Steps
- Use flexible notched plastic or aluminum designed to bend for curves, and increase spike frequency.
- For a circular fire pit patio, work around the circle, pushing the edging tight as you spike so it does not straighten between spikes.
- At steps and level changes, the step riser or wall serves as the restraint; edging is only needed where pavers meet soil.
Fixing Paver Edges That Have Already Spread
- Pull back the sod or soil along the edge to expose the base.
- Lift loose edge pavers, re-level the bedding sand and reset them tight.
- Tap the field back toward the edge with a rubber mallet to close open joints.
- Install restraint against the reset pavers, spike it, and re-sand the joints.
- If the base never extended past the edge, dig out and add compacted gravel before installing edging.
Choosing Edging by Project
- Backyard patio with lawn around it: rigid plastic restraint, hidden under sod.
- Curving garden path: flexible plastic or aluminum, spiked closely.
- Front walkway with crisp, modern lines: aluminum, or a soldier course of pavers set in concrete for a visible border. See how to build a paver walkway for the full build.
- Driveway: heavy-duty aluminum or a concrete curb, on a deeper base that extends well past the edge.
- Patio bordered by planting beds: plastic or aluminum restraint, then a separate bed edge to keep mulch and soil off the pavers.
Driveways and Permeable Pavers
Vehicle traffic puts far more sideways force on edge pavers than foot traffic. For driveways, use restraint rated for vehicular use, extend the compacted base at least 12 inches beyond the paver edge, and space spikes more closely, or choose a concrete curb. Permeable paver systems sit on open-graded stone rather than dense-graded base, which gives spikes less to grip. Manufacturers of permeable systems typically recommend concrete curbs or heavy-duty restraint with longer spikes; follow their installation guide for edge details, because the right restraint varies by system.
Paver Edging vs Landscape Edging
Paver restraint holds pavers in place. Landscape edging separates lawn from beds and keeps grass from creeping into mulch. They are different products, and decorative bed edging will not hold a patio together. If you also want a defined bed line next to your patio, install both; our guide on how to install landscape edging covers the bed side.
Common Mistakes to Avoid
- Spiking into soil instead of the compacted base
- Leaving gaps between edging and pavers
- Using too few spikes, especially on curves and at ends
- Setting edging on top of bedding sand
- Leaving edging exposed above grade, where mowers and trimmers catch it
- Skipping edging along a “temporary” side that ends up permanent
Edging is a small part of the overall budget but a big part of how long a patio stays tight and level; our paver patio cost guide shows where it fits. For more hardscape projects, visit the landscaping and hardscaping hub, or find local installers through our services directory.
Frequently Asked Questions
Do pavers really need edging?
Yes, on every side not held by a structure. Without edge restraint, outer pavers creep outward, joints open, and the edge row sinks or tips over time.
How far apart should paver edging spikes be?
About every 12 inches on straight runs and every 8 inches or closer on curves, plus at each end, joint and corner. Follow the edging maker’s guidance if it differs.
Should paver edging go on top of the sand or the gravel?
On the compacted gravel base. Trim bedding sand back to the paver edge so the flange sits on firm gravel and spikes grip properly.
Is plastic or aluminum paver edging better?
Plastic is cheaper and fine for most patios and walkways. Aluminum is stiffer and slimmer, holds straight lines better, and suits driveways and heavy-use areas.
Can I add edging to an existing paver patio?
Yes. Expose the edge, reset any loose pavers tight, add base gravel if needed, then install and spike the restraint and re-sand the joints.