

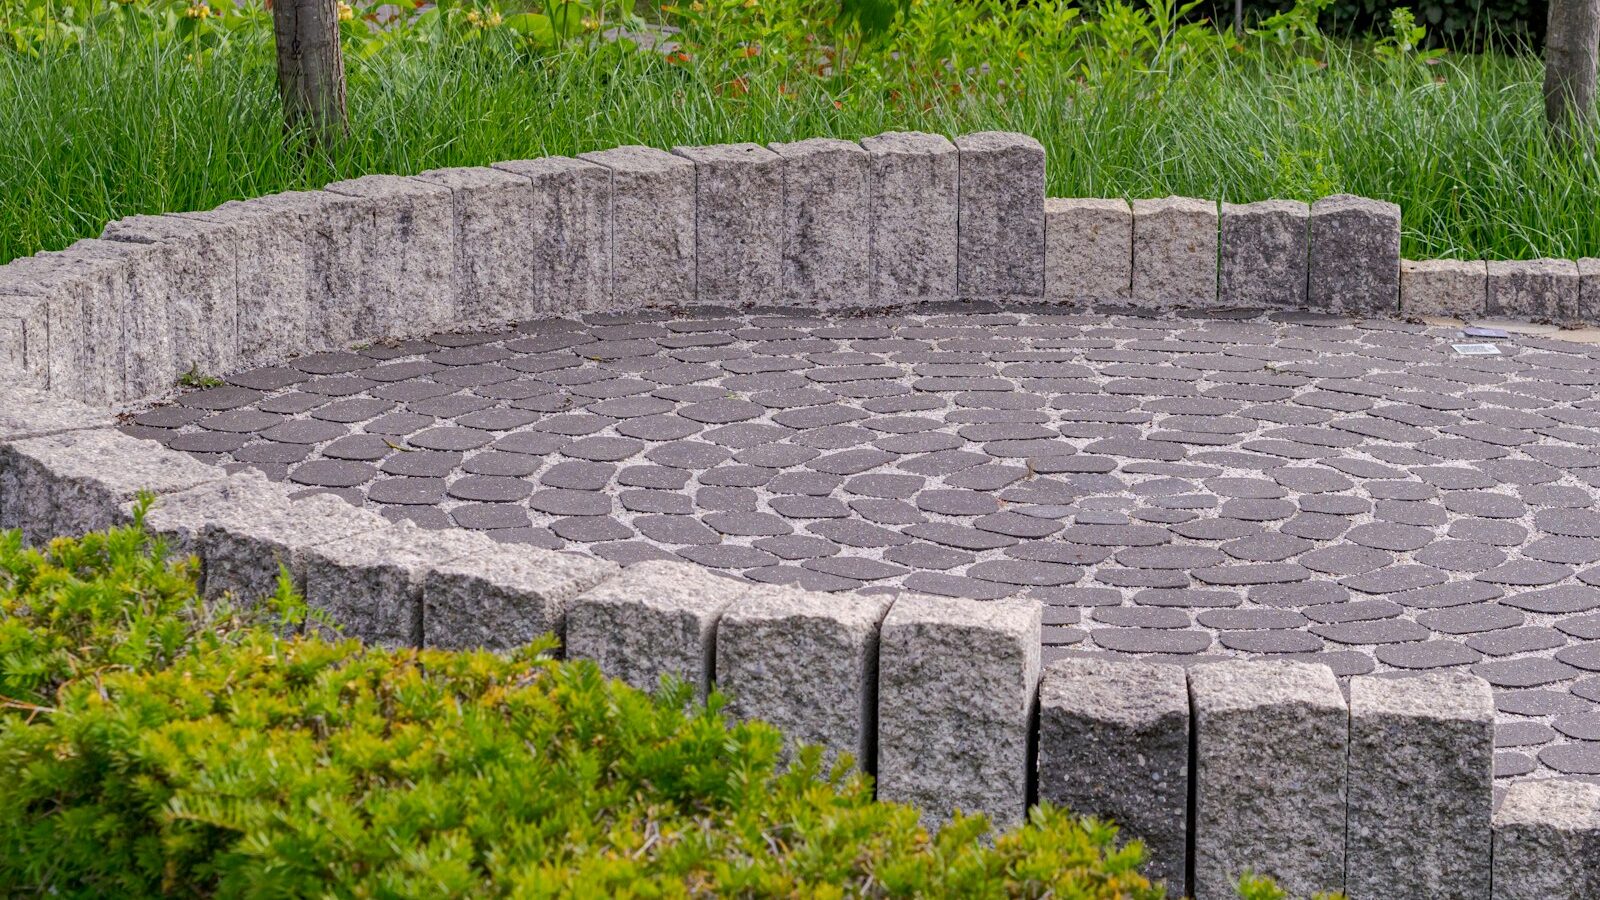
A paver patio is one of the most satisfying weekend-plus projects you can tackle in your own backyard. Done right, it gives you a level, durable outdoor floor for dining, lounging, or entertaining, and it can add real value to your home. The good news is that you don’t need to be a mason to build one. With a solid base, a little patience, and the right tools, a determined DIYer can lay a beautiful patio that lasts for decades. This guide walks you through how to build a paver patio from first stake to final sweep, including planning, the step-by-step build, how to estimate materials, and the mistakes that trip up beginners.
Some links in this article are affiliate links. As an Amazon Associate we earn from qualifying purchases, at no extra cost to you.
Key Takeaways
- The base is everything. A well-compacted gravel and sand base does more for longevity than the pavers themselves.
- Plan for drainage with a slope of about 1 inch of fall for every 4 to 8 feet, running away from your house.
- Always call before you dig (811 in the US) to locate buried utilities before excavating.
- Edge restraints and polymeric sand lock everything in place and stop pavers from shifting over time.
- Measure carefully and buy roughly 10% extra pavers to cover cuts, breakage, and future repairs.
Tools & Materials You’ll Need
Gather everything before you break ground so you aren’t running to the store mid-project. Here’s the core kit for a standard paver patio.
- Pavers in your chosen style, plus about 10% extra
- Crushed gravel (3/4-inch road base or paver base) for the sub-base
- Coarse bedding sand for the leveling layer
- Polymeric sand for the joints
- Edge restraints (plastic or metal) and spikes
- Landscape fabric (optional, to suppress weeds and separate soil from gravel)
- Plate compactor (rentable) for compacting the base and seating pavers
- Shovel, hard rake, and wheelbarrow for moving and spreading material
- Two screed pipes or rails and a screed board
- Hand tamper for tight spots the plate compactor can’t reach
- Rubber mallet for seating pavers without chipping them
- Long level and string line for checking grade and slope
- Tape measure, marking paint, and wooden stakes
- Masonry saw or angle grinder with a diamond blade for cutting
- Push broom for sweeping sand into the joints
- Safety gear: work gloves, knee pads, safety glasses, and a dust mask
Planning & Layout
Smart planning is what separates a patio that looks professional from one that sags and puddles. Spend real time here before you touch a shovel.
Size and shape
Decide how you’ll use the space. A small bistro setup needs far less room than a full dining table plus a lounge area. Sketch the footprint on paper, then mark it out in the yard with stakes and string so you can see the real dimensions. Try to size your layout so it works with whole pavers where possible, which reduces cutting and waste. A simple square or rectangle is the most beginner-friendly shape.
Slope for drainage
Water must drain off the patio, not pool on it or run toward your foundation. Build in a gentle slope of roughly 1 inch of drop for every 4 to 8 feet of length, pitched away from the house. Set your string lines to this grade from the start so every layer below the pavers follows the same fall. Check it constantly with a level as you work.
Call before you dig
Before any excavation, call 811 (the national “Call Before You Dig” number in the US) to have buried gas, electric, water, and communication lines marked for free. Hitting a utility line is dangerous and expensive. Make this call several days ahead so the locating service has time to come out. While you’re planning, check whether your municipality requires a permit for a patio of your size.
Free, no-obligation quote · Connect with a local pro
The Step-by-Step Build
With your layout marked and utilities located, you’re ready to build. Work methodically through these stages and don’t rush the base.
- Mark and excavate. Outline the patio with marking paint and string. Dig out the area to the depth of your pavers plus the base layers, typically around 7 to 11 inches total depending on soil and use. Keep the bottom of the excavation following your planned slope.
- Lay and compact the gravel base. Add landscape fabric if using, then spread crushed gravel in 2-inch lifts. Compact each lift thoroughly with the plate compactor before adding the next. A typical base is 4 to 6 inches of compacted gravel. This step is the foundation of the whole project, so don’t skimp.
- Add and screed the bedding sand. Lay your screed pipes on the compacted gravel at the correct grade, pour coarse sand over them, and drag the screed board across the pipes to create a smooth, level 1-inch sand layer. Carefully remove the pipes and fill the gaps. Don’t walk on the screeded sand.
- Lay the pavers. Starting from a straight edge or corner, set each paver straight down onto the sand in your chosen pattern, keeping consistent joints. Tap each one gently with a rubber mallet. Work outward and avoid sliding pavers, which drags sand and ruins your level surface.
- Cut edges. Where pavers meet a curve or border, mark and cut them with a masonry saw or angle grinder fitted with a diamond blade. Wear eye protection and a dust mask, and cut outdoors away from the bedding sand.
- Install edge restraints. Secure plastic or metal edge restraints tight against the outer pavers and anchor them with spikes driven into the compacted base. Restraints stop the perimeter pavers from creeping outward over time.
- Sweep in polymeric sand. Spread polymeric sand over the surface and sweep it into the joints until they’re full. Sweep off every bit of excess from the paver faces, then use a leaf blower on low to clear dust before activating.
- Compact and seal. Run the plate compactor over the pavers (use a protective pad or mat) to seat them and settle the joint sand, topping up sand as needed. Lightly mist the joints with water per the polymeric sand instructions to set them. Once fully cured and dry, apply a paver sealer if desired for added protection and color.
Estimating How Many Pavers You’ll Need
Estimating materials keeps your budget and your trips to the supplier under control. The math is simple once you break it into steps.
- Find your patio area. Multiply length by width in feet. A 12 by 10 foot patio is 120 square feet.
- Find each paver’s area. Measure one paver in inches, multiply length by width, then divide by 144 to convert to square feet. A 6 by 9 inch paver covers 54 ÷ 144, or about 0.375 square feet.
- Divide patio area by paver area. 120 ÷ 0.375 equals 320 pavers.
- Add about 10% for cuts and breakage. 320 × 1.10 is 352 pavers. Round up and keep a few spares for future repairs.
For the base, estimate gravel and sand by volume: area in square feet multiplied by the depth in feet gives cubic feet, which you can convert to cubic yards (divide by 27) when ordering in bulk. Many local suppliers and home centers offer online calculators that do this for you once you enter your dimensions.
Common Mistakes to Avoid
- Skimping on the base. Too little gravel or poor compaction leads to sinking and ruts. This is the number one cause of failed patios.
- Forgetting the slope. A perfectly flat patio traps water and can channel it toward your house.
- Not compacting in layers. Compacting one thick layer of gravel never works; build it up in thin lifts.
- Skipping edge restraints. Without them, the outer pavers spread and the whole field loosens.
- Using the wrong sand. Fine play sand washes out of joints; use coarse bedding sand below and polymeric sand in the joints.
- Leaving polymeric haze. Failing to sweep and blow off the dust before wetting leaves a cloudy film on the pavers.
- Not calling 811. Excavating blind risks hitting a utility line.
Looking for more ways to transform your space? Browse our outdoor living ideas and the full outdoor living collection, or get inspired with small backyard ideas if you’re working with limited space.
Free, no-obligation quote · Connect with a local pro
Frequently Asked Questions
How much does a DIY paver patio cost vs hiring?
Doing it yourself usually saves a significant amount because you’re only paying for materials and tool rental rather than labor. Hiring a professional installer typically costs more per square foot since it includes skilled labor, equipment, and a warranty. The exact figures vary widely by region, paver choice, and patio size, so get a couple of local quotes and compare them against a materials list for your own design before deciding.
How long does it take to build a paver patio?
A modest patio is often a one to two weekend project for a DIYer working at a steady pace. Excavation and base preparation take the most time and effort, while laying the pavers tends to go faster once the base is right.
Do I really need a plate compactor?
Yes, for anything beyond a tiny area. Proper compaction of the gravel base is what prevents future sinking and shifting. A hand tamper works for very small spaces, but renting a plate compactor for a day is well worth it for a patio.
Do I need to seal my paver patio?
Sealing is optional but helpful. A quality sealer can deepen color, resist stains, and lock joint sand in place. If you choose to seal, wait until the pavers and polymeric sand are fully cured and the surface is clean and dry.
Can I lay pavers directly on dirt or grass?
No. Pavers laid straight on soil or sod will sink, heave, and grow weeds. A compacted gravel and sand base is essential for a stable, long-lasting patio.
Ready to break ground, or decide it’s a job for the pros? Either way, our network of patio & paving pros can help you get it done right.
Featured project by Gensou Aquascaping
Rather hire a pro?
Tell us about your project and we’ll connect you with a trusted local patio installer for a free quote.