

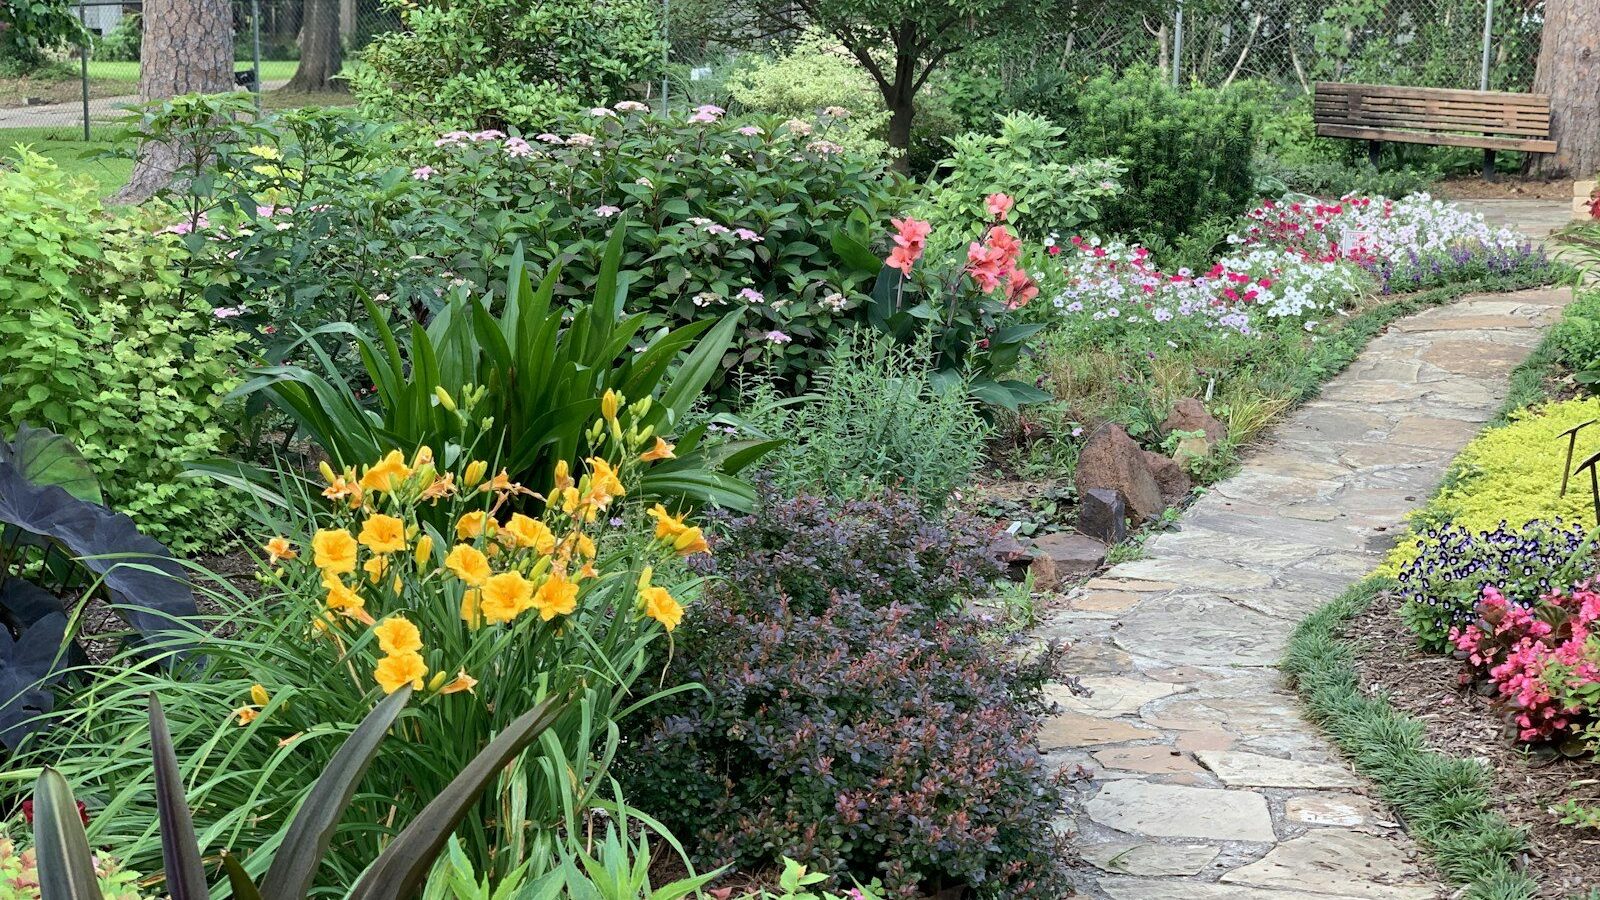
A paver walkway is one of the most satisfying weekend hardscape projects a homeowner can take on, and it is well within reach if you respect the part that does all the real work: the base. Most failed paver paths fail for the same reasons, namely too little compacted gravel underneath, no slope to shed water, or no edge restraint to hold the pavers in place. Get those three things right and a properly built walkway will stay flat and level for decades. This guide covers the full build from layout to the final joint sand, with the depths, slopes, and measurements you need, so you can order the right amount of material and avoid the rework that comes from guessing.
Key Takeaways
- Excavate about 7 to 9 inches deep for a walkway: 4 to 6 inches of compacted gravel base, 1 inch of bedding sand, plus the paver thickness.
- Slope the path away from the house at roughly 1/4 inch per foot so water drains and never pools.
- Compact the gravel base in 2-inch lifts with a plate compactor; this single step prevents most settling.
- Use rigid edge restraint spiked into the base to lock the outer pavers and stop the path from spreading.
- Sweep in polymeric joint sand and compact again to lock pavers together and resist weeds and washout.
Tools and Materials
Tools
- Spade and a flat shovel, plus a wheelbarrow
- Plate compactor (rent one for the day; essential, not optional)
- 4-foot level and a longer straight 2×4 as a screed
- Rubber mallet, masonry chisel and a hand tamper
- Mason’s line, stakes, marking paint and a tape measure
- Two lengths of 1-inch outside-diameter electrical conduit or PVC pipe to use as screed rails
- A masonry saw or angle grinder with a diamond blade for cuts
- Push broom, knee pads, work gloves and eye protection
Materials
- Concrete pavers in your chosen size (common walkway widths are 3 to 4 feet)
- Crushed gravel base material, sometimes sold as Class 5, paver base, or 3/4-inch minus, for a 4 to 6 inch compacted layer
- Coarse bedding sand (concrete sand), for a 1-inch screeded layer
- Polymeric joint sand to fill the gaps between pavers
- Landscape fabric (optional but recommended over soft or clay soils)
- Rigid plastic paver edge restraint plus 10-inch landscape spikes
To estimate quantities, calculate the walkway area in square feet. For the gravel base, one cubic yard covers about 80 square feet at 4 inches deep, so a 4-foot by 30-foot path (120 sq ft) needs roughly 1.5 cubic yards of gravel. Add 10 percent for compaction loss. Bedding sand at 1 inch deep covers about 300 square feet per cubic yard.
Step 1: Lay Out and Mark the Path
Decide the route and width. A path for one person can be 3 feet wide; for two people walking side by side or for a main entry, go 4 feet. Use stakes and mason’s line to mark both edges, or spray marking paint along the borders. Gentle curves look natural and are easy to lay with rectangular pavers; tight curves require more cutting. Before you dig, call 811 (or your local utility locating service) to mark buried lines. It is free and required.
Step 2: Excavate to the Right Depth
Add up your layers to find the dig depth. A typical walkway is: 4 to 6 inches compacted gravel + 1 inch bedding sand + paver thickness (commonly about 2 3/8 inches). That totals roughly 7 to 9 inches of excavation. Dig a few inches wider than the finished path on each side so the edge restraint sits on solid compacted base, not loose fill. Keep the bottom of the excavation as even as you can, and check that it follows the slope you want, sloping away from any structure.
Step 3: Establish Slope and Compact the Subgrade
Water management is the whole game. Set the path to drain by sloping it about 1/4 inch per foot. For a path running away from the house, slope it lengthwise down and away; for a path running parallel to the house, give it a slight cross-slope. Tie a string line between stakes at the finished height and use a line level or measure down from the string to confirm the drop. Once the subgrade is graded, run the plate compactor over the bare soil to firm it up. Lay landscape fabric over the compacted subgrade if your soil is soft or clay-heavy; it keeps the gravel from migrating down into the mud.
Step 4: Build and Compact the Gravel Base
This is the most important step and the one most DIYers shortchange. Spread the gravel in thin lifts of about 2 inches, compacting each lift fully before adding the next. Compacting one thick layer does not work; the bottom stays loose and the path settles later. Lightly misting the gravel with water helps it lock together. Build up to your full compacted base depth of 4 to 6 inches, maintaining the slope you set in the subgrade. After the final lift, the base should be firm enough to walk on without leaving footprints, and a straightedge laid across it should sit flat with no rocking.
Step 5: Screed the Bedding Sand
Lay your two screed rails (the conduit) on top of the compacted base, parallel and spaced a bit less than your screed board’s length, set to maintain the slope. Pour coarse bedding sand between them and pull the straight 2×4 across the rails to strike off a smooth, even 1-inch layer. Do not compact the sand and do not walk on the screeded surface. Work backward so you don’t disturb the bed you just leveled. Screed only the area you can pave before you need to move the rails; carefully fill the rail grooves with sand as you go.
Step 6: Lay the Pavers
Start at one end, ideally a fixed edge like a patio or step, and set pavers in your chosen pattern, lowering each one straight down into place rather than sliding it, which would plow the sand. Keep joints tight and consistent; small spacer nubs on some pavers set the gap automatically. Tap each paver gently with the rubber mallet to seat it, and check level and slope frequently with the 4-foot level. Work off plywood or kneel on already-laid pavers to avoid denting the sand bed. Run a mason’s line along the edge to keep your lines straight as you advance.
Step 7: Cut the Edge Pavers
For curves and the ends of rows, you will need cuts. Lay the full pavers first, then measure and mark the partial pieces, allowing for the joint gap. Cut with a masonry saw or an angle grinder fitted with a diamond blade, wearing eye and hearing protection and a dust mask. Wet-cutting controls dust and prolongs the blade. Set the cut pieces in place; avoid slivers narrower than about a third of a paver, as they crack and pop loose over time.
Step 8: Install Edge Restraint
Edge restraint is what stops the outer pavers from creeping outward and the whole path from spreading and developing gaps. Snug the rigid plastic restraint against the outside face of the perimeter pavers, sitting on the gravel base, and drive 10-inch landscape spikes through it into the compacted base every 12 inches or so. For curves, the restraint has notched sections that flex. Backfill soil or sod over the restraint so it disappears.
Step 9: Joint Sand and Final Compaction
With everything laid and edged, do a first compaction pass over the pavers with the plate compactor (a protective pad or thin plywood under the plate prevents scuffing) to seat them into the sand bed. Then spread polymeric joint sand over the surface and sweep it diagonally into every joint, filling them completely. Run the compactor again to vibrate the sand down, top off any joints that settle, and sweep until the paver faces are clean of sand. Following the polymeric sand bag instructions, lightly mist the joints with water in stages to activate the binders; do not flood it. Once cured, the joints harden, locking the pavers together and resisting weeds and washout.
Maintenance and Troubleshooting
A well-built paver walkway needs little upkeep. Sweep it, rinse it occasionally, and re-apply polymeric sand every few years if joints erode. If a paver settles or heaves, the fix is simple because the system is not mortared: pry up the affected pavers, add or remove bedding sand to correct the level, reset, and re-sand the joints. Persistent low spots that hold water almost always trace back to a base that was not compacted in lifts, which is why Step 4 matters so much.
If you are tackling several outdoor projects, the same base-and-slope principles carry over to patios and other hardscape. Browse related how-tos in the Outdoor Living hub, and if your path runs through planting beds, pair it with the layering ideas in our fence line landscaping guide or soften it with edging plants from our gravel garden ideas.
Frequently Asked Questions
How deep should I dig for a paver walkway?
Dig about 7 to 9 inches. That accommodates a 4 to 6 inch compacted gravel base, a 1-inch bedding sand layer, and the thickness of the pavers (commonly around 2 3/8 inches). For heavy traffic or poor soil, lean toward the deeper end of the base range.
Do I really need a plate compactor?
Yes. Compacting the gravel base in 2-inch lifts is the single most important step for a path that stays flat. A hand tamper cannot generate enough force on anything but the smallest project. Rent a plate compactor for the day; it is inexpensive and prevents settling.
What slope should a walkway have?
About 1/4 inch of fall per foot, always directed away from the house and any structure. This sheds water without being noticeable underfoot. Set the slope into the subgrade and carry it through every layer up to the pavers.
Can I lay pavers directly on dirt or sand alone?
No. Pavers set on bare soil or sand without a compacted gravel base will sink, shift and heave with frost. The gravel base spreads the load and provides drainage; skipping it is the most common reason DIY paths fail within a year or two.
What kind of sand goes between pavers?
Use polymeric joint sand, which contains binders that harden when misted with water. Swept into the joints and compacted, it locks the pavers together and strongly resists weeds and washout. Regular play sand washes out and lets weeds in.