

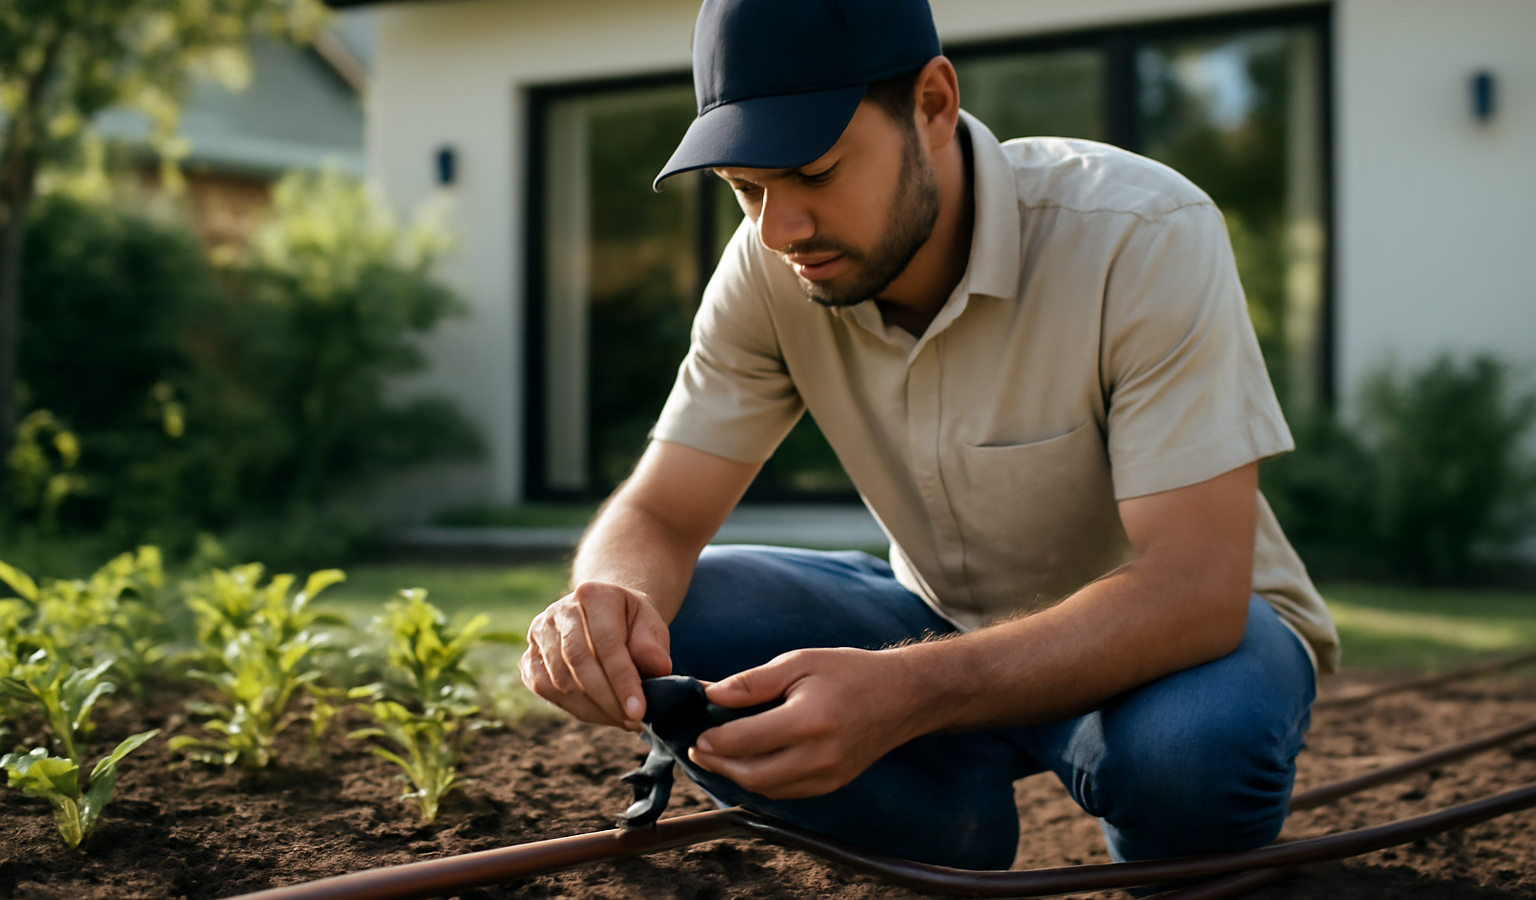
Drip irrigation delivers water slowly and directly to the root zone, cutting water use by 30 to 50 percent compared with overhead sprinklers while keeping foliage dry and weeds down between rows. A home system is genuinely a weekend project: the components push and snap together without glue or special tools, and a single hose-bib connection can run a 20-by-30-foot vegetable plot or a long perennial border. Below is the full install, from sketching the layout through flushing the lines and dialing in a timer, with the parts list and numbers you actually need.
Key Takeaways
- Always install in this order at the spigot: backflow preventer, then filter, then pressure regulator (25–30 PSI), then adapter to tubing.
- Use 1/2-inch poly tubing for the mainline and 1/4-inch microtubing or emitter line for the branches to each plant.
- Match emitter flow to soil: 0.5 GPH for clay, 1 GPH for loam, 2 GPH for sandy soil.
- Space inline-emitter dripline 12 inches apart for veg beds; use individual emitters for spaced shrubs and pots.
- Flush the open ends before capping, and run a timer for longer, less frequent cycles.
How a Drip System Is Laid Out
Every drip system follows the same skeleton. Water leaves the hose bib (outdoor faucet) and passes through a small control assembly that protects the system and drops the pressure. From there it travels along a 1/2-inch polyethylene mainline that you route around the perimeter or down the center of your beds. Off that mainline you tap branch lines—either 1/4-inch microtubing running to individual emitters at each plant, or pre-spaced inline emitter tubing (dripline) laid in rows. The far ends are closed with figure-8 end clamps or fold-over crimps.
Before you buy anything, sketch the garden on paper and measure it. Walk off the perimeter, note where each bed or container sits, and count your plants by type. A drip system has real limits: a standard 1/2-inch line at 25 PSI comfortably carries about 200 GPH, which translates to roughly 200 one-GPH emitters or about 200 feet of 1-GPH dripline on a single zone. If your garden is larger than that, split it into two zones with a manifold and run them at separate times rather than starving the whole system.
Decide your branch strategy bed by bed. Densely planted vegetable rows and salad beds want continuous inline dripline so the whole root zone wets evenly. Spaced plantings—tomatoes a couple feet apart, individual shrubs, a row of containers—are better served by 1/4-inch microtubing running to a button emitter or adjustable dripper at each plant. Mixing both styles on one mainline is completely normal.
Parts You’ll Need
The head assembly (at the faucet)
- Backflow preventer – keeps soil and fertilizer from being siphoned back into your drinking water; required by code in most areas.
- Filter – a 150- to 200-mesh screen filter traps grit that would clog emitters. This is the single most important part for longevity.
- Pressure regulator – drip components are rated for low pressure. A fixed 25 or 30 PSI regulator protects them; household pressure of 50–80 PSI will blow fittings apart.
- Tubing adapter – a swivel fitting that threads onto the regulator and accepts 1/2-inch poly tubing.
- Optional timer/controller – battery hose-bib timer or a multi-zone controller.
Distribution
- 1/2-inch poly tubing for the mainline (sold in 100- and 500-foot rolls).
- 1/4-inch microtubing and emitters (button, adjustable, or pressure-compensating) for branch runs.
- Inline emitter dripline (e.g., 12-inch spacing) for solid bed coverage.
- Fittings: tees, elbows, couplers, and 1/4-inch barbed connectors.
- Stakes to hold tubing in place and end caps/clamps to close runs.
- A punch tool for making clean holes in the 1/2-inch line.
Step-by-Step Installation
1. Build the head assembly
Thread the components onto the hose bib in this exact order, hand-tight: backflow preventer, then filter, then pressure regulator, then the tubing adapter. Order matters—the filter must sit ahead of the regulator and emitters so debris is caught before it reaches anything that clogs. If you’re using a hose-bib timer, it goes first, right on the faucet, before the backflow preventer.
2. Roll out and route the mainline
Let the 1/2-inch tubing sit in the sun for 15–20 minutes first; warm tubing relaxes, pushes onto fittings far more easily, and lies flat instead of coiling. Run the mainline from the adapter along your planned route—around the bed perimeter or straight down the middle. Hold it down with stakes every 4–6 feet, and use elbows at sharp corners and tees wherever you need to branch. Avoid bending tubing so tightly that it kinks and pinches off flow.
3. Lay dripline and install emitters
For solid beds, run inline emitter dripline back and forth across the bed in rows 12–18 inches apart, connecting each row to the mainline with tees or 1/4-inch connectors. For spaced plants, use the punch tool to make a hole in the 1/2-inch line, push in a 1/4-inch barbed connector, run microtubing to the plant, and finish with an emitter at the base. Choose emitter flow by soil type: 0.5 GPH for clay (which absorbs slowly and would otherwise puddle), 1 GPH for loam, and 2 GPH for sandy soil that drains fast. Put one emitter on small plants and two to three around the drip line of larger shrubs and tomatoes.
4. Flush, then cap the ends
Before you close anything, turn the water on and let it run hard through the open ends for a minute or two. This flushes out manufacturing debris and the dirt that inevitably got in during assembly—skip it and that grit lodges in your emitters within a week. Once the water runs clean, close each run with a figure-8 clamp or fold the end over and slip on a crimp ring.
5. Test and adjust
Run the full system and walk every line. Look for emitters that aren’t dripping (usually a clog or a missed punch), fittings that spray (push them on harder or trim a clean tubing end), and dry spots that need another emitter. Set adjustable drippers so each plant gets a slow, steady output rather than a stream.
Common Mistakes to Avoid
A few errors trip up nearly every first-time installer, and knowing them in advance saves a frustrating afternoon. The most common is skipping the pressure regulator—people connect 1/2-inch tubing straight to the hose bib, turn the water on full, and watch fittings pop off like champagne corks. Drip is a low-pressure system; respect that and everything stays seated.
The second mistake is overloading a single zone. Add up your emitters: if their combined flow exceeds roughly 200 GPH on a 1/2-inch line, the emitters farthest from the faucet will dribble or stop entirely because pressure drops along the run. The fix is to split the garden into two zones fed by a manifold and run them at different times, or to use pressure-compensating emitters that deliver the same output regardless of their position on the line. Pressure-compensating emitters cost a little more but are worth it on long runs and any sloped ground, where elevation changes otherwise starve the uphill plants and flood the downhill ones.
Third, gardeners forget to plan for plant growth. A tomato seedling needs one emitter; a six-foot tomato in August has a root zone two feet across and wants two or three. Lay your system out for mature plants from the start, or at least leave the mainline accessible so you can punch in more emitters mid-season. Finally, don’t run 1/4-inch microtubing for long distances—it’s meant for short branch runs of a few feet. Push it past 25–30 feet and friction loss starves the far end; use 1/2-inch line as your backbone and keep the small tubing short.
One more for hilly gardens: always run the mainline across the slope (along the contour) where you can, rather than straight up and down it. Combined with pressure-compensating emitters, contour routing keeps output even from the top of the bed to the bottom.
Watering Schedule and Maintenance
Drip rewards long, infrequent cycles. A good starting point for a vegetable bed in summer is 30–45 minutes, two or three times a week, adjusting up in heat and down after rain. Because output is measured in gallons per hour, a 1-GPH emitter running 45 minutes delivers only about 0.75 gallon—so run times feel long compared with a sprinkler. Dig down a few inches after a cycle to confirm moisture is reaching the root zone rather than just darkening the surface.
Maintenance is light but not zero. Clean the filter screen monthly during the growing season. Flush the mainline a couple of times a season by opening the end caps. In freezing climates, drain the system before winter and bring the timer, backflow preventer, and regulator indoors. If you fertilize through the line (fertigation), flush with clear water afterward so salts don’t crust over the emitters. A well-built drip system pairs naturally with smart watering habits—see our guide on cover crop vs. mulch for protecting soil to cut evaporation further, and browse the Outdoor Living hub for more landscape projects. If you’re capturing rainwater, you can feed a gravity drip line from a DIY rain barrel.
Frequently Asked Questions
Do I really need a pressure regulator?
Yes. Drip fittings are rated for roughly 25–30 PSI, while household water pressure runs 50–80 PSI. Without a regulator the higher pressure blows tubing off fittings and ruptures emitters. A fixed 25 or 30 PSI regulator is a few dollars and protects the whole system.
How long should drip irrigation run?
Longer than a sprinkler—typically 30–60 minutes per cycle, two to three times a week for vegetables. Because emitters output gallons per hour, you need extended run times to move enough water into the root zone. Check soil moisture a few inches down and adjust from there.
Can I run drip irrigation off a rain barrel?
Yes, but gravity provides very low pressure, so you’ll need pressure-compensating emitters rated for low pressure (or specialty gravity-feed drip kits) and the barrel raised on a stand. Standard pressure-regulated emitters won’t drip reliably on gravity alone.
Why are my emitters clogging?
Almost always grit getting past a missing or dirty filter, or mineral scale in hard water. Install a 150–200 mesh filter, flush the lines a couple times a season, and clean the filter screen monthly. For hard water, pressure-compensating emitters resist clogging better.
Can I bury drip tubing?
You can cover 1/2-inch mainline lightly with mulch to hide it and reduce UV degradation, but don’t bury emitter dripline deeply—you can’t inspect it for clogs and roots can intrude. Subsurface drip exists but uses purpose-built root-resistant tubing.