

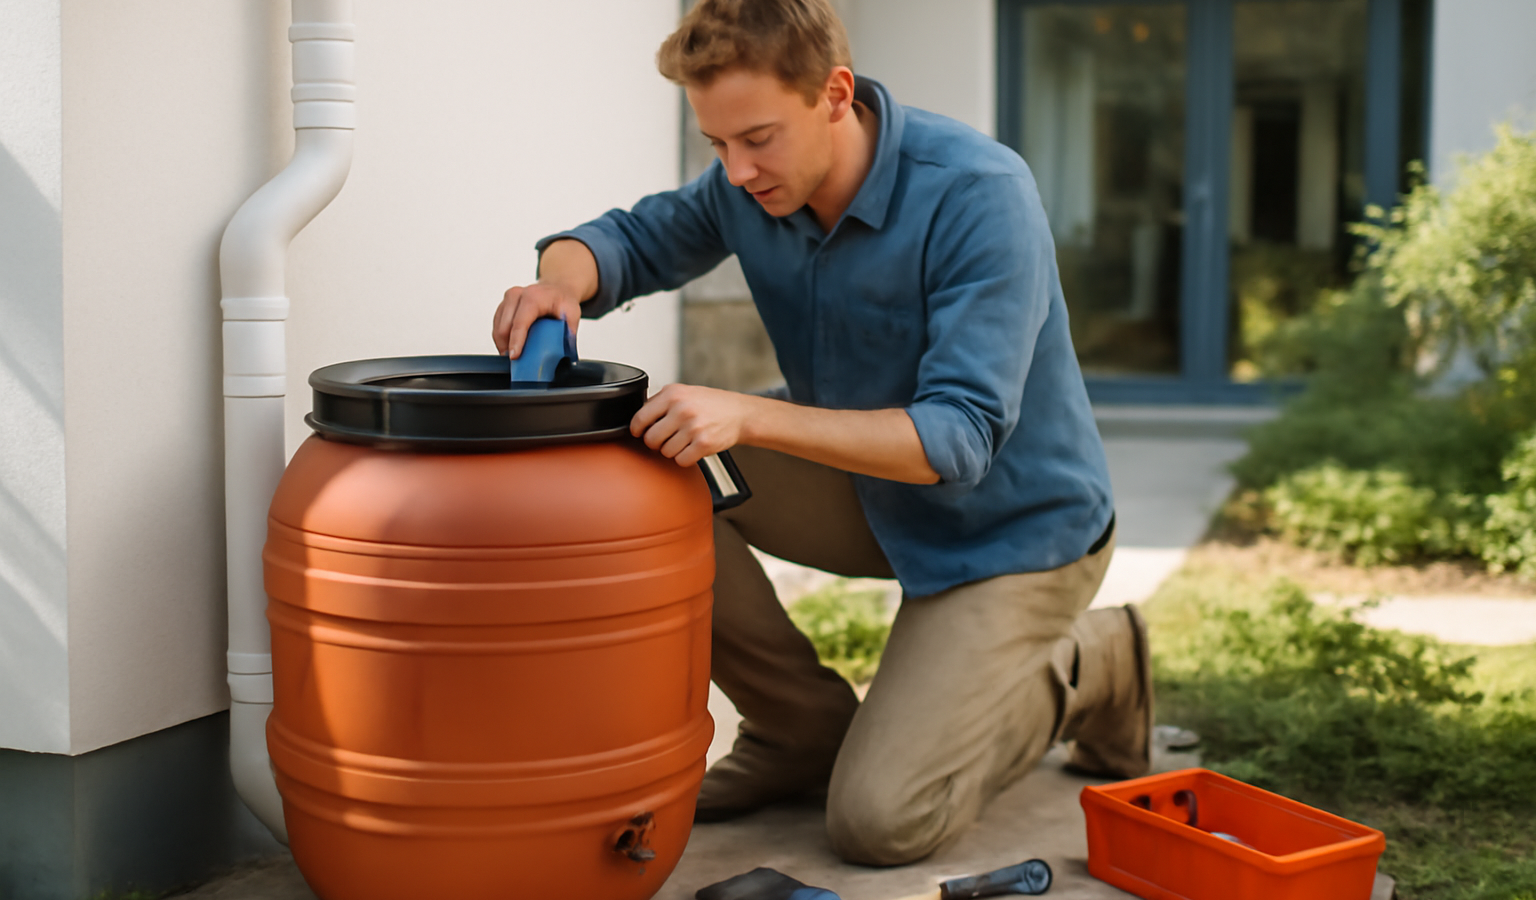
A single inch of rain on a 1,000-square-foot roof sheds about 600 gallons of water—most of which rushes off your downspout and into the storm drain. A rain barrel captures a slice of that runoff for the garden, cuts your municipal water bill, and gives plants the soft, chlorine-free water they prefer. You can build a solid 55-gallon barrel in an afternoon with a food-grade drum, a hose spigot, an overflow port, and a screen to keep mosquitoes and debris out. Here’s exactly how, including the two things most DIY barrels get wrong: overflow and mosquito control.
Key Takeaways
- Start with a clean food-grade 55-gallon plastic drum—never one that held chemicals or fuel.
- The spigot goes 2–4 inches from the bottom; raising the whole barrel on cinder blocks gives you gravity pressure and clearance for a watering can.
- An overflow port near the top is mandatory—it must be at least as large as the inlet to handle a downpour and route water away from the foundation.
- Cover every opening with fine mesh screen to block mosquitoes, leaves, and algae-feeding light.
- A downspout diverter is cleaner and safer than cutting the downspout open.
Materials and Tools
- 55-gallon food-grade plastic barrel (HDPE), ideally with a removable or solid top you can cut.
- 3/4-inch brass or plastic hose spigot (boiler drain or bibb) for the outlet.
- Bulkhead fittings or threaded adapters with rubber washers to seal the spigot and overflow.
- 1- to 1.5-inch overflow fitting plus a hose to route overflow away.
- Fine fiberglass or aluminum window screen (mosquito mesh) and a bungee or clamp ring.
- Downspout diverter kit (or a flexible elbow if you cut the downspout).
- Silicone sealant or thread tape, two or four cinder blocks for a stand.
- Tools: drill, hole saw or spade bits sized to your fittings, utility knife or jigsaw, marker, and an adjustable wrench.
Choosing the right barrel is the one decision you can’t fix later. Source a drum that previously held food products—vinegar, olives, syrup—from a restaurant supply, car wash, or online. Avoid any drum that contained industrial chemicals, pesticides, or petroleum; residue can leach into water you’ll later pour on edibles. Rinse a food-grade barrel thoroughly with mild soap and water before building.
Step-by-Step Build
1. Set the barrel height first
Decide where the barrel will sit and stack two to four cinder blocks for a level, stable base. Height matters: water pressure from a barrel comes purely from gravity—roughly 0.43 PSI per foot of height—so raising the barrel a foot or two off the ground gives you noticeably better flow and enough clearance to slide a watering can under the spigot. Make sure the blocks sit on firm, level ground; a full 55-gallon barrel weighs over 450 pounds and must not tip.
2. Install the spigot
Mark a spot 2–4 inches up from the bottom of the barrel—high enough that settled sediment stays below the outlet, low enough to drain most of the water. Drill a hole sized to your bulkhead fitting or threaded spigot. Thread the spigot in with a rubber washer on the inside and outside, wrap the threads with PTFE tape, and snug it down. If you’re using a bulkhead fitting, tighten the backing nut from inside the barrel. Add a bead of silicone around the fitting for insurance and let it cure.
3. Add the overflow port
This is the step amateur barrels skip, and it’s the most important one for protecting your house. Drill an overflow hole near the top of the barrel, an inch or two below the lid. Install a 1- to 1.5-inch fitting—it should be at least as large as your inlet so that during a hard rain, water leaves as fast as it enters and doesn’t back up into the downspout or spill against the wall. Attach a length of hose to the overflow and direct it well away from the foundation, ideally toward a garden bed, a rain garden, or a splash block at least 5 feet from the house. Uncontrolled overflow pooling at the foundation causes exactly the moisture problems good grading around a foundation is meant to prevent.
4. Cut the inlet and screen it
On the top of the barrel, cut an inlet opening to receive water from the downspout. If your barrel has a removable lid, you can screen the whole top; if it’s a closed drum, cut a 5- to 6-inch hole under where the downspout will feed. Stretch fine mosquito mesh over the opening and secure it with a bungee cord, hose clamp, or the lid ring. The screen does double duty: it blocks mosquitoes from laying eggs in standing water and filters out leaves, roof grit, and the debris that would otherwise clog your spigot.
5. Connect the downspout
The cleanest method is a downspout diverter: you cut a small section out of the downspout and snap in a kit that channels water into the barrel through a short hose, then automatically sends the rest down the spout once the barrel is full. The diverter has two advantages worth the few extra dollars—it self-regulates so the barrel never backs water up the spout, and most kits include a flap or screen that excludes the bulk of the leaves and grit before they reach your water. The alternative is to cut the downspout above the barrel and fit a flexible elbow that drops water straight onto the screened inlet—simpler and cheaper, but you must manually swing it aside when the barrel fills, or rely entirely on your overflow to handle the excess. Either way, make sure the connection sits directly over the screen so all the water is filtered going in.
If you have the option, put the barrel under a downspout that’s close to where you’ll actually use the water—dragging a watering can across the yard gets old fast. A spot near the vegetable beds or the most water-hungry containers makes the barrel something you reach for daily rather than a tank you forget about.
How Much Water Will You Actually Collect?
It’s worth doing the math before you build, because the numbers surprise most people. The formula is simple: every inch of rain that falls on 1,000 square feet of roof sheds about 600 gallons. You only need the footprint of the roof that drains to your chosen downspout, not the whole house. A modest 600-square-foot roof section under a single downspout still produces roughly 360 gallons per inch of rain—which means a single 55-gallon barrel fills and overflows in the first tenth of an inch of a storm. That’s not a failure of the barrel; it’s why the overflow has to work flawlessly, and why many gardeners chain two, three, or four barrels together to bank more of each rainfall. Even one barrel, refilled by every passing shower, can supply a surprising amount of a container garden or flower bed over a dry week.
Set expectations accordingly. A rain barrel is a supplement, not a whole-garden water supply. In a genuine drought it’ll sit empty between rains. Its real value is capturing the frequent small storms that would otherwise run straight to the storm drain, and giving you soft, unchlorinated water on hand the moment you need it.
Mosquito Control and Water Quality
Standing water is a mosquito nursery, so screening is non-negotiable—but check the mesh regularly, because a single torn corner is an open invitation. For extra protection, drop in a mosquito dunk (Bti, a bacterium harmless to plants, pets, and people) once a month during mosquito season; it kills larvae without making the water unsafe for the garden. Keep the barrel out of direct sun where practical, or use an opaque dark barrel, since sunlight feeds algae. Empty and rinse the barrel each fall before freezing weather to prevent a block of ice from cracking the plastic.
Use rain-barrel water on ornamentals, lawns, and around the base of vegetables freely. Many gardeners avoid spraying it directly on the edible parts of crops you’ll eat raw, simply because roof runoff can carry bird droppings and roofing residue—watering the soil rather than the leaves sidesteps the concern. Connect the spigot to a soaker hose or a low-pressure drip line and you’ve got a free, gravity-fed watering system; see our walkthrough on installing drip irrigation and the broader Outdoor Living hub for more water-wise projects.
Frequently Asked Questions
What kind of barrel is safe to use?
Use a food-grade HDPE drum that previously held food products like vinegar, juice, or olives. Never repurpose a barrel that contained chemicals, pesticides, or fuel—residues can leach into water you’ll put on plants. Rinse any barrel well before building.
How big should the overflow be?
At least as large as the inlet—typically 1 to 1.5 inches. During heavy rain, water enters fast, and an undersized overflow backs water up into the downspout or spills against the foundation. Route the overflow hose at least 5 feet away from the house.
How do I keep mosquitoes out?
Screen every opening with fine mesh so adults can’t reach the water to lay eggs, and inspect it often for tears. For backup, add a Bti mosquito dunk monthly during warm weather—it kills larvae and is harmless to plants, pets, and people.
How much pressure does a rain barrel give?
Only gravity pressure—about 0.43 PSI for every foot of barrel height. Raising the barrel on cinder blocks improves flow and lets you fit a watering can underneath, but it still won’t run a standard sprinkler. Pair it with a soaker hose or low-pressure drip emitters instead.
Can I link multiple rain barrels together?
Yes. Connect a second barrel to the first with a hose run between bulkhead fittings near the bottom, so they fill and drain in tandem. The overflow then moves to the last barrel in the chain. This is an easy way to scale capacity from 55 to 110-plus gallons.