

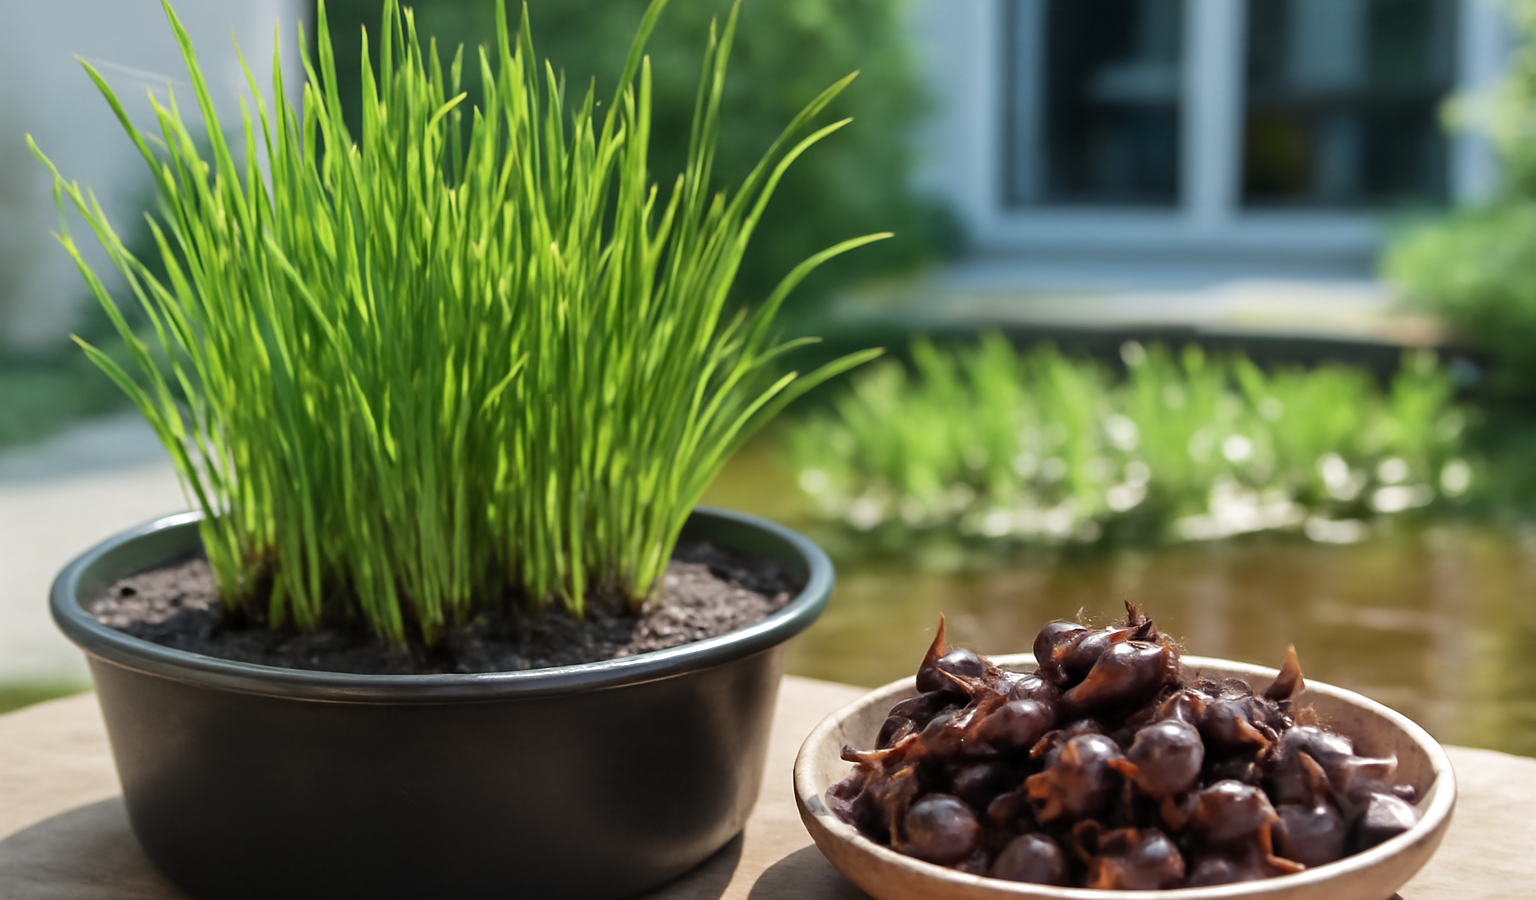
Chinese water chestnuts (Eleocharis dulcis) are not the spiny “water caltrop” you sometimes see floating in ornamental ponds — they are a grass-like sedge grown for the sweet, crunchy corms that hide in the mud at the base of the plant. If you have ever eaten a stir-fry and bitten into a slice that stayed crisp no matter how long it cooked, that was a water chestnut. The good news for home growers is that you do not need a paddy or a stream. A muck-bottomed tub, a kiddie pool, or a shallow margin of a garden pond will grow a respectable crop, as long as you can give the plants a long, warm season and keep their roots permanently flooded.
In this guide
- What Water Chestnuts Need (and What They Don’t)
- Sourcing Viable Corms
- Building a Container Paddy
- Managing Water Depth Through the Season
- Feeding a Hungry Crop
- The Long Wait and Corm Formation
- Harvesting Water Chestnuts
- Overwintering and Common Problems
- Frequently Asked Questions
- Featured project by Gensou Aquascaping
This guide walks through the whole cycle: sourcing viable corms, building a simple container paddy, managing water depth as the plants grow, feeding a hungry crop, and — the satisfying part — draining the tub in fall and digging out a haul of glossy brown corms. It is one of the more forgiving aquatic edibles, but it rewards patience, because the corms only bulk up in the last weeks of a roughly seven-month growing season.
Key Takeaways
- Grow water chestnuts from sprouted corms in a flooded, muck-filled container or shallow pond margin — no flowing water needed.
- They need a long, warm season of 7 months (210+ frost-free days) at 75–95°F; in cool climates start corms indoors and grow in dark containers that heat the water.
- Keep 2–4 inches of standing water over rich, muddy soil all season; the corms form 4–6 inches deep in the mud, not on the surface.
- Feed heavily — this is a hungry crop — and expect each planted corm to multiply into 30–100+ new corms by fall.
- Harvest after the foliage yellows and dies back in autumn: drain, dig the mud, and store the crisp corms cool and humid for weeks.
What Water Chestnuts Need (and What They Don’t)
Water chestnuts are a tropical-to-subtropical sedge, so the single biggest factor in success is heat over a long stretch of time. They want soil and water temperatures in the 75–95°F range and need roughly 210 frost-free days from planting to harvest. In USDA zones 9–11 you can grow them outdoors with no fuss. In zones 5–8 they are still very doable, but you have to bend the calendar: start the corms indoors in late winter, set the containers out only after nights stay reliably above 50°F, and use dark-colored tubs that soak up sun and warm the water.
What they do not need is moving or aerated water. Unlike watercress, which depends on cool flowing water, water chestnuts are happiest in still, warm, shallow flooding — much closer to a rice paddy than a stream. They also do not need deep water. Two to four inches of standing water over the soil is plenty; the plant photosynthesizes through its upright, tube-like green stems (it has no real leaves), and those stems need to stand well clear of the surface.
Give them full sun. Six hours is a minimum and eight or more is better — sun is what drives the heat and the carbohydrate that eventually packs into the corms. A shady corner will give you a thicket of green stems and almost no harvest.
Sourcing Viable Corms
You plant water chestnuts from corms — the same crunchy brown nuggets sold for cooking. The catch is that grocery corms are often old, cold-stored, or treated, and many simply will not sprout. Your best odds come from a fresh batch at an Asian grocer in late winter, or from a nursery that sells them specifically as planting stock. Look for corms that are firm, plump, and heavy for their size, with no soft spots, mold, or shriveling. A pointed bud or two at the top is a good sign.
To pre-sprout, set the corms pointed-end up in a shallow tray with about an inch of warm water, somewhere bright and warm (75–80°F). Change the water every couple of days so it does not go sour. Within two to three weeks you should see green shoots and a flush of white roots from the base. Sprouting first lets you cull the duds before they take up space in your paddy, and it gives a meaningful head start in short-season climates. Plan on planting two to four sprouted corms per square foot of container surface.
Building a Container Paddy
You do not need a pond. A watertight container 12 inches or more deep works beautifully and is easy to control. Good options include a half whiskey barrel with a liner, a mortar-mixing tub, a large storage tote, a galvanized stock tank, or even a child’s hard plastic wading pool. Bigger is better — surface area is what you harvest from, so a wide, shallow vessel beats a narrow, deep one. A 2-by-3-foot tub will feed a household.
Soil and Setup
Fill the bottom with 6–8 inches of heavy, rich soil. A loam or clay-loam garden soil amended with plenty of well-rotted compost or aged manure is ideal; avoid bagged potting mixes full of perlite and peat, which float and break down. Mix in a balanced granular fertilizer or a slow-release aquatic plant tab at planting to give the crop a strong start, then tamp the soil down firmly. Slowly add water until it stands 2 inches above the soil surface, and let the muck settle for a day before planting.
Press each sprouted corm 1–2 inches into the soft mud, shoot pointing up, spaced about 6–9 inches apart. If you are planting into a shallow pond margin instead of a tub, choose a spot where you can maintain a few inches of water over a muddy bottom and where the corms cannot wash away — water chestnuts can be aggressive spreaders, so a contained margin or a sunken pot keeps them from colonizing the whole pond. For more on managing planting beds and pond edges, see our broader water gardens and ponds guides.
Managing Water Depth Through the Season
Water depth is the main lever you adjust over the season, and the rule is simple: keep the soil flooded but keep the green stems standing tall. Start shallow. When you first plant the corms, only 1–2 inches of water over the soil is right, so the young shoots are not swamped and the dark mud warms quickly in the sun. As the stems grow taller, gradually raise the level to 3–4 inches. The water should never be so deep that it submerges more than the lower few inches of the stems.
From there it is mostly topping up. Shallow tubs lose a lot to evaporation in summer heat, so check the level every day or two and add water to keep it from dropping below the soil — the one thing you must never let happen is the mud drying out. Rainwater is fine. Tap water is fine too, though if yours is heavily chlorinated, letting it sit a day before adding helps. In hot weather a little algae on the surface is normal and harmless; if it gets thick, skim it so light still reaches the stems.
Feeding a Hungry Crop
Water chestnuts are heavy feeders, and a confined tub of soil runs out of nutrients faster than open ground. Beyond the fertilizer mixed in at planting, push them with a follow-up feeding roughly every four to six weeks through midsummer. Aquatic plant fertilizer tablets pressed into the mud are the cleanest option because they release at the roots and do not green up the water. A balanced or slightly nitrogen-forward formula early encourages lush stems; easing off heavy nitrogen in the back half of the season nudges the plant toward storing carbohydrate in corms instead of putting up more foliage.
By midsummer a healthy planting is a dense, knee-high tuft of bright green tubular stems, often with the surface of the mud completely hidden. That thick canopy is exactly what you want — it is the engine that fills the corms in the final stretch. If stems stay thin and pale, they are telling you they are hungry, cold, or short on sun.
The Long Wait and Corm Formation
Here is the part that catches new growers off guard: for most of the season, almost nothing appears to be happening below the surface. The plant spends spring and summer building stems and a spreading network of underground runners (rhizomes). The actual eating corms do not begin to swell until the days shorten in late summer and early fall — typically the last six to eight weeks before the foliage dies back. Resist the urge to dig early. A corm pulled in August is a hard little pebble; the same corm in October is plump, sweet, and crisp.
Each corm you planted in spring multiplies enormously. It is realistic to harvest 30 to over 100 new corms from a single starter, which is why a modest tub can return a generous crop. The corms form along the rhizomes down in the mud, usually 4–6 inches deep, so the harvest is genuinely a dig, not a surface pick.
Harvesting Water Chestnuts
Wait for the cue from the plant. When the tops naturally yellow, brown, and flop over in autumn — usually after the first light cold of the season — the corms are mature and ready. In frost-free climates you can leave them in the flooded mud and dig as needed through winter; in cold climates harvest before the container can freeze solid.
- Stop watering and drain. Tip the tub or bail it out so the mud is workable. Let it sit a day or two until it is firm enough to dig but still moist.
- Dig the whole root mass. Lift out clumps of mud and rhizome with a fork or by hand and break them apart over a tub of water.
- Wash and sort. Swish the corms in clean water to rinse off mud. Set aside the firm, well-colored ones for eating, and save a dozen or so of the best to replant or pre-sprout next spring.
- Cure briefly. Let washed corms air-dry on a screen for a few hours so the skins are not waterlogged before storage.
Store cleaned corms in a perforated bag or open container in the refrigerator, ideally near 32–40°F with high humidity. They keep crisp for several weeks to a couple of months. Peel just before cooking — the white flesh oxidizes a little once cut. They are excellent raw, in stir-fries, or simmered, and unlike most vegetables they hold their crunch through long cooking thanks to heat-stable cell walls.
Overwintering and Common Problems
To grow again next year, simply hold back your best corms. In zones 9–11 a tub can overwinter in place if it does not freeze. Everywhere colder, store saved corms cool and damp (a jar of barely moist sand or sphagnum in the fridge works) and pre-sprout them again in late winter. Because they multiply so freely, never dump spent soil or stray corms into a natural waterway — escaped water chestnuts can become invasive. Compost or trash the leftover material instead. If you also tend ornamental plantings, our notes on overwintering aquatic plants apply to keeping containers from freezing solid.
Trouble is rare. Thin, floppy growth almost always means too little heat, sun, or food. Foul, smelly water usually means decaying organic matter or overfeeding — refresh some water and ease back on fertilizer. Birds occasionally tug at young shoots; a temporary net solves it. Otherwise this is a near-pest-free crop, which is one more reason it is such a satisfying introduction to growing aquatic edibles at home.
Frequently Asked Questions
Can I grow water chestnuts from store-bought corms?
Often yes, but not always. Grocery corms are sometimes old or cold-treated and may not sprout. Choose the firmest, plumpest corms with visible buds, pre-sprout them in shallow warm water for two to three weeks, and plant only the ones that produce shoots and roots.
How long does it take to grow water chestnuts?
Plan on a long season of roughly 6–7 months (210 or more frost-free days). The plant spends spring and summer building stems and runners, and the edible corms only bulk up in the final six to eight weeks before the tops die back in fall.
How deep should the water be?
Keep it shallow. Start with 1–2 inches over the soil after planting and raise it to 3–4 inches as the stems grow. The soil must stay flooded all season, but the green stems should always stand well above the water.
Do water chestnuts need a pond?
No. They grow well in any watertight container at least 12 inches deep — a half barrel, stock tank, mortar tub, or wading pool filled with rich muddy soil and a few inches of standing water. A contained pond margin works too, but a tub is easier to manage and harvest.
When and how do I harvest them?
Harvest in autumn after the foliage yellows and dies back. Drain the container, let the mud firm up for a day or two, then dig the root mass and wash the corms free. Expect dozens of corms per starter. Store them cool and humid in the fridge for several weeks.