

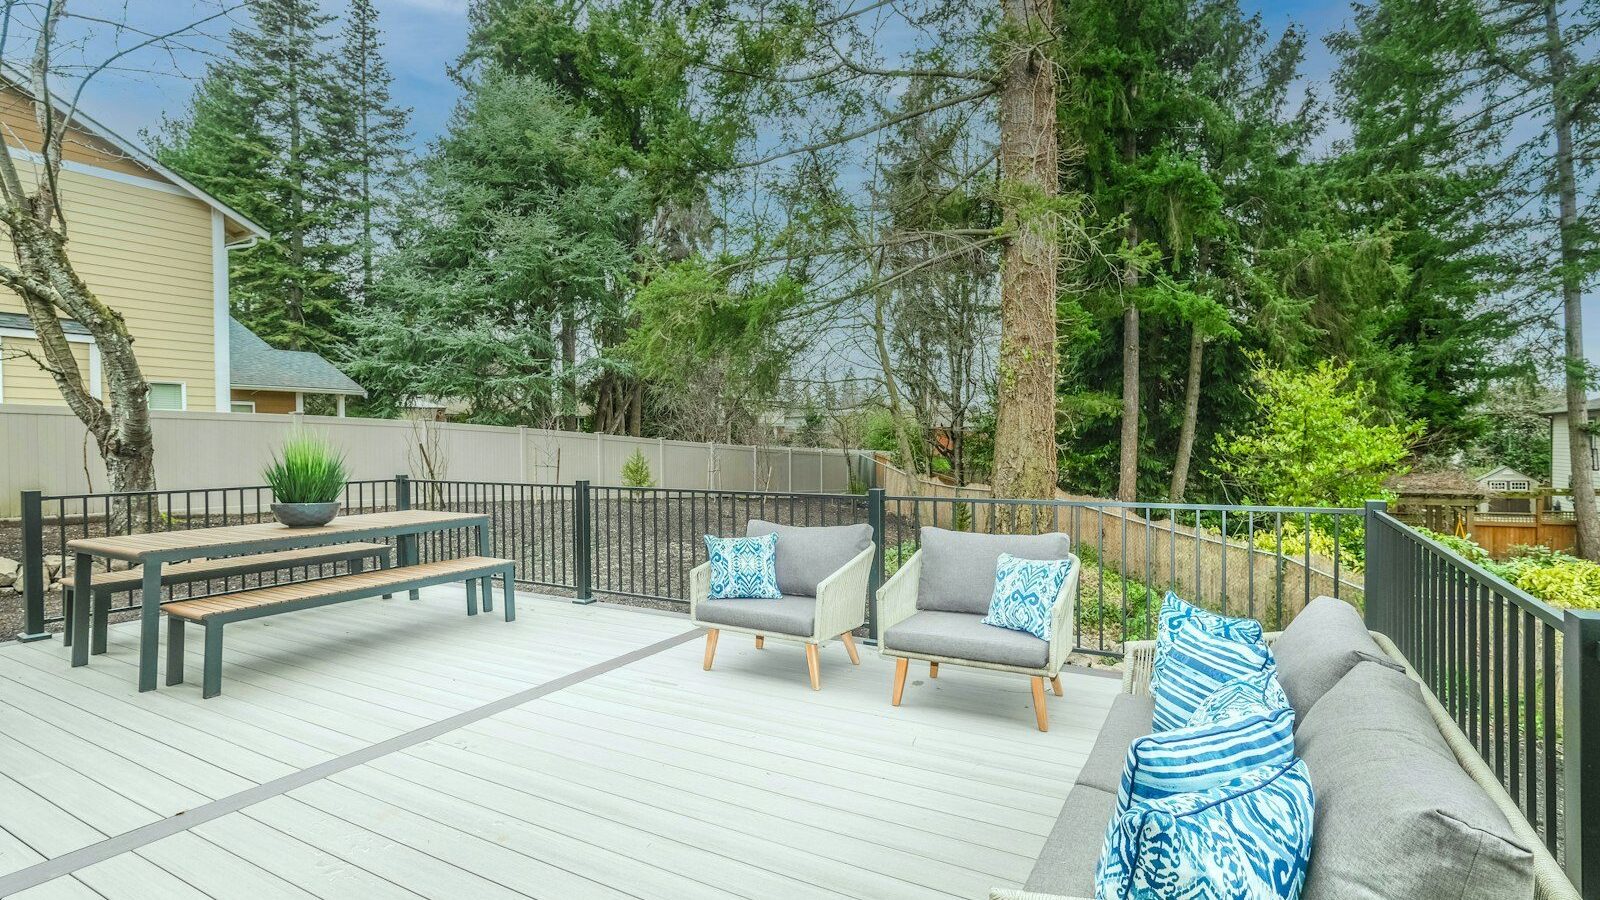
Building a 12×16 attached deck is one of the most satisfying weekend-times-three projects a capable homeowner can take on, and it’s well within reach if you respect three things: the ledger attachment, the footings, and your local code. Get those right and the rest is just careful measuring and repetitive cutting. Botch the ledger flashing and you’ll rot out your rim joist; skimp on footing depth and the whole thing heaves the first hard winter. This guide walks a typical low, single-level deck attached to the back of a house, roughly 18 to 30 inches off grade, framed in pressure-treated lumber. Plan on a long weekend for layout and footings, then another for framing and decking if you’re working solo with a helper on the heavy lifts.
Key Takeaways
- Pull a permit first. Most decks legally require one, and inspectors check the ledger, footings, and framing before you can close it in.
- Call 811 before you dig. Utility locates are free, mandatory, and prevent you from hitting a gas or electric line with a post-hole digger.
- The ledger board with proper flashing is the single most failure-prone connection. Flash it correctly or water will rot the house framing behind it.
- Set footings below your local frost line, typically 24 to 48 inches deep, on 8 to 12 inch diameter concrete piers.
- Budget roughly $15 to $35 per square foot in DIY materials, or about $2,500 to $7,000 for a mid-size deck. Hiring a pro runs $30 to $60 per square foot.
Planning and Design
Start with a scaled drawing. Graph paper or any free design app works. For a 12×16 deck you’re looking at 192 square feet, which is large enough to fit a table and a small seating group but small enough that a single beam and a manageable footing count keep it simple. Decide early whether the long dimension runs along the house or away from it, because that determines whether your joists span 12 feet or 16 feet. Joist span drives lumber size, and lumber size drives cost.
For this build, run 16-foot joists out from the house at 16 inches on center, supported by the ledger at the house and a beam near the outer edge. With 2×8 pressure-treated joists you can usually span around 11 to 12 feet between supports depending on species and grade, so place the beam roughly 10 to 12 feet out and cantilever the remaining few feet past the beam. Confirm the exact allowable span against the IRC deck span tables (section R507) or your local equivalent before you commit, because grade and species change the numbers.
Think about how the deck connects to the rest of your yard. A deck reads best when it relates to other structures and plantings rather than floating alone, so it’s worth browsing the rest of the outdoor living ideas hub for layout inspiration before you lock in dimensions. If you might add overhead cover later, sketch where posts for a freestanding pergola would land so you don’t fight your deck framing down the road.
Permits, Code, and Calling 811
Get the permit before you buy a single board. Nearly every jurisdiction requires a permit for an attached deck, and most for any deck over a certain height or square footage. The permit process forces you to submit a plan, which is genuinely useful because the plans examiner will catch undersized footings or a bad span before you’ve poured concrete. Expect a permit to cost somewhere in the $100 to $500 range depending on locality and deck value.
Inspections typically happen at two or three stages: a footing inspection after the holes are dug but before concrete, a framing inspection after the structure is up but before decking covers it, and a final inspection once railings and stairs are complete. Do not skip the footing inspection by pouring early; inspectors who can’t see your work will make you dig it back up.
- IRC R507 is the residential deck code most U.S. jurisdictions follow. It covers ledger attachment, fastener spacing, joist and beam sizing, post connections, and guard requirements.
- Setbacks dictate how close the deck can come to property lines. Check your zoning before you design; a deck that violates a setback won’t pass.
- Call 811 at least a few business days before digging. The locate service is free and marks buried gas, electric, water, and communication lines with paint or flags. Hitting a gas line with an auger is a genuinely life-threatening mistake.
Tools You’ll Need
You don’t need a contractor’s trailer, but a few tools are non-negotiable. Rent the post-hole digging gear rather than buying it.
- Circular saw (a worm-drive or quality sidewinder) and a good supply of framing blades
- Cordless drill plus a separate impact driver. You’ll want both running at once.
- 4-foot level and a torpedo level
- Post-hole digger or, far better, a rented gas-powered one- or two-person auger
- Framing square and a speed square
- String line and line level for layout
- 25-foot tape measure and a chalk line
- Socket wrench or impact-rated sockets for lag bolts
- Wheelbarrow or mixing tub for concrete, plus a shovel and tamper
- Safety glasses, hearing protection, and a dust mask for cutting treated lumber
If you’re filling gaps in your kit, the tools and gear guides cover what’s worth buying versus renting for a one-off build like this.
Materials List
Everything in contact with the ground or the framing should be pressure-treated and rated for ground contact where appropriate. Buy fasteners and hardware rated for treated lumber, meaning hot-dipped galvanized or stainless. The copper in modern treated wood corrodes plain steel fast.
- Framing lumber: 2×8 pressure-treated for joists, ledger, and rim; doubled or tripled 2×10 or 2×12 for the beam depending on span
- Posts: 6×6 pressure-treated for support posts (4×4 is the bare minimum but 6×6 is the modern standard and required for taller posts)
- Decking: your choice of surface (covered below)
- Joist hangers: galvanized hangers sized to your joist, plus joist-hanger nails or structural screws rated for hangers
- Ledger flashing: metal Z-flashing or self-adhering membrane plus cap flashing
- Structural connectors: 1/2-inch lag bolts or, better, engineered structural screws for the ledger; post bases and post caps; hurricane ties
- Footings: concrete (bagged or ready-mix), cardboard tube forms, and post bases or anchor bolts
- Hardware: exterior structural screws for framing, deck screws or hidden fasteners for the surface
Decking Material Options
- Pressure-treated pine: the cheapest decking, roughly $2 to $4 per square foot for the boards. It needs annual or biennial sealing and tends to cup and check over time, but it’s the budget standard.
- Cedar: naturally rot- and insect-resistant, stable, and good-looking, in the rough $4 to $8 per square foot range. Softer than PT, so it dents, and it still needs periodic finishing.
- Composite: the lowest-maintenance option at roughly $5 to $13 per square foot for the boards alone. No sealing, no splinters, but it costs the most up front and can get hot in direct sun.
If you go with wood, plan to finish it. Our roundup of the best deck stains covers which products actually hold up to foot traffic and sun.
Step-by-Step Build
Step 1: Install the Ledger Board and Flashing
The ledger is the board bolted to the house that carries the inboard end of the joists. Snap a level line at your finished framing height, remembering that the decking surface should sit about an inch below interior floor level so water and snow stay outside. Remove the siding in the ledger’s path down to the sheathing.
Flashing is where most decks fail. Behind the ledger, run self-adhering membrane over the house wrap and sheathing. The ledger then goes on, and a piece of Z-flashing tucks up under the siding above and laps over the top edge of the ledger, directing water out and over the face rather than behind it. Never rely on caulk alone. Fasten the ledger to the house rim joist with 1/2-inch lag bolts or engineered structural screws, staggered top and bottom, typically every 16 inches per R507’s spacing requirements. Do not nail the ledger; nails pull out and decks have collapsed because of it.
Step 2: Lay Out and Dig the Footings
Use batter boards and string lines to lay out your footing locations square to the house. Check for square by measuring the diagonals; equal diagonals mean square corners. For a 12×16 deck with a single beam, three to four footings along the beam line is typical, spaced roughly 6 to 8 feet apart.
Dig each hole below your local frost line. That depth ranges from essentially zero in the deep South to 48 inches or more in the northern tier; 24 to 48 inches covers most of the country, but confirm your local number with the building department. A footing that doesn’t reach below frost will heave when the ground freezes and tear your deck apart over a few winters. Diameter runs 8 to 12 inches for a residential deck pier; wider holes carry more load. Drop in cardboard tube forms, level them, and brace them.
Step 3: Pour Concrete and Set Post Bases
After the footing inspection passes, mix and pour concrete into the forms. For a typical pier you’ll use roughly two to four 60-pound bags per footing. Set a galvanized post base or J-bolt anchor into the wet concrete, plumb and aligned to your string line, then let it cure. Post bases keep the wood off the concrete and out of standing water, which is exactly where rot starts. Don’t bury wood posts directly in concrete; that traps moisture against the wood.
Step 4: Set Posts and Build the Beam
Stand your 6×6 posts in the post bases, plumb them in both directions, and brace them. Cut them to height so the beam will sit level and at the correct elevation relative to the ledger. Build the beam by nailing or bolting two or three plies of 2×10 or 2×12 together, then set it on top of the posts and tie it down with post caps. A dropped beam sitting on top of the posts is the simplest and strongest arrangement for a DIY deck. Double-check that the top of the beam and the bottom of the ledger-height joists line up so the deck surface comes out flat.
Step 5: Hang the Joists
Mark joist layout on both the ledger and the beam at 16 inches on center, measuring from the same end so the spacing stays consistent and your decking ends land on framing. Install galvanized joist hangers on the ledger, drop each 2×8 joist into its hanger, rest the outboard end on the beam, and fasten with the correct hanger nails or structural screws in every hole. Let the joists run a few feet past the beam as a cantilever if your design calls for it, keeping the cantilever within code limits, usually no more than about a quarter of the backspan. Nail or screw the rim joist across the cantilevered ends, and add a row of solid blocking between joists at the beam and at midspan to keep the joists from twisting. Tie the joists to the beam with hurricane ties.
This is the framing inspection stage. Get it signed off before you lay a single deck board, because the inspector needs to see the hangers, the ledger bolts, and the ties.
Step 6: Install the Decking
Start at the house and work outward. Run the first board snug against the wall, leaving a small gap for drainage, and keep it straight; everything references off that first board. Leave a gap between boards of roughly 1/8 to 3/16 inch for drainage and airflow. Pressure-treated boards are often wet when you buy them and will shrink as they dry, so gap them tighter; dry composite and kiln-dried wood get the wider gap. A 16-penny nail or a deck spacer tool makes a handy gauge.
For fastening, you can face-screw with exterior deck screws, two per joist, which is fast and cheap but leaves visible heads. Hidden fastener systems clip into a groove on the board edge for a clean top surface but cost more and slow you down. Either way, let the boards run long over the edge and snap a chalk line to trim them all flush in one pass at the end. It’s far easier than cutting each board to length individually.
Step 7: Build the Railing
If any part of the deck surface sits more than 30 inches above the grade below, code requires a guardrail. Residential guards must be at least 36 inches high, and the baluster spacing must reject a 4-inch sphere, meaning gaps stay under 4 inches so a small child can’t slip through. Rail posts take real lateral force, so bolt them to the framing with through-bolts and tension-tie hardware rather than just lag screws or surface brackets. Set your posts, run top and bottom rails, then fill in balusters at the correct spacing.
Step 8: Build the Stairs
For a low deck you may only need a few steps. Keep the rise and run consistent, with risers around 7 to 7.75 inches and treads with about a 10 to 11 inch run, since uneven steps are a trip hazard and a code violation. Cut your stringers from 2×12 stock, anchor them at the top to the deck rim, and land them on a solid pad at the bottom. Stairs with more than a few risers usually require a handrail, and the same 4-inch sphere rule applies to open guards alongside the stairs.
Step 9: Finish and Seal
If you used wood, let pressure-treated lumber dry out for a few weeks to a couple of months before applying a finish; sealing wet treated wood traps moisture and the finish won’t bond. A water test tells you it’s ready: when water soaks in rather than beading, the wood will accept stain. Apply a quality penetrating stain or sealer, recoating wood decks every one to three years depending on exposure and the product. Composite decking skips this step entirely.
Cost Breakdown
For a 192-square-foot deck, DIY materials land roughly between $15 and $35 per square foot, which puts a mid-size deck somewhere in the $2,500 to $7,000 range. The spread comes almost entirely from your decking choice and railing style. Here’s where the money goes:
- Framing lumber, posts, and beam: the structural backbone, often 30 to 40 percent of materials
- Decking boards: the biggest single variable, cheap with PT pine and expensive with composite
- Footings and concrete: usually a modest line item, a few hundred dollars in bagged concrete and forms
- Hardware and fasteners: hangers, structural screws, lag bolts, and post bases add up faster than people expect, easily a few hundred dollars
- Railing and stairs: can be a surprisingly large share, especially with metal or composite rail systems
- Permit: roughly $100 to $500
Hiring a contractor to build the same deck typically runs $30 to $60 per square foot all in, since labor roughly doubles the cost. Doing it yourself is where the savings live, but only if you’re confident in the structural connections, since those are exactly what a pro is paid to get right.
Frequently Asked Questions
Do I really need a permit for a small deck?
Almost always, yes. Most jurisdictions require a permit for any attached deck, and many for freestanding decks over a certain size or height. Building without one can mean fines, forced removal, and problems when you sell the house. Check with your local building department before you start.
How deep do deck footings need to be?
Below your local frost line, which ranges from near zero in the warm South to 48 inches or more in the far North. Most of the country falls in the 24 to 48 inch range. A footing above frost depth will heave when the ground freezes and damage the deck, so confirm the exact number with your building department.
What gap should I leave between deck boards?
Roughly 1/8 to 3/16 inch for drainage and airflow. Wet pressure-treated boards shrink as they dry, so gap those tighter, around 1/8 inch. Kiln-dried wood and composite are already at size, so give them the wider gap. A 16-penny nail works as a quick spacer.
When does a deck need a railing?
When the surface is more than 30 inches above the grade below. Residential guards must be at least 36 inches tall, with baluster gaps under 4 inches so a small child can’t pass through. Rail posts must be bolted to the framing with proper tension hardware, not just screwed to the surface.
Can I build a deck without a ledger?
Yes. A freestanding deck supported entirely by posts and footings, with no attachment to the house, avoids the ledger-flashing risk altogether and is a good choice if your house framing is questionable. It needs an extra beam and footings on the house side, and added bracing for lateral stability, but it sidesteps the most common cause of deck failures.