

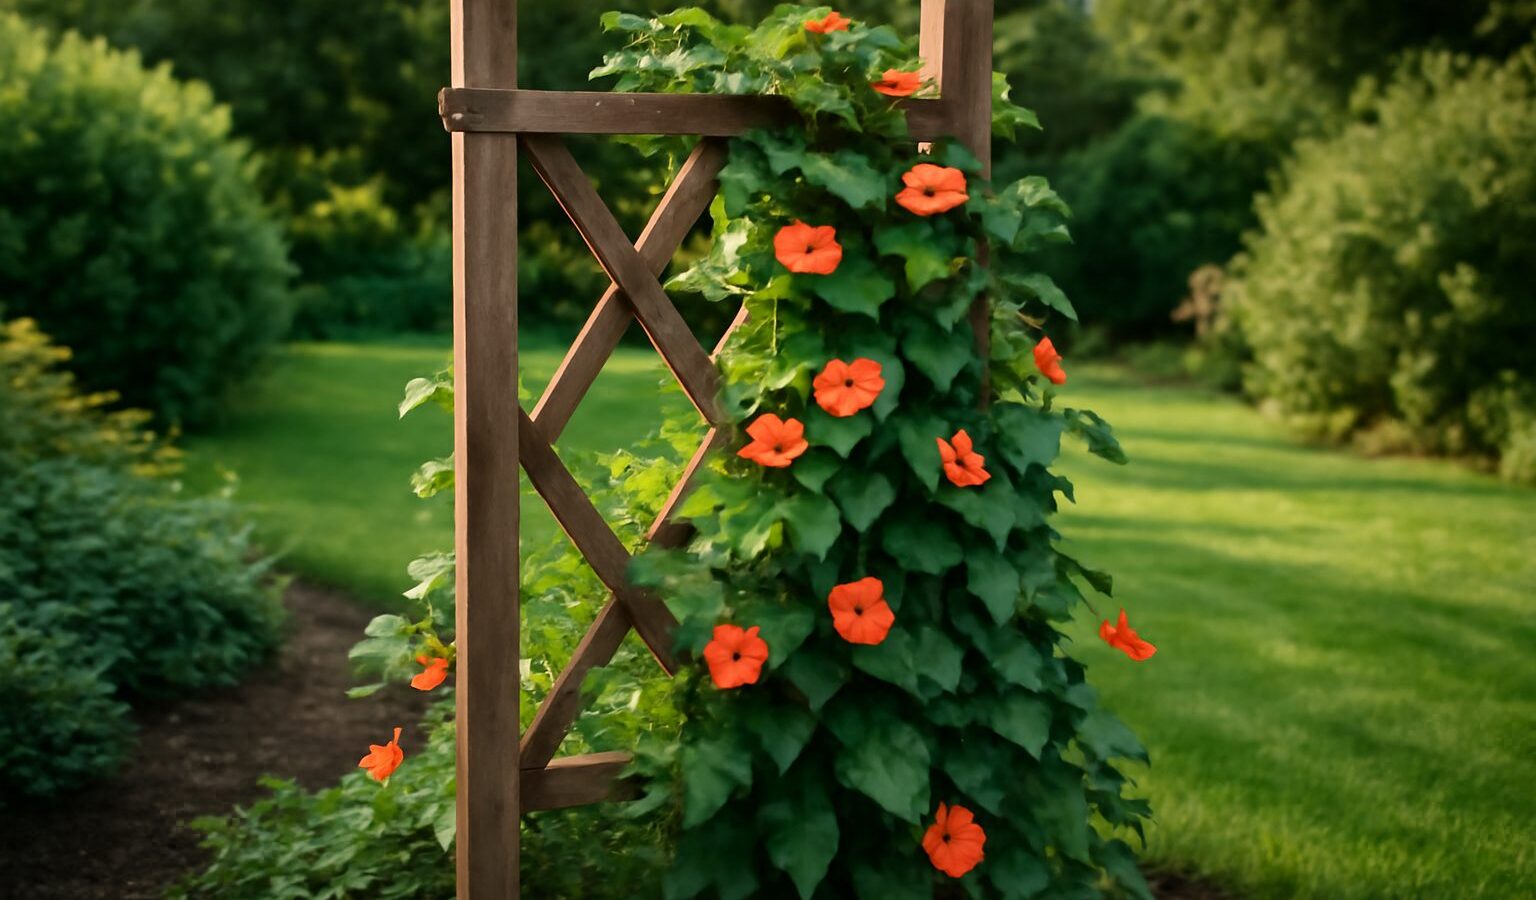
A trellis is the simplest piece of garden carpentry that pays you back the fastest. It lifts climbing vegetables and flowers off the ground, where they catch more sun, stay drier and healthier, and are far easier to harvest, all while making good use of vertical space in a small garden. The best part is that a solid trellis costs little and goes together in an afternoon. This guide covers three proven DIY designs — a classic wood-frame lattice trellis, a heavy-duty cattle panel arch, and a budget string-and-stake trellis — with full materials lists, measurements, costs, and step-by-step instructions, plus which climbers suit each one.
Key Takeaways
- Match the trellis to the plant: lightweight string or netting for peas and beans, sturdy wood lattice for roses and clematis, heavy cattle panel for squash, cucumbers, and gourds.
- A simple wood-frame lattice trellis costs roughly $30 to $60 and goes together in an afternoon with basic tools.
- A 16-foot cattle panel bent into an arch makes the strongest, longest-lasting trellis for under $60 and supports heavy vining crops.
- Anchor any freestanding trellis at least 12 to 18 inches into the ground, or set posts in concrete for a permanent installation that won’t blow over.
- Use pressure-treated, cedar, or redwood wood and galvanized or coated hardware so the trellis survives years of weather.
Match the Trellis to the Plant
Before building, decide what will climb it, because the load makes all the difference. Lightweight annual climbers like peas, pole beans, sweet peas, and morning glories twine happily up thin string, netting, or wire and need almost no structure. Cucumbers, small melons, and flowering vines want something sturdier with rungs to grab. And heavy vining crops like winter squash, gourds, and rampant perennials such as climbing roses, wisteria, and grapes demand a genuinely strong frame that won’t collapse under wet foliage and fruit. Build for the heaviest thing you might ever grow on it, since an undersized trellis failing mid-season is a frustrating loss.
Tools You’ll Need
For most of these projects you need a drill/driver, a circular saw or hand saw, a tape measure, a speed square, a level, exterior wood screws, a staple gun or fencing staples, work gloves, and safety glasses. The cattle panel arch additionally needs bolt cutters or an angle grinder to trim the panel and zip ties or wire to fasten it. None of these designs require advanced skills, making a trellis an ideal first outdoor build.
Design 1: Classic Wood-Frame Lattice Trellis
This is the attractive, all-purpose trellis you can lean against a wall, mount to a fence, or anchor in a bed. It suits flowering climbers like clematis and climbing roses as well as cucumbers and pole beans.
Materials and cost
- Two 1×3 boards, 6 feet long, for the vertical sides.
- Two 1×3 boards, 2 to 3 feet long, for the top and bottom rails.
- A pre-made wood or vinyl lattice panel cut to fit (roughly 2 by 5 feet), or thin 1×2 lath strips to build your own grid.
- Exterior wood screws, a small bottle of wood glue, and exterior stain or paint.
Expect to spend about $30 to $60 depending on whether you buy a lattice panel or build the grid from lath, and whether you choose pressure-treated, cedar, or redwood.
Steps
- Cut the two 6-foot 1x3s for the sides and the two shorter 1x3s for the top and bottom rails.
- Lay the four pieces into a rectangular frame on a flat surface, check it is square by measuring equal diagonals, then glue and screw the corners with two exterior screws each.
- Cut the lattice panel to fit inside the frame and attach it to the back of the frame with screws every 8 to 10 inches, or staple homemade lath strips across the frame in a diagonal or square grid.
- Sand the edges and apply exterior stain or paint to protect the wood.
- To install, either screw the trellis to a fence/wall through the frame, or attach it to two 6-foot stakes or posts driven 18 inches into the ground behind the bed.
Design 2: Cattle Panel Arch Trellis
This is the strongest, most durable, and arguably most spectacular trellis you can build cheaply. A rigid livestock fencing panel arched between two beds creates a walk-through tunnel that supports the heaviest crops — squash, gourds, cucumbers, melons, and beans dangling overhead — and lasts essentially forever because it is galvanized steel.
Materials and cost
- One 16-foot cattle panel (galvanized steel, with roughly 4-by-4-inch openings, about 50 inches wide).
- Four to six 4-foot steel T-posts or rebar stakes to anchor each side.
- Zip ties, fence staples, or wire to fasten the panel to the posts.
A cattle panel runs roughly $25 to $40 and the posts another $15 to $25, so the whole arch comes in under $60 — outstanding value for how much it supports and how long it lasts.
Steps
- Decide on the arch width. Set the two beds or post lines 4 to 5 feet apart; a narrower gap makes a taller, steeper arch, a wider gap a lower, broader one.
- Drive two or three T-posts about 18 to 24 inches into the ground on each side, leaving 18 to 24 inches above ground.
- This step needs a helper. Stand the 16-foot panel on one end on the ground beside the first row of posts, then walk it over and bow it into an arch, guiding the far end down to the second row of posts.
- Wire or zip-tie the bottom of the panel to the inside of the posts on each side. The steel panel holds its arch shape under its own springy tension.
- Trim any sharp protruding wire ends with bolt cutters and cap or bend them so they don’t catch clothing or skin.
Plant climbers at the base of each side and train them up and over the arch as they grow. This design is a favorite for growing space-hungry vining crops in a compact footprint, and it doubles as a striking garden feature.
Design 3: Budget String-and-Stake Trellis
For peas, pole beans, and other light twiners, you barely need a structure at all. This costs a few dollars and takes fifteen minutes.
Materials and steps
You need two sturdy 6- to 7-foot stakes, posts, or bamboo poles, plus a ball of jute twine or a roll of garden netting. Drive a stake at least 12 to 18 inches into the ground at each end of the row so they stand 5 to 6 feet tall and won’t lean once vines load them. Then either string horizontal lines of twine between the stakes every 6 to 8 inches up their height, or stretch a panel of plastic or nylon garden netting between them and fasten it with staples or ties. The climbing tendrils grab the twine or netting on their own. At season’s end you can cut the spent vines and twine down together and compost them, making this the lowest-maintenance option.
Anchoring So It Won’t Blow Over
The most common trellis failure is the whole thing toppling once it is covered in heavy, wind-catching foliage. For freestanding trellises, anchor posts at least 12 to 18 inches deep in firm soil, deeper for tall or heavy designs. For a permanent installation that will carry roses or grapes for years, set the posts in concrete footings the same way you would a fence post — dig below the frost line, add gravel for drainage, and pour concrete around a plumbed post. Always position a trellis where it gets full sun for most edible climbers and where it won’t shade out shorter crops behind it.
Materials and Finishing Tips
Whatever design you choose, use rot-resistant wood — pressure-treated, cedar, or redwood — and galvanized or coated screws and staples so rust doesn’t bleed and weaken the joints. Seal or stain wood trellises and refresh the finish every couple of years. Cattle panels and other galvanized steel need no finishing and will outlast several wood trellises. Build a trellis a foot or two taller than you think you need, because vigorous climbers almost always outgrow expectations by midsummer.
A trellis is a natural first step toward bigger garden structures. If you enjoyed this and want a larger shade project, our step-by-step pergola guide uses the same posts-and-footings approach. For more vertical growing and small-space ideas, browse the Outdoor Living hub, and to pick the right climbers for your new trellis, see our Plants & Flowers guides.
Frequently Asked Questions
What is the cheapest way to build a garden trellis?
A string-and-stake trellis costs only a few dollars: two sturdy stakes plus jute twine or garden netting. It is perfect for light twiners like peas and pole beans. A wood-frame lattice trellis runs about $30 to $60.
What is the best trellis for heavy crops like squash?
A 16-foot galvanized cattle panel bent into an arch is the strongest cheap option, costing under $60 total. Its rigid steel grid easily supports squash, gourds, melons, and cucumbers and lasts for decades.
How deep should I anchor a trellis?
Drive freestanding posts or stakes at least 12 to 18 inches into firm soil, deeper for tall or heavy designs. For a permanent trellis carrying roses or grapes, set the posts in concrete footings dug below the frost line.
What wood should I use for a garden trellis?
Use rot-resistant pressure-treated, cedar, or redwood lumber with galvanized or coated screws and staples. Seal or stain wood trellises and refresh the finish every couple of years to extend their life.
How tall should a garden trellis be?
Most vegetable trellises should stand 5 to 6 feet tall, and arch trellises taller still. Build a foot or two higher than you expect to need, since vigorous climbers like pole beans and squash routinely outgrow their supports by midsummer.