

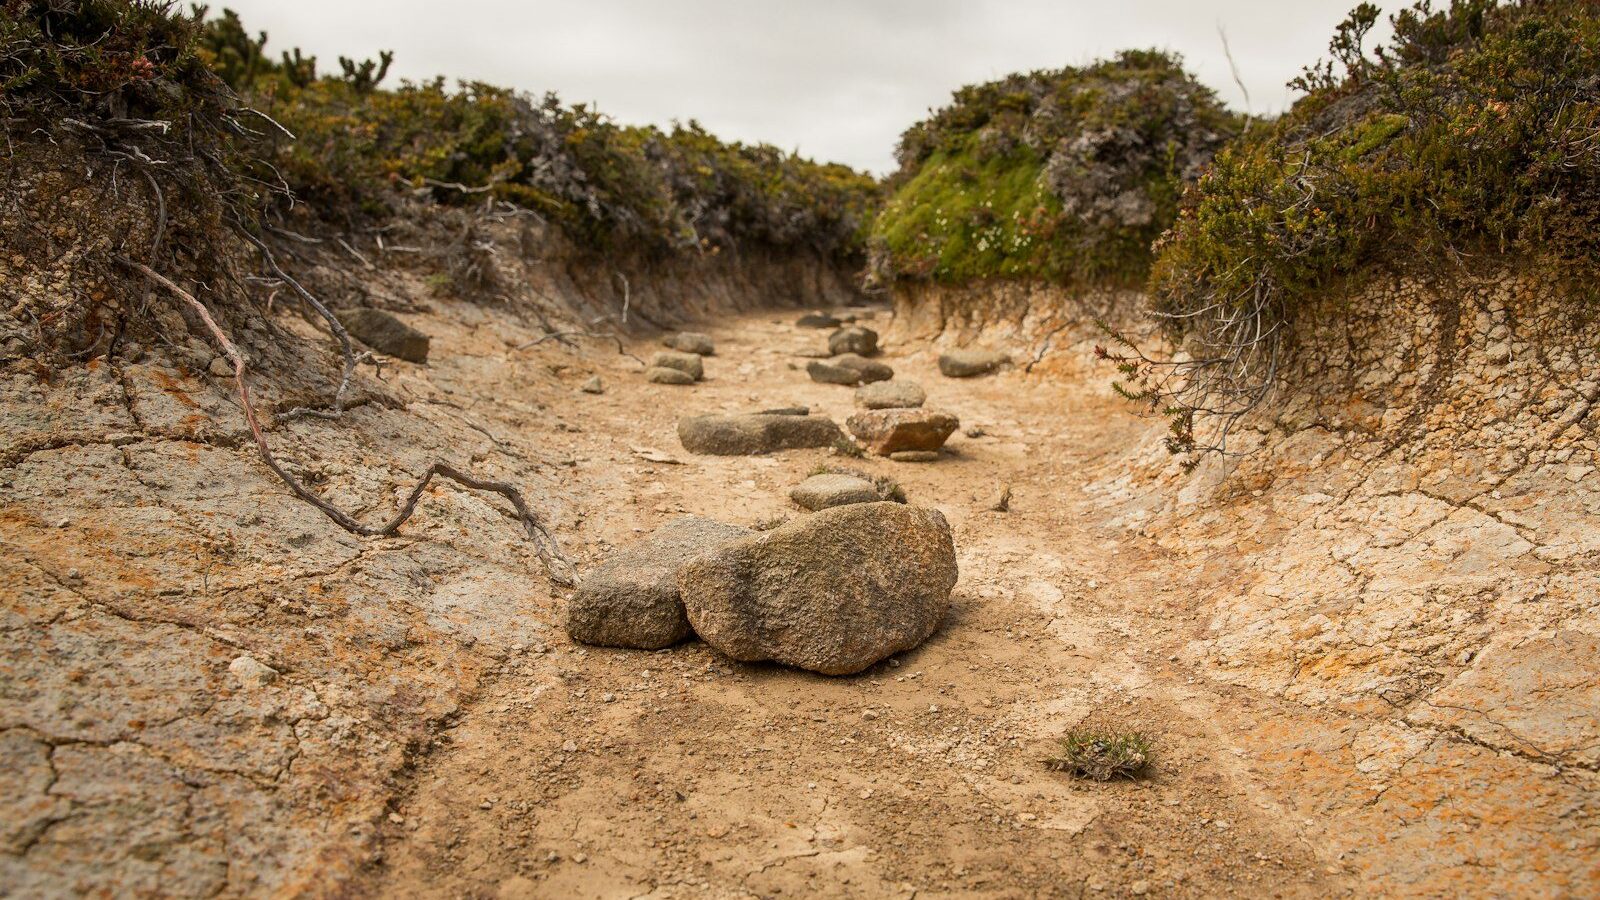
A dry creek bed is a shallow, rock-lined channel that does two jobs at once: it carries stormwater away from your foundation and across your yard, and it reads as an intentional landscape feature the rest of the year. Done right, it solves a soggy low spot or a downspout that dumps onto the lawn without the expense of a buried French drain. Done wrong, it becomes a gravel-filled ditch that washes out in the first big storm. The difference is almost entirely in the planning: where the water actually goes, how much fall you have to work with, and whether you sized the channel for the volume coming at it. This guide walks through siting, sizing, materials, and the full build, with the real numbers you need to get it right the first time.
Key Takeaways
- Follow the water first: map where runoff already flows and aim the creek at a legal, lower discharge point at least 10 ft from the house.
- Keep a minimum slope of 1–2% (about 1–2 inches of drop per 8 ft) so water moves but does not scour.
- Size the channel for the load: 2–3 ft wide and 8–12 in deep handles most residential downspout and surface runoff.
- Layer it correctly: woven landscape fabric, then a base of 1.5–3 in drain rock, then a top dressing of larger river cobble and boulders.
- Budget roughly $8–$15 per linear foot DIY, or $30–$60 per foot installed, driven mostly by stone delivery.
How a dry creek bed actually works
A dry creek bed is a surface conveyance, not a soak-away. Water enters at a high point, runs down the rock-lined channel under gravity, and exits at a lower point where it can disperse safely. The rocks slow the flow enough to prevent erosion while still letting water pass between them. Because it is open to the sky, it handles big, intermittent volumes that a 4-inch perforated pipe would back up on. That is why it shines for roof runoff from downspouts, sheet flow off a slope, or a chronic puddle that never seems to dry.
What it will not do is make water flow uphill or magically vanish. You need somewhere lower for it to go — a rain garden, a daylight point at the property edge, a swale, or a municipal storm system if that is legal where you live. Before you dig, check two things: your local code on stormwater discharge (you generally cannot dump concentrated runoff onto a neighbor’s lot), and your utility locates by calling 811 in the US. That call is free and protects you from cutting a gas or cable line.
Step 1: Map the water and choose the route
Go outside during or right after a hard rain and watch. Note where water pools, where it sheets across the lawn, and where it is already trying to drain. Your dry creek should follow that natural path, not fight it. Mark a start point (a downspout, the base of a slope, the edge of a patio) and an end point that is genuinely lower and safe to discharge to. Keep the discharge at least 10 feet from your foundation and away from your neighbor’s yard.
Confirm you have fall to work with. Drive a stake at each end, run a string between them with a line level, and measure. You want at least a 1% grade — 1 inch of drop for every 8 to 10 feet of run. A 2% grade (about 2 inches per 8 feet) is ideal: brisk enough to move debris, gentle enough to avoid scouring. If you have almost no fall, you can sometimes create artificial drop by excavating the channel slightly deeper as it progresses, but if the whole yard is dead flat you may need a rain garden or a pop-up emitter instead.
Step 2: Size the channel for your runoff
Sizing is where most DIY creek beds go wrong. Too narrow and a hard storm overtops the banks; too wide and it looks like a quarry. Use these residential rules of thumb:
- One or two downspouts / light surface flow: 18–24 in wide, 6–8 in deep.
- Slope runoff or several downspouts: 2–3 ft wide, 8–12 in deep.
- Heavy flow off a large roof or steep grade: 3–4 ft wide, 12–18 in deep, and consider a buried perforated pipe in the base.
Make the bed roughly twice as wide as it is deep for a natural cross-section, and vary the width by 20–30% along the run so it meanders like a real creek rather than a straight trench. Curves also slow water and look better. Plan a gentle S-curve every 8 to 12 feet.
Step 3: Gather materials
- Woven (not spun) landscape fabric — woven resists weeds and won’t tear under stone. Budget 1.2 sq yd per linear foot to allow for the channel curve and overlap.
- Drain rock / crushed gravel, 1.5–3 in — the base layer. About 0.5 cubic yard per 10 ft of a 2-ft-wide channel.
- River rock / cobble, 2–6 in — the visible top layer. About 0.5–0.75 cubic yard per 10 ft.
- Accent boulders, 8–18 in — placed singly to anchor the banks and break up sight lines. Plan 1 boulder every 4–6 ft.
- Steel or composite edging if you want crisp banks; marking paint; a transfer shovel; a mattock; a hand tamper; a wheelbarrow; and a garden rake.
Stone is sold by weight or by the cubic yard; one cubic yard of river rock weighs roughly 2,400–2,800 lbs and covers about 100 sq ft at 3 inches deep. Delivery is usually the biggest line item, so order in one trip if you can. For a typical 20-foot creek bed at 2 feet wide, expect about 1 yard of drain rock and 1.25 yards of river rock plus 4–5 boulders — roughly $250–$450 in materials in most US markets.
Step 4: Excavate the channel
Lay out the route with marking paint or two garden hoses to define the banks, then step back and check the curves from a window or the street. Adjust until it looks natural. Now dig. Excavate to your planned depth plus 2–3 inches to leave room for the fabric and base rock. Shape the cross-section like a wide, shallow U — not a vertical-sided trench. Slope the sides at roughly 2:1 (2 inches horizontal for every 1 inch of depth) so they hold rock and don’t collapse.
As you dig, keep checking grade with your string and line level. The channel bottom must fall continuously toward the outlet — no flat spots or reverse dips where water can pond and breed mosquitoes. Tamp the bottom and sides firm with a hand tamper. Pile the excavated soil to build up the banks slightly on either side, which increases the effective depth and helps contain overflow.
Step 5: Lay fabric and base rock
Roll woven landscape fabric down the channel, pressing it into the contour and running it 6–8 inches up each bank. Overlap seams by at least 12 inches with water flowing “downhill” over the seam, like roof shingles, so runoff never lifts an edge. Pin the fabric every 2–3 feet with 6-inch landscape staples, especially on the curves.
Spread the 1.5–3 inch drain rock as your base, 3–4 inches deep across the bottom. This layer is the working channel — it carries the water and keeps the visible cobble from sinking into mud. Rake it level to the grade and walk it in to seat it. If you are handling heavy roof flow, this is where you would bed a 4-inch perforated pipe (holes down) in the gravel before the surface stone goes on.
Step 6: Place cobble and boulders
Now the part that makes it look like a creek. Place the largest accent boulders first, partially burying each one a third of its height so it looks settled rather than dropped. Cluster boulders in odd-numbered groups and set them mostly along the outside of curves where flow is strongest — they both armor the bank and create the visual “rapids.” Then fill in with river cobble, mixing sizes and letting the larger 4–6 inch stones gather at the edges while smaller 2–3 inch stones line the center channel. Keep the center slightly lower so water concentrates and self-cleans.
Vary stone color and avoid a uniform “pea gravel” look — real streambeds are a mix. Stand back frequently and adjust. The finished surface should read as a single connected ribbon from start to finish, not isolated rock piles. If you used edging, the cobble should sit just below the edging lip so nothing migrates onto the lawn.
Step 7: Build a clean inlet and outlet
The two ends do the most work. At the inlet, set a flat “splash rock” or a small cluster of stones directly under the downspout so the concentrated jet of roof water hits stone, not soil — this is the spot most likely to erode. If your downspout is far from the creek, run a buried 3- or 4-inch solid pipe to a pop-up emitter at the creek head. At the outlet, fan the channel wider and flatter so water spreads out and slows before it leaves; a small apron of cobble or a discharge into a rain garden prevents a scour hole at the exit.
If you are managing roof and surface water together, it pairs naturally with a planted basin at the low end — see our guide on how to build a rain garden to capture and infiltrate the discharge instead of just moving it along.
Step 8: Plant the banks
Plants soften the rock, lock the banks against erosion, and make the feature look established. Choose species that tolerate both the periodic wet of a flow event and the dry stretches in between. Good performers along the banks include blue fescue, switchgrass, little bluestem, daylilies, black-eyed Susan, sedges (Carex), and creeping junipers for evergreen structure. Tuck a few clumps right against the boulders so they appear to grow naturally from the rock. Plant in the soil shoulder beside the channel, not in the gravel itself, and water them in until established. For a drier site, lean on the same palette you’d use for drought-tolerant landscaping, which thrives on this kind of fast-draining edge.
Maintenance and cost
A dry creek bed is low-maintenance but not no-maintenance. Twice a year — spring and fall — pull any weeds that root in the gravel, rake displaced cobble back to center, and clear leaves or silt from the channel so flow stays open. After a major storm, check the inlet splash rock and the outside of curves for displaced stone and reset it. Refresh the top cobble every few years as fines wash in.
For a 20–30 foot residential run, a DIY build typically lands at $8–$15 per linear foot — say $250–$500 all in — with stone and its delivery being the bulk of that. Hiring a landscaper for the same job runs roughly $30–$60 per linear foot installed, more if boulders need machinery to place. The payoff is a drainage fix that, unlike a buried pipe, you actually want to look at. If your project goes beyond a weekend, our landscaping services can scope and build it for you.
Frequently Asked Questions
Do I need landscape fabric under a dry creek bed?
Yes. Woven landscape fabric blocks weeds from rooting through the gravel and stops the rock from sinking into the soil and disappearing over time. Use woven, not spun-bonded, fabric — it is far stronger under the weight of stone. Run it up the banks and overlap all seams shingle-style so flowing water can’t lift an edge.
How much slope does a dry creek bed need?
Aim for a 1–2% grade — roughly 1 to 2 inches of fall for every 8 to 10 feet of run. That is enough to keep water moving and self-cleaning without scouring the channel. Less than 1% and water will pond; much more than 4% and you may need check dams or extra armoring on the curves to prevent washouts.
Will a dry creek bed breed mosquitoes?
Not if it is built correctly. Mosquitoes need standing water for several days; a properly graded creek bed drains completely after rain and stays dry between storms. Avoid flat spots and reverse dips in the channel bottom, which are the only places water can sit long enough to be a problem.
What size rock should I use?
Use a layered mix. A base of 1.5–3 inch crushed drain rock does the hydraulic work, topped with 2–6 inch river cobble for looks, plus a few 8–18 inch accent boulders to anchor the banks. Keep smaller stone in the center channel and larger stone at the edges and on the outside of curves where flow is strongest.
Can a dry creek bed handle downspout water?
Absolutely — it is one of the best uses for it. Aim the downspout at the head of the creek and set a flat splash rock under the outlet so the concentrated jet hits stone instead of eroding soil. For a downspout some distance away, run a buried solid pipe to a pop-up emitter at the creek’s inlet.