

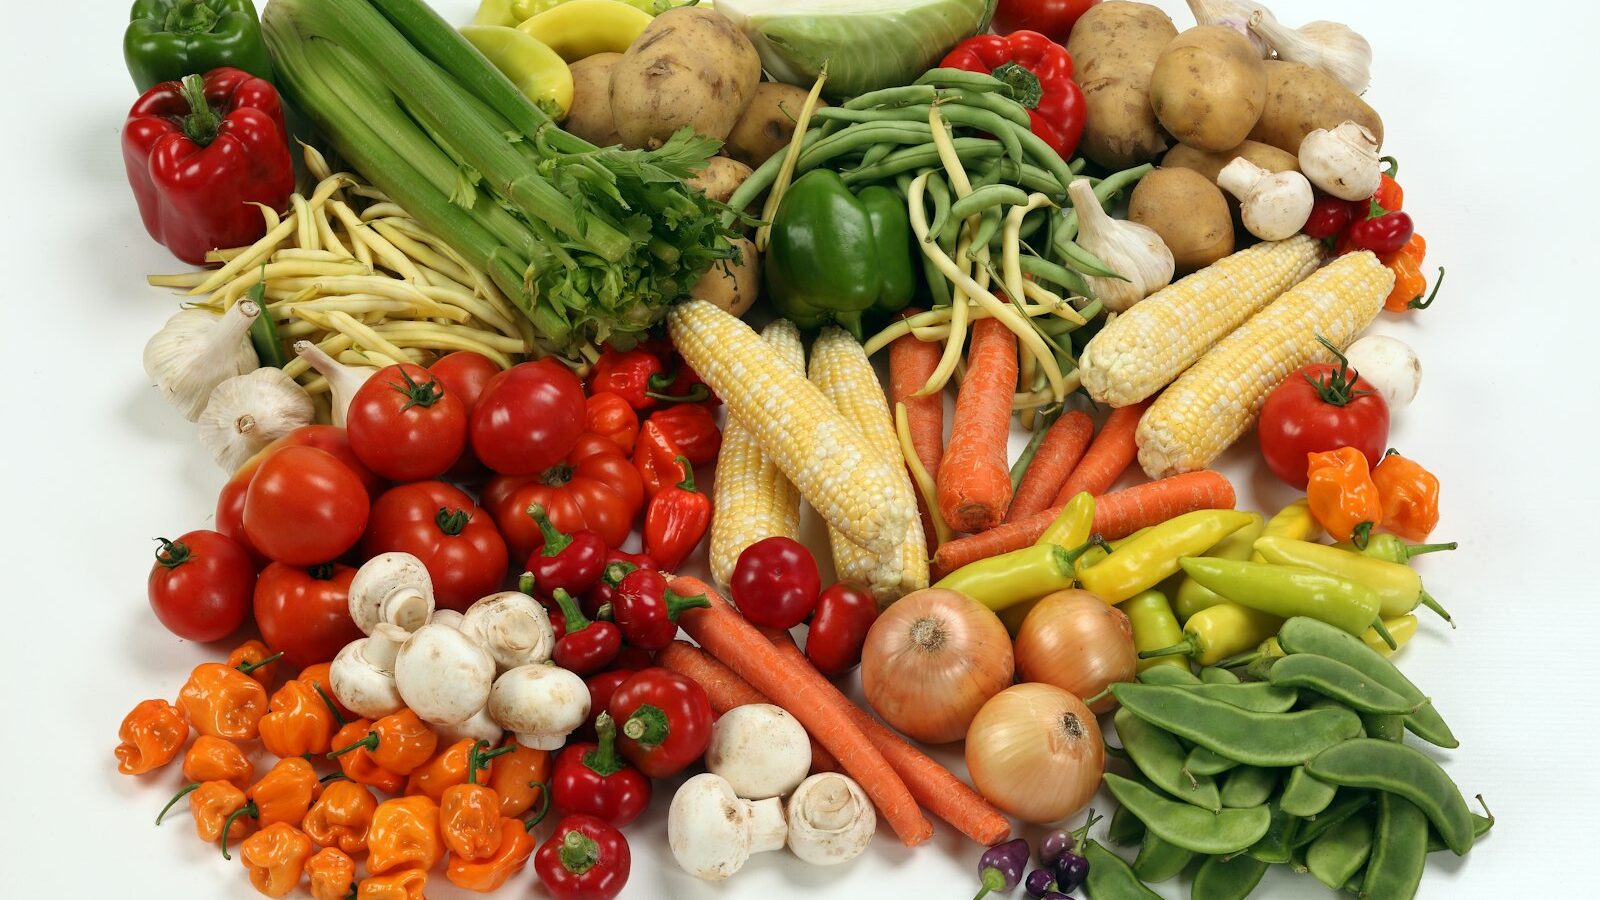
Blanching is the step that separates garden-fresh frozen vegetables from the limp, faded, off-tasting bags that put people off freezing in the first place. To blanch, you plunge cut vegetables into boiling water (or hold them over steam) for a precise, short time, then crash-cool them in ice water to stop the cooking, drain them, and freeze. It takes minutes per batch, and skipping it is the single most common reason home-frozen vegetables turn mushy, dull, and bitter within a couple of months. If you grow more than you can eat fresh, blanching is the technique that lets you bank that harvest for winter with the color, crunch, flavor, and nutrition mostly intact.
The reason it works is simple chemistry. Living vegetables are full of enzymes that keep ripening and breaking down tissue even after harvest — and even, slowly, in the freezer. A brief blast of heat deactivates those enzymes, halting the decay in its tracks. The same heat also brightens color, relaxes the tissue so it packs tighter, and rinses away surface dirt and microbes. This guide covers why blanching matters, how to choose between the water and steam methods, blanching times for the vegetables you are most likely to grow, the all-important ice bath, and how to freeze the results so they last up to a year.
Key Takeaways
- Blanching deactivates enzymes that otherwise destroy color, flavor, texture, and nutrients in frozen vegetables over time.
- Water blanching is fast and even; steam blanching retains more water-soluble nutrients and suits leafy and delicate vegetables.
- Time it precisely — under-blanching is worse than not blanching at all, and over-blanching cooks the vegetable to mush.
- Crash-cool in an ice bath for as long as you blanched, then drain thoroughly so ice crystals do not wreck the texture.
- Freeze fast and airtight, ideally tray-freezing loose pieces first, to keep blanched vegetables at peak quality for 8 to 12 months.
Why Blanch at All?
It is tempting to assume the freezer stops everything — it does not. Vegetables contain naturally occurring enzymes (catalase and peroxidase among them) that drive ripening and, eventually, spoilage. Freezing slows these enzymes dramatically but does not switch them off, so an unblanched bag of green beans will keep degrading in the freezer: the color fades to khaki, the texture goes soft and rubbery, the flavor turns flat or bitter, and nutrients quietly leak away. Within a month or two the quality is noticeably poor, and after six months it can be inedible. Blanching’s heat denatures those enzymes so they can no longer do their damage, effectively pressing pause on the vegetable’s biology.
Blanching does several other useful things at once. It sets and brightens color — broccoli goes vivid green, carrots glow orange. It wilts and softens bulky leaves and stems so they pack down into less freezer space. It cleans the surface, washing off lingering soil, insects, and surface microbes. And it slows the loss of vitamins during storage. The one caveat is timing: blanch too briefly and you stimulate the enzymes without destroying them, which is worse than not blanching at all. That is why the times below are exact, not approximate. Blanching is one piece of a larger preserving toolkit; for the full overview of bagging, portioning, and storage life, see our companion guide on how to freeze vegetables from the garden.
Water Blanching vs Steam Blanching
Water blanching is the standard method and the faster of the two. Bring a large pot of water to a rolling boil — use about a gallon of water per pound of vegetables so the temperature recovers quickly when you add them. Lower the prepared vegetables in (a wire basket or mesh strainer makes lifting them out clean), cover, and start timing the moment the water returns to a boil. The big pot of water heats the vegetables evenly and rapidly, which is exactly what you want, and it is forgiving for dense items like carrots and beans. The downside is that some water-soluble vitamins (vitamin C and several B vitamins) leach into the cooking water.
Steam blanching holds the vegetables above an inch or two of boiling water in a steamer basket with the lid on. It takes roughly one and a half times as long as water blanching because steam transfers heat a little less aggressively, but because the food never sits in water, it retains more of those leachable nutrients and is gentler on delicate textures. Steam is the better choice for leafy greens, broccoli, and other tender or easily waterlogged vegetables, and it uses less water and energy. The trade-off is slightly less even heating, so keep batches small and in a single layer so the steam reaches everything. Either method works; pick water for speed and dense vegetables, steam for nutrition and delicate ones.
Blanching Times by Vegetable
Times start counting when the water returns to a full boil (water method) or when the steam is rolling (steam method). For steam, add roughly 50% to the water time. Cut pieces to a uniform size so they blanch evenly.
| Vegetable | Prep | Water blanch time |
|---|---|---|
| Green beans | Whole or cut | 3 minutes |
| Broccoli | Florets ~1.5 in. | 3 minutes |
| Cauliflower | Florets ~1 in. | 3 minutes |
| Carrots | Sliced or diced | 2 minutes (whole 5) |
| Asparagus | Medium spears | 3 minutes |
| Corn (on cob) | Whole ears | 7–11 minutes by size |
| Corn (kernels) | Cut after blanching cob | 4 minutes on cob |
| Peas (shelled) | Loose | 1.5 minutes |
| Spinach / greens | Leaves | 2 minutes (collards 3) |
| Zucchini / summer squash | Sliced | 3 minutes |
| Brussels sprouts | Whole, by size | 3–5 minutes |
| Snap / snow peas | Whole | 1.5–2 minutes |
| Bell peppers | Strips (optional) | 2 minutes |
A few notes. Corn on the cob needs the longest blanch because the heat has to reach the dense core; blanch the whole ear, then cut kernels off if you prefer loose corn. Greens like spinach are bulky and need to be pushed under the water with a spoon so they wilt evenly. Some vegetables — onions, peppers (for many uses), and most herbs — freeze fine without blanching because you typically cook them anyway, though peppers hold their texture slightly better with a quick 2-minute dip. When in doubt, follow the time exactly; the goal is to deactivate enzymes, not to cook the vegetable through.
The Ice Bath: Stopping the Cooking
The instant the blanching time is up, the vegetables must be cooled fast, or the residual heat will keep cooking them into mush — defeating the entire purpose. Before you start blanching, fill a large bowl or clean sink with cold water and plenty of ice. Lift the blanched vegetables straight out of the boiling water or steam and plunge them into the ice bath. Cool them for at least as long as you blanched them — three minutes of blanching means three minutes of chilling. Add more ice as it melts, and stir gently so every piece reaches the cold water. The vegetable should feel cold all the way through, not just on the surface, before you pull it out.
Once chilled, drain the vegetables thoroughly. Excess surface water turns into ice crystals in the freezer, which rupture cell walls and leave you with soggy, freezer-burned results. Spread the pieces on clean towels, pat them dry, or spin leafy ones in a salad spinner. The drier they go into the freezer, the better the texture comes out. This is also the moment to do a final sort, tossing any pieces that look damaged or overcooked.
Freezing the Blanched Vegetables
For most vegetables, the best results come from tray-freezing first: spread the drained, dried pieces in a single layer on a baking sheet and freeze until solid, usually one to two hours. Then transfer the loose frozen pieces into freezer bags or rigid containers. This keeps them from clumping into one frozen brick, so you can pour out exactly the handful you need later. Press or vacuum out as much air as possible — air causes freezer burn — and label every package with the contents and the date, because even well-frozen blanched vegetables are best used within 8 to 12 months.
Freeze the packages quickly by spreading them out in the coldest part of the freezer rather than stacking warm bags, and set the freezer to 0°F or below. Faster freezing means smaller ice crystals and better texture on thawing. Most blanched vegetables go straight from freezer to pan — no need to thaw before cooking, and cooking from frozen actually preserves texture better. For the deeper dive on packaging, portioning, and what stores well versus poorly, our guide on freezing vegetables from the garden picks up exactly where this one leaves off.
The Bottom Line
Blanching is a five-minute habit that pays off for a full year. Boil or steam your prepared vegetables for the precise time their type calls for, crash them in an ice bath for an equal stretch, drain them bone dry, tray-freeze the loose pieces, and bag them airtight with a date. Done right, your green beans stay green, your broccoli stays crisp-tender, and your harvest tastes like summer in the middle of January. Skip the blanch and you get a faded, mushy reminder of why so many people give up on freezing. Master this one step and the freezer becomes the most reliable way to preserve a garden glut. For more harvest-keeping techniques, explore the rest of our outdoor living and garden guides.
Frequently Asked Questions
Do I really have to blanch vegetables before freezing?
For most vegetables, yes — if you want them to keep their color, texture, flavor, and nutrients beyond a month or two. Unblanched vegetables keep degrading in the freezer because their enzymes stay active. A few items like onions, peppers, and herbs freeze acceptably without blanching since you cook them anyway, but green beans, broccoli, peas, and carrots all need it.
What happens if I don’t blanch long enough?
Under-blanching is worse than not blanching at all. A too-short heat activates the spoilage enzymes without destroying them, so the vegetable degrades faster than if you had left it raw. Always blanch for the full recommended time, counted from when the water returns to a boil, then cool immediately.
Is steam blanching better than water blanching?
Each has its place. Water blanching is faster and heats evenly, ideal for dense vegetables like carrots and beans. Steam blanching takes about 50% longer but retains more water-soluble vitamins and is gentler on delicate items like leafy greens and broccoli. Use water for speed, steam for maximum nutrition.
How long do I leave vegetables in the ice bath?
At least as long as you blanched them — three minutes of blanching means three minutes of chilling. The vegetables should be cold all the way through, not just on the surface, before you drain them. Use plenty of ice and add more as it melts so the cooling does not stall.
How long do blanched, frozen vegetables last?
Properly blanched, dried, and airtight-packaged vegetables hold peak quality for about 8 to 12 months at 0°F or below. They stay safe to eat longer than that, but the texture and flavor slowly decline. Label everything with the date and rotate your oldest bags to the front.